
DIY Linen Ring Sling Baby Carrier
Before babies can see very well, they still manage to know when they’re with their mother. They live through touch and smell, exploring the world by warmth and cold, and arms that hold them. The three months following birth are anecdotally known as the fourth trimester, because little one still acts a lot like they’re in the womb, loving to be held and kept close to their mummy.

Yet while that might be true, it’s difficult to have a baby with you all the time, especially if you have other kids. Trying to carry a baby and bath or feed an older child is a difficult juggling act. This is why babywearing is so valuable to you and to baby. You get to be together, close and comforted (both of you, not just baby!) while going about life.
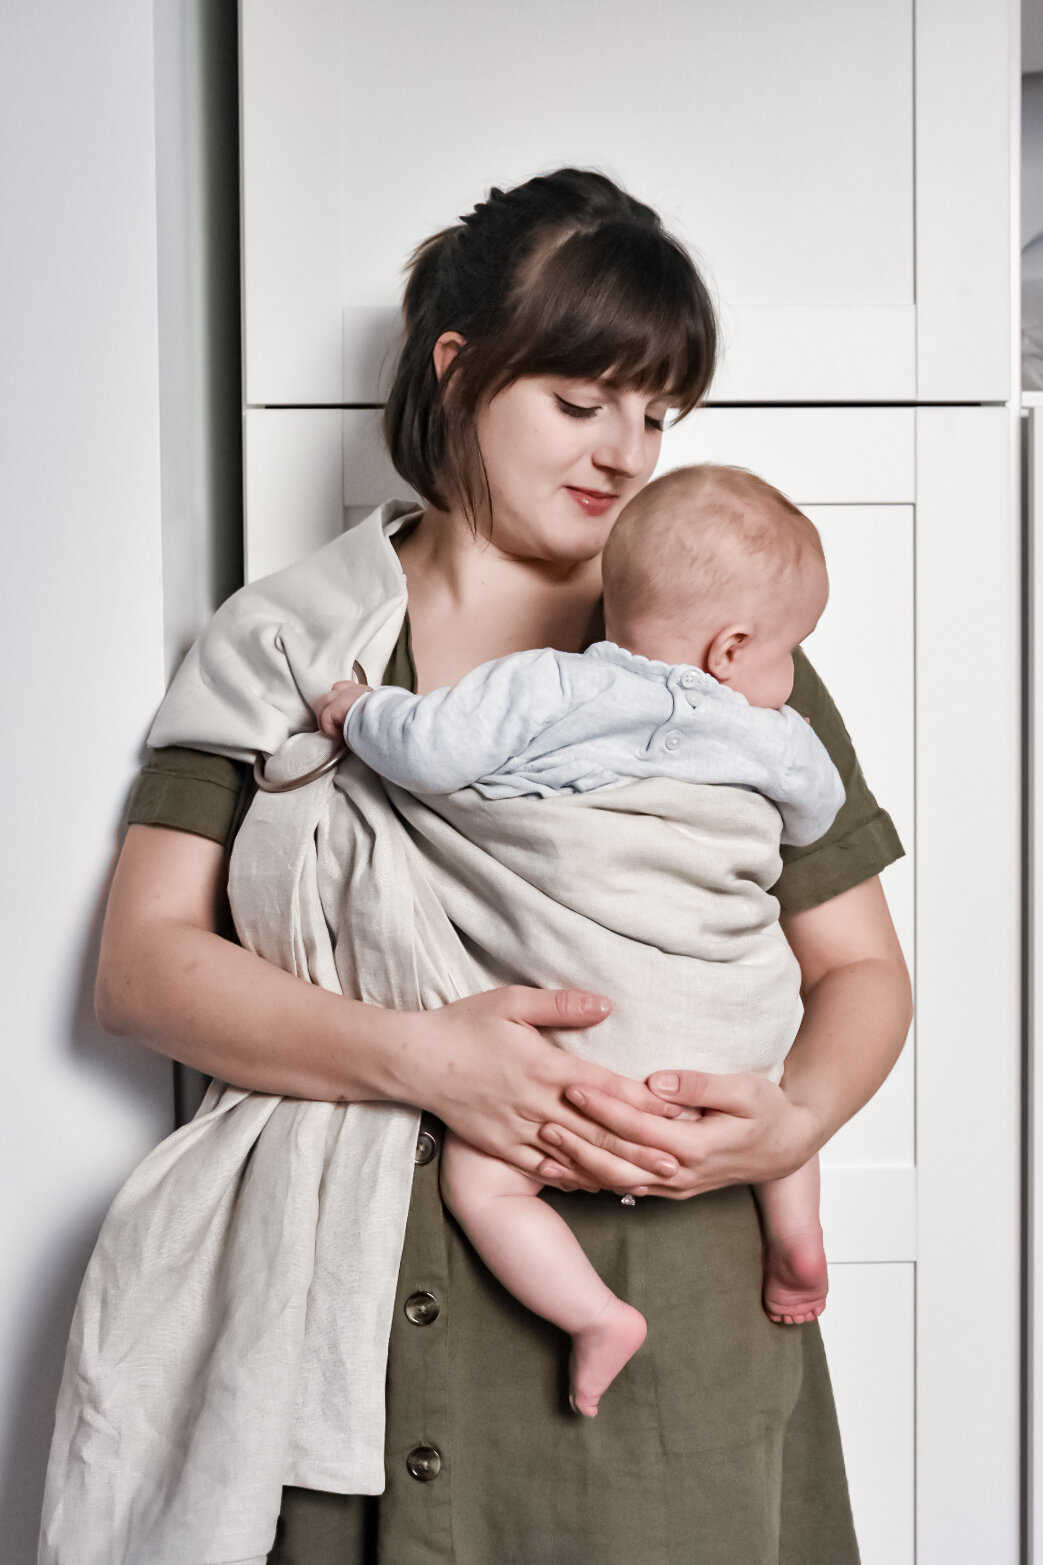
This week is European Babywearing Week, so in celebration, I wanted to share an easy DIY ring sling. This is a simple, traditional babywearing sling, that can be worn in a few different ways. I love the hip carry once baby is old enough to support their head, because they can look around, and are off to one side out of the way.
As with any baby carrier, it’s really, really important to follow safe babywearing guidelines. The acronym ‘TICKS’ is super helpful for remembering the guidelines - Tight, In view, Close enough to kiss, Keep chin off chest and Supported back.
This is an adaptation of this pattern by A Beautiful Mess, with a few changes where I thought things might work a bit better.


You will need
2 metres of linen or strong cotton fabric (with a width of at least 1 metre)
Matching thread
Two large sling rings (don’t be tempted to use anything
Pins
Scissors
Ruler or tape measure
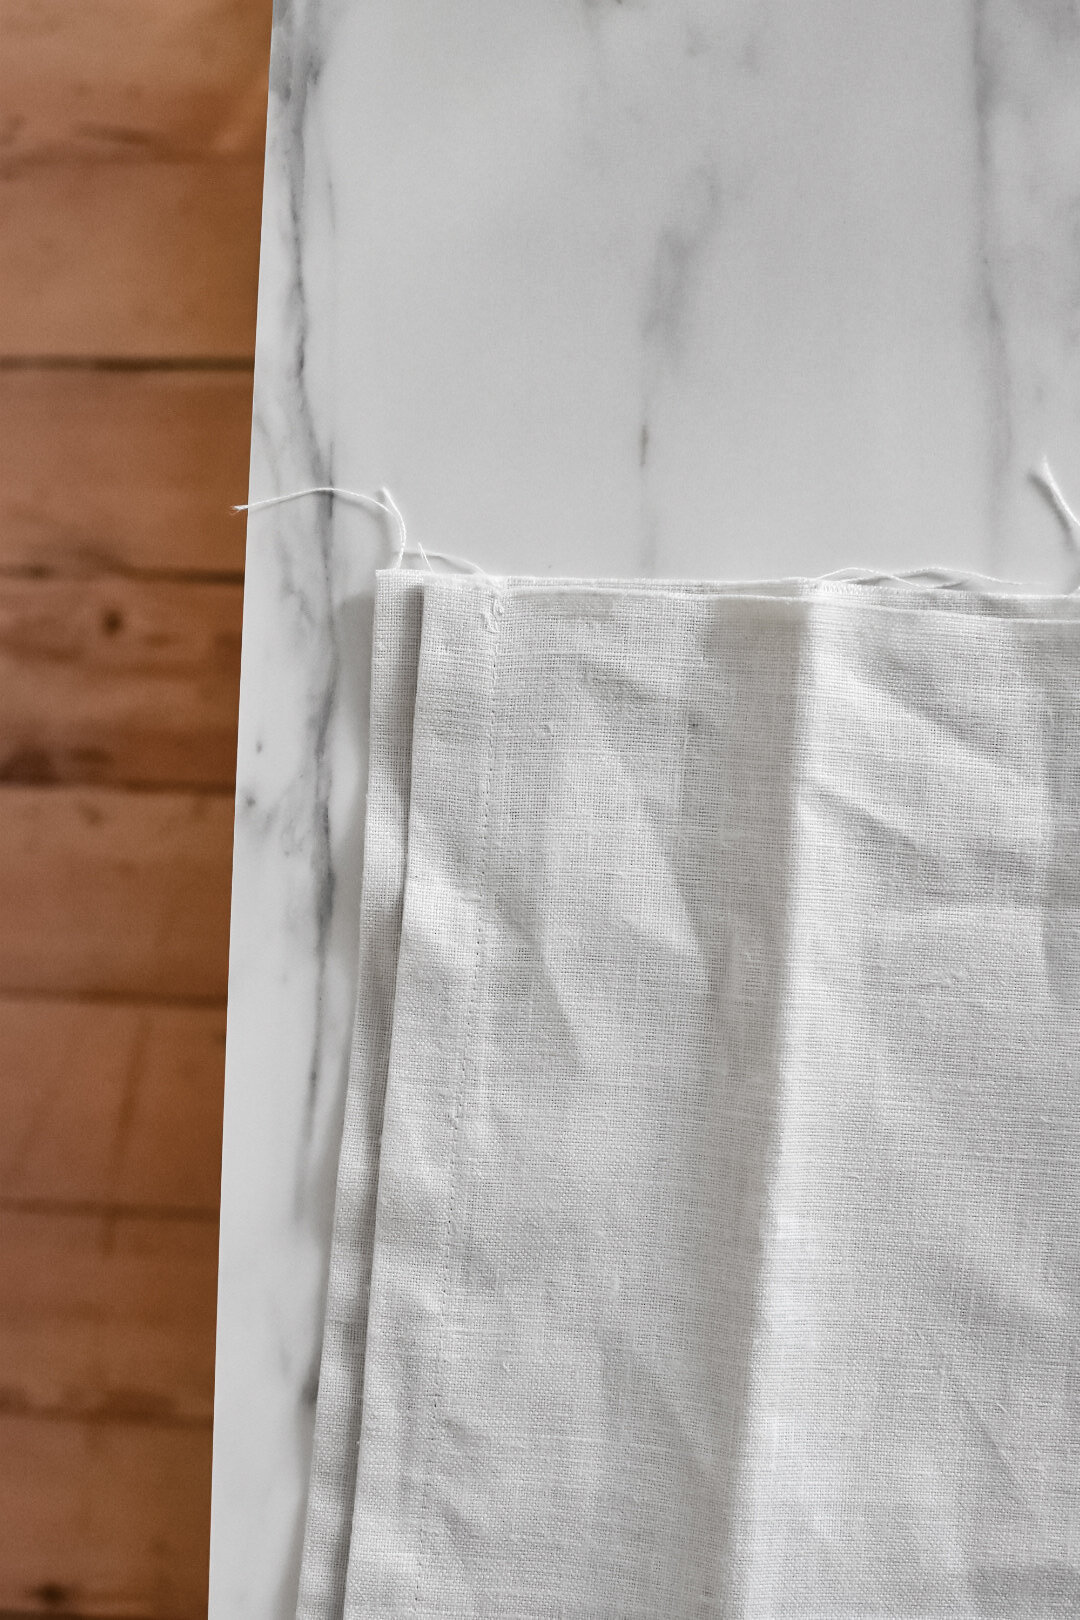
Begin by hemming three edges of your fabric, leaving one of the short edges free. Do this by folding the raw edge in 0.5cm, pressing flat, and then another 1cm, pressing flat and pinning. For a super neat finish you can create mitred corners, but it’s not necessary so don’t worry if that’s too complicated! You can learn how to do mitred corners in this post.
Stitch around the three edges to secure the folded hem.

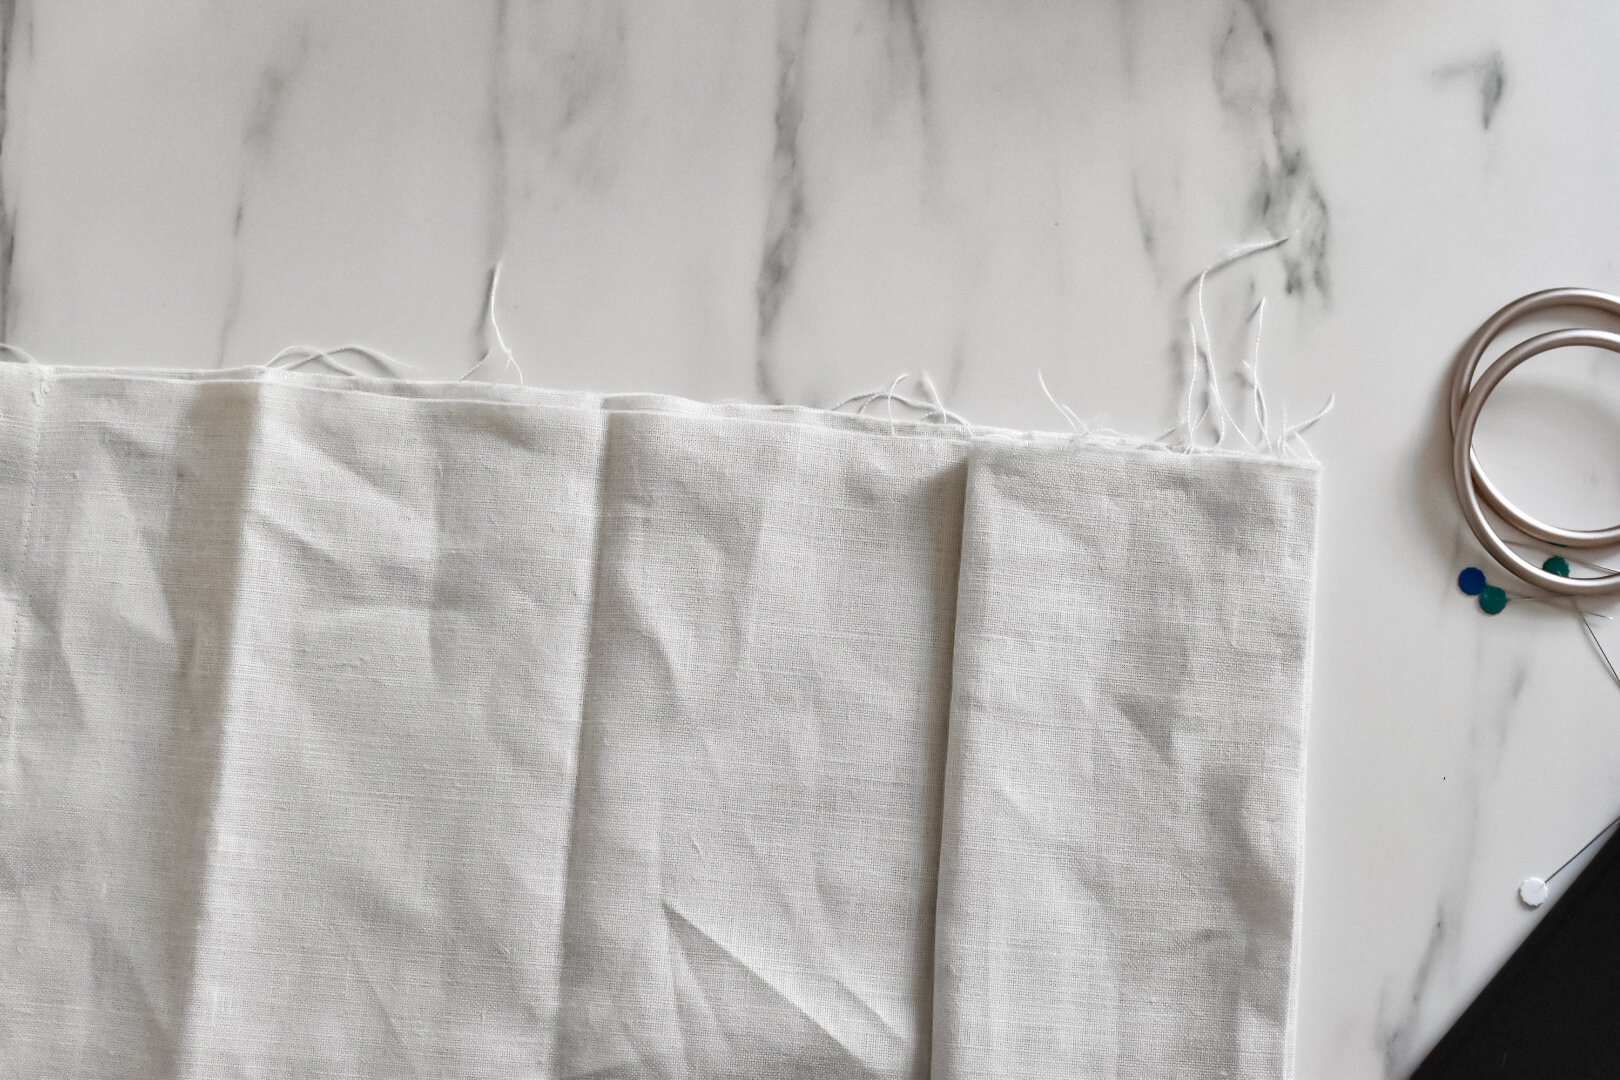
3. With the remaining raw edge at the top, fold the fabric in half lengthways, so that the raw edge is halved and the two long hemmed edges meet.
4. Next, take the folded side on the right, and bring it ⅔ of the way to the two hemmed edges on the left. Then fold it back on itself in half.

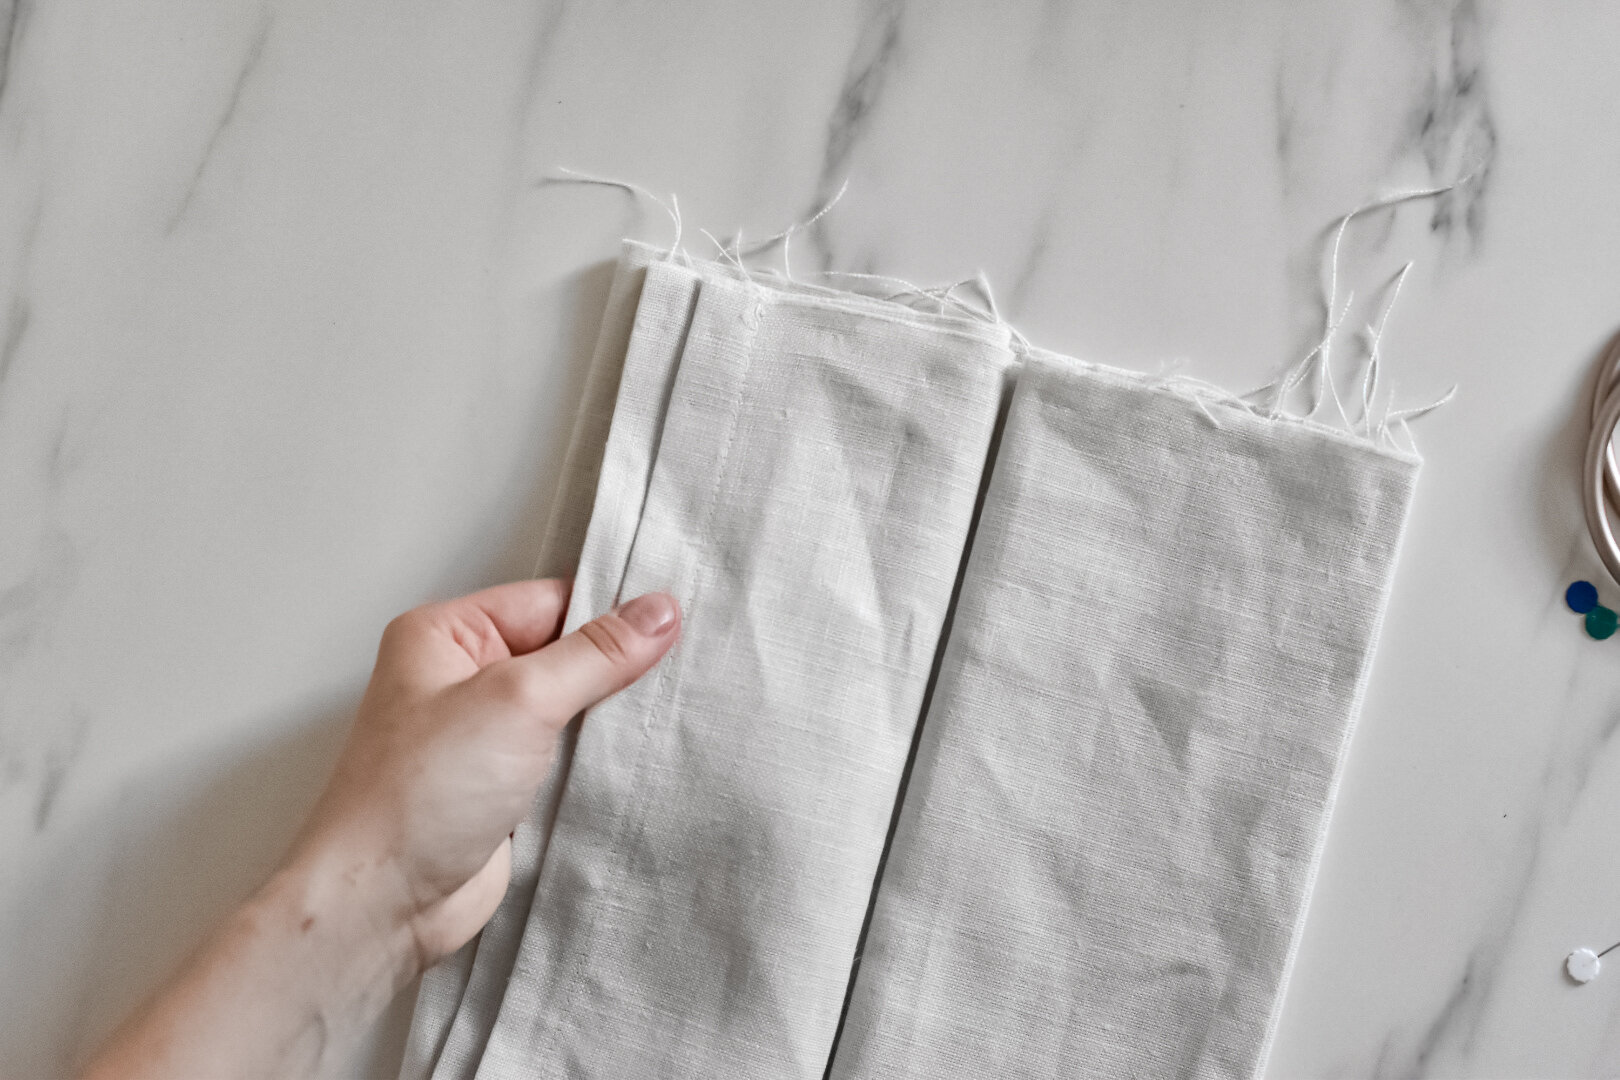
5. Repeat on the other side, bringing the edge with the two hems all the way across to overlap your previous folds, and then folding it back on itself in half. If you don’t quite get this, don’t worry! Just fold it neatly until it’s around 20cm in width. Pin in place.

6, Finish the raw edges, by running a zig zag or finishing stitch along the edges to stop them fraying.
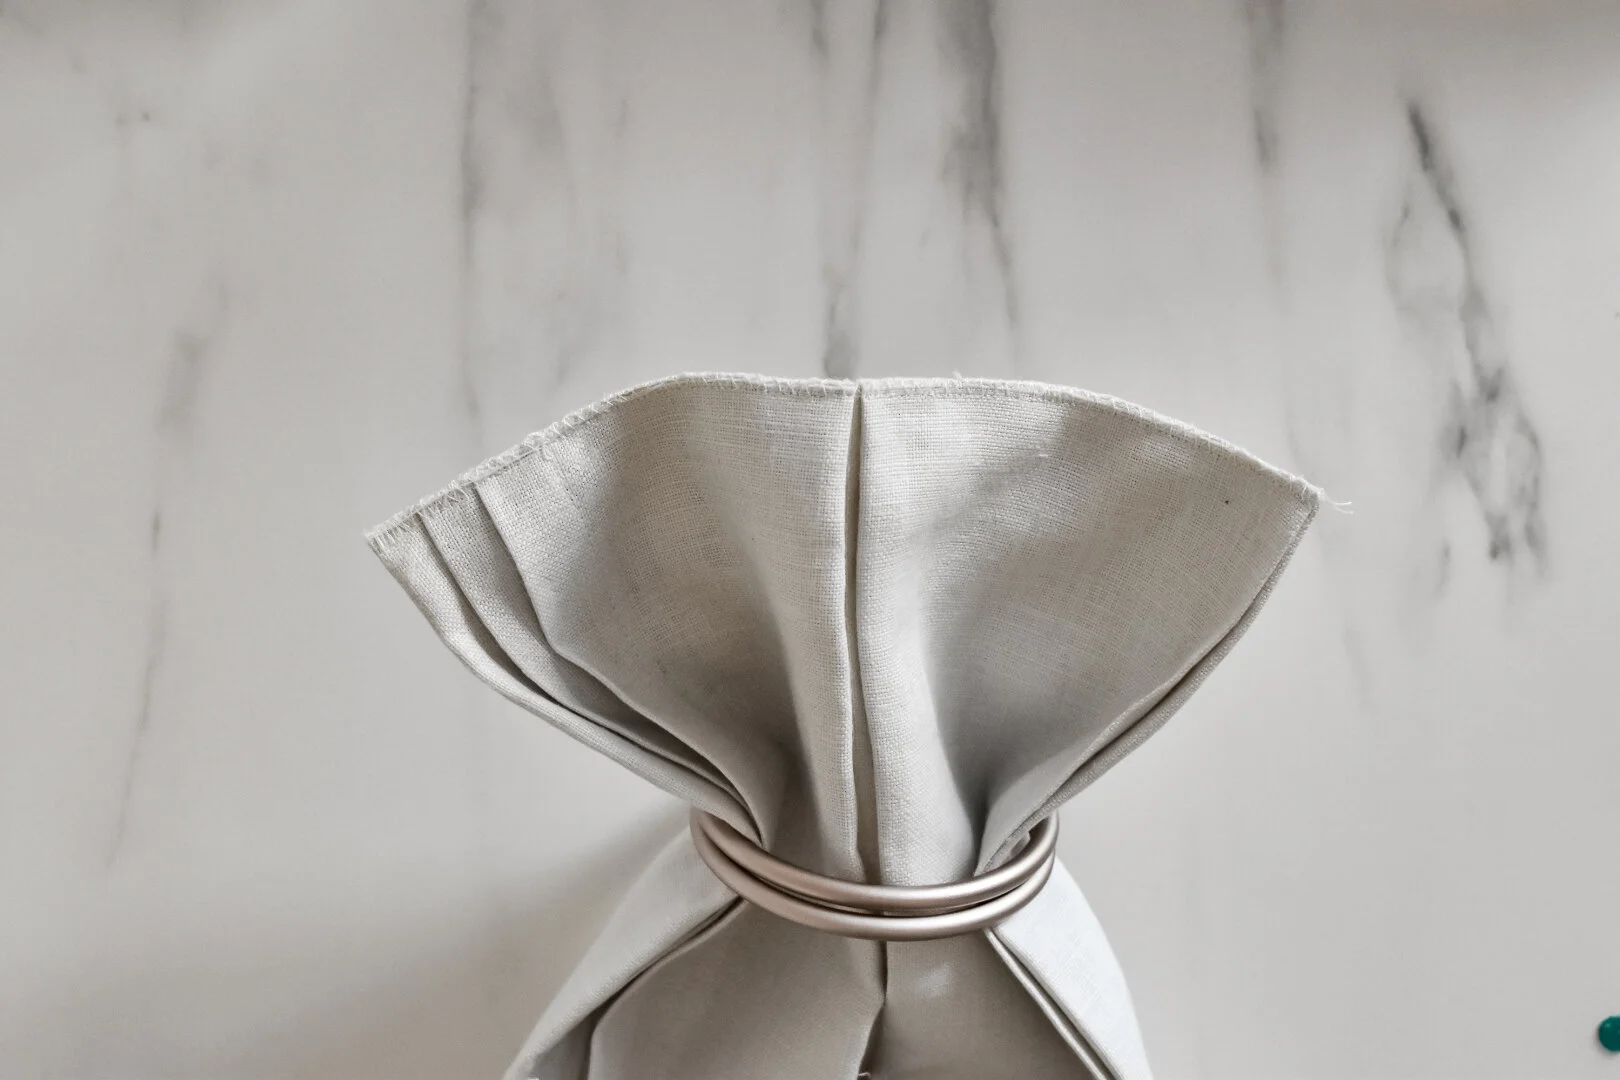
7. Slip the rings onto sling, and fold the edge down, pinning in place. Run three lines of stitching to hold in place.
8. To wear, thread the end through the two rings, and then back through just one of the rings, tighten, and pop it over your head. Done!