
How to mend your clothes with Japanese stitching (sashiko)

Over the years, I’ve amassed quite the collection of clothes in need of mending (which you can read all about on Instagram..!). In a box under our bed, there are broken zips, worn out elbows and holes galore. I’d always hoped that I would have time to mend the things that we loved, but finding the time has been so hard. Well, this year I decided I would commit to fixing some of those clothes, as part of our effort to buy less and live more sustainably.

Up first is a lovely pair of jeans belonging to Clem. He was an early crawler and a late walker, so we had nearly 9 months of crawling and some of his clothes took a beating in the knee region! The jeans I chose to mend are beautiful quality and I was so sad that he wore through them, so they were the best thing to start my mending efforts on.
What’s more, they are the perfect canvas for a stitching technique called sashiko. Sashiko is a Japanese stitching style that was originally used by working class people as a means to mend used clothing and household items. But it is so much more than that! The even, geometric patterns of sashiko create a beautiful decorative effect, so that they go beyond being purely practical. I chose to do two different styles on the two knees of Clem's jeans, and here is how to do it.
Tips before you start
Here are a couple of tips to bear in mind:
Traditionally, Japanese sashiko stitching is done using a special needle and thread. Having tried it, I think it’s worth investing a small amount in the right materials, as it gives you the most authentic end result. But if you’re not too bothered about perfection, then a long embroidery needle and embroidery thread (use all 6 strands) will work just fine. I bought my sashiko needle and thread from here, but there are lots of places that sell similar.
It's worth noting that there are specific ‘rules’ to sashiko stitching. I didn’t strictly follow these, but they are helpful if you want to create beautiful sashiko. This website has some excellent pointers.
How to mend clothing using japanese sashiko stitching

here’s what you’ll need
You will need:
Item with a hole in
Fabric scraps (something sturdy like an upholstery fabric or heavy cotton is best)
Fabric scissors
Pins or safety pins
Sashiko or long embroidery needle
Sashiko or embroidery thread
Thimble
Taylor’s chalk (optional)


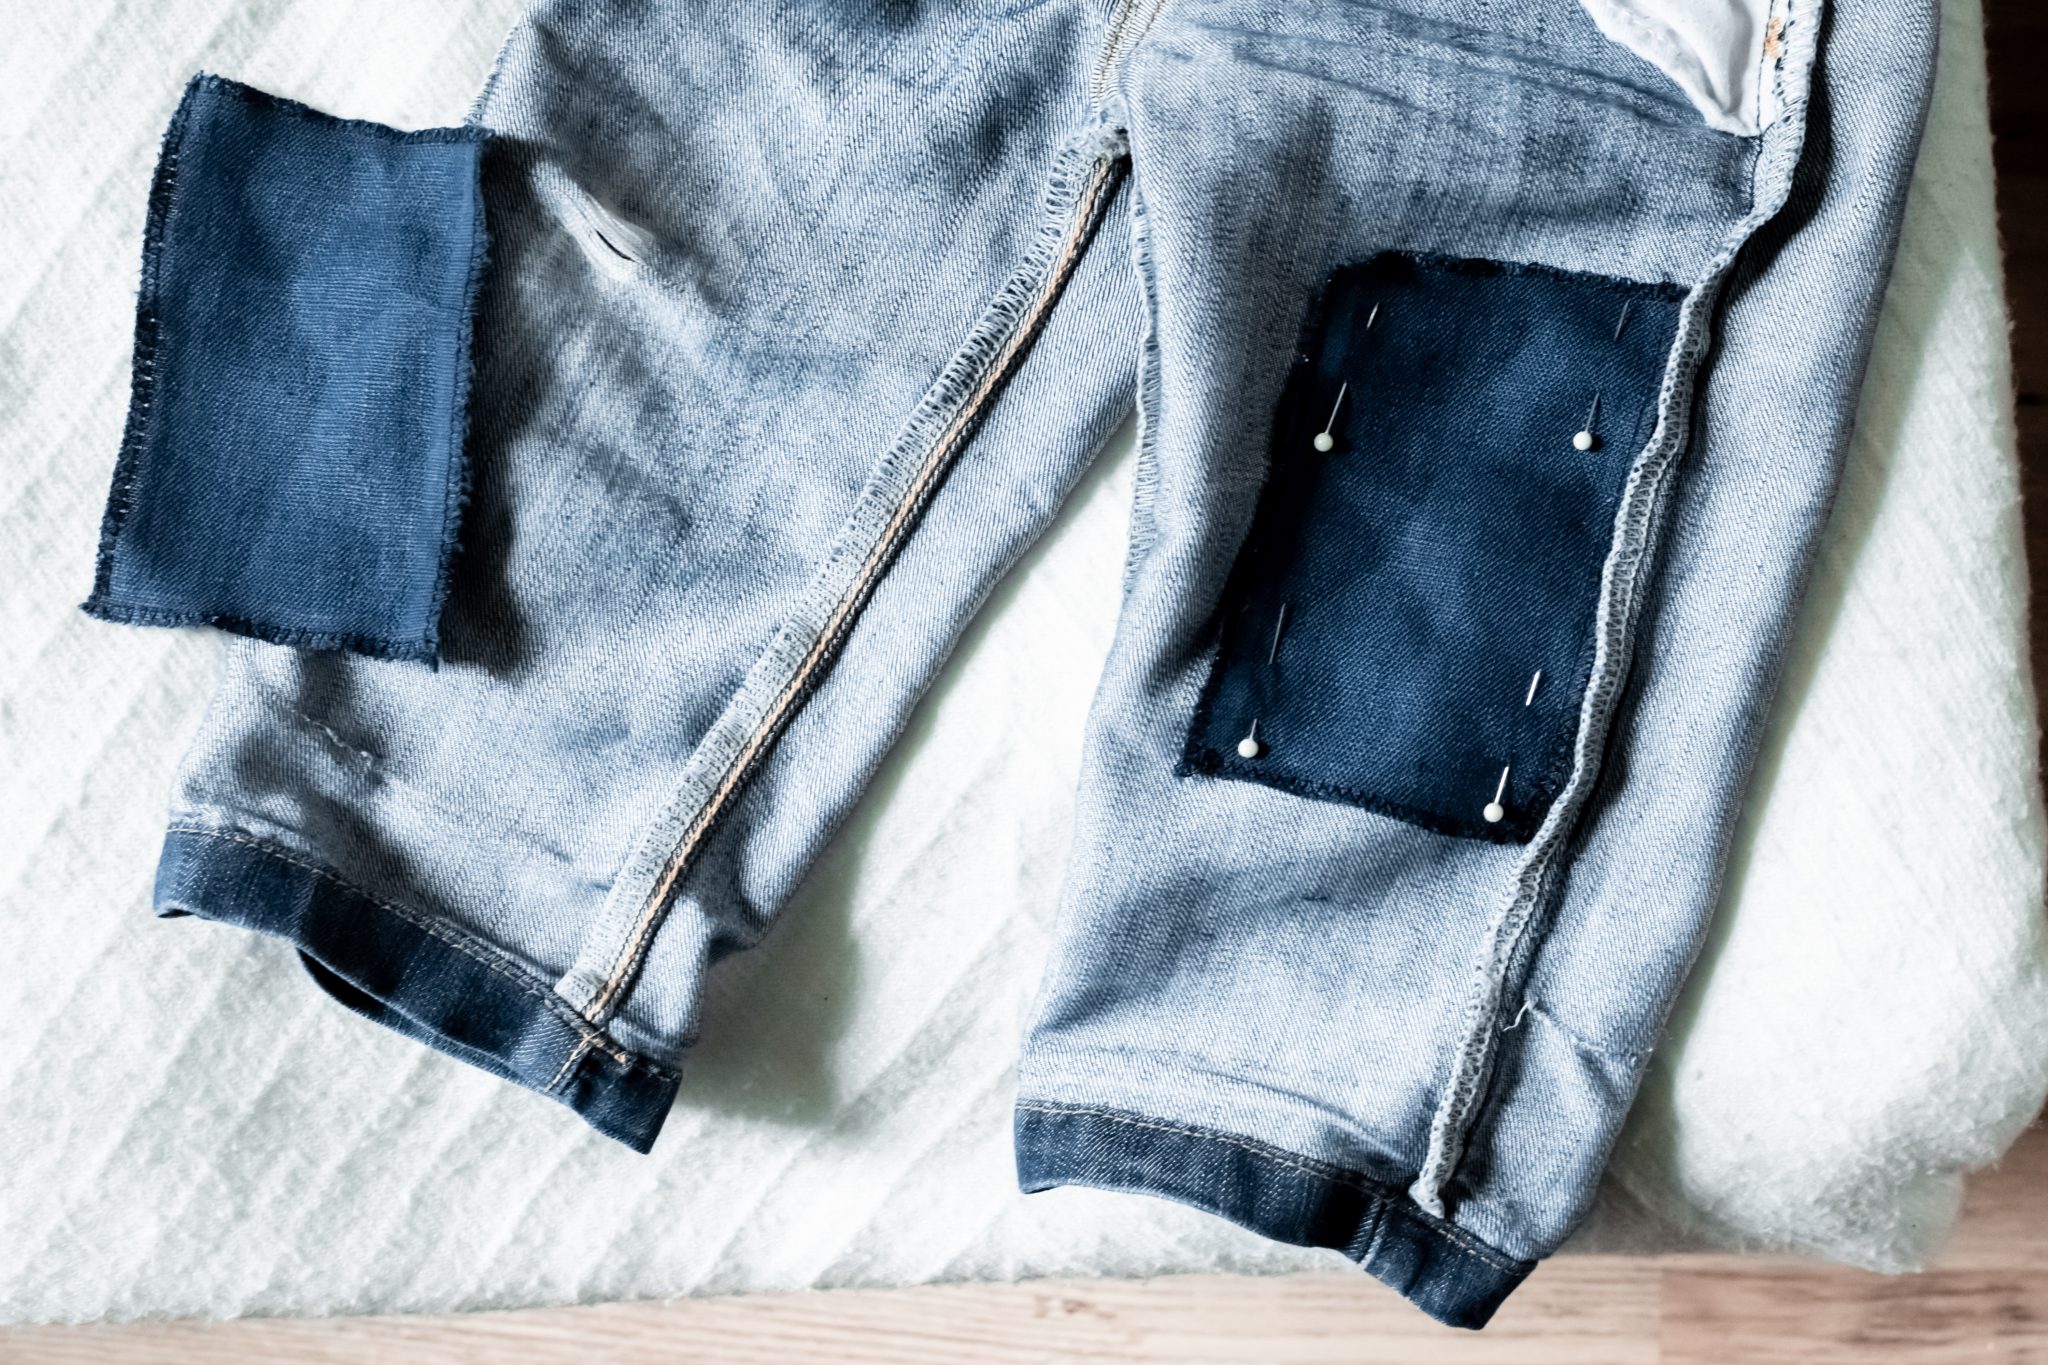
Cut a patch of fabric that covers the hole and a few centimetres around the edge. Optionally, you can overcast the edges of the patches as I did, to stop them fraying. If your sewing machine doesn’t have an overcast stitch, you could use a zigzag stitch, cut the edges with pinking shears, or even leave them raw (as the raw edges will be hidden inside the garment).
Pin the patch to the reverse of the garment, centred over the hole. I started off using pins, but safety pins work slightly better as they’re less likely to move. Flip the garment right side out again. At this point, you may want to mark the right side with chalk to indicate where the patch is on the inside, but this isn't essential.
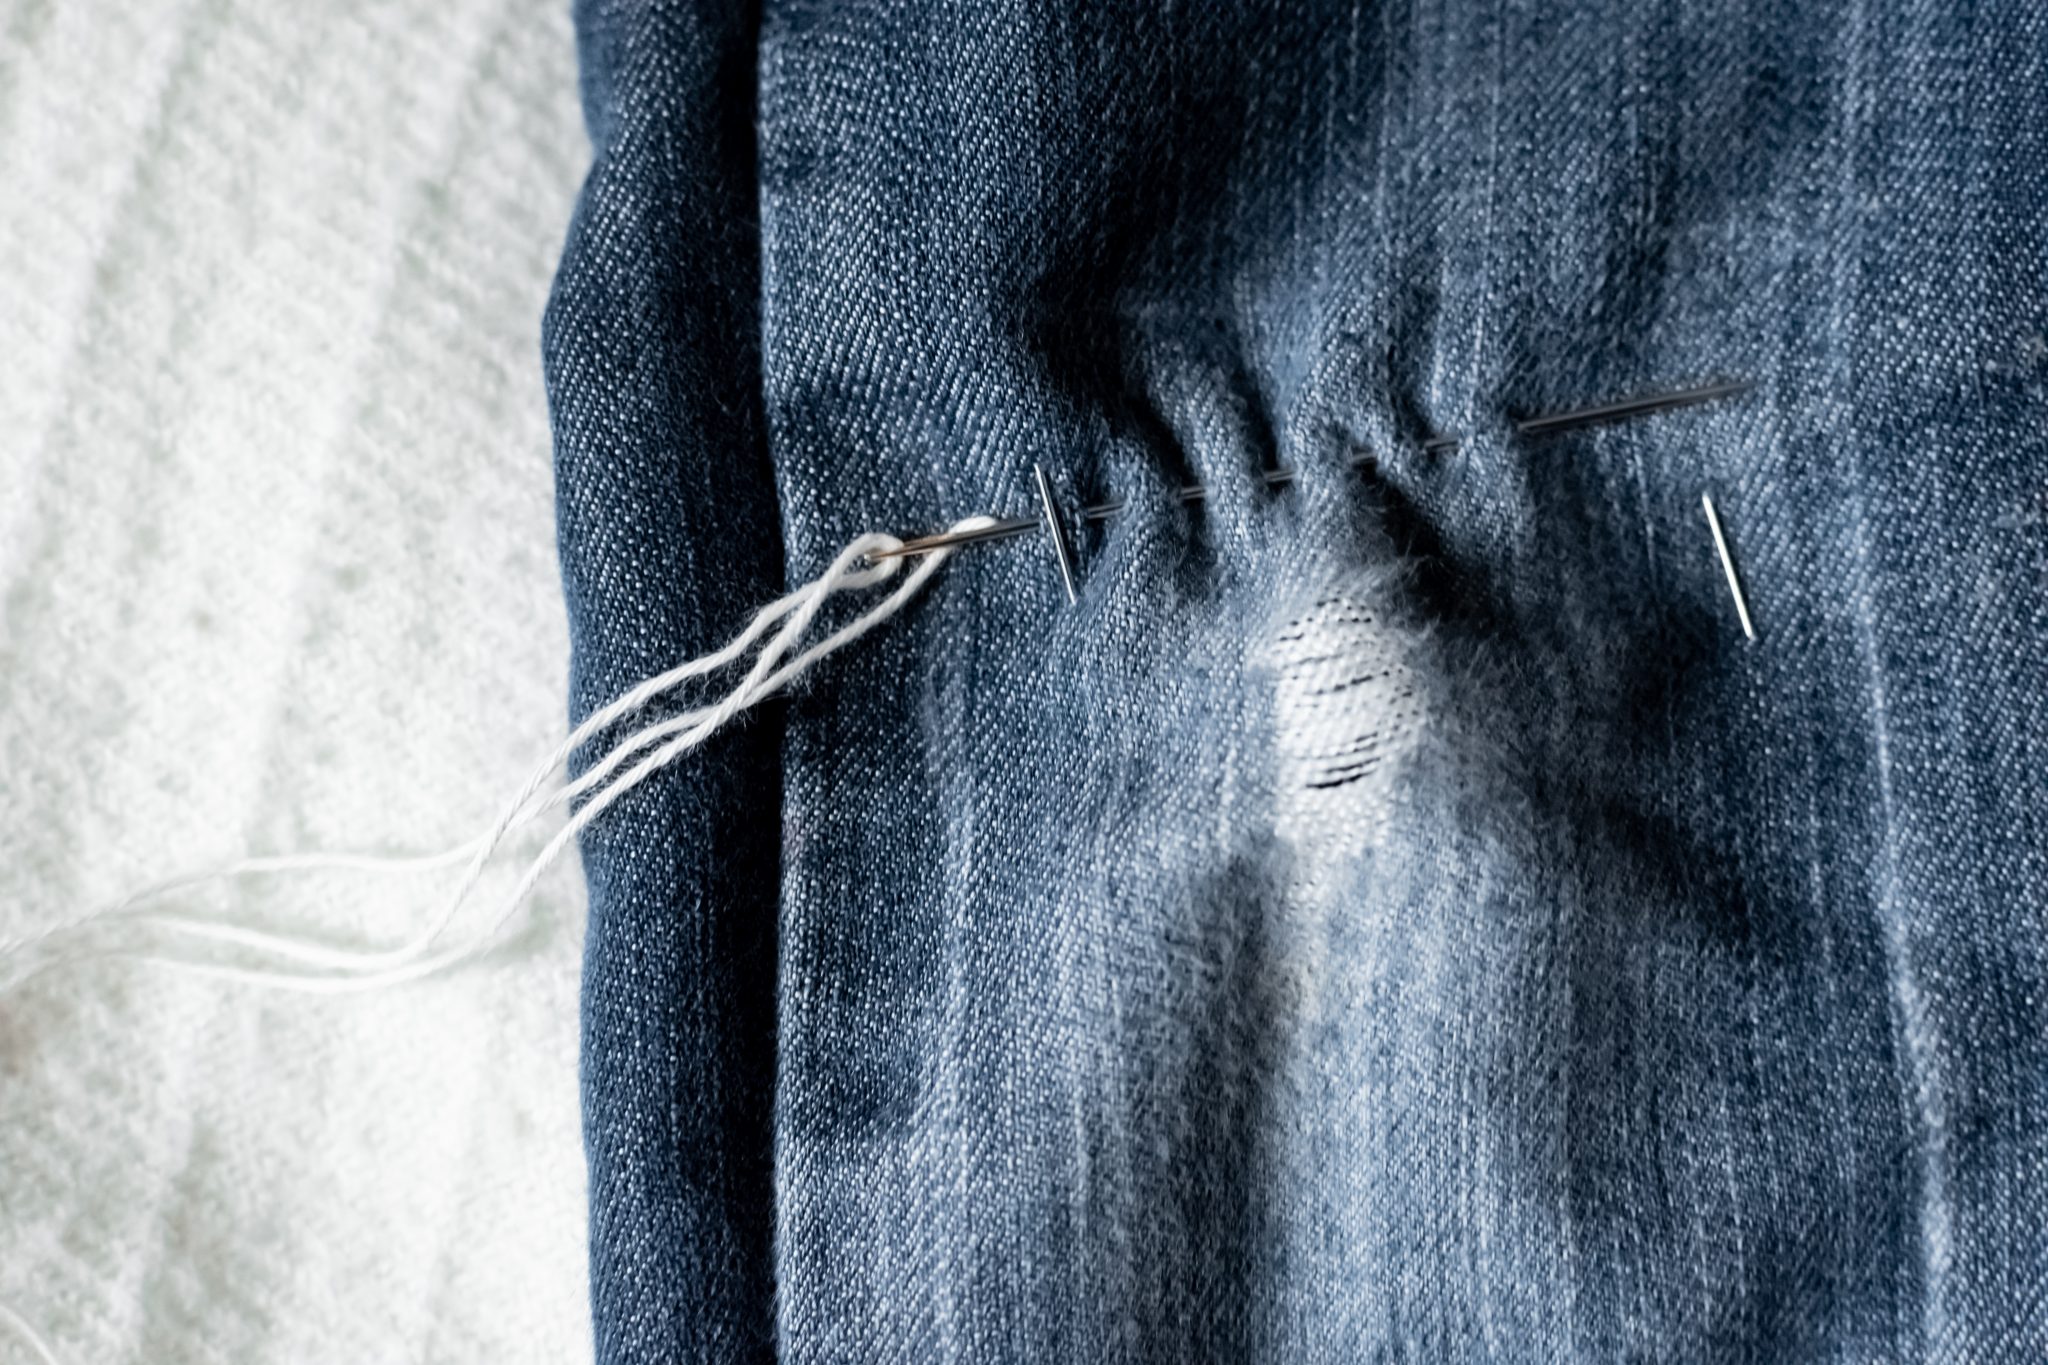
3. Thread your needle and knot the end of the thread. Starting on the inside of the garment, in an area where the garment is still intact (i.e. not where the hole is!) bring the needle up through the patch and fabric to the right side, then tug the thread to bring the knot between the patch and the garment fabric. You’re ready to start stitching, Japanese style!
4. Bring the needle down and up through the fabric several times, until you have your needle loaded, then pull the needle through to create your stitches. Loading the needle like this is part of the tradition of sashiko and helps to create even stitches.
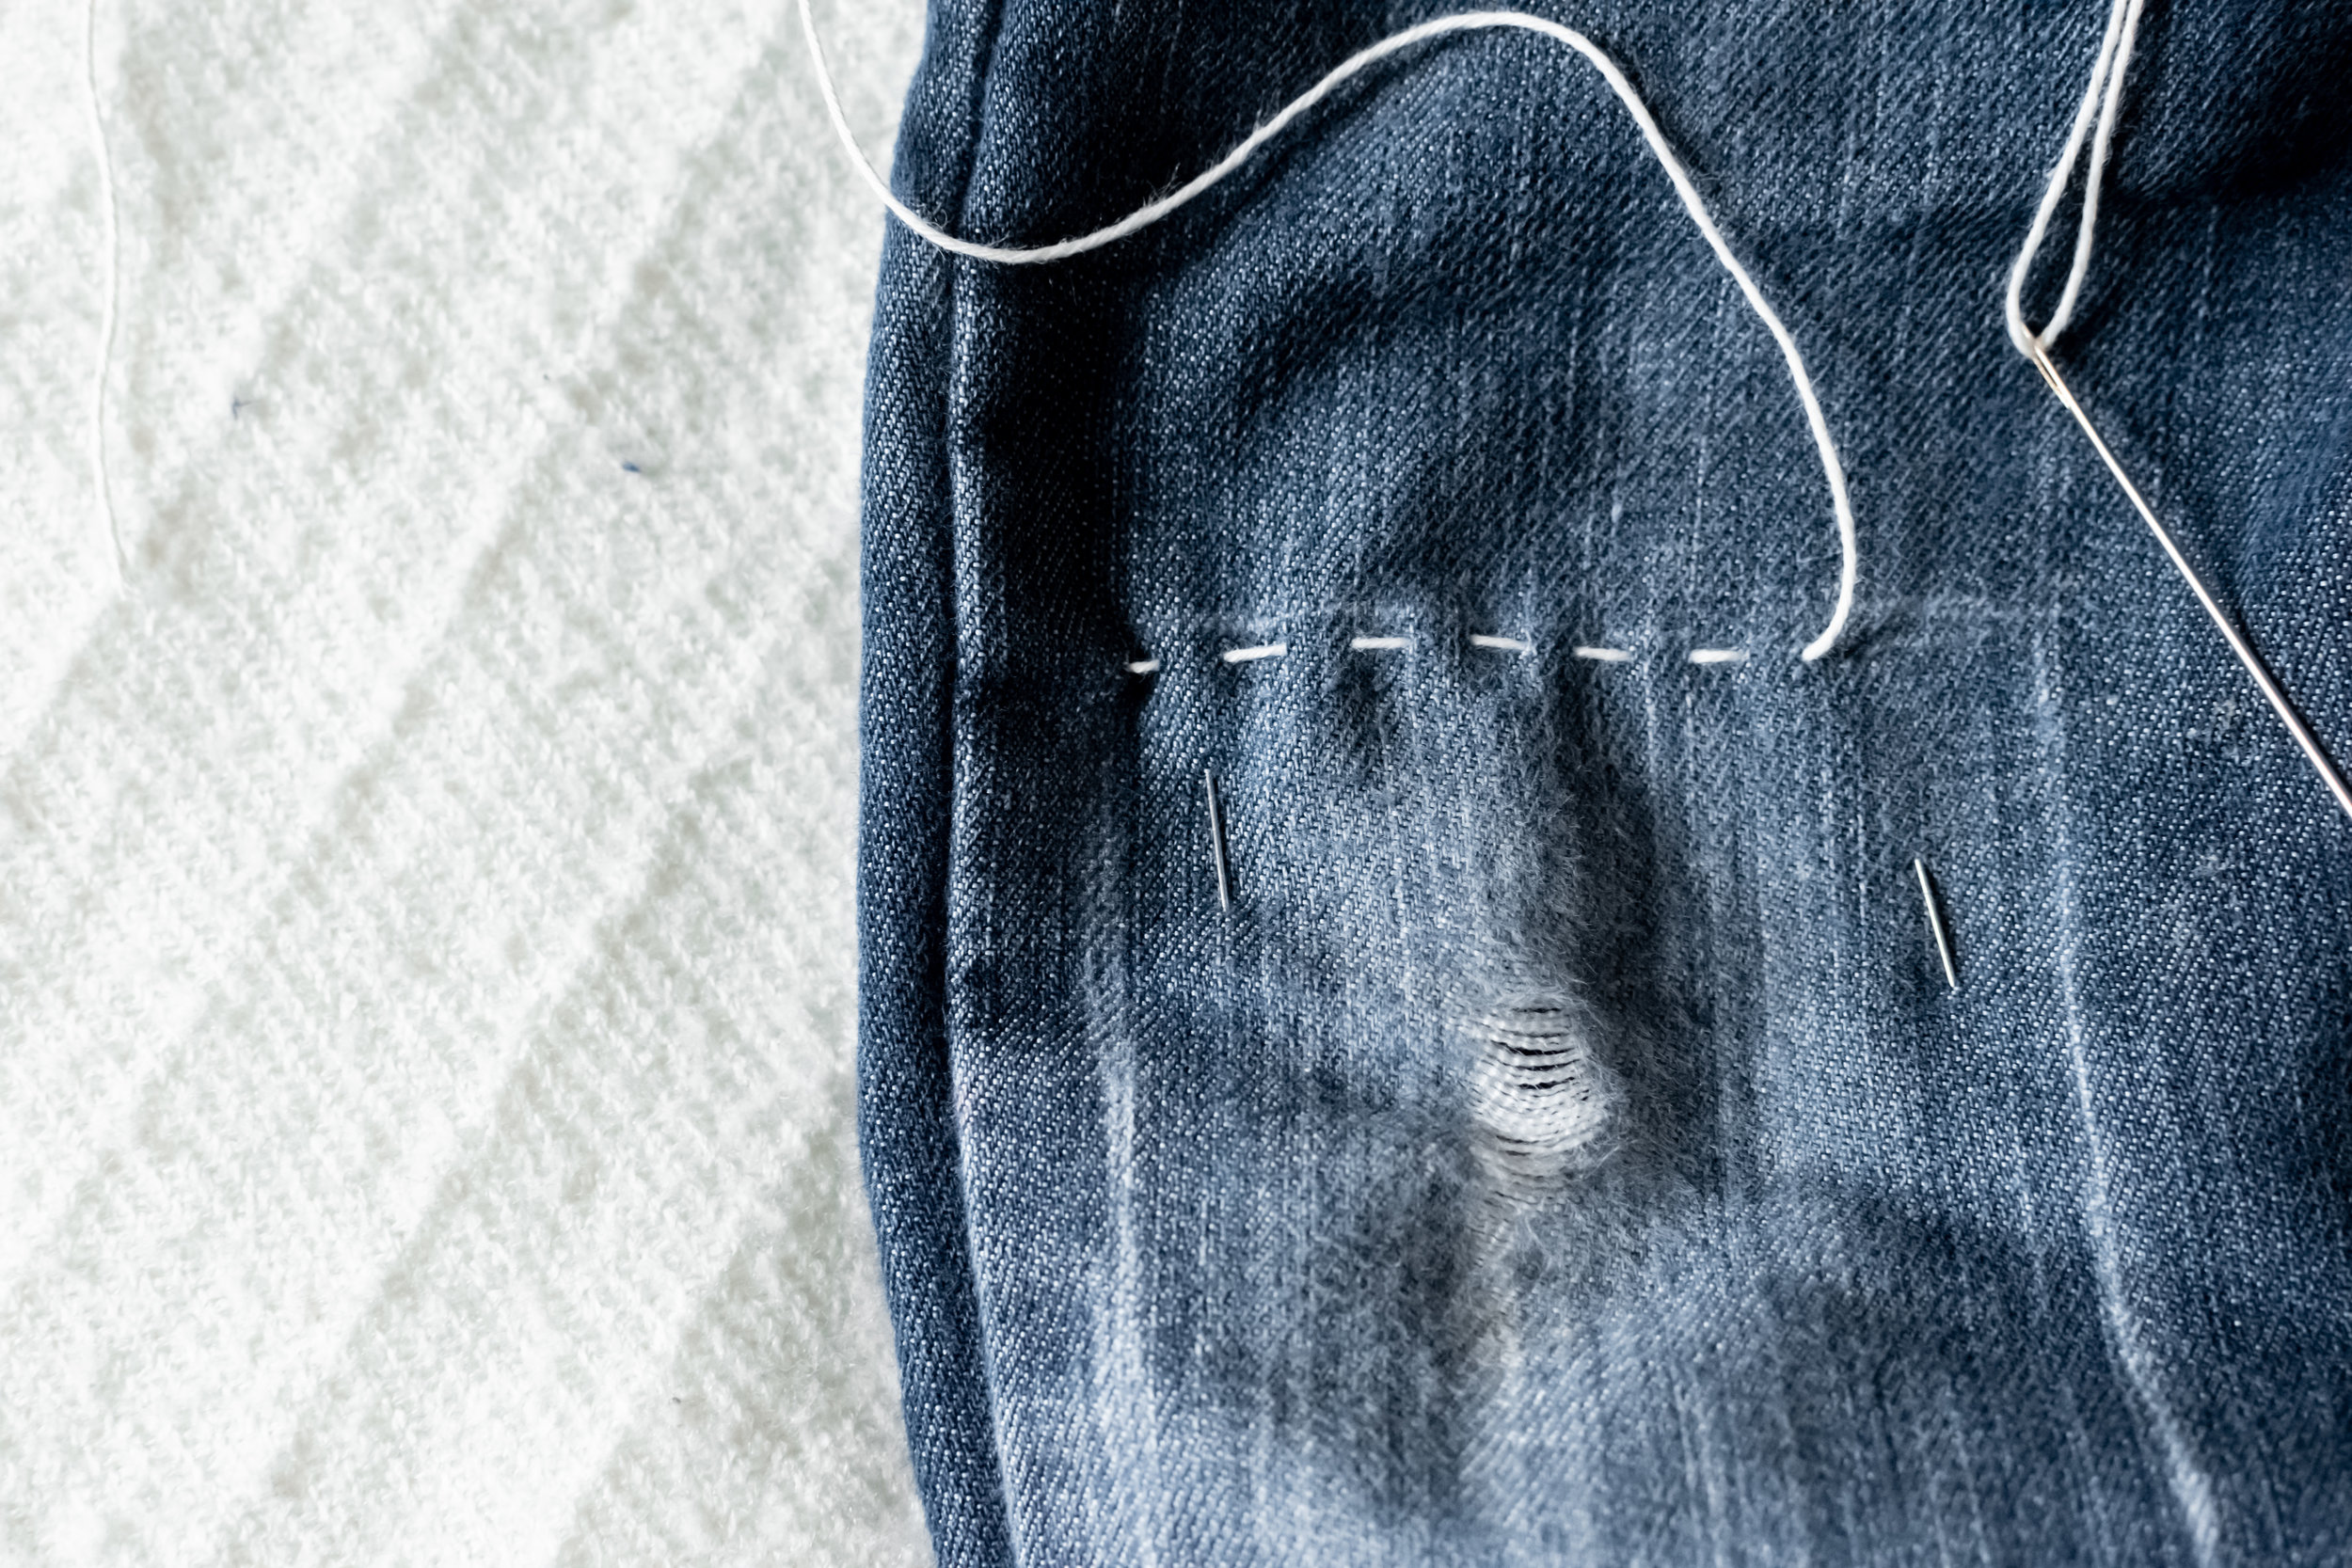
5. Continue like this until your design is complete. Feel free to get as creative as you like! Pinterest is a great resource for inspiration. Note, if you want to create crosses like I did, the best way is to create all the horizontal stitches first and then go back and create all the vertical stitches.
6. Once your design is complete, bring the needle to the back of the fabric and secure with a knot. Then tell all your friends about how you’ve created something beautiful out of a piece of clothing destined for the bin!
This page contains affiliate links, which earn me a little bit of commission if you make a purchase, at no additional cost to you. Thank you!