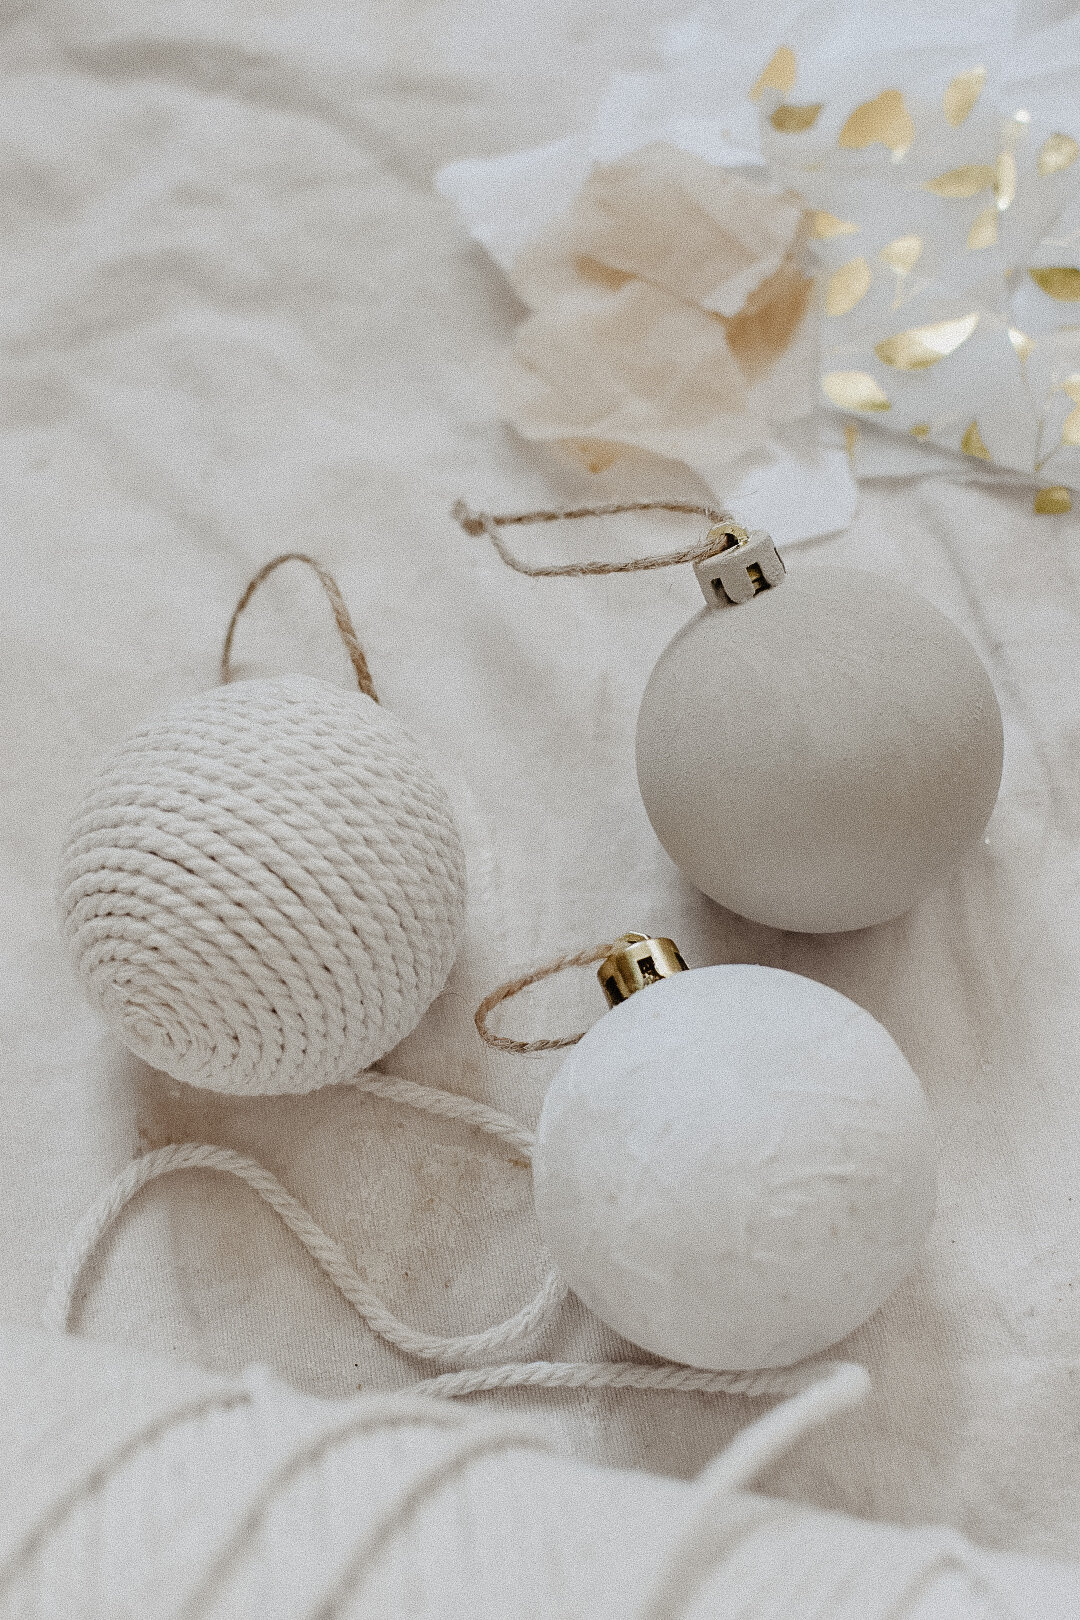
3 Upcycled Christmas Decorations Using Recycled Materials
A year is a long time between Christmases, and ever-evolving tastes can change a lot in that period. Baubles that brought joy three years ago now look a little tired and dated, or don’t quite fit with your festive vision for this year.
Each year I approach opening my Christmas decorations like a gift in itself. In the year that’s passed I’ve forgotten exactly what we have, and the discovery of the festive treasures inside the storage boxes is always a delight.
This year I’m craving more simplicity to our decorations, but my glitter addiction from five years ago is coming back to haunt me! Not being one to throw out perfectly good baubles, I came up with three easy ideas to upcycle my least favourite christmas decorations.


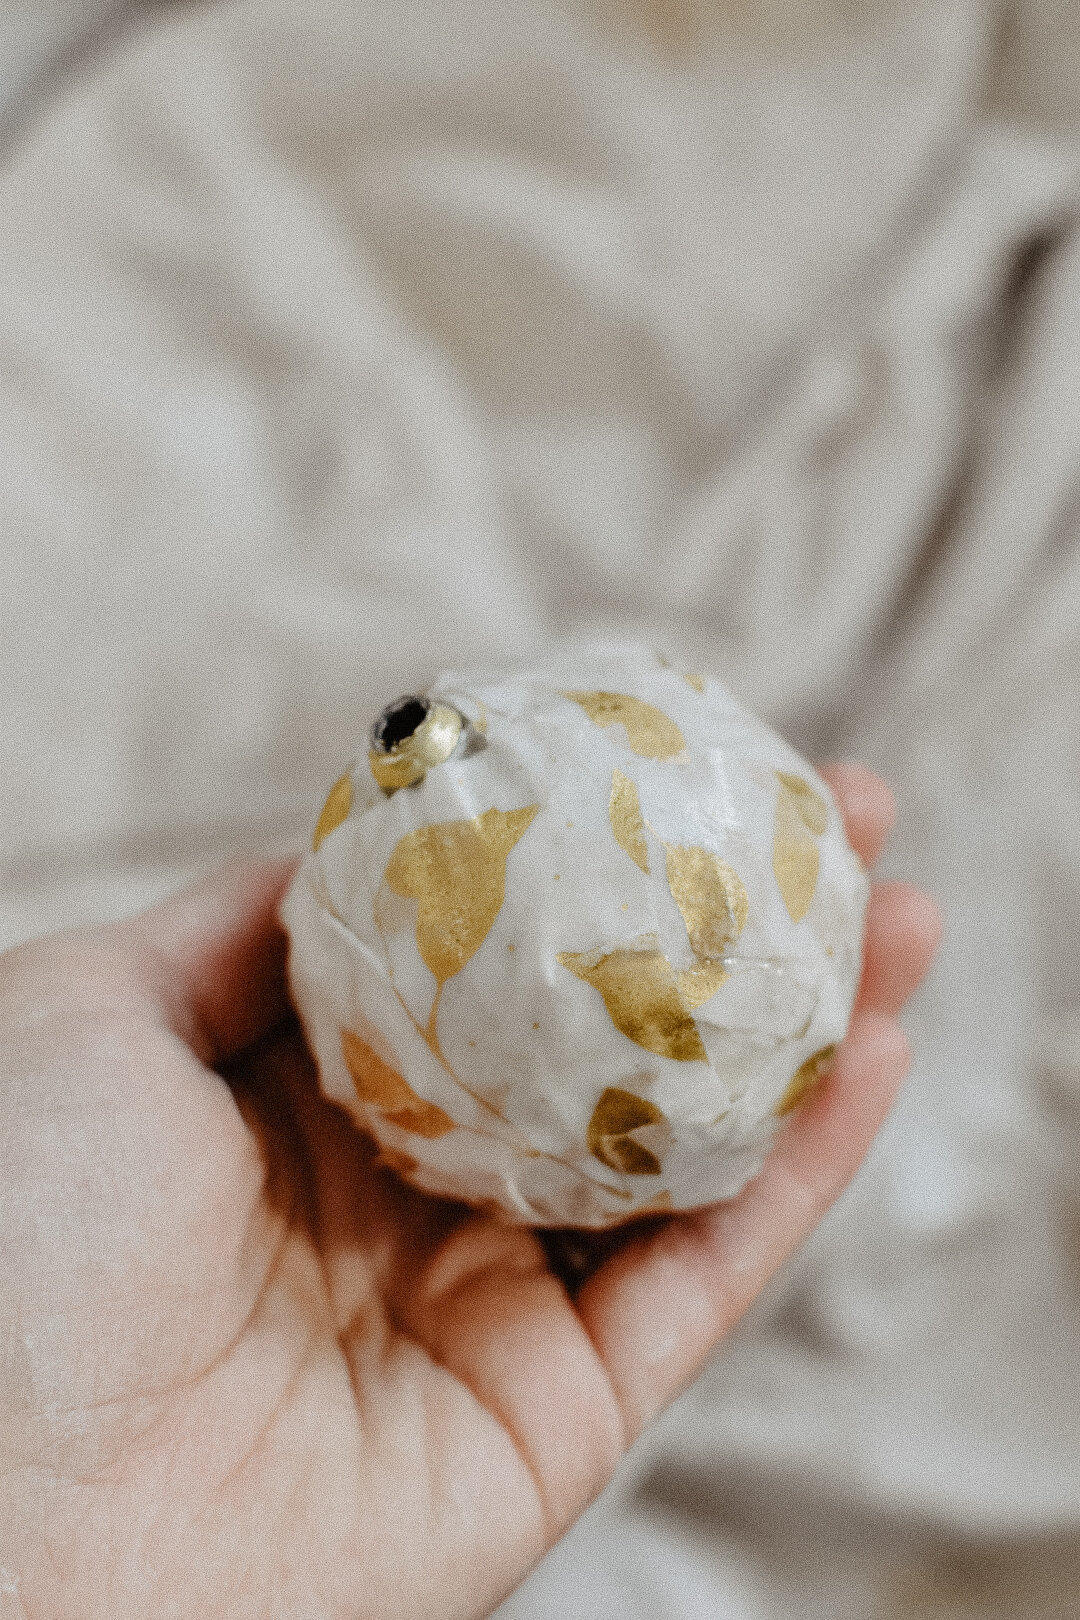
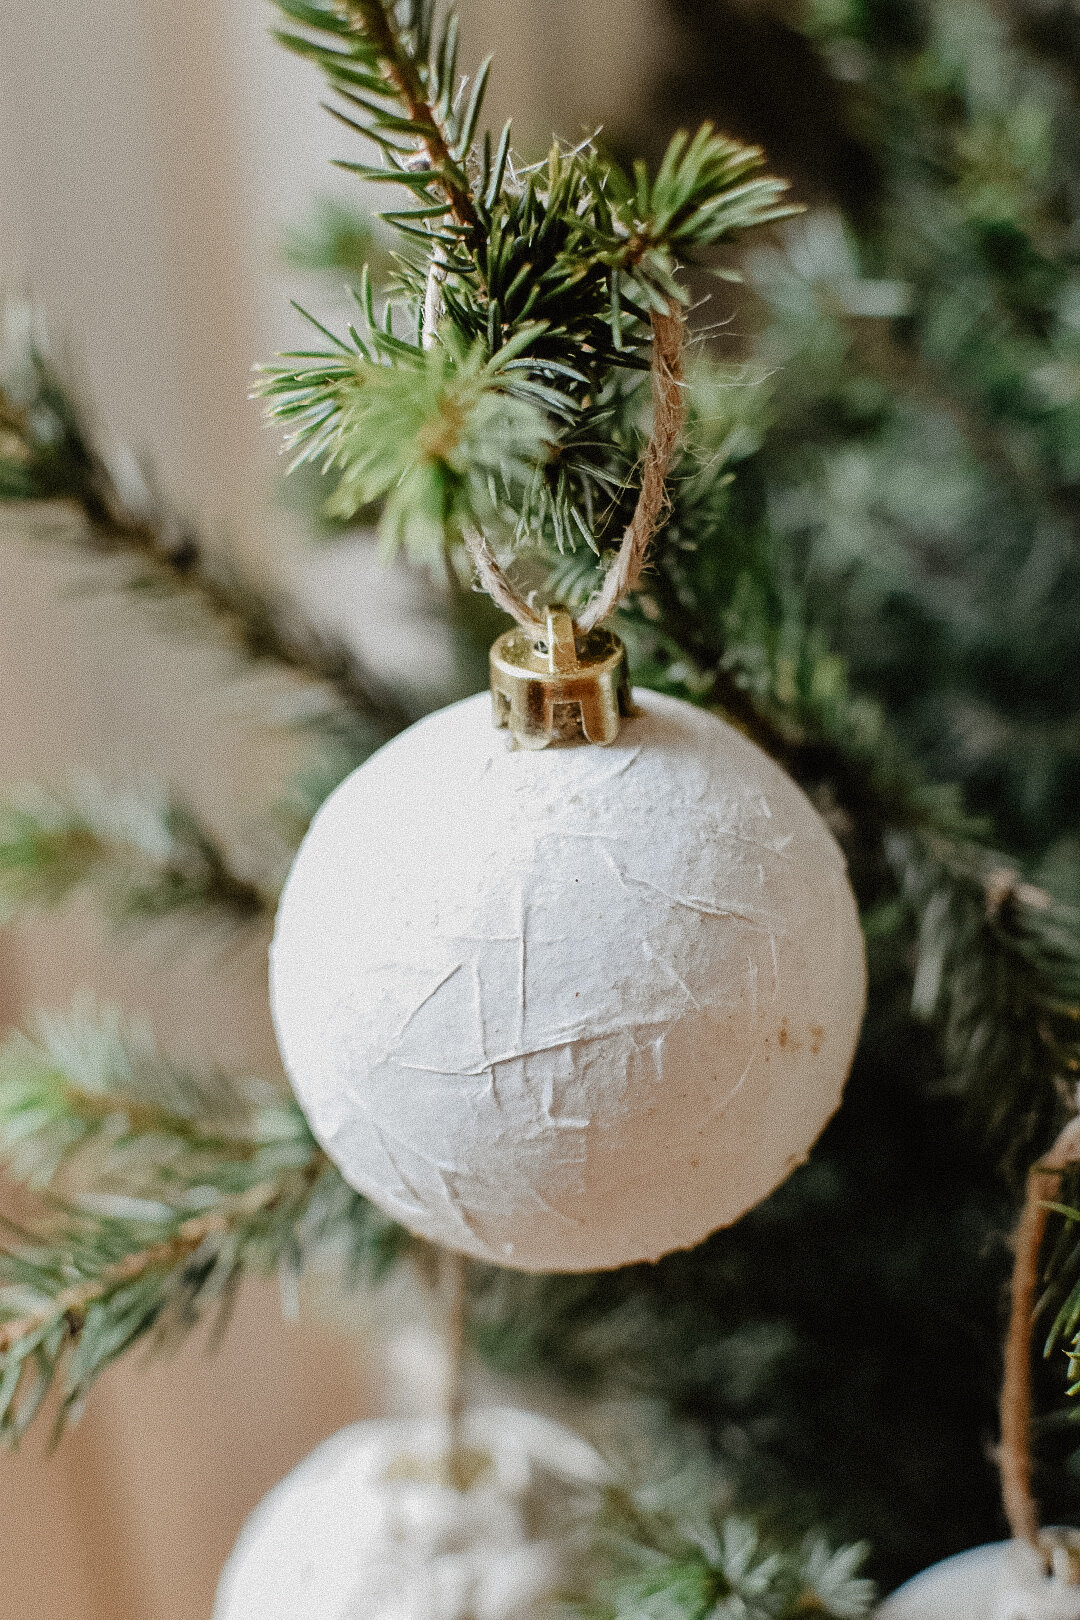
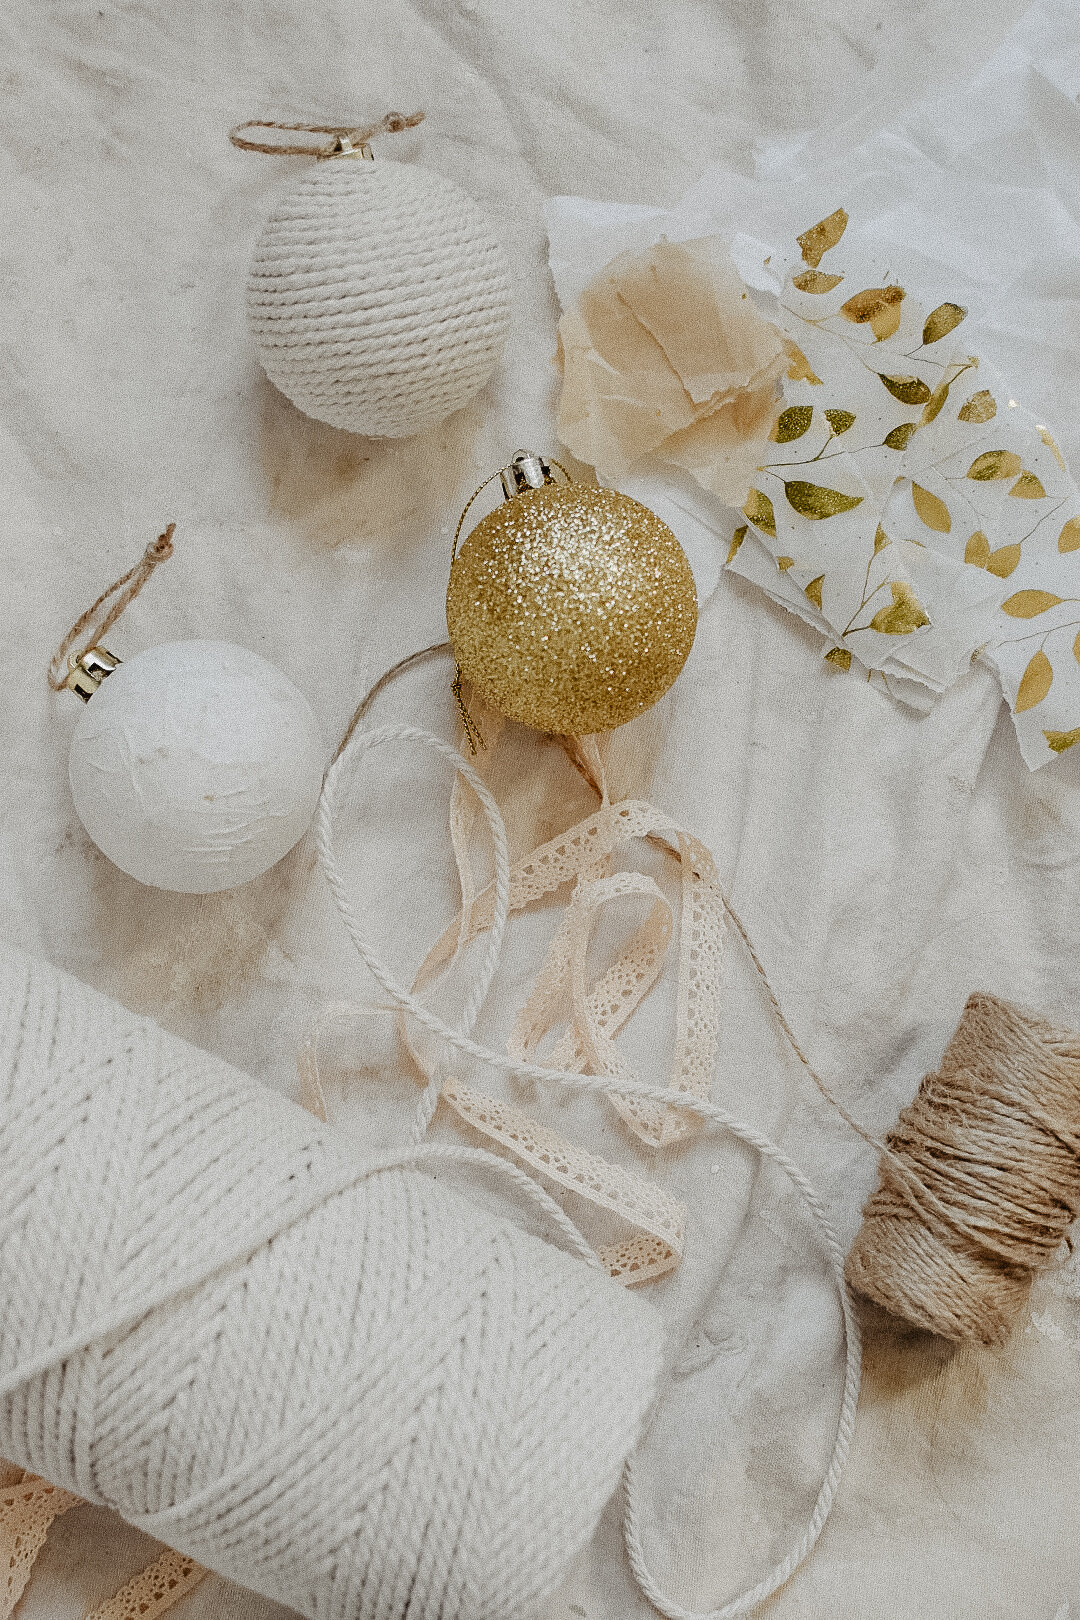
Paper-Mache Baubles
Paper-mache (or it’s ‘proper’ name Papier-mâché) is a simple paper craft that you might have enjoyed back in primary school. I have fond memories of laying strips of sticky paper over a balloon and the feeling of confused awe at how it had magically hardened overnight. It’s about time we brought this simple craft into 2020, so I did some slow, nostalgic paper-mache on my christmas decorations using recycled wrapping paper and tissue paper.
You will need:
Old baubles
A sheet of recycled tissue paper or thin wrapping paper
1/2 cup of flour
1/2 cup of water
A small paintbrush
Begin by tearing your paper into small strips.
Put the flour in a bowl, and add a small amount of the water to make a paste. Gradually add more of the water until you have a thin pancake batter consistency.
Gently remove the cap at the top of the bauble if you can. If not then just work carefully around the top.
Dip your strips of paper into the flour glue, wipe off the excess with your fingers, and lay them onto the bauble. If your paper is thicker than tissue paper, leave it to soak a little longer in the bowl. Use the paintbrush or your finger to brush out any air bubbles.
Continue until your bauble is completely covered in 1 or 2 layers (depending on the thickness of the paper). Leave to dry overnight.
Push the cap back on, change the string if you’d like to, and pop it on the tree!
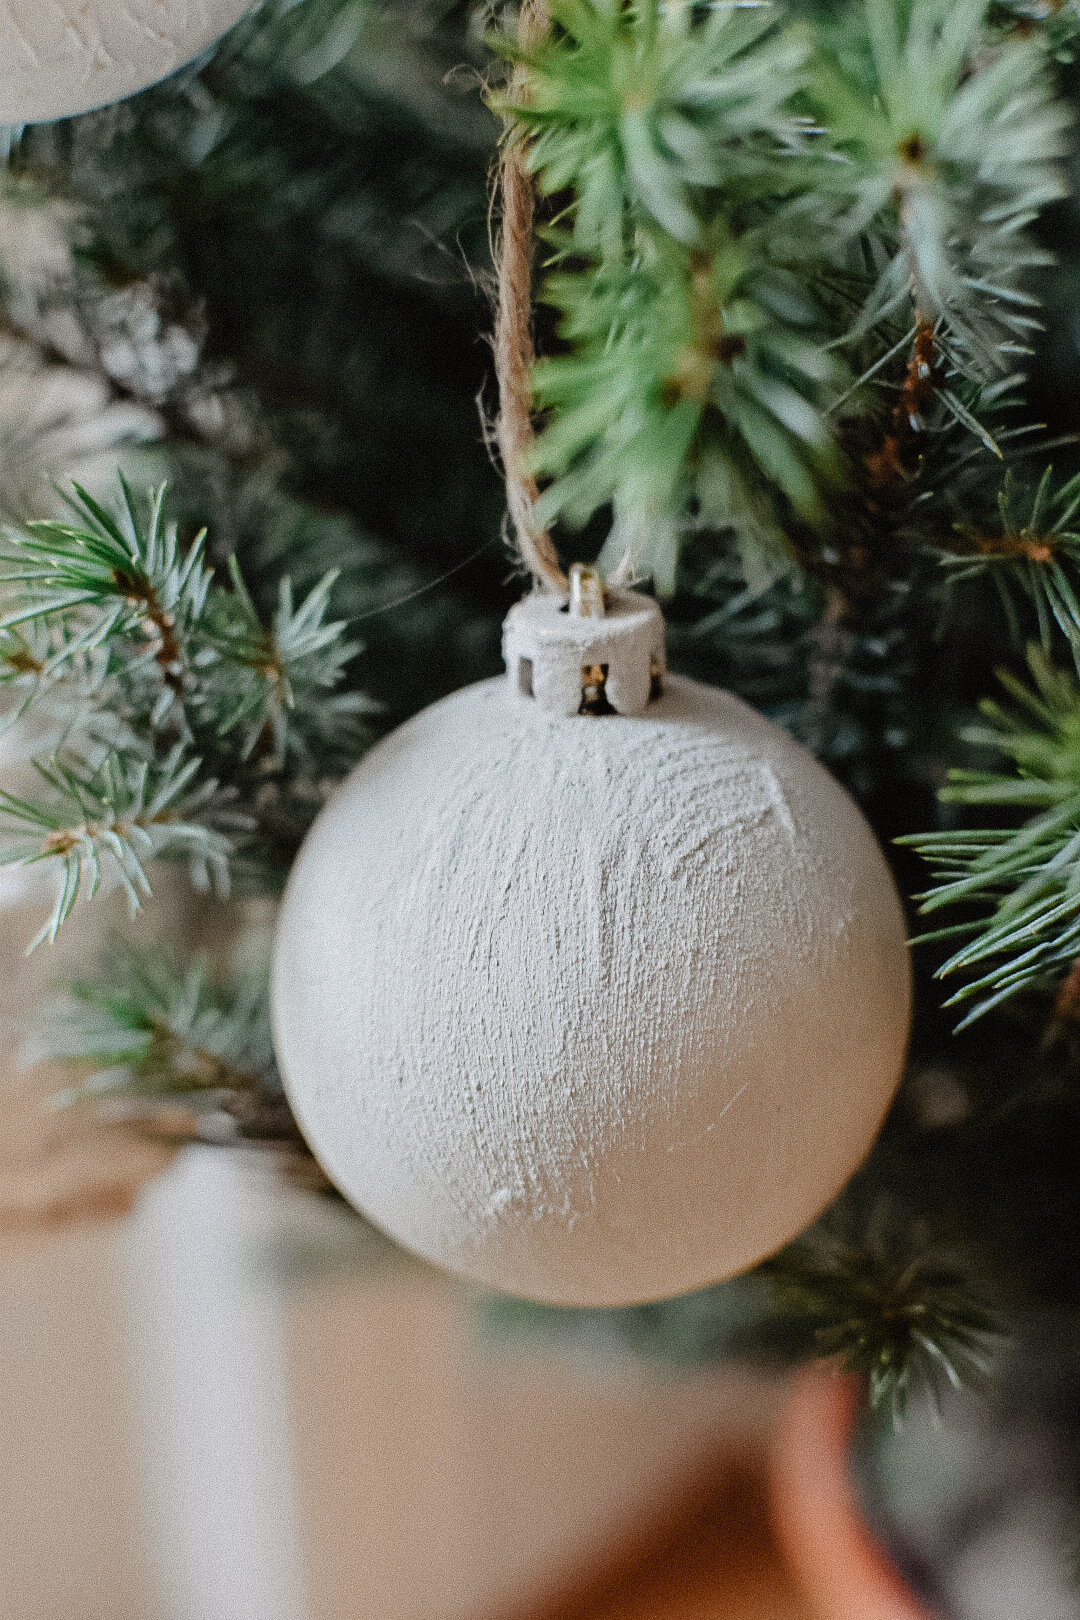
Ceramic-effect baubles
2020 has been the year of painting things with ‘ceramic-effect’ paint, so it seemed only right to give this a go to recycle christmas baubles. This is so straightforward (it’s basically a 5 minute craft!) and adds another element of texture whilst keeping things simple.
You will need:
Old baubles
Acrylic paint
Baking soda (sodium bicarbonate)
A paintbrush
Mix equal parts acrylic paint and baking soda in a small dish.
Paint onto your baubles and leave to dry.
Add another one or two coats until the paint is opaque.


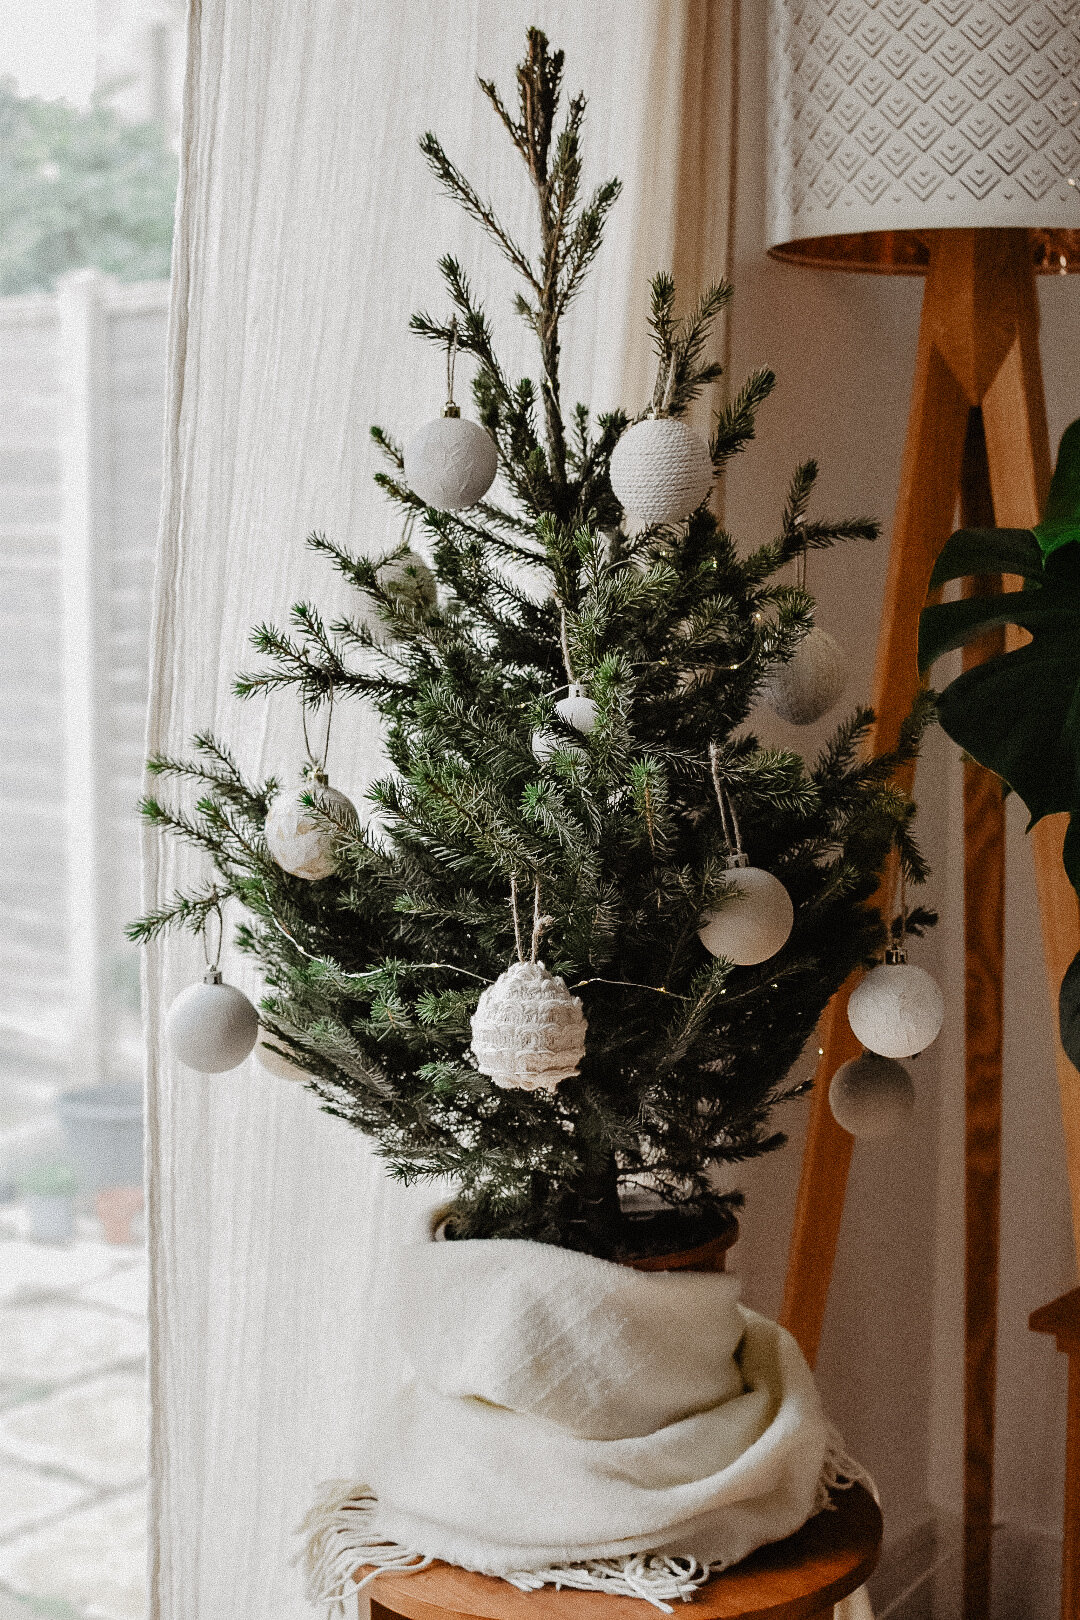
Ribbon-trim baubles
If you love a minimal boho-style Christmas tree, then this one is for you! It’s super simple but looks so beautiful at the end. You can buy your ribbon/cord, or you can always use recycled materials like trim from old or thrifted pieces of clothing.
You will need:
A bauble
A length of yarn, ribbon or macrame cord (I used about 5m of ribbon for each of my 7cm diameter baubles)
Hot glue
Starting at the top of the bauble, place a dab of hot glue and stick down one end of your ribbon, leaving a tail of about half an inch.
Begin wrapping around the bauble, placing dots of glue about half an inch apart and sticking as you go. Wrap over the top of the tail you left at the top to hide it.
Continue all the way down the bauble and secure the end at the bottom.
You could also try wrapping lengthways!