How to Make a Baby Turban Hat from an Old Dress
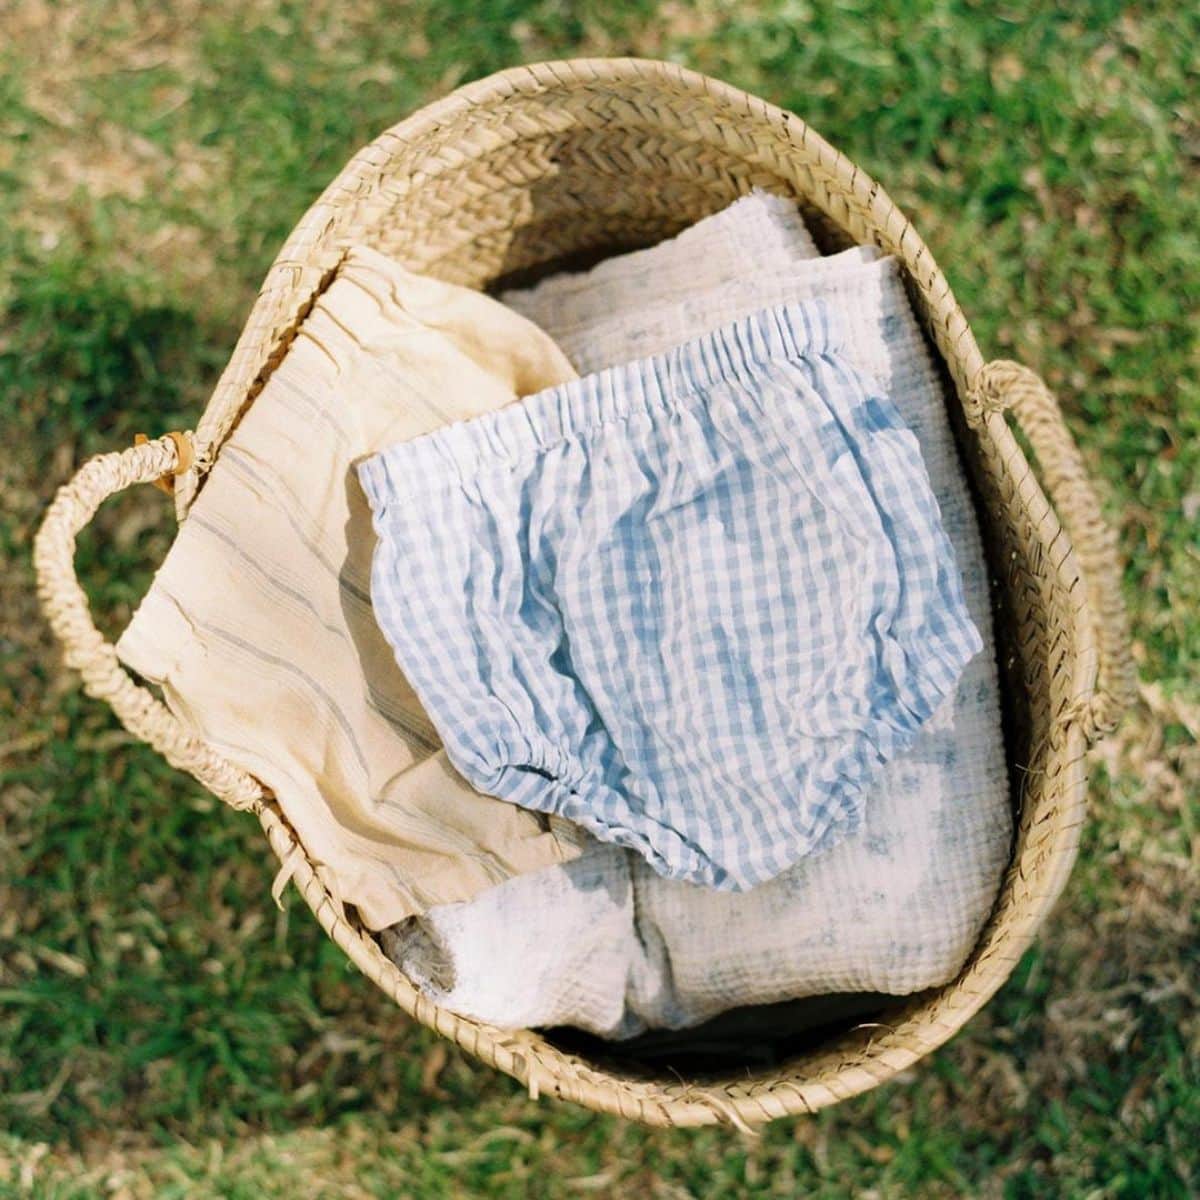
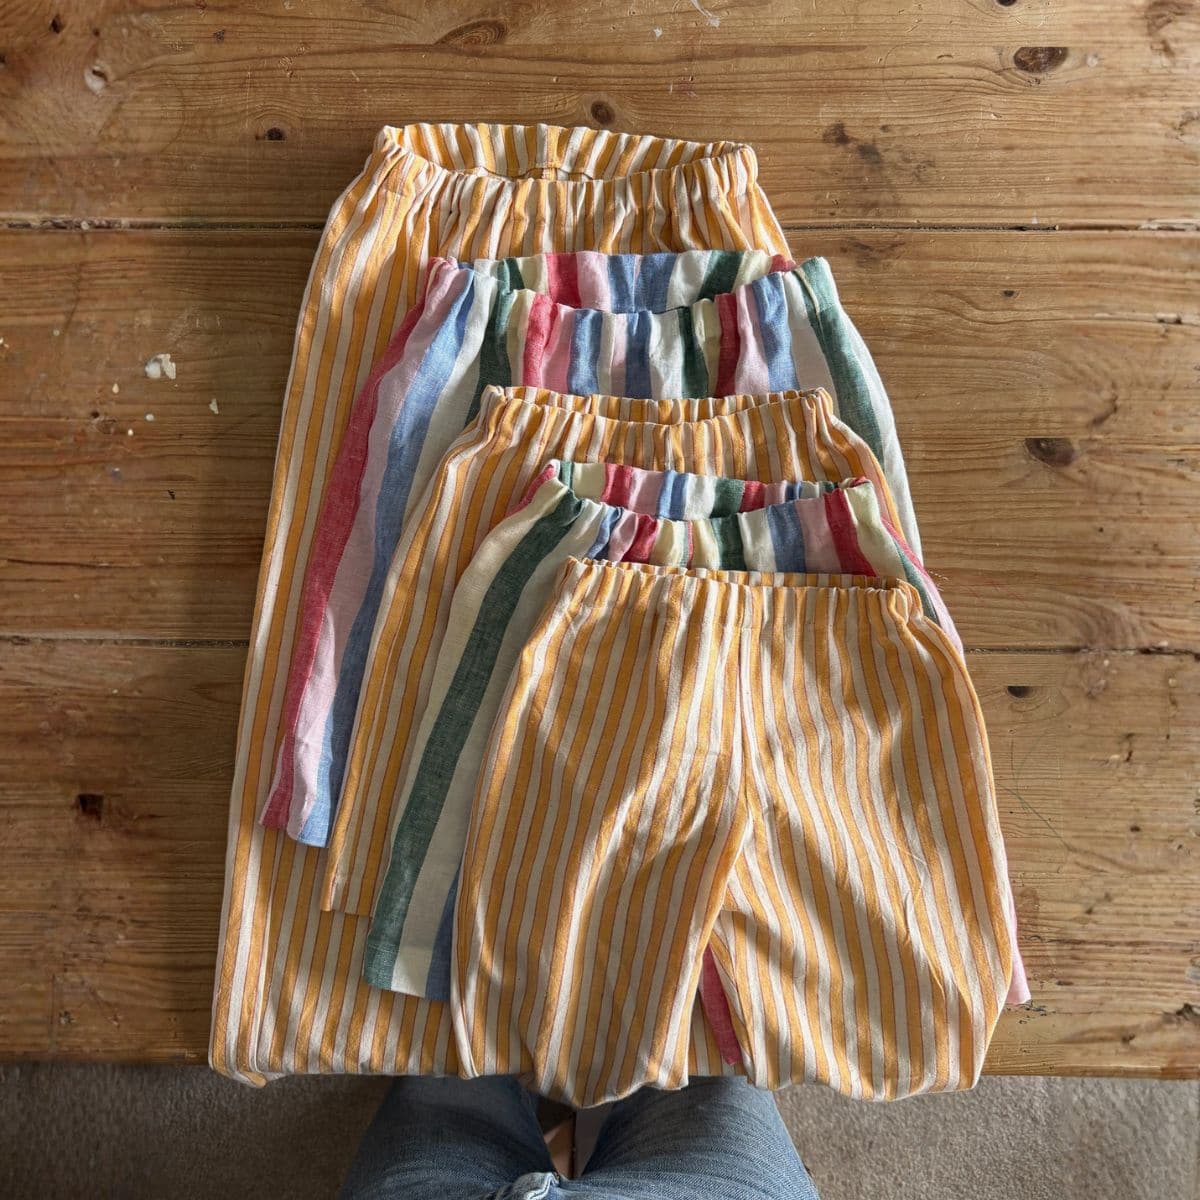
I have this thing for stretchy maxi dresses – I basically live in them in the summer and even wear them in winter with leggings. They’re easy to wear, comfortable, and you feel put together without having put much effort in. But over time they can stretch out of shape, or even shrink in the wash (we’ve all done it…). Not wanting to send these old favourites to landfill, I’ve been thinking about ways to repurpose or upcycle the fabric, and my latest idea is to turn them into little turban hats for baby Margot.
This is a super simple make. I managed to make my first hat in under an hour even with Clem interrupting me now and again. All you need is a sewing machine, needle, your old piece of clothing and some thread. The fabric you use needs to have a decent amount of stretch – knit fabrics like jersey are perfect. You can also make this in an adult size (you can see how in the instructions) – twinning turbans anyone?

How to Make a Baby Turban Hat
Supplies
You will need:
- An old piece of clothing in a stretchy fabric – see step 1 for sizes
- Fabric scissors or a rotary cutter
- A sewing machine (or you can sew this by hand if you like)
- Pins
- A needle and thread
Instructions
1. Cut a rectangle from your fabric. One side should be 60cm/24in (side A), and the other should be your baby’s head circumference plus 15cm/6in (side B). Note that this will give a bit of room to grow, so don’t feel you need to size up. If you’re making this for an adult, use the adult head circumference plus 8 inches.


2. Fold your rectangle in half by bringing your two side B’s together, right sides facing. Using a knit stitch (see the image below for what a knit stitch looks like), sew along your side B’s. If your machine doesn’t have a knit stitch, a zig zag stitch will work fine using a 2cm seam allowance. You should end up with a tube of fabric.


3. Turn the tube inside out and position the seam in the centre. Place two pins at either end of the open ends of the tube.
4. Keeping the seam in the centre, tie a knot in your tube.


5. Place the knot down and position the two flaps of fabric either side so that the seams are central on the flaps, and facing you. From now on, I’ll call the sides with the seams the ‘wrong side’ and the other sides the ‘right side’.
6. Flip your hat over, so that the right sides are facing you. Bring together pins 1 and 2 (see image below) with the right sides together, and sew along side C using a knit or zig zag stitch.

7. Place the hat down with the right side facing you, and bring together the remaining two pins with right sides facing. Sew along side D using a knit or zig zag stitch.

8. Using a needle and some strong thread (you could double up on a normal thread), sew a long running stitch along side D, just beside your knit or zig zag stitch. Gently pull the thread tight so that the fabric folds into pleats. When you reach the end of side D, sew several stitches to secure the end of the thread.
9. Finally, if you’d like a really neat finish, you could also sew the gap between the knot and the hat closed using a needle and thread, and a ladder stitch.