
How to Make a Scrunchie the Easy Way (Beginner Sewing Tutorial)
Want to learn how to make a scrunchie without any complicated sewing techniques? This oversized, frilly version is a beginner sewing project that’s absolutely gorgeous!
This page contains affiliate links. If you make a purchase through one of them, I earn a small commission at no extra cost to you. Thank you!
I am a person with deeply unreasonable feelings about accessories.
Give me a bright red shoe, a slightly-too-large hat or a bag with unnecessary embroidery. If it’s a bit much, it’s probably for me.
So when the big frilly scrunchie started appearing everywhere this summer, I was extremely on board.
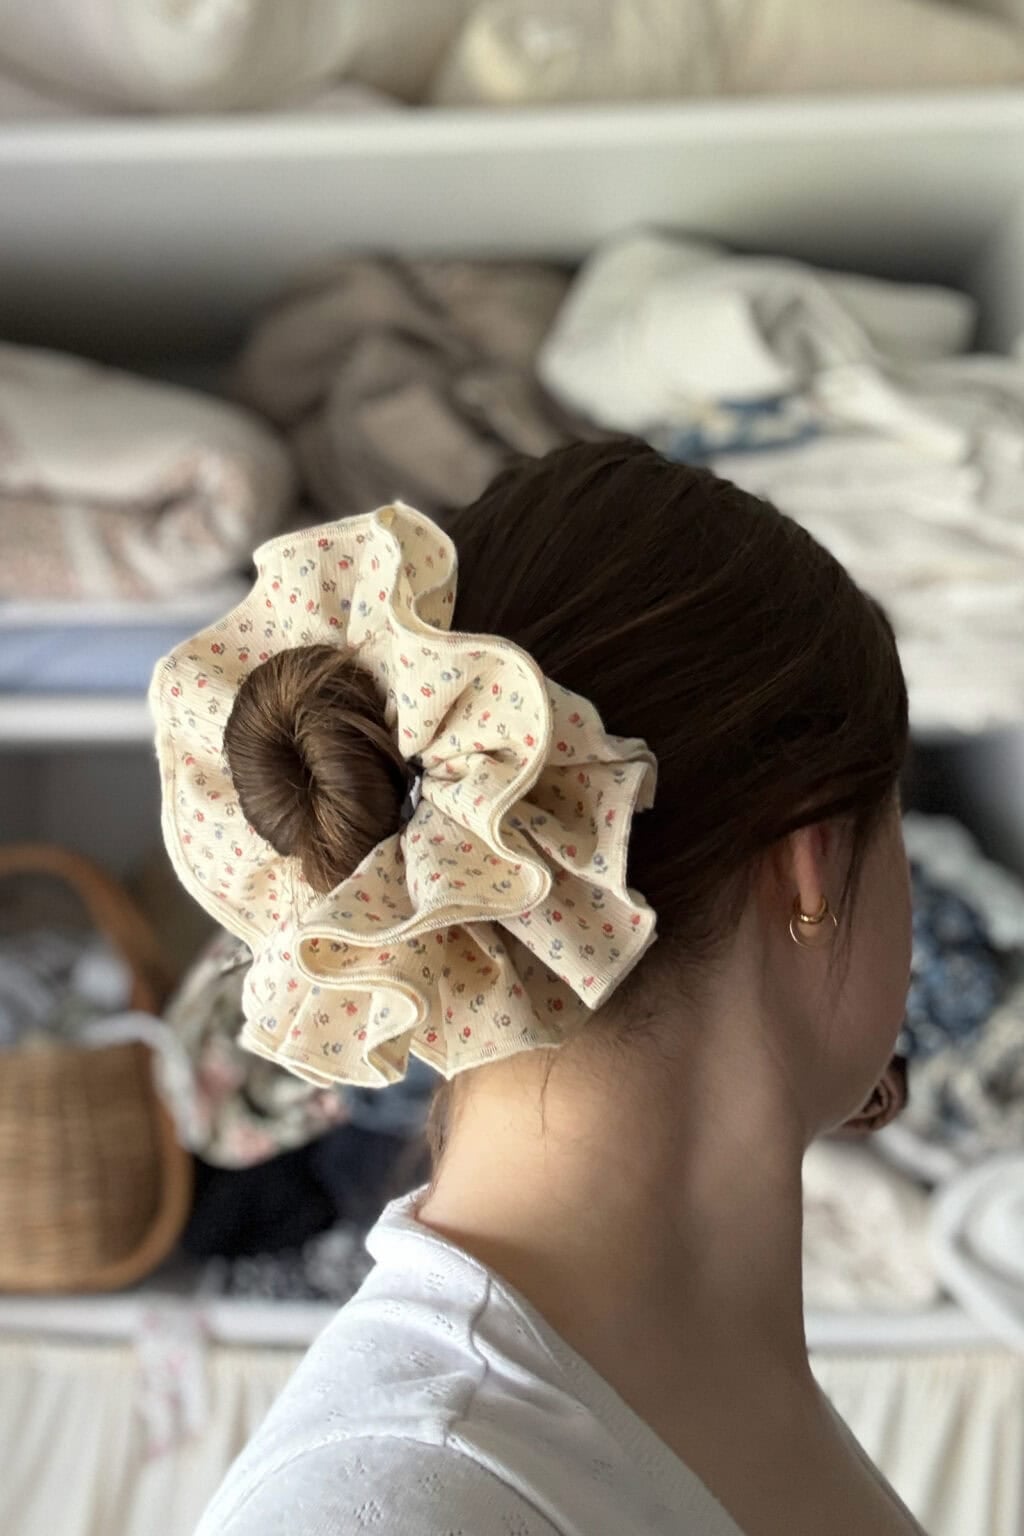
We have a holiday coming up and I wanted to sew some of these huge scrunchies to take with me. Something I could finish in an afternoon and wear with just about anything. A stylish scrunchie that looked like I’d bought it from Sezane or Doen, not like I’d panic-sewed it the night before we left.
This is that scrunchie, and it took less than an hour.
It has no faffy burrito method (if you don’t know what that is, don’t worry!) and if you can sew in a straight line, you can make this.
Let’s make our own scrunchies!
Why This Scrunchie Looks So Good
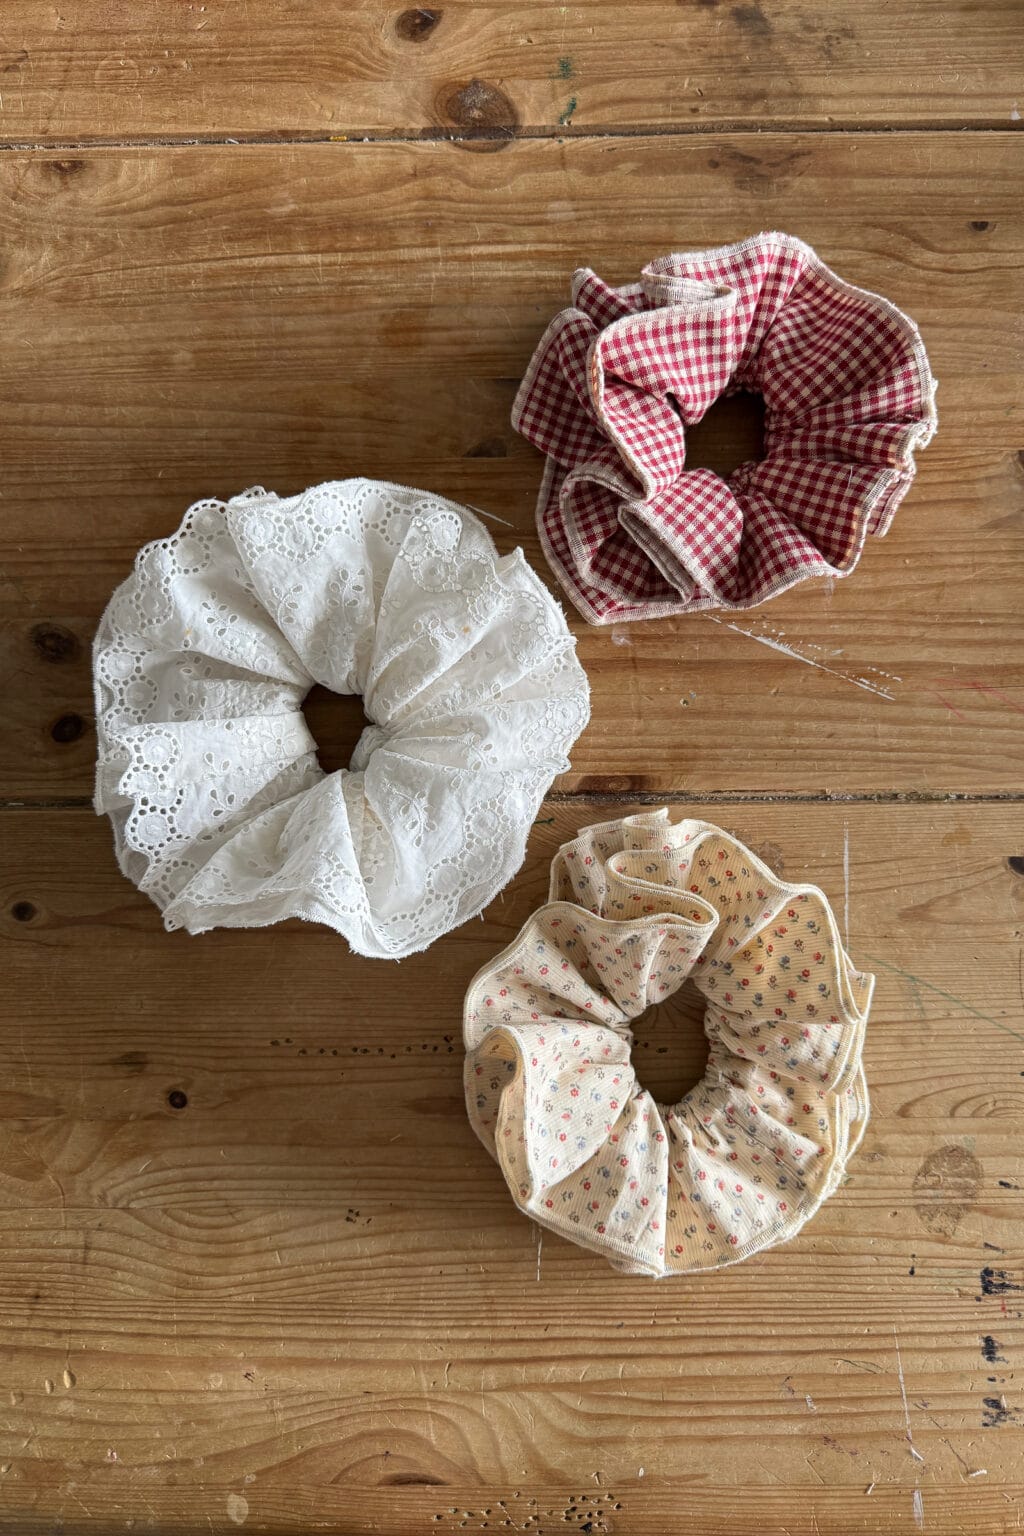
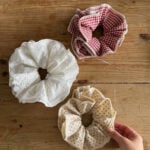
The difference between a standard hair scrunchie and this one is volume, and lots of it.
Your average hair scrunchie is made from one strip of fabric, maybe 60cm long. This one uses two large rectangles layered together, which creates a full, ruffled scrunchie without any gathering.
It works beautifully for thick hair because there’s real substance to it. But even if you’ve got fine hair and pile it into a bun, the scrunchie does all the work.
It also makes a gorgeous gift. Fast to make, lovely to receive, and if you’ve got the fabric already it costs practically nothing.
The Best Fabric for Frilly Hair Scrunchies
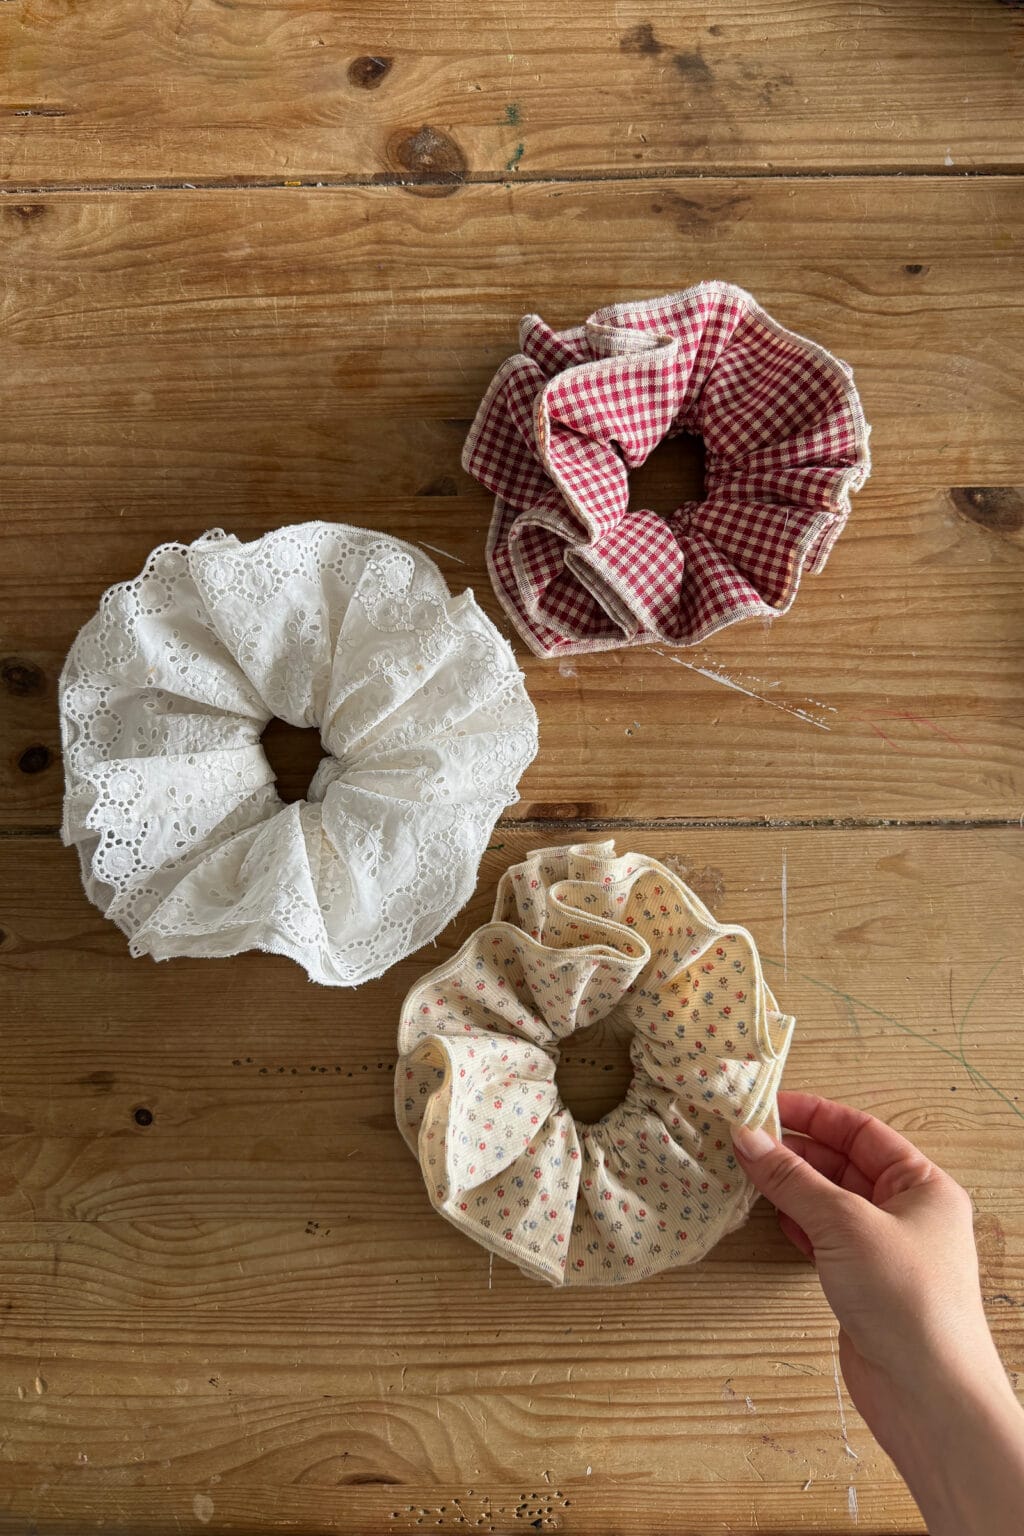
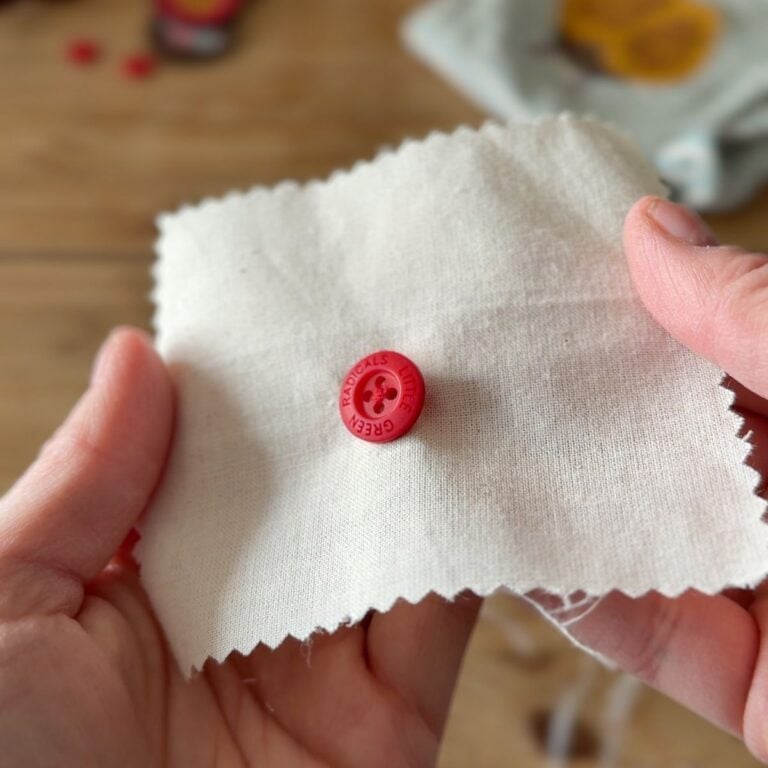
This is where it gets good – you can use almost any scrap fabric left over from other sewing projects for your DIY scrunchies. Old shirt, spare linen, or a little remnant you found in a charity shop one time.
For this style of scrunchie, it’s best to use a fabric with a bit of structure so they’ll hold their shape and create a lovely frill – cotton and linen are the most forgiving if you’re a beginner sewer.
If you’re feeling really fancy you could try velvet or a Liberty cotton. Since you’re only using a little you can try fabrics that might otherwise be out of reach.
Avoid anything with a lot of stretch, like t-shirt knits, because the layers of fabric need to hold their shape.

How to Make a Scrunchie the Easy Way
Supplies
You will need:
Fabric (two rectangles, each 15 x 80cm or 6 x 32 inches)
1cm (1/2″) wide elastic: a piece roughly 15cm (6″) long (more on measuring for your own hair in a moment)
Two safety pins
Sewing machine
Overlocker or overlocking foot (optional but lovely — more on this below)
Rotary cutter and mat if you have them, though scissors are fine
SHOP THE PROJECT
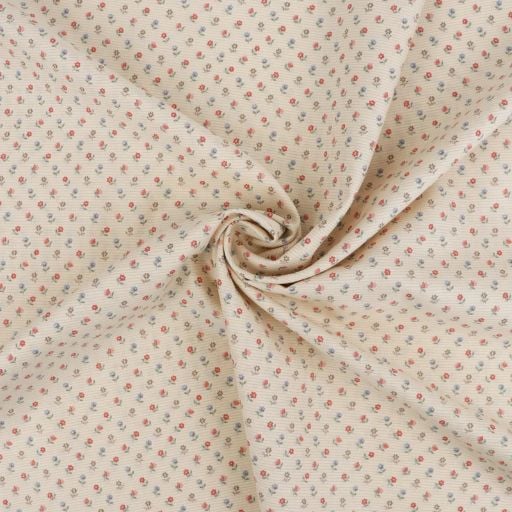
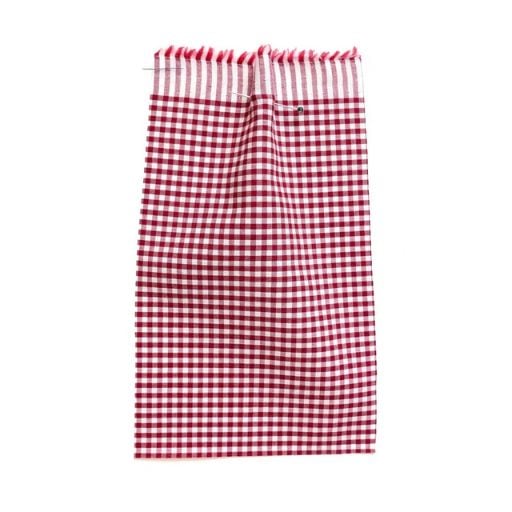
Fabric Recommendations for Scrunchies
Shop similar fabrics to the ones I used

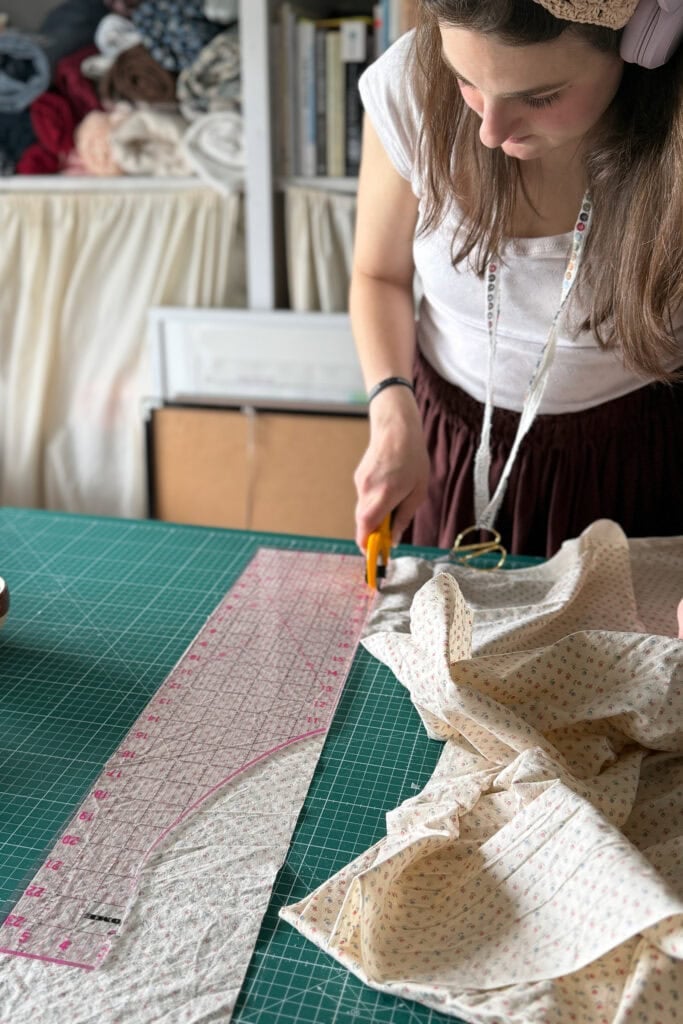
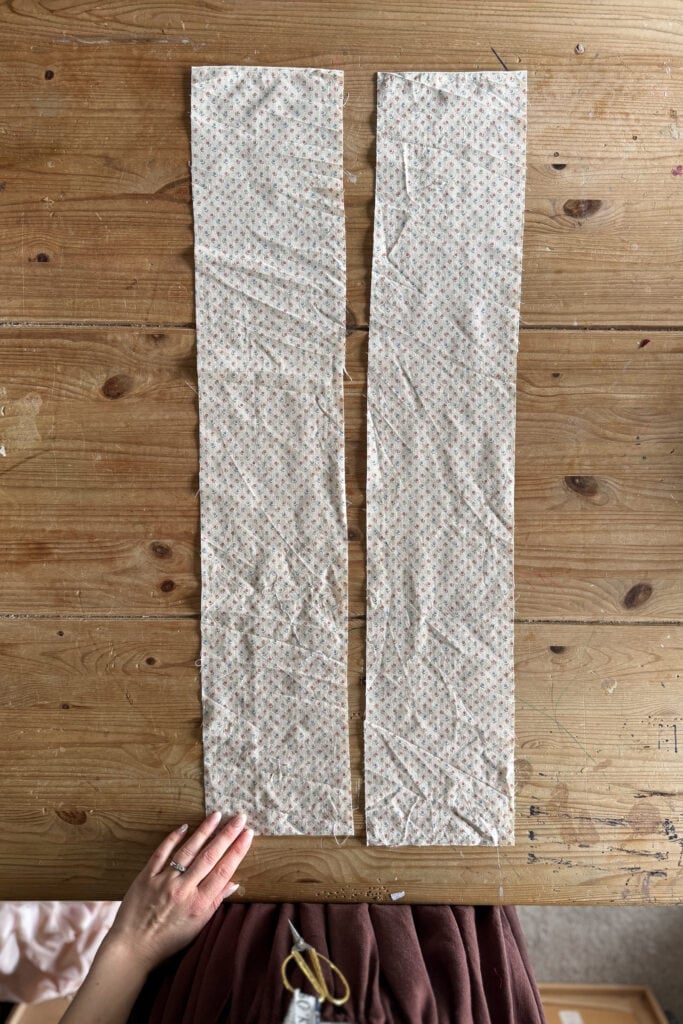
Step 1: Cut your rectangles
Cut two rectangles of fabric, each 15 x 80cm (6 x 32″). You can use a rotary cutter for straight lines or just scissors and a ruler. These are the layers of fabric that create all that beautiful volume.
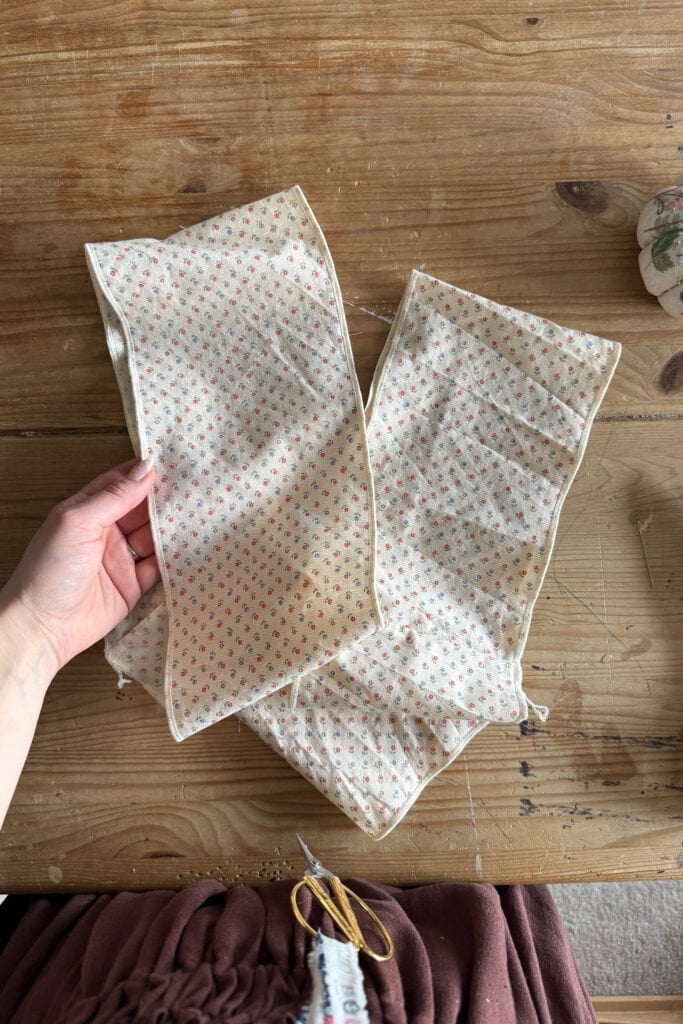
Step 2: Sew the short ends together with a French seam
Take one piece of fabric. Bring the two short ends of the rectangle together and sew them with wrong sides facing, using a 1cm (3/8″) seam allowance. This creates a loop.
Trim the seam down to 3mm (1/8″). Then fold so the right sides of the fabric are together, enclosing that raw seam inside, and sew another seam at 5mm (1/4″). This is your French seam. It gives a clean, more professional finish with no rough edges on show.
Repeat with the second rectangle so you have two loops.
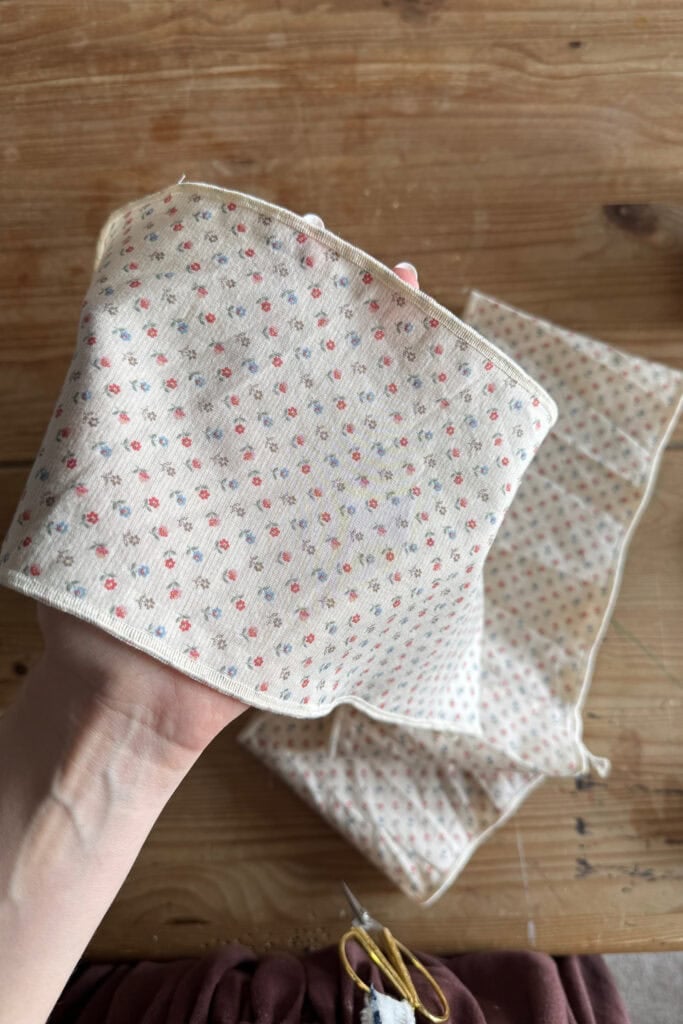
Step 3: Finish the raw edges
For the long raw edges of each loop, you’ve got two options.
If you have an overlocker: overlock all four long edges (two per loop). To get the embroidered effect that makes the finished scrunchie look really polished, reduce your stitch length and width to the shortest setting. It creates a dense, beautiful edge that doesn’t even look like it’s done on an overlocker!
If you don’t have an overlocker: choose one of the embroidery or zig zag stitches on your sewing machine. When I tested this out, I set my zig zag stitch to a width of 4 and a length of 0.5, and it worked really well. You might need to trim away excess fabric close to the edge of your stitches. Or simply fold down the edges by 5mm and another 5mm and sew as normal.
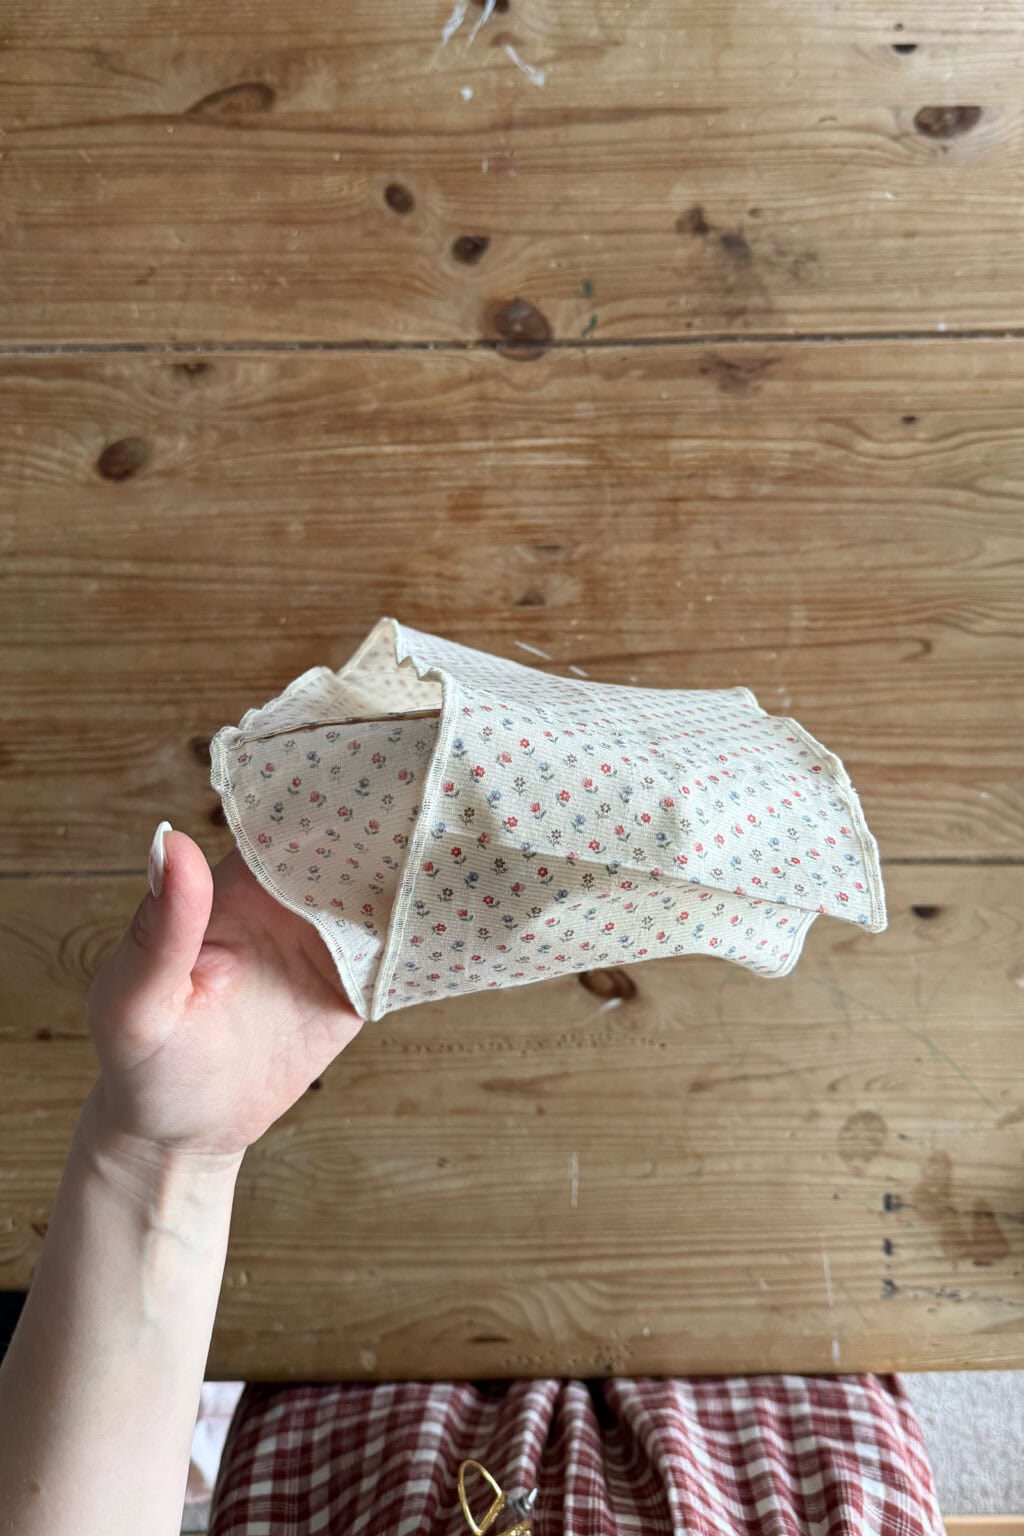
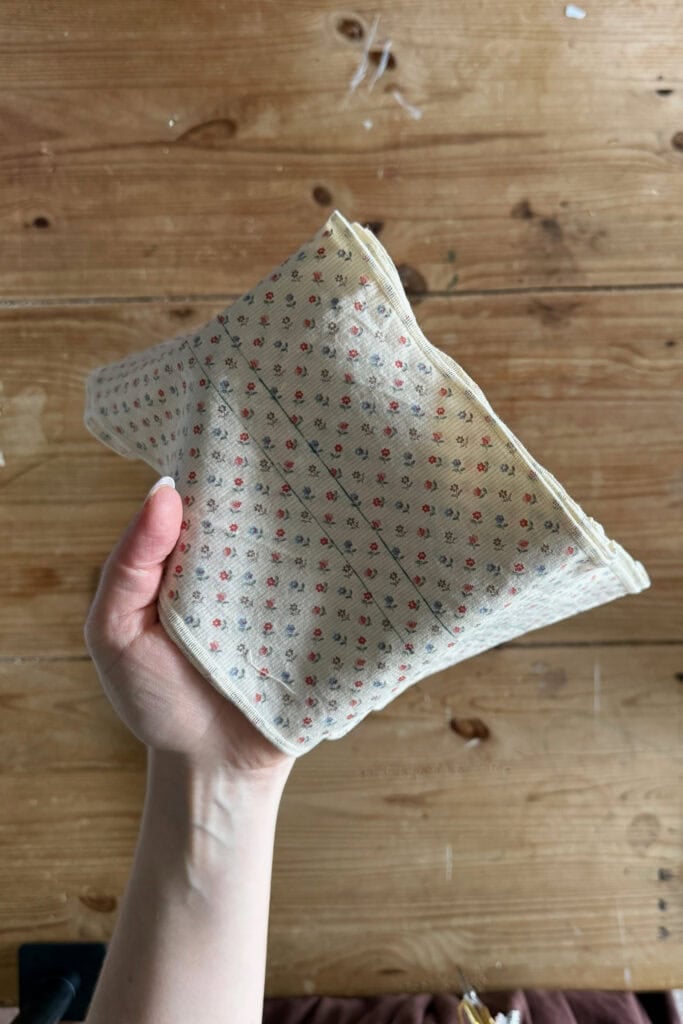
Step 4: Nest the loops together
Place one loop inside the other with wrong sides together. Line up the edges so the two loops sit neatly inside each other and make sure the seams are aligned (or at least very close to each other!)
Step 5: Sew the elastic channel
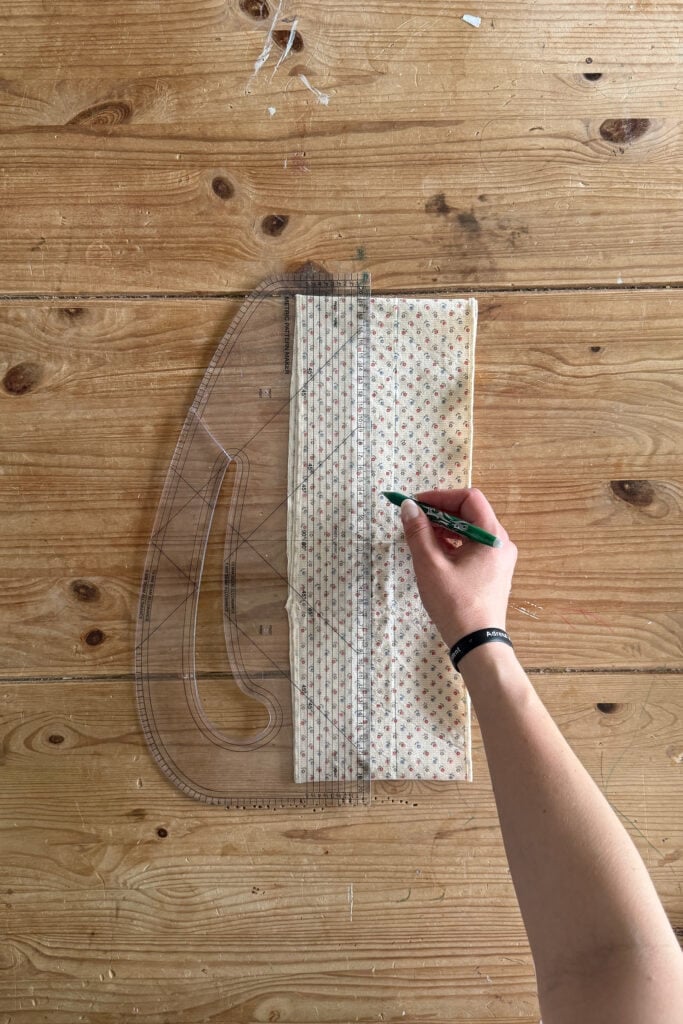
Lay the loop flat. Using a fabric marker or chalk, draw two lines along the length of the loop, each about 6cm in from the edges. These will become the channel for your elastic.
Sew along both lines with a straight stitch. On one of the lines, leave a small opening of about 2.5cm (1 inch). This is where you’ll thread the elastic through.
Step 6: Measure and thread your elastic
Now we’ll cut the elastic. Put your hair up however you’d normally wear it — a bun, a half-up, whatever this scrunchie is for. Wrap a piece of elastic around it comfortably and add about 2cm for overlap. Cut your piece. I used a piece about 15cm (6″) long.
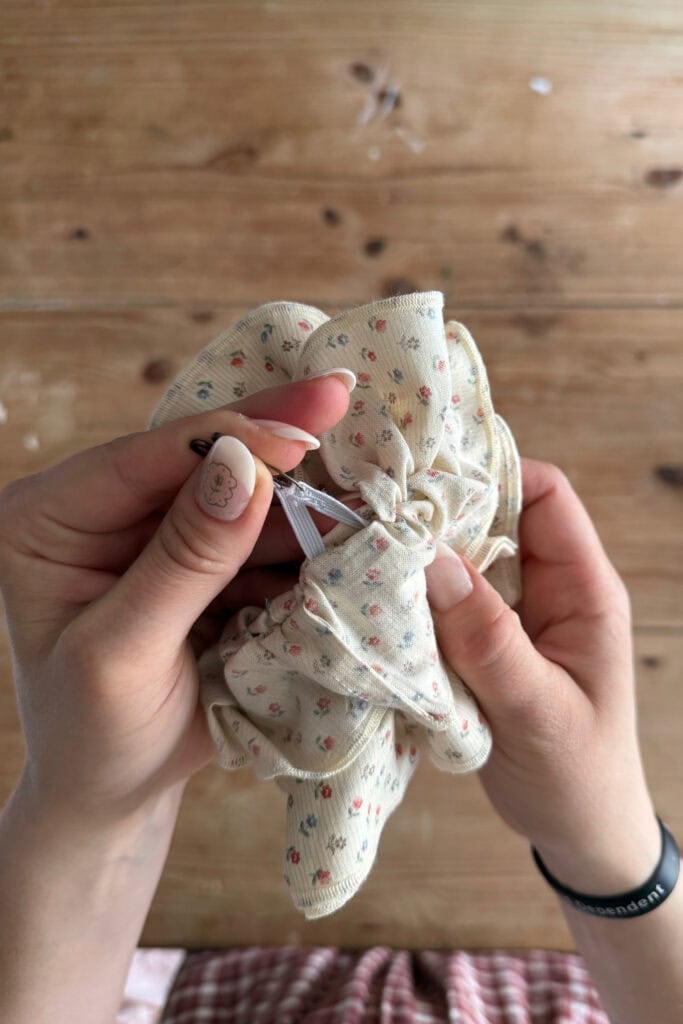
Attach a safety pin to each end of the elastic. Pin one end near the opening in the channel to anchor it. Use the other safety pin to thread the elastic all the way through, working it around the loop until both ends emerge at the opening.

Step 7: Join the elastic and close up
Pull both ends of the elastic through and overlap them by about 2cm. Sew them together on the machine if you can manage it, or by hand stitching if it’s fiddly.
Finally, close the gap in the channel that you left for inserting the elastic.
Make It Your Own Scrunchie
The measurements above make a standard oversized scrunchie. For a jumbo scrunchie with even more drama, cut your rectangles a little wider — 18cm instead of 15cm. For a mini scrunchie, reduce to 10cm wide and about 60cm long.
The only difference between different sizes is the width of your rectangles. The method stays exactly the same.
These are also brilliant for craft fairs. They’re fast to make in quantity, they look far more special than the effort involved, and people love them!
Go and Make Something Lovely
This is the kind of sewing project that reminds you why you started sewing because they’re low commitment, super satisfying and, if you’re anything like me, wearable to just about any occasion.
Make one for yourself, make four for gifts, make them out of your fabric scraps until you’ve used up every last scrap and accidentally become a person who makes hair accessories. Worse things have happened!
If you make one I’d love to see it. Tag me on Instagram or drop a comment below.
And if you want a free ebook of my favourite fabric stores, honest sewing chat and the occasional digression into why I own too many tablecloths, the Aboderie newsletter lands in inboxes every week. Come join us!
How to Make a Scrunchie the Easy Way
Equipment
- 2 safety pins
- Sewing machine
- Overlocker or overlocking foot (optional) optional
- Rotary cutter and mat (optional, scissors work too)
- Fabric marker or chalk
- Ruler
Materials
- 2 rectangles of fabric, 15cm x 80cm each
- elastic approximately 15cm (but measure to your own hair)
Instructions
- Cut two rectangles of fabric, each 15cm (6″) x 80cm (32″).
- Take one piece of fabric. Bring the two short ends together and sew with wrong sides facing, using a 1cm (3/8″) seam allowance, to create a loop. Trim the seam down to 3mm (1/8″). Fold so right sides are together, enclosing the raw seam inside, and sew another seam at 5mm (1/4″) to create a French seam. Repeat with the second rectangle so you have two loops.
- Finish the long raw edges of each loop. If using an overlocker, overlock all four long edges with stitch length and width reduced to the shortest setting. If sewing on a regular machine, use an embroidery or zigzag stitch, or fold the edges down by 5mm twice and sew as normal.
- Place one loop inside the other with wrong sides together, lining up the edges and seams.
- Lay the loop flat and draw two lines along its length using chalk or a fabric marker, each about 6cm in from the edges. Sew along both lines with a straight stitch, leaving a 2.5cm (1″) gap on one line for threading the elastic.
- Measure elastic against your hair (as you’d wear the scrunchie), adding 2cm for overlap, and cut to length.
- Attach a safety pin to each end of the elastic. Pin one end near the opening to anchor it, then use the other pin to thread the elastic through the channel. Pull both ends through, overlap by 2cm, and sew together (by machine or hand).
- Close the 2.5cm gap left in the channel by sewing it shut.
