
How to Make Easy DIY Party Hats: Tutorial & Free Template!
Make charming DIY party hats for kids in minutes with this free printable template. Perfect for birthdays, holidays, and celebrations, using fabric or paper you have at home.
This page contains affiliate links, which earn me a little bit of commission if you make a purchase, at no additional cost to you. Thank you!
Picture this: you’re hosting a gathering next weekend, and while scrolling through party supplies online, you find yourself staring at a pack of generic paper party hats that cost way more than they should.
I was there last Spring, which led me down a delightful rabbit hole of creating my own DIY party hats.
Trust me, there’s something magical about sitting at your kitchen table with gorgeous fabric, ribbon, and whatever pretty bits you can find, crafting something that’ll make your little ones and their friends smile.

Since then I’ve discovered that homemade party hats aren’t just about saving money – though that’s certainly a nice bonus. What a sweet way to make your child remember their birthday party for years to come!
Maybe you want to match your party hats perfectly to their chosen colour scheme (bright pink for my birthday girl!), or perhaps you enjoy making something that only you could have made.
Either way, I’m sharing everything I’ve learned about creating these little pieces of joy, and I promise it’s easier than you think.
Download the FREE DIY Party Hat Template
Fill in the form below to get the free pattern sent to your inbox to make your own hats.
IMPORTANT When printing your free party hat pattern, check your print settings carefully. You need to make sure you’ve set it to print at 100% (or ‘actual size’) and check the measurements of the boxes on the page to ensure it’s printed at the right size.
Watch How This DIY Party Hat Comes Together in 10 Seconds!
How to Make Your Own DIY Party Hats
Supplies
You will need:
- Free pattern (download above!)
- A piece of scrap fabric
- A piece of stiff iron-on interfacing or buckram (or this if you’re in the US)
- A 40cm (16”) long piece of 10mm (1/2”) wide elastic
- Ribbon, trim or a strip of scrap fabric
- Fabric glue
- A pom pom maker and yarn (or ready made pom poms)
- Pair of scissors
More Projects for Kids
How to Make a Quick and Affordable Baby Outfit from a Shirt
How to Sew a Cute Poncho (with Free Easy DIY Sewing Pattern)
DIY Peter Rabbit Easter Eggs (Cute Reusable Decor Idea!)
Step 1: Download the free printable template
Download the free pattern, print it (making sure to print at 100%!) and cut it out.
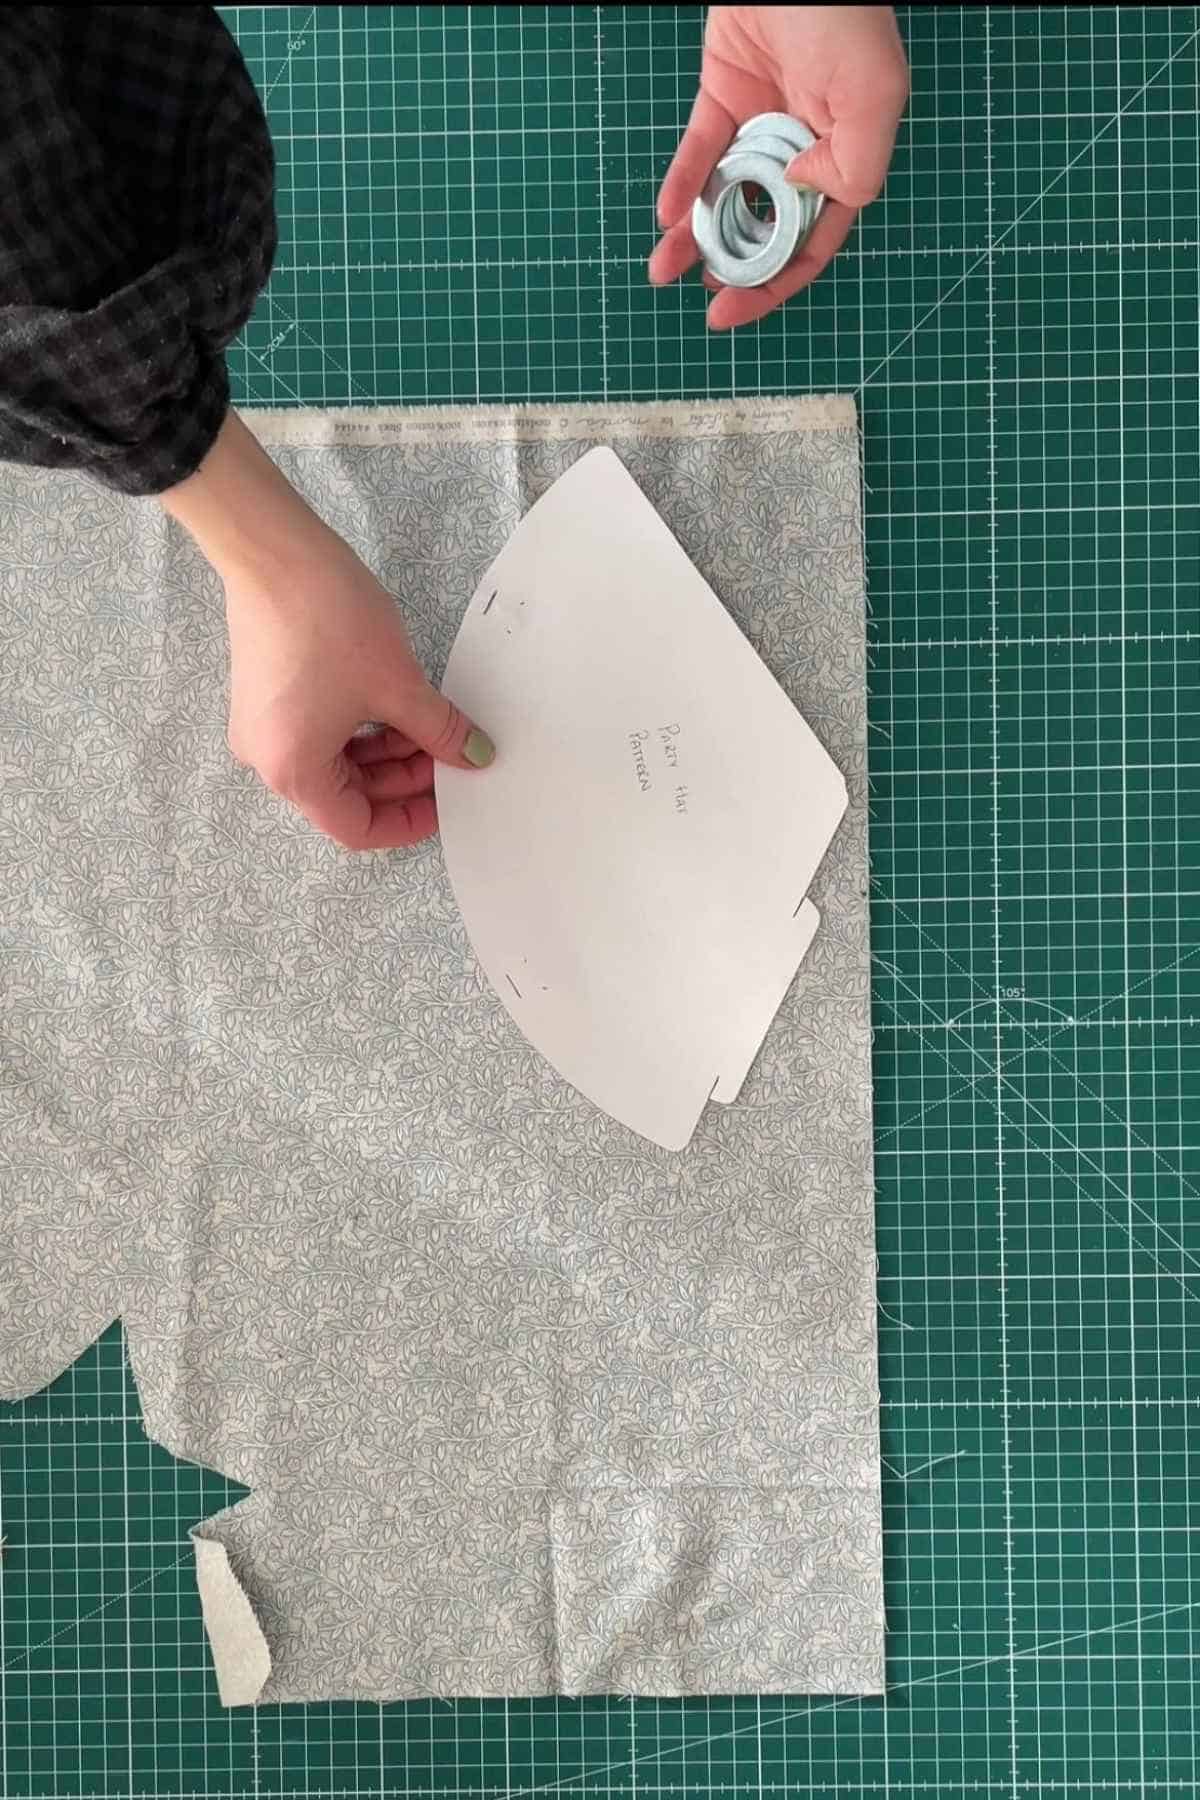
Step 2: Cut Out Your fabric and Interfacing
Cut one of the pattern piece in your fabric and one in a piece of stiff interfacing. Don’t cut the dotted lines on the template just yet.
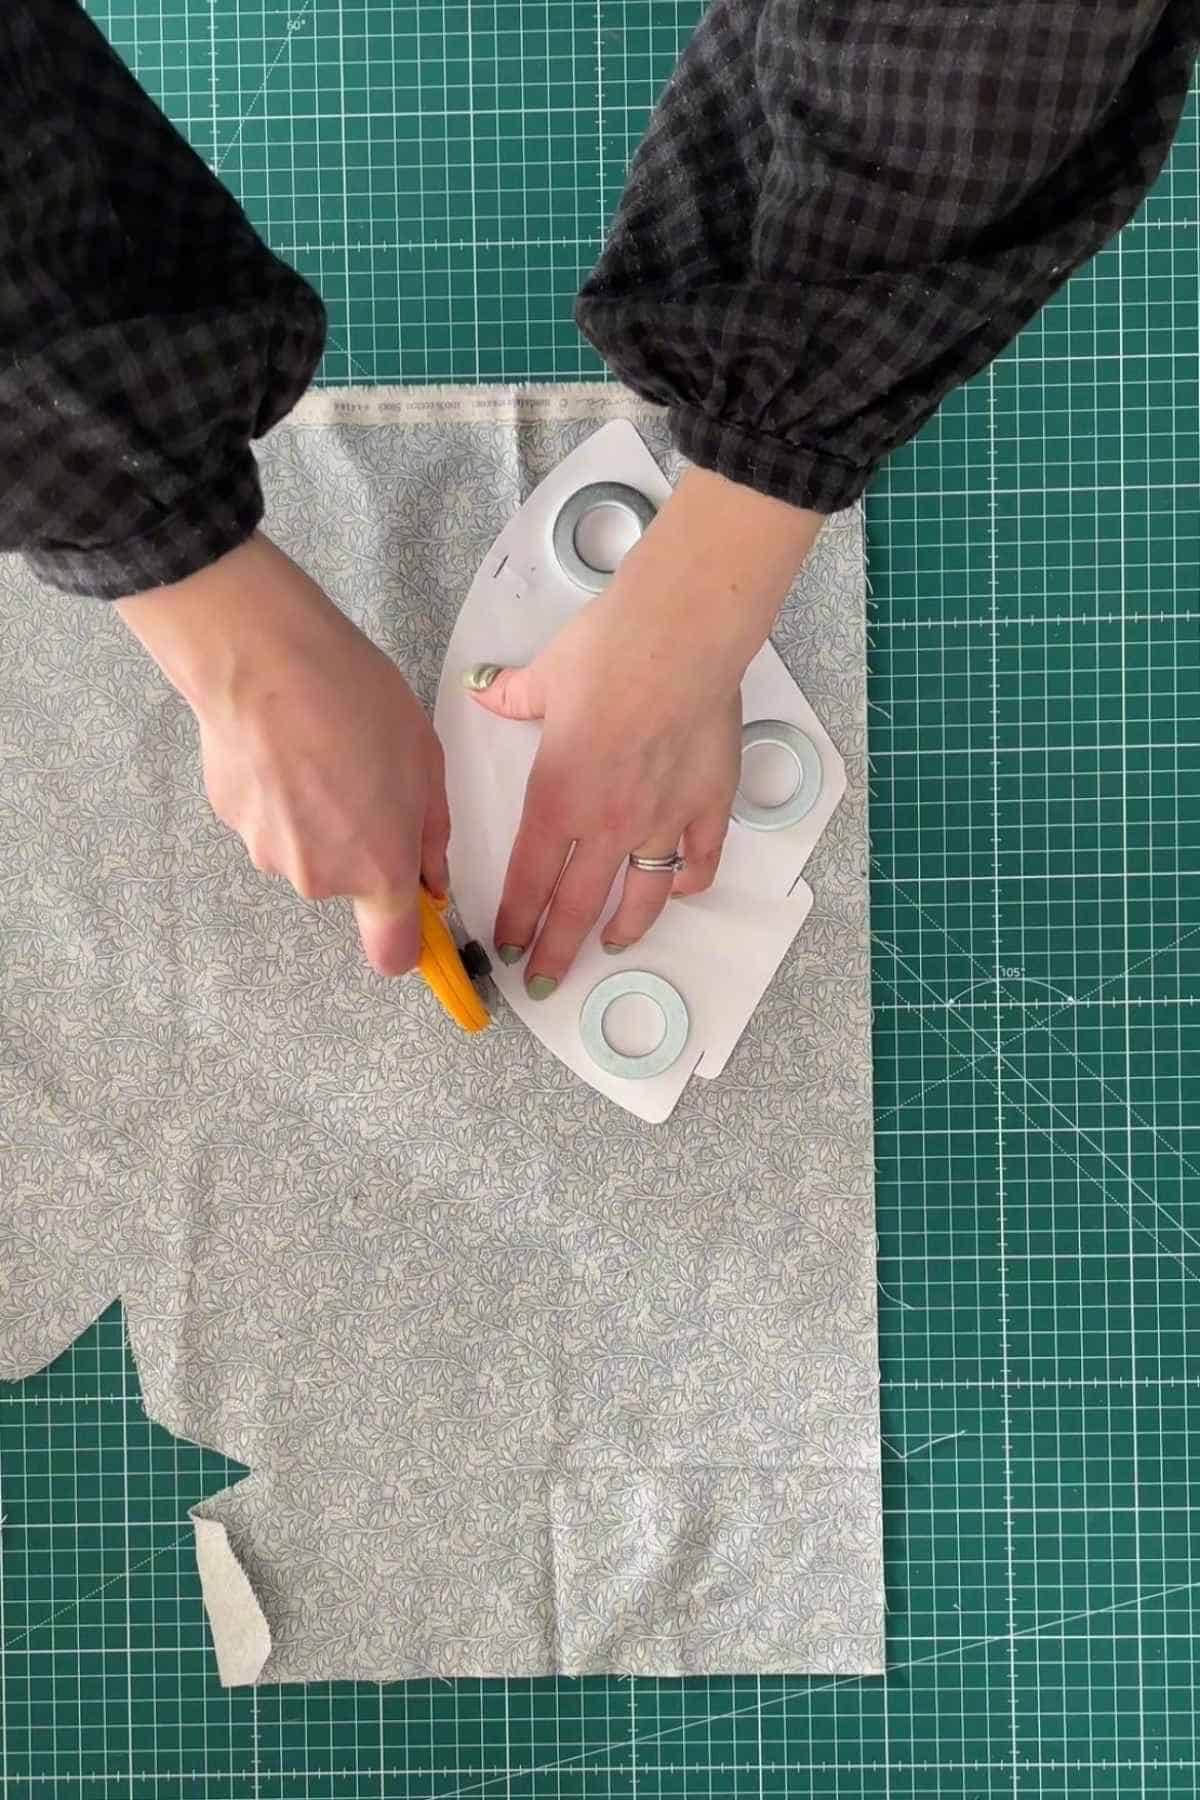
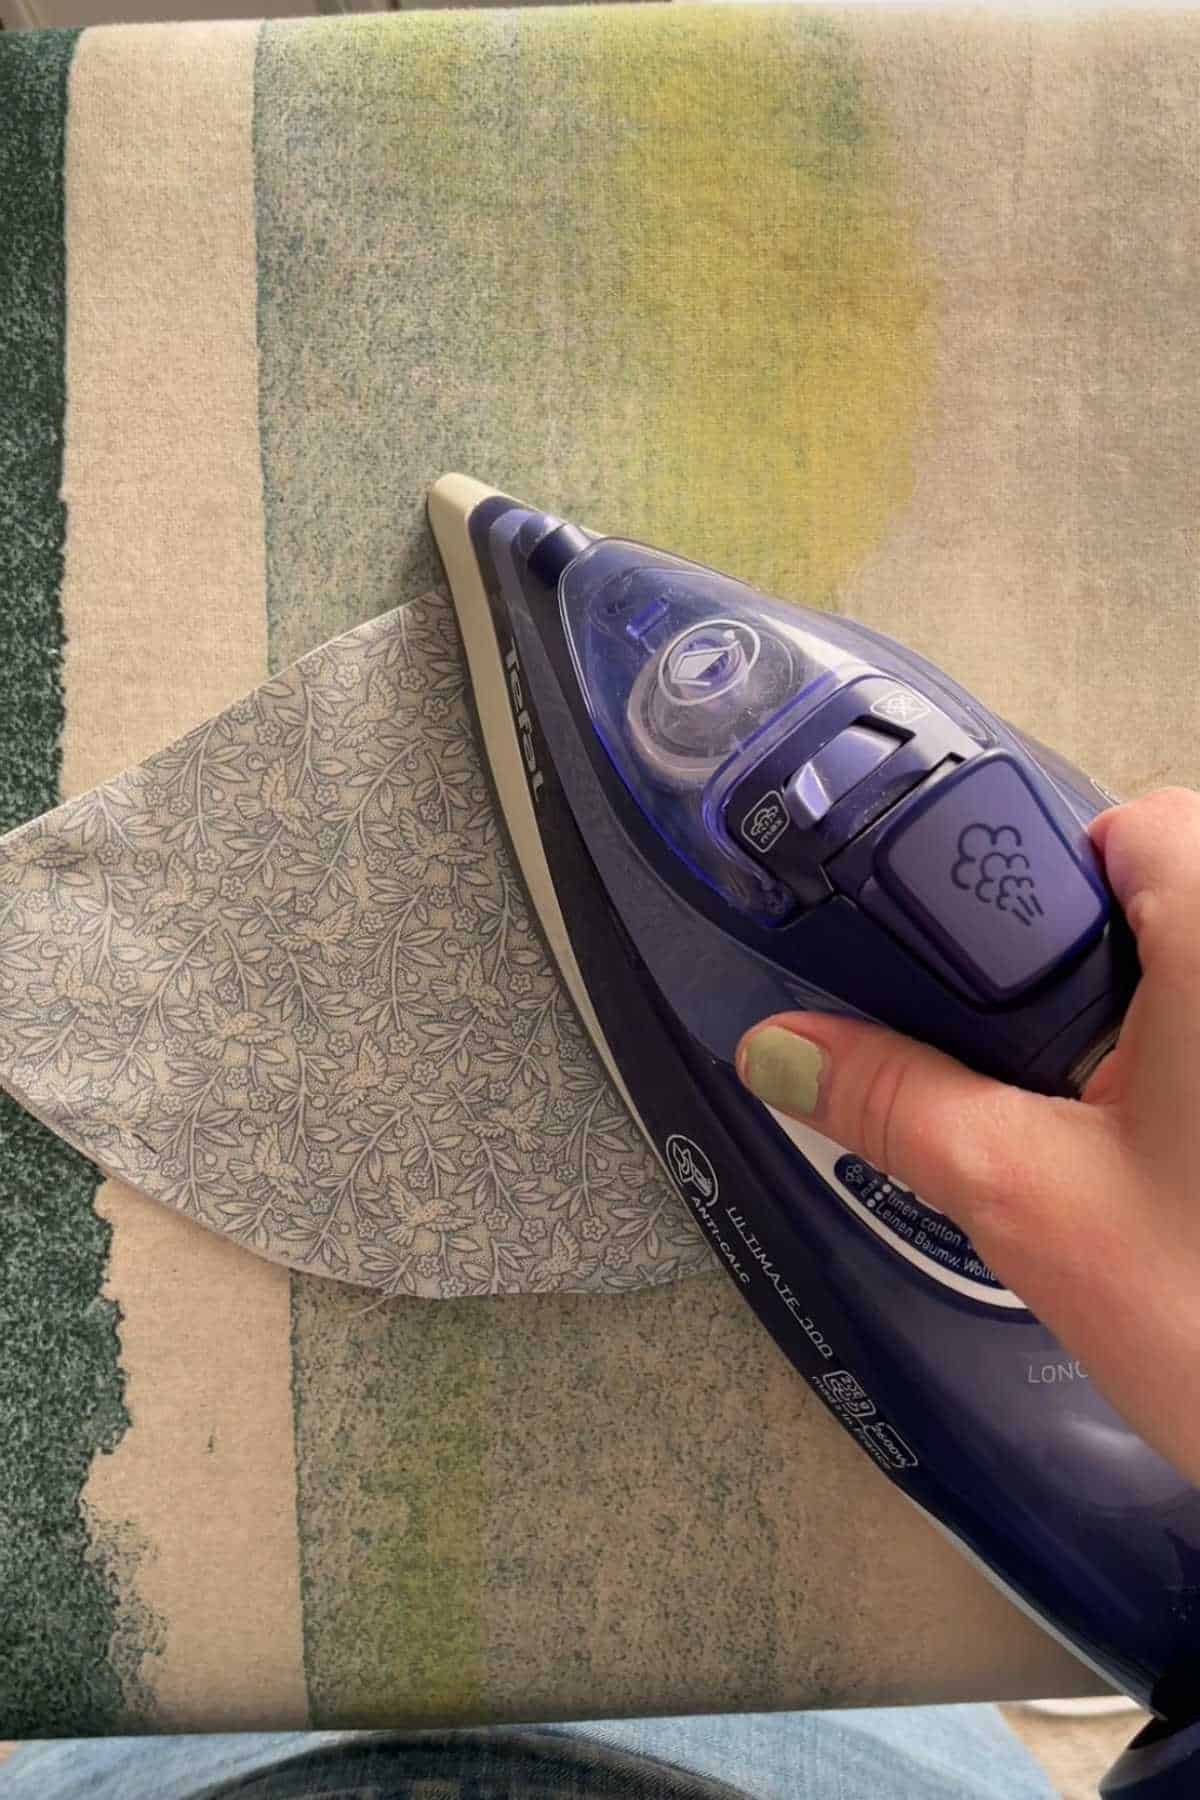
Step 3: Add Interfacing and Cut Dotted Lines
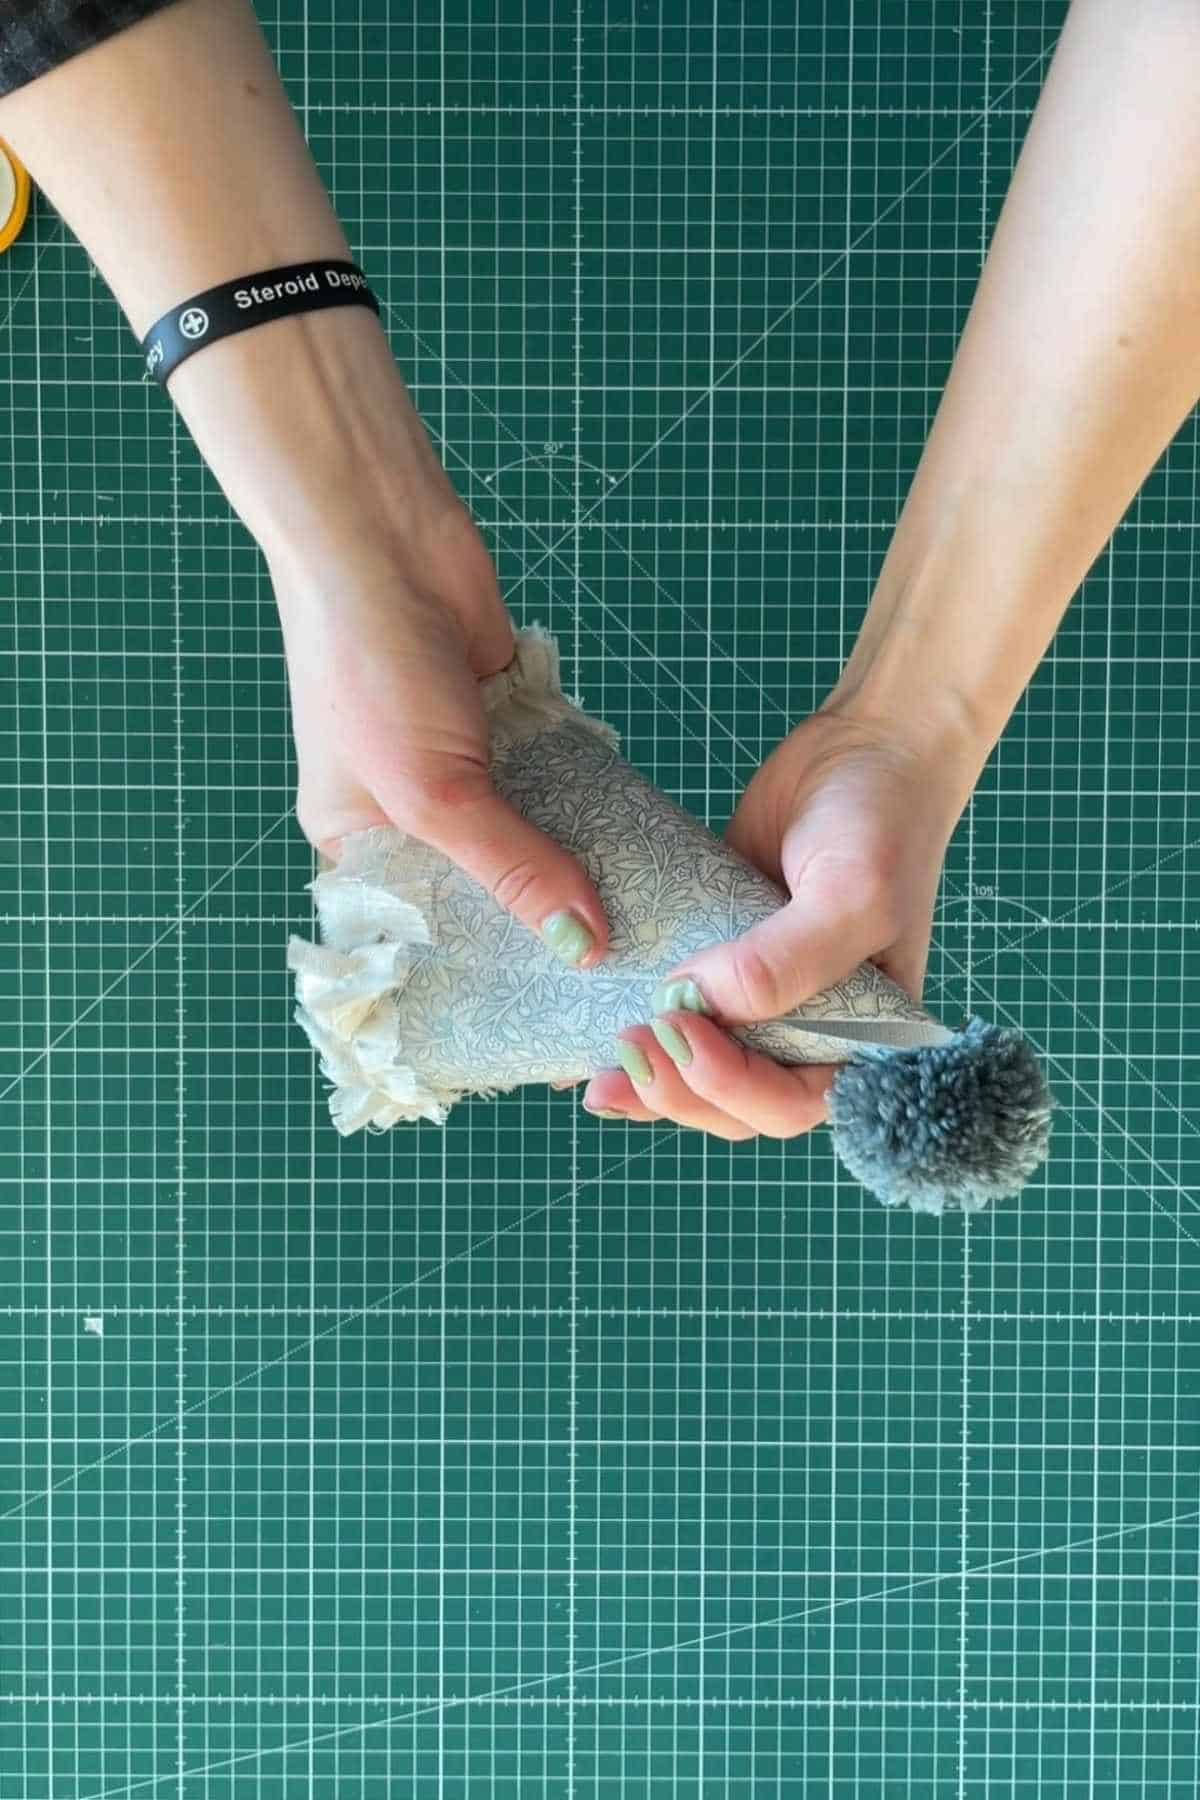
Iron the interfacing to the fabric then overlay the pattern onto your hat and cut the dotted lines on the pattern. Make sure to cut them precisely to the size on the pattern so your hat doesn’t pop apart mid-party!
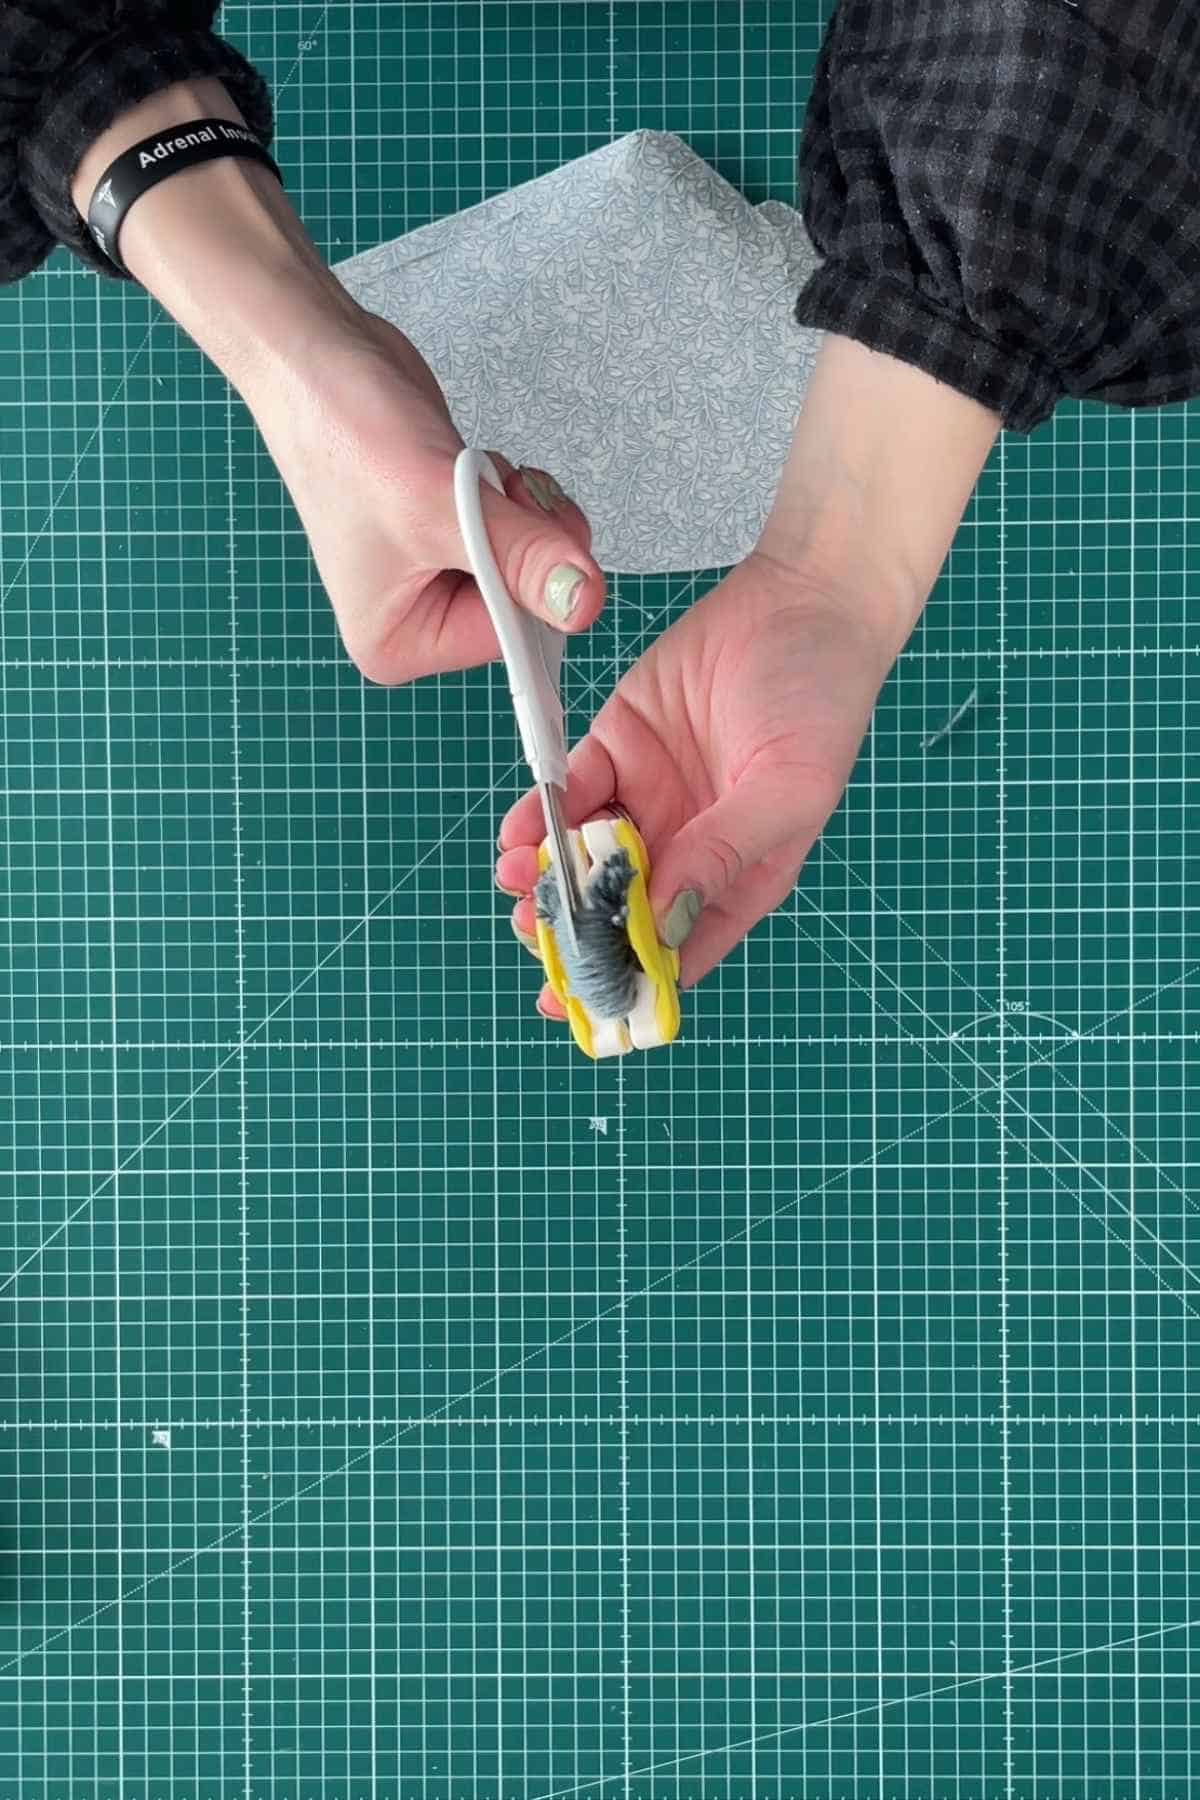
Step 4: Make Your Pom Pom
If you need to, make your pom pom, then glue it to the top of the hat. The glue should hold but you can add a few stitches to make it super child-proof.

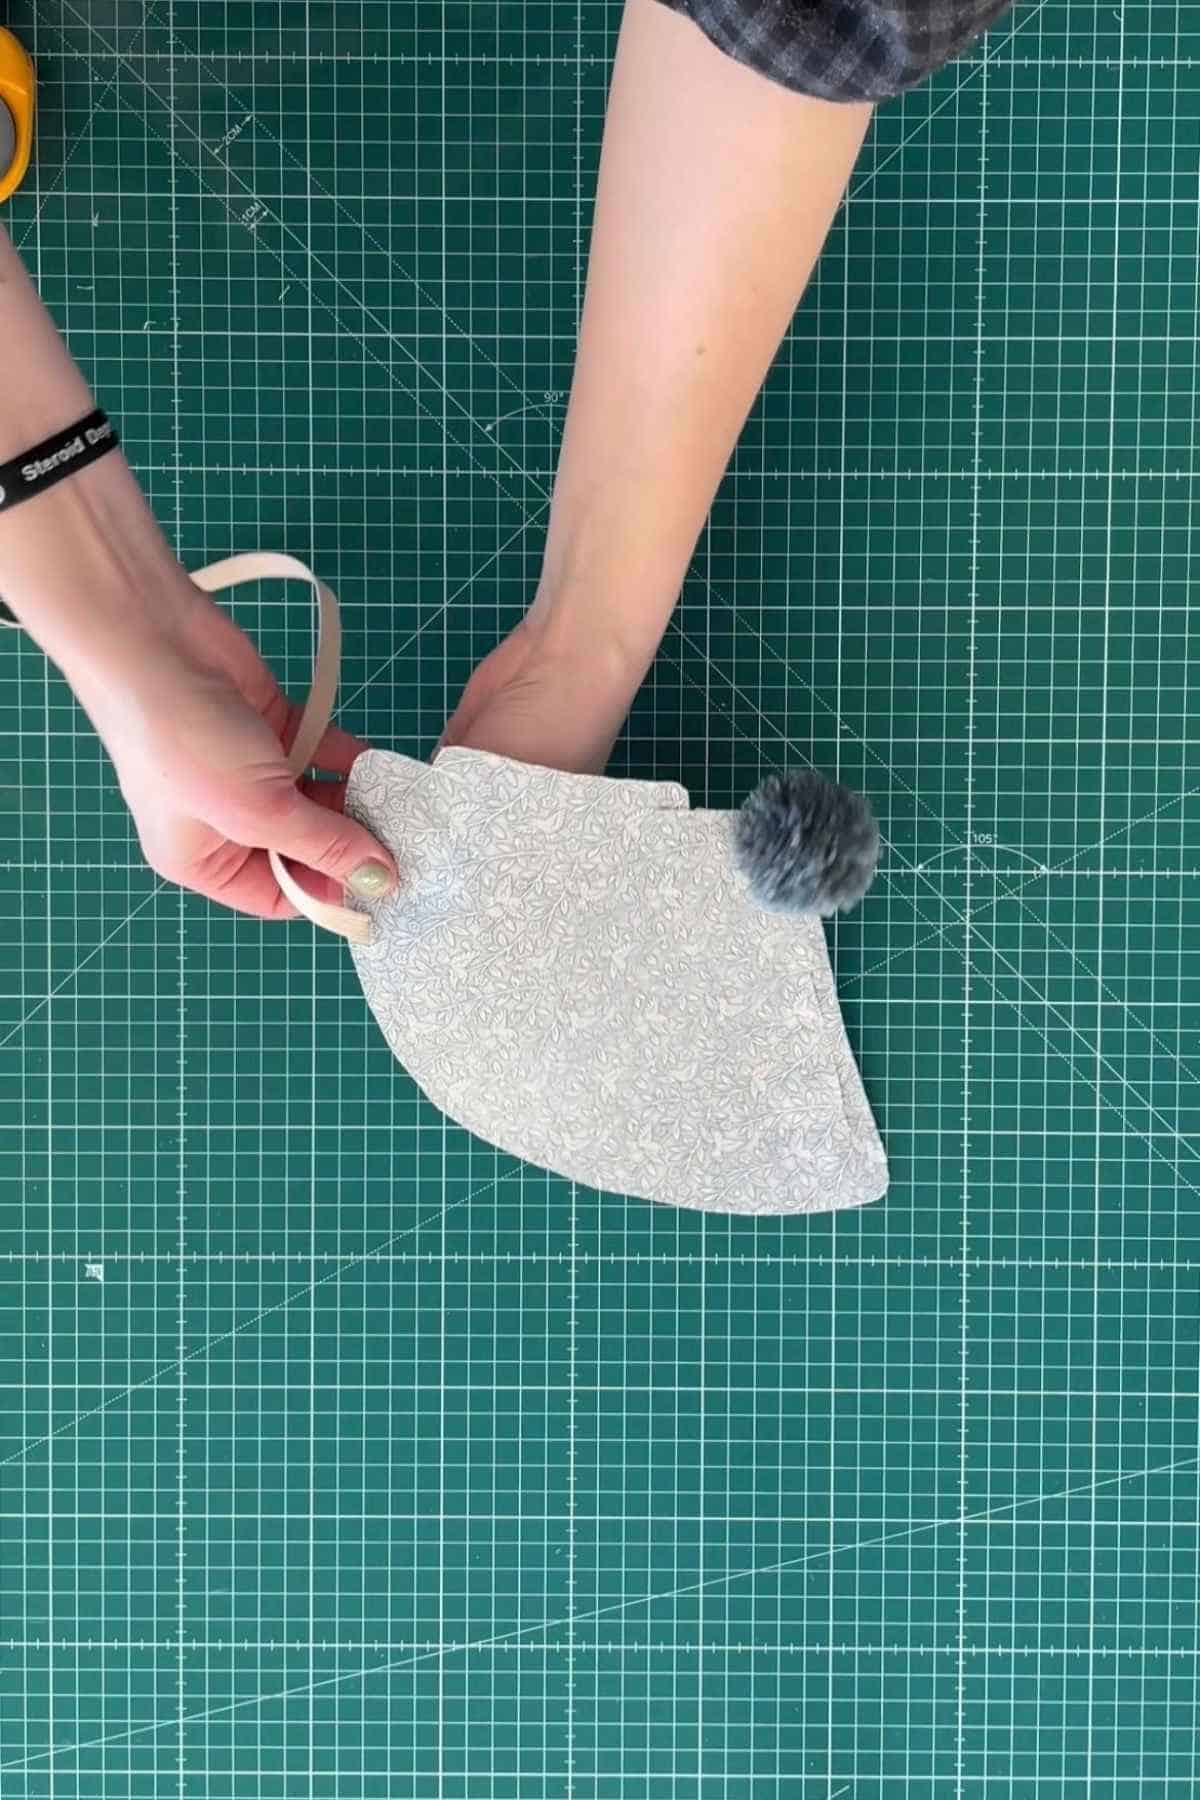
Step 5: Add Elastic
Take your elastic and thread it through the two holes. Tie a knot in each end or add a dot of glue to keep it in place.
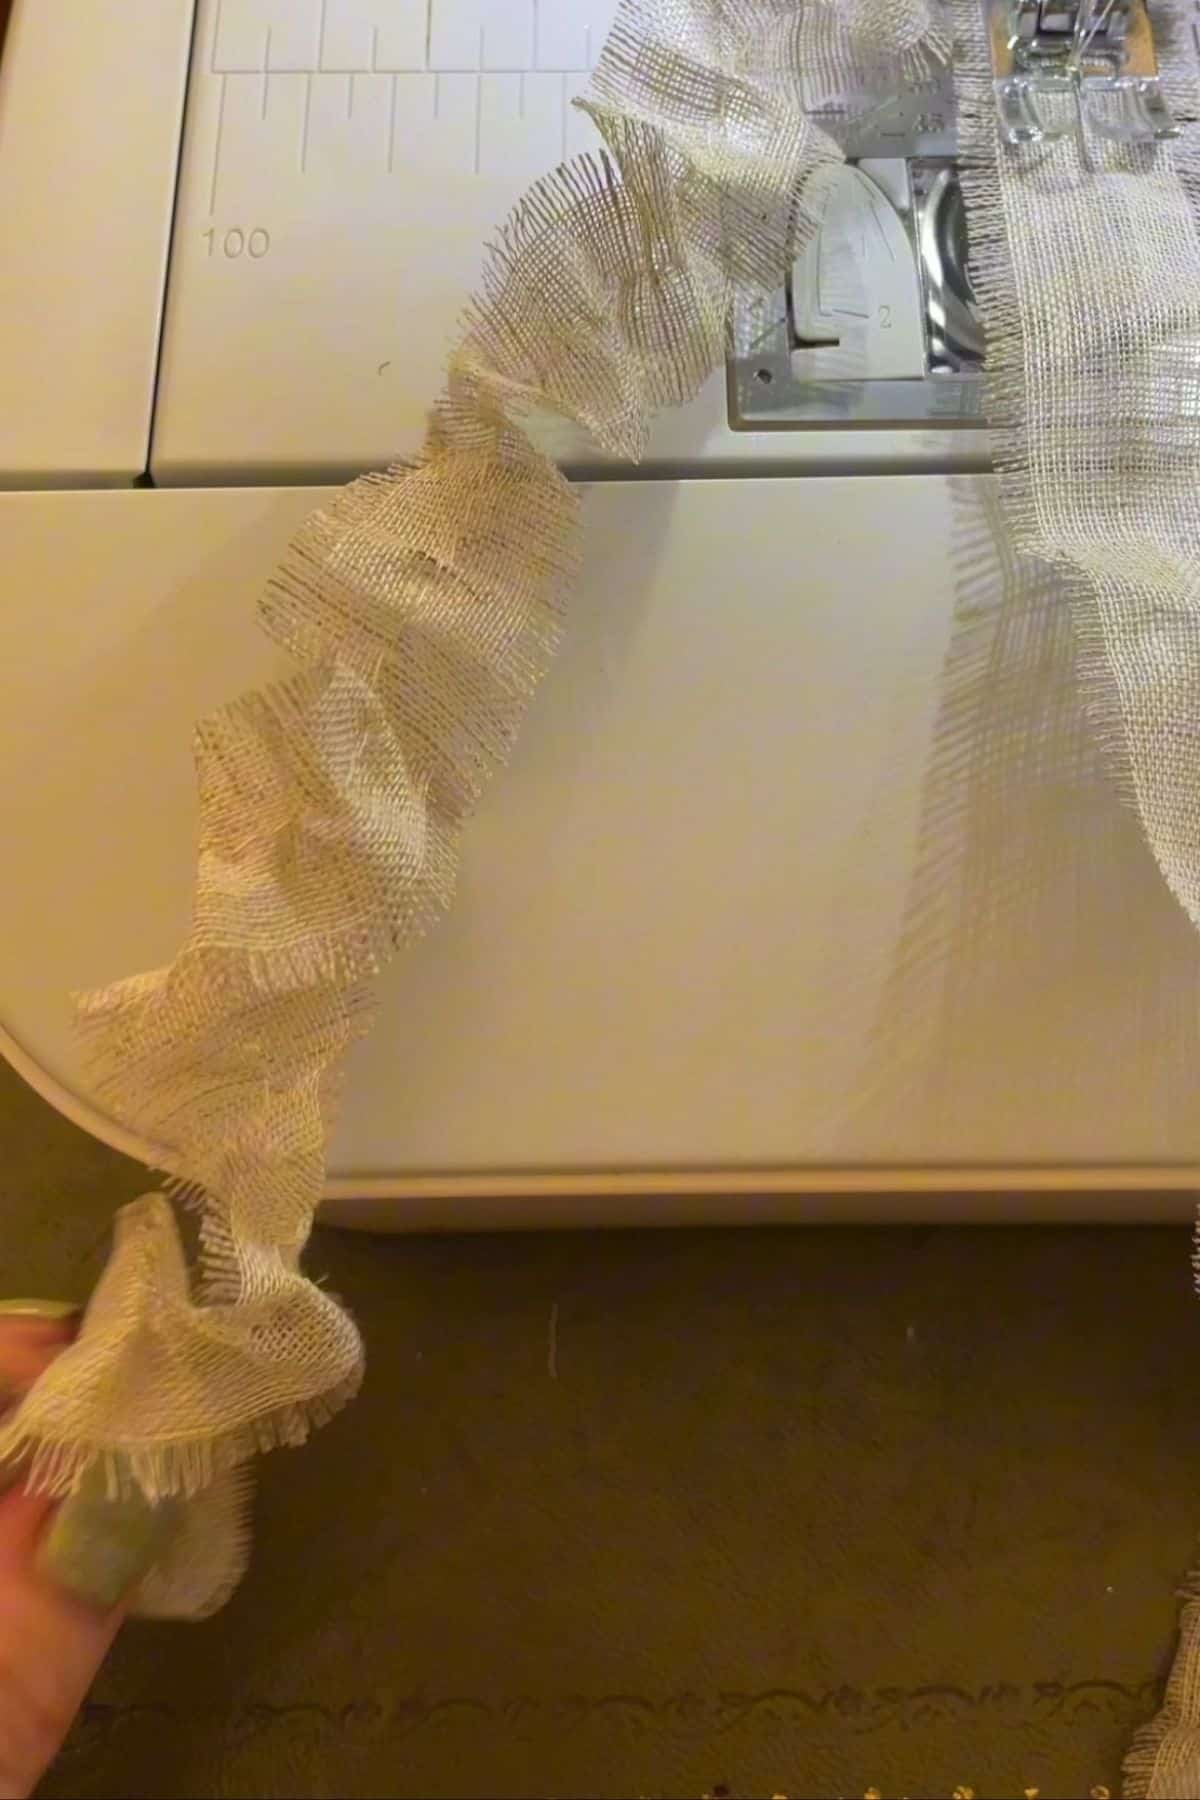
Step 6: Gather The Ribbon or Trim (optional)
If you’re using ribbon or fabric to trim the bottom of your hat, you may want to gather it.
You can do this by hand using running stitch. Or you can use your machine to gather it by setting the stitch length and thread tension both to the maximum they can go and then sewing a straight line down the middle of the trim.
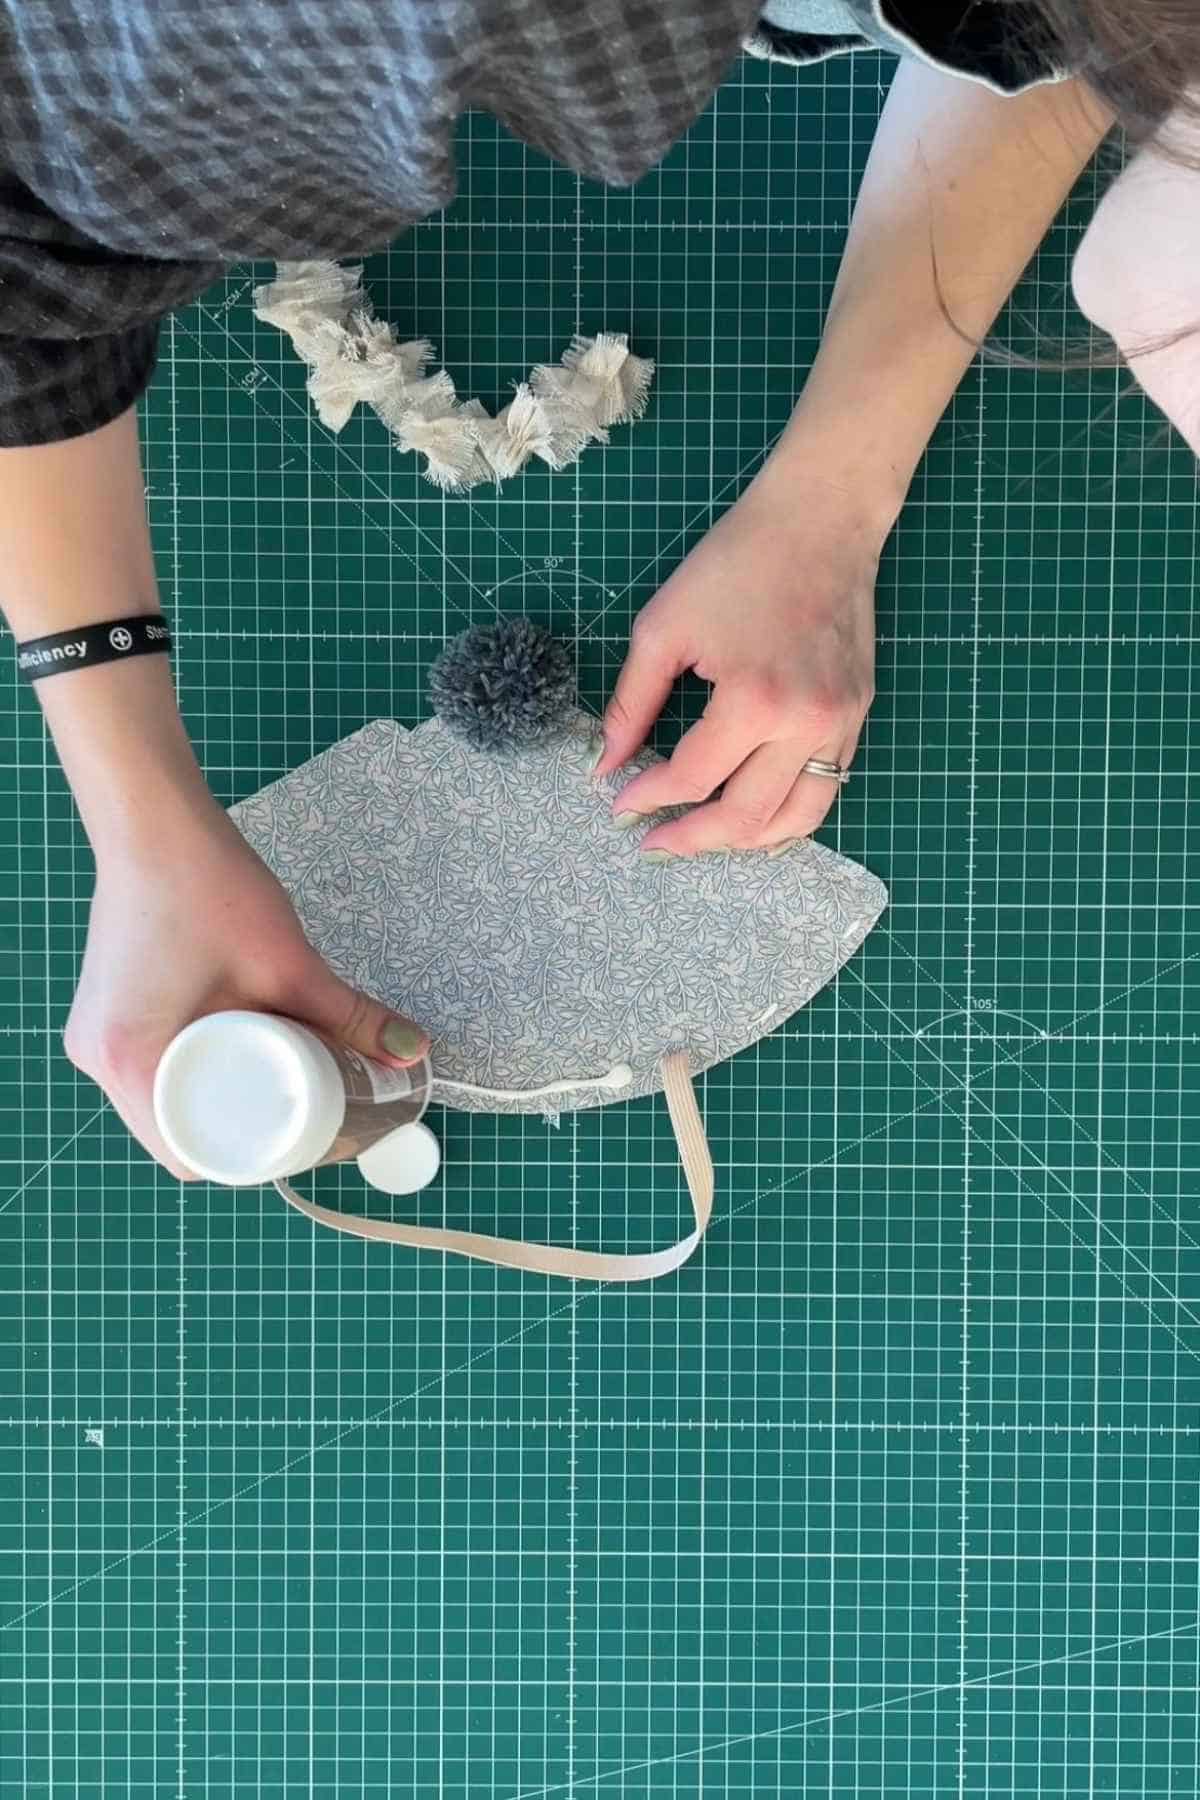
Step 7: Add Ribbon or Trim
Here’s where it starts to look really fun! Glue the ribbon or trim to the bottom edge of the hat.
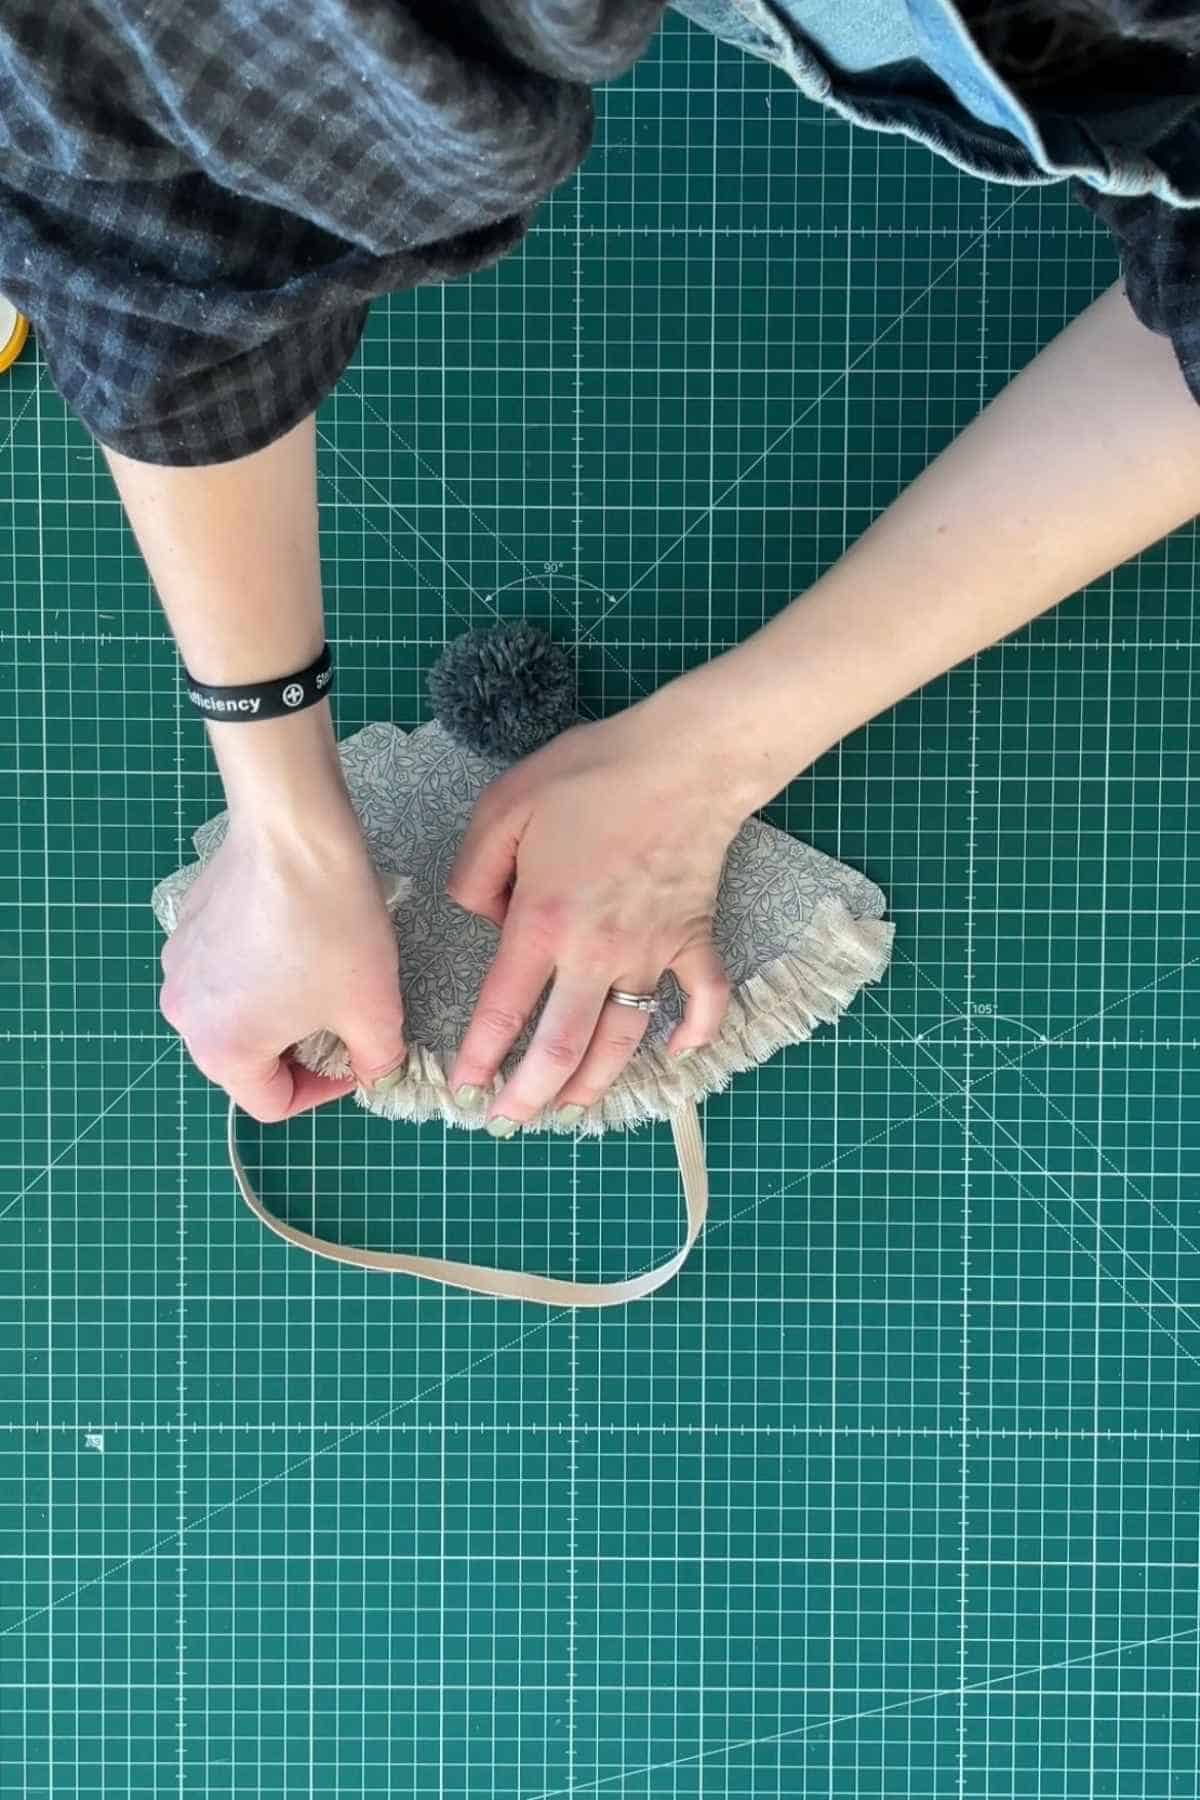
Step 8: Finish the Hat
Form the hat into a cone shape and slip the tab on the side of the party hat into the opening on the other side to close it.
Glue it closed or leave unglued if you’d like to store them flat. And hey presto, you have a little hat ready for your celebration!
Everything Else You Need To Know
Can I make this with paper rather than fabric?
Yes! Try cutting the template out of card stock and adding patterned scrapbook paper or leftover wrapping paper.
Can I use a hot glue gun?
Trust me when I say this: if you’re making a fabric party hat, a hot glue gun is unlikely to work well! I’ve had too many instances of hot glue bleeding through fabric and leaving a visible mark.
Fabric glue is the best way to go if you’re making a fabric hat. If you’re making a card hat then you could use PVA glue or possibly even a strong glue stick.
Other Ideas For Personalising Your Party Hats
Here are some ways you could make your birthday hats completely yours. Decorating is the fun part, so go as crazy as you’d like to!
1. Embroider the fabric or add sequins or beads before you attach to the interfacing
2. Change up the trim you use on the hat
3. Switch the elastic for two long pieces of ribbon that can be tied under the chin
4. Swap the pom pom for a long piece of scrap fabric made into a rose shape
So there you have it, no more buying generic party hats that cost way more than they should!
For more DIY projects, take a look at my Instagram, or this post where I share how to make fabric bows.


Do you think that sewing on the ribbon/ trim after adhering the interfacing… would warp the hat? Asking as I have already ironed on 18 hats worth of interfacings LOL.
I think it would be difficult to sew through the interfacing. You’d be better gluing the trim on ☺️
Please send the template to make party hats
Hello! You can download it by popping your details in the form above!
I’m also looking for the download but I cannot seem to find it!
There’s some quick links at the top of the post that will take you straight to it ☺️
I bought materials for party hats based on a different set of directions, but really like the way yours have come out… so, I’m wondering if instead of interfacing, would cardstocm or scrapbook paper work as the backing to the fabric for shaping?
Hello! Yes I think cardstock would work!
Thanks I will try that and report back 🙂
How much fabric did you use for the full project? Would I need a metre or a few metres of the fabric I am after? My daughter has fallen in love with a tv show from the 90s, so making custom hats would be perfect as you can no longer buy anything from the show! Thanks in advance.
One hat only needs about 30cm square of fabric so you could get at least 9 out of a metre of fabric!