
How to Mend Socks with a Darning Egg (or Mushroom)
I never thought I’d be the sort of person who would mend socks. We live in a world where new socks are readily available, and cheap. So I’ve thrown away a whole load of socks with holes, and some without. But in the spirit of making do with what we have and reducing our waste, I’ve become a woman who darns her socks.
I wondered at first if I was going a bit mad, and maybe mending socks is taking things a little too far in the journey to living more sustainably, but here’s the thing. Most socks these days are made of polyester, which is really just plastic. So throwing away good socks, even if they have holes in, feels like a waste of a precious resource. Putting a single pair of socks in the bin suddenly felt like quite a big deal.
And aside from the environmental reasons, darning is really enjoyable. It’s slow and meditative, exactly what’s needed in these busy times. Giving new life to something that’s a little worn out is wonderful, especially if it’s a favourite pair of well-loved socks. It’s also an opportunity to get creative. Don’t feel you have to match your thread to the colour of your socks. I love to make mending stand out - it’s like a travel stamp in a passport, showing the life the piece has been through.
Oh, and darning doesn’t have to be restricted to mending socks! You can use this mending technique on pretty much any fabric - cardigans, trousers, even underwear. Most importantly, it works really well on stretch fabrics, where other mending techniques (like sashiko) don’t work quite so well.


a few things to note…
Before we dive in, here are a few things to give you the best chance at darning success:
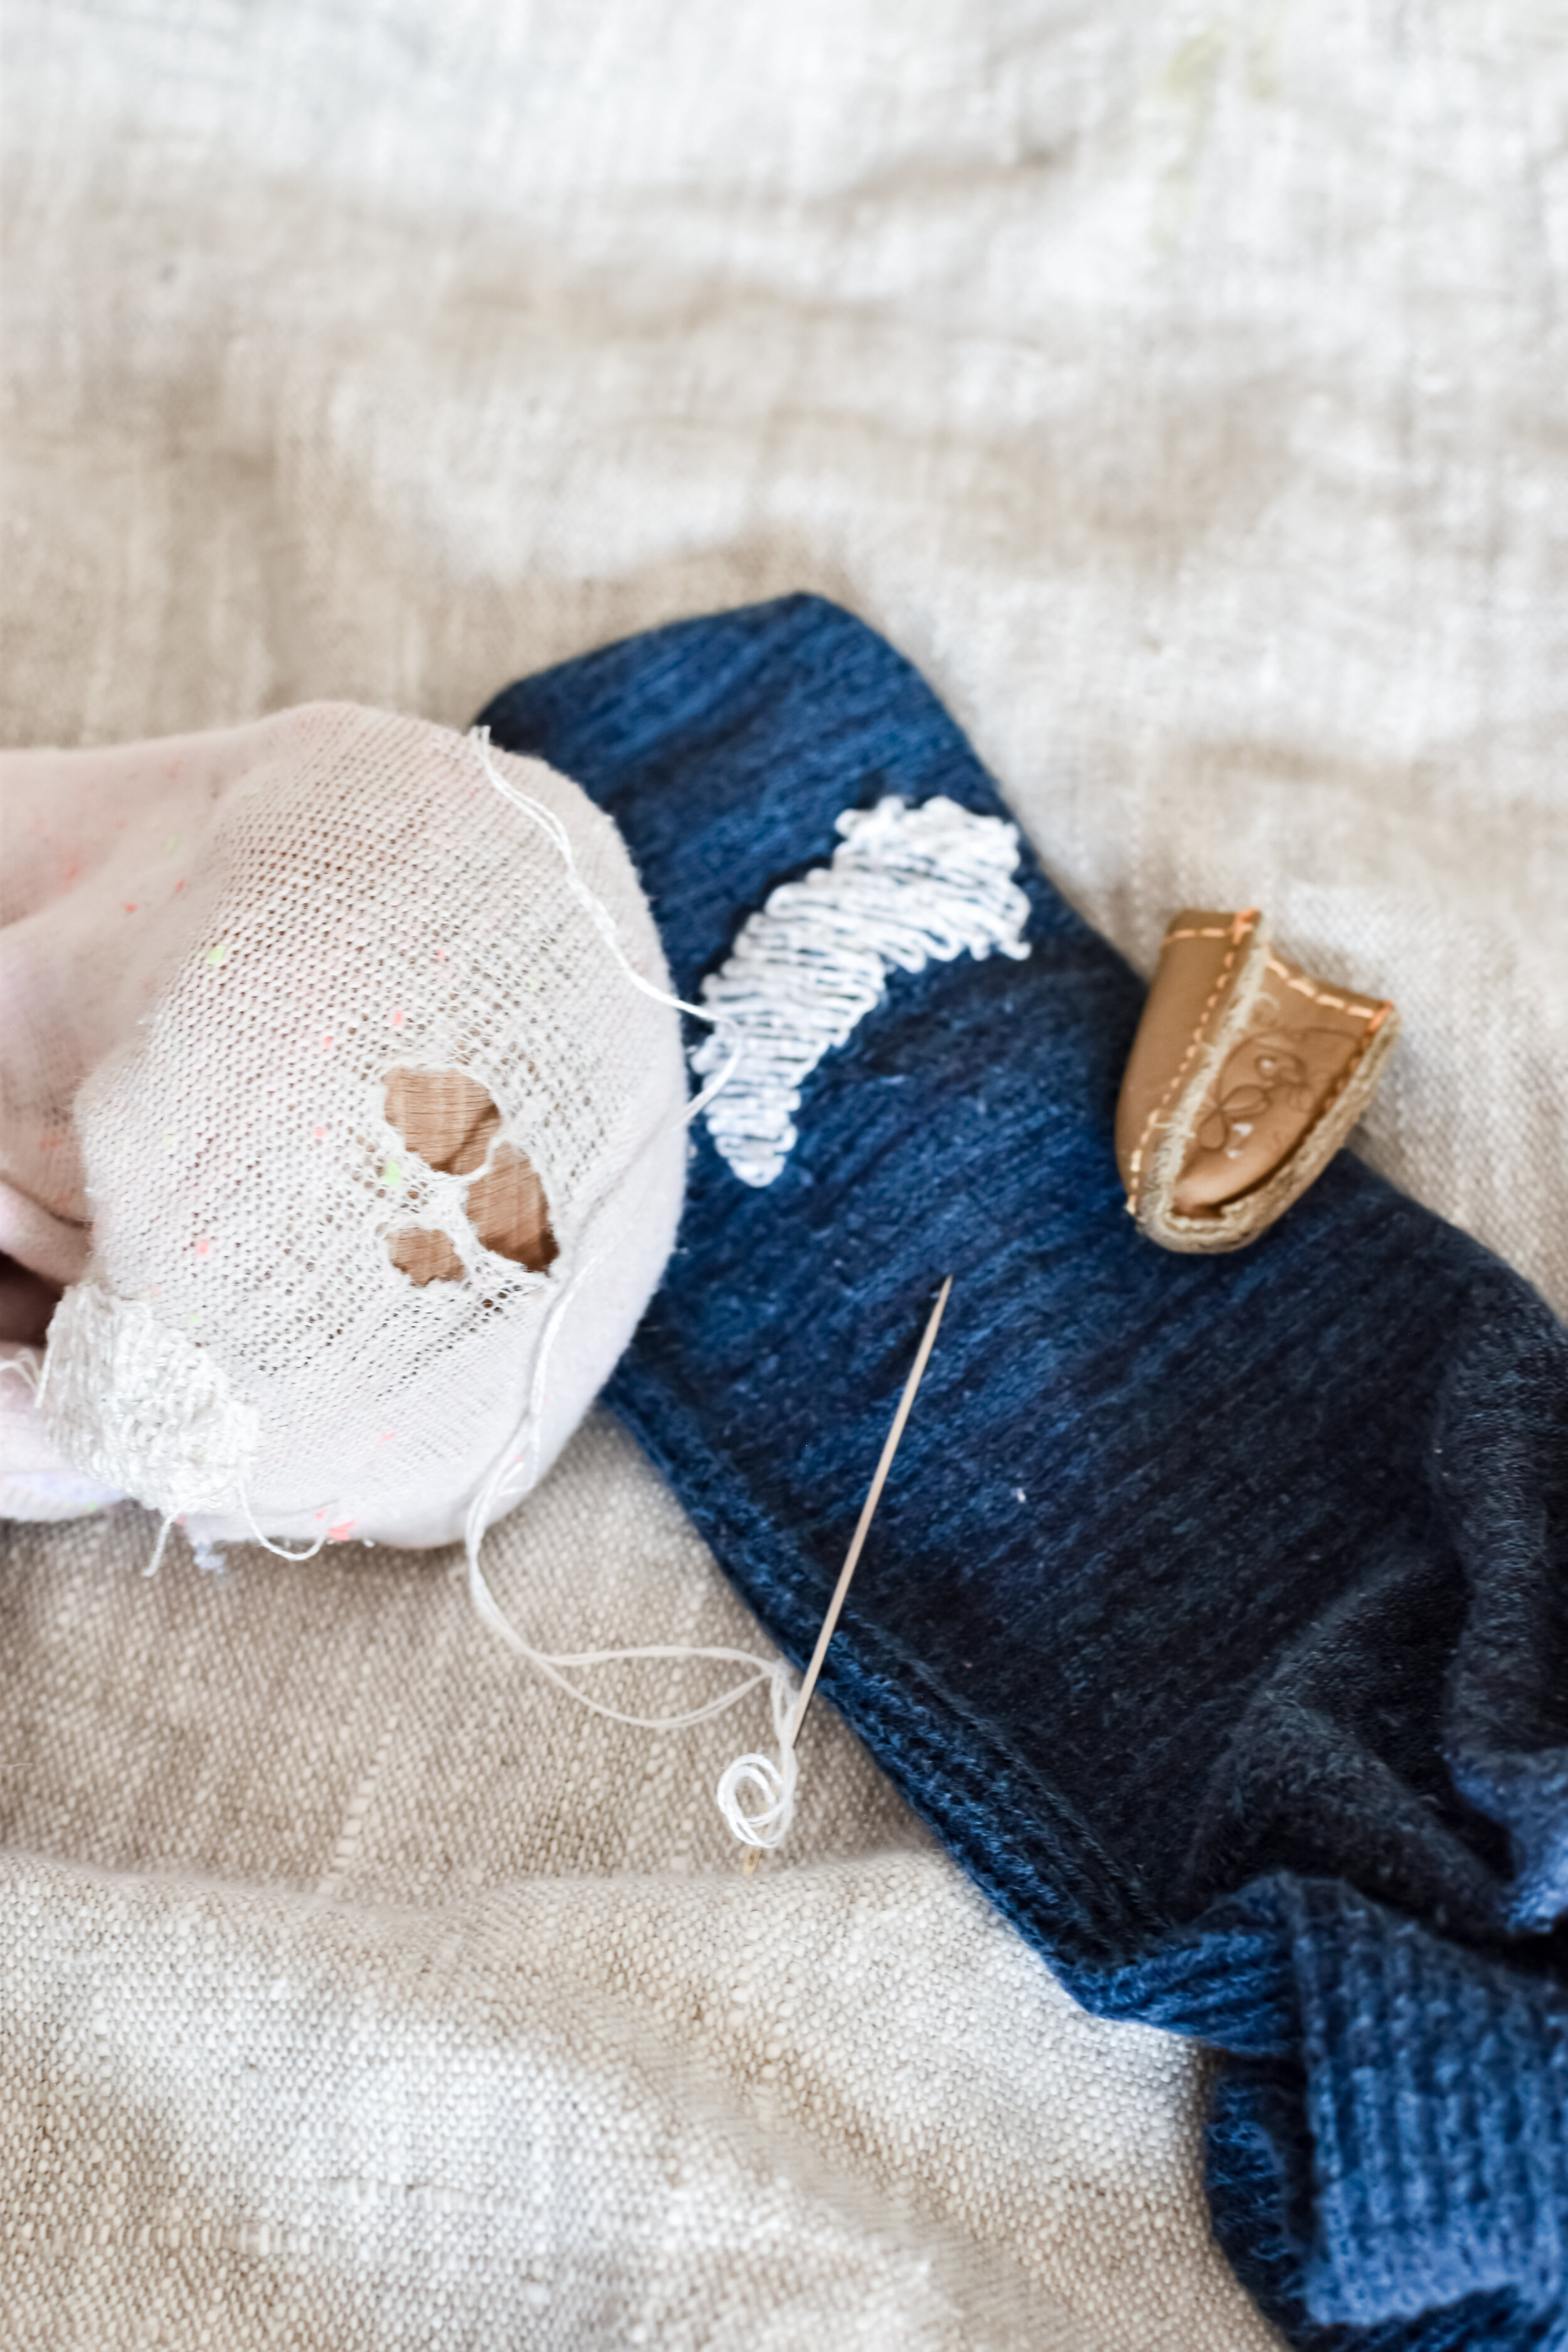
It’s best to catch holes before they get too large. The ones on the sock above were left intentionally to make a good example here, but don’t leave it this long if you can! You can even darn over thin patches before they develop into holes.
It’s important to place something inside the sock while darning to create tension around the hole and prevent it from bunching up. The best tool for the job is a darning egg or mushroom, but a light bulb or small ball will do the job too. My darning mushroom is from Etsy.
Lots of ‘traditional’ darning tutorials will tell you to use darning wool, which is great for proper knitted socks, but doesn’t work so well for modern synthetic socks. I like to use embroidery floss or sashiko thread. If using embroidery floss, use one or at most two strands - cut the length of floss you need, then gently separate out two of the strands from the bunch.
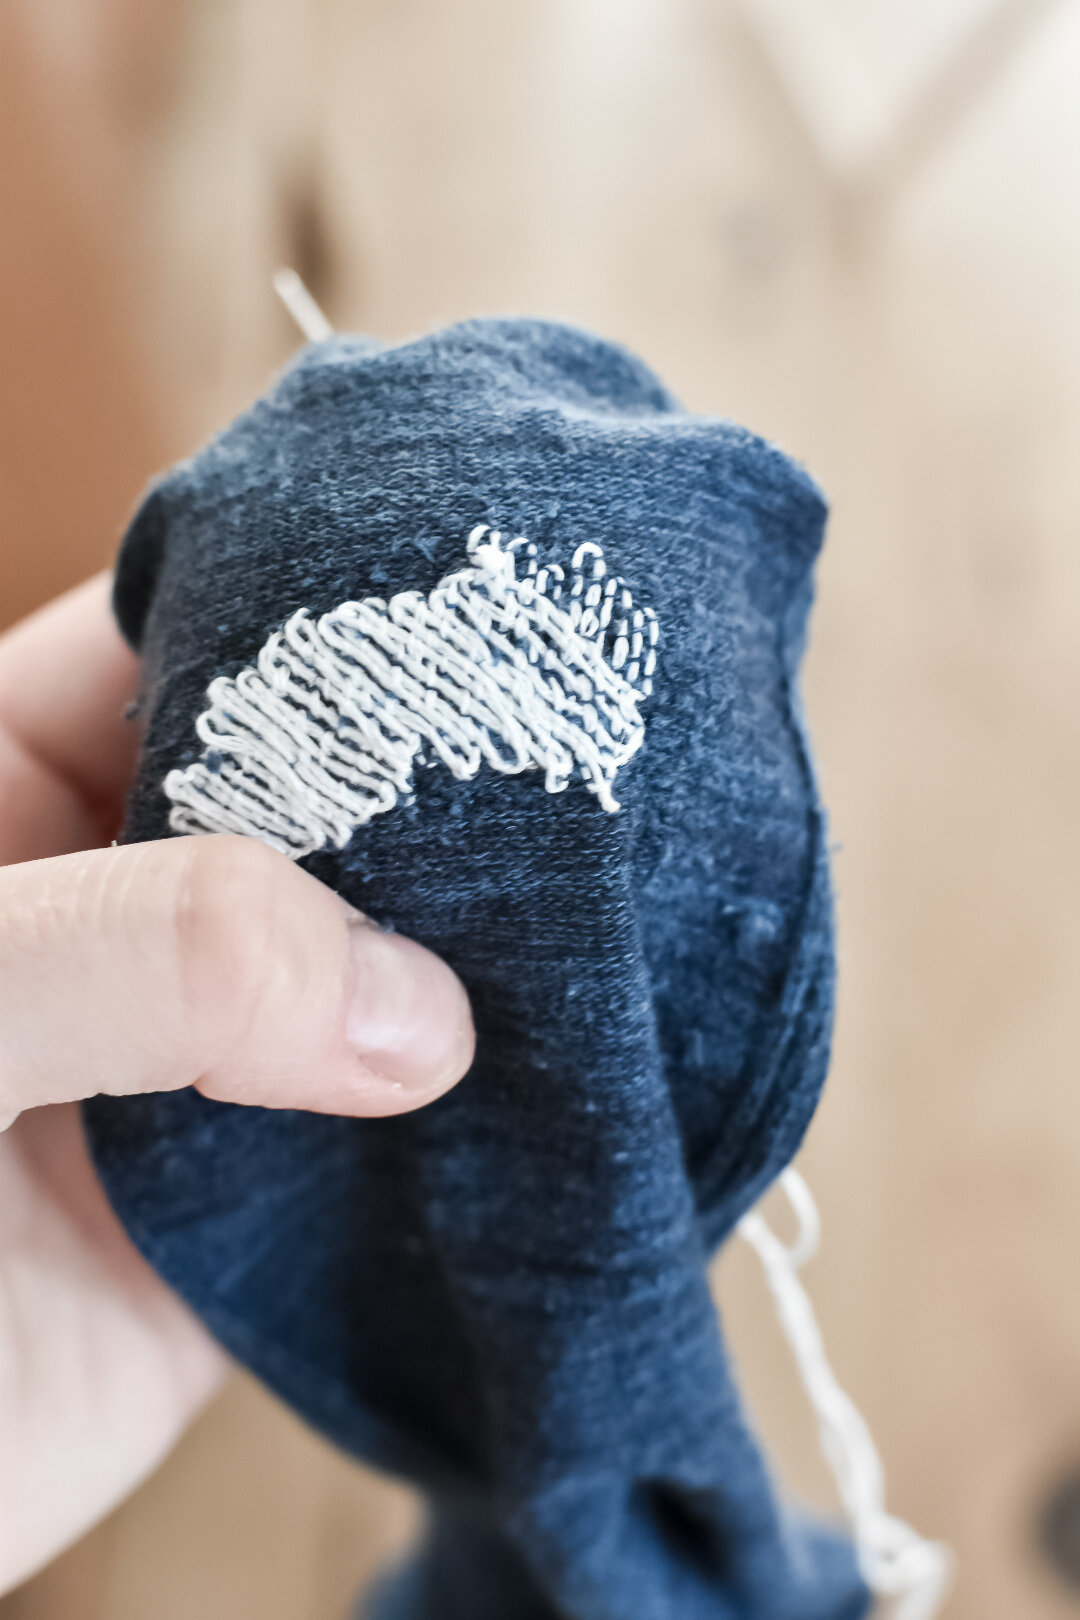
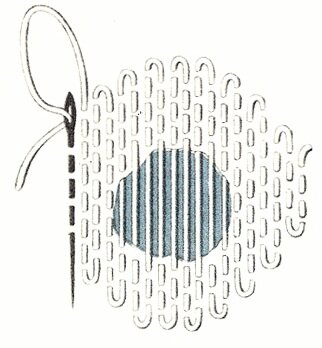
Basic darning is done by creating a series of rows of stitching, then passing back over the stitches at right angles (like the second image below). This will give you a firm, woven ‘patch’, but it won’t have any stretch. If you want to retain the stretch of your sock, try doing your second set of stitches diagonally to the first (like the third image below).


How to mend your socks
You will need:
Darning wool or embroidery floss (use one or two strands)
A darning egg or mushroom (or a small ball or lightbulb)
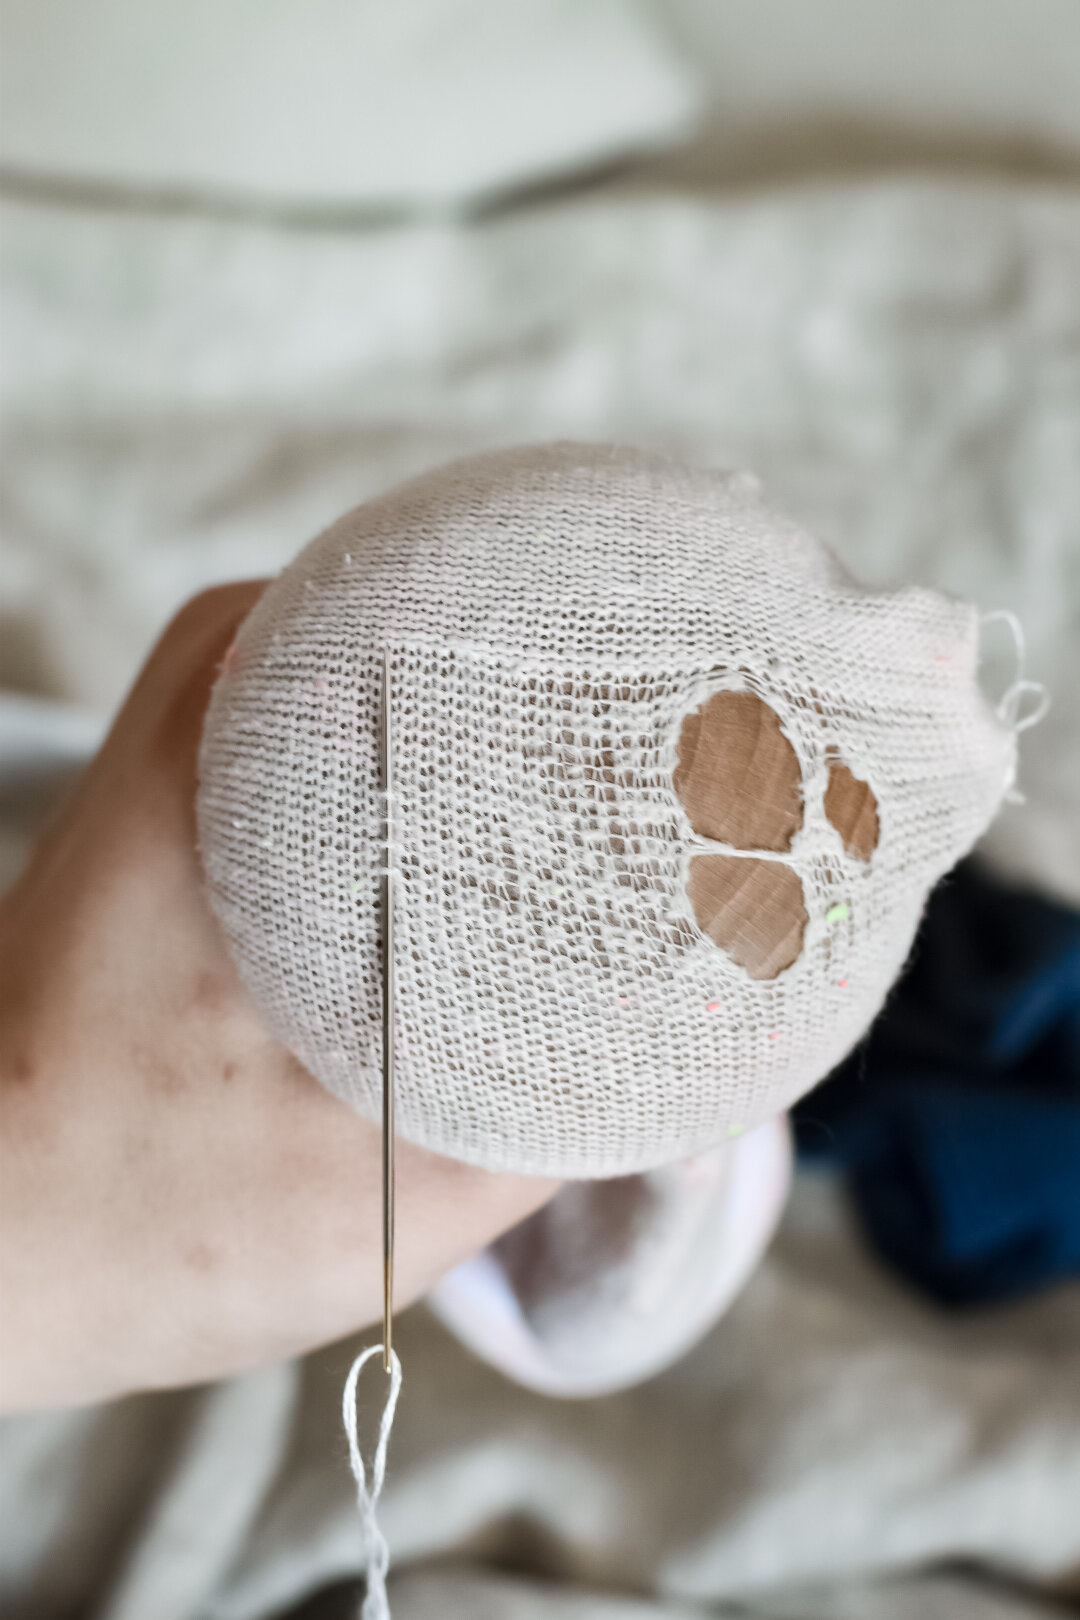
Turn your sock inside out. Cut any pieces of fluff or bobbling away. Put your darning egg or mushroom into the sock so that it creates tension around the hole.
Make your darning the same shape as the hole, and make sure it goes a few stitches beyond the hole and covers thinning parts of fabric. Thread your needle, but don’t tie a knot in the thread.
Make your first row of stitches, leaving a short tail of thread. Pick up only the backs of the loops on the sock, so that your stitching won’t be seen on the right side of the fabric. Make your rows of stitching the same width apart as the width of your thread. You need them to be pretty close to get a strong weave. Leave a little loop at the end of each row before you go to the next.
Now you want to weave through the first set of stitching, picking up alternate stitches on each row. You can choose to do this at right angles or diagonally to your first set of stitches (see my note above for help on this!)
Once your two sets of stitching are complete, cut any tails of thread and turn your sock right side out. You’re done!
This page contains affiliate links, which earn me a little bit of commission if you make a purchase, at no additional cost to you. Thank you!
you might like …