DIY Beeswax Wraps : Easy How to for Reusable Food Wrap
If you’ve ever looked at those gorgeous beeswax wraps in fancy zero-waste shops and thought, I could make those - you’re absolutely right. Making your own beeswax wraps can seem like an intimidating DIY project, but it's actually so simple, especially if you use the step-by-step tutorial I share with you in this post.
Some tutorials call for pine resin, jojoba oil or coconut oil to make the wraps sticky. But if you want an easy, no-faff method? You really only need two things: fabric and beeswax.
Will they be as sticky as shop-bought ones? No. But they’ll work really well at wrapping sandwiches, covering bowls, and looking much prettier in your kitchen than cling film ever could.


What are beeswax food wraps?
Beeswax wraps are reusable food wraps that can be used to cover your food and keep it fresh. To use them, simply wrap snugly around your food or use them to cover a dish. You can even fold them to make little snack bags! When you first take them out of the cupboard they can be a little stiff so it's best to give them a gentle squeeze with the warmth of your hands.
Why use beeswax wraps?
All natural: If you're worried about plastic coming into contact with your food, these are great alternative.
Compostable: At the end of their lives your beeswax wraps can simply be placed in the compost.
Affordable: Using a reusable food wrap cuts down on the amount of single-use wrap and aluminum foil that you use, saving you money in the long run.
Plastic free: Reusable wraps are a great way to cut down on the amount of plastic cling wrap, thus reducing your plastic waste. It also means you don't have plastic touching your food, which helps avoid the problem of microplastics!
FAQs
What are the care instructions for beeswax wraps?
Simply wash your wraps in cool water with mild soap and let them air dry. Avoid hot water, or you’ll melt the wax right off.
Are beeswax wraps safe?
Yes! They are perfectly fine for food storage.
Can beeswax wraps be frozen?
Yes! Beeswax wraps can go in the freezer.
Do beeswax wraps work?
Yes, although they’re not as airtight as cling film (saran wrap). They work best when you press them around bowls or fold them snugly around food. If you want extra grip, warm them slightly with your hands before shaping. You can also use a rubber band for extra security.
How long do beeswax wraps last?
Your wraps should last a reasonably long time, at least a year or possibly more. If they start looking a bit tired, the best way to give them new life is by re-ironing with a tiny bit more wax.
Can you use beeswax wraps with raw meat or fish?
It's important not to let raw meat or fish come into contact with your beeswax wraps, because the wraps can become contaminated and can only washed with cold water. If you need to wrap meat or fish, put it in a dish and then cover the dish with your wrap.


What You’ll Need
100% cotton fabric or other natural fabrics
Pure beeswax block or beeswax pellets
Greaseproof paper (parchment paper)
An iron and ironing board
How to Make Beeswax Wraps
Cut Your Fabric
Cut a piece of fabric in a size that makes sense for your kitchen—smaller fabric pieces are great for covering bowls, while bigger ones work well for sandwiches. If you want neat edges, pinking shears help stop fraying. You could even try scalloped scissors like these.Grate the Beeswax
If you’re using a block of beeswax, use a grater (one you don’t mind dedicating to wax, because it’s tricky to clean off). Sprinkle a light, even layer of wax over your fabric. Start with less because you can't remove excess wax but you can always add more.Prepare for Ironing
Cut a sheet of greaseproof paper that's bigger than your fabric by about an inch on each side. Lay it on your ironing board, place the fabric on top, then cover it with another sheet of greaseproof paper. This stops wax getting all over your iron!Iron to Melt the Wax
Set your iron to a medium heat (no steam) and gently iron over the fabric. You’ll see the wax melting and soaking in. If you notice dry patches, sprinkle a bit more wax and iron again.Let It Cool
Once your fabric is evenly coated, lift it off the paper while it’s still warm and wave it around for a few seconds to let it set. Then, you’re done!


Creative Ways to Use Beeswax Wraps
Once you've made your beeswax wraps, you'll probably start using them all the time in place of cling film. But did you know there are lots of other clever ways to use them? Here are some ideas:
1. Wrapping Up Homemade Bread or Baked Goods
If you love baking, a large beeswax wrap is perfect for keeping bread, muffins, or cookies fresh. Just wrap your baked goods loosely and let the wax form a natural seal around them.
2. Folding Snack Pouches for On-the-Go
You can fold your wraps into handy little pouches for nuts, crackers, or sandwiches, ideal for packed lunches or road trips. Fold the edges together and use the warmth of your hands to shape it into a pocket.
3. Covering Fermenting Jars or Dough
If you make homemade sourdough or ferment foods like kimchi or sauerkraut, a beeswax wrap can replace plastic wrap for covering bowls of fermenting foods or resting dough. Since it's breathable, it allows for just enough airflow while keeping contaminants out.
4. Protecting Cheese in the Fridge
Cheese stores beautifully in beeswax wraps because they allow it to breathe but prevent it from drying out. Simply wrap your cheese tightly and pop it in the fridge—no more sad, crusty edges!
5. Keeping Herbs and Leafy Greens Fresh
If you buy fresh herbs or greens and find they wilt too quickly, try wrapping them in a beeswax wrap instead of a plastic bag. The breathable fabric helps retain moisture while preventing sogginess.
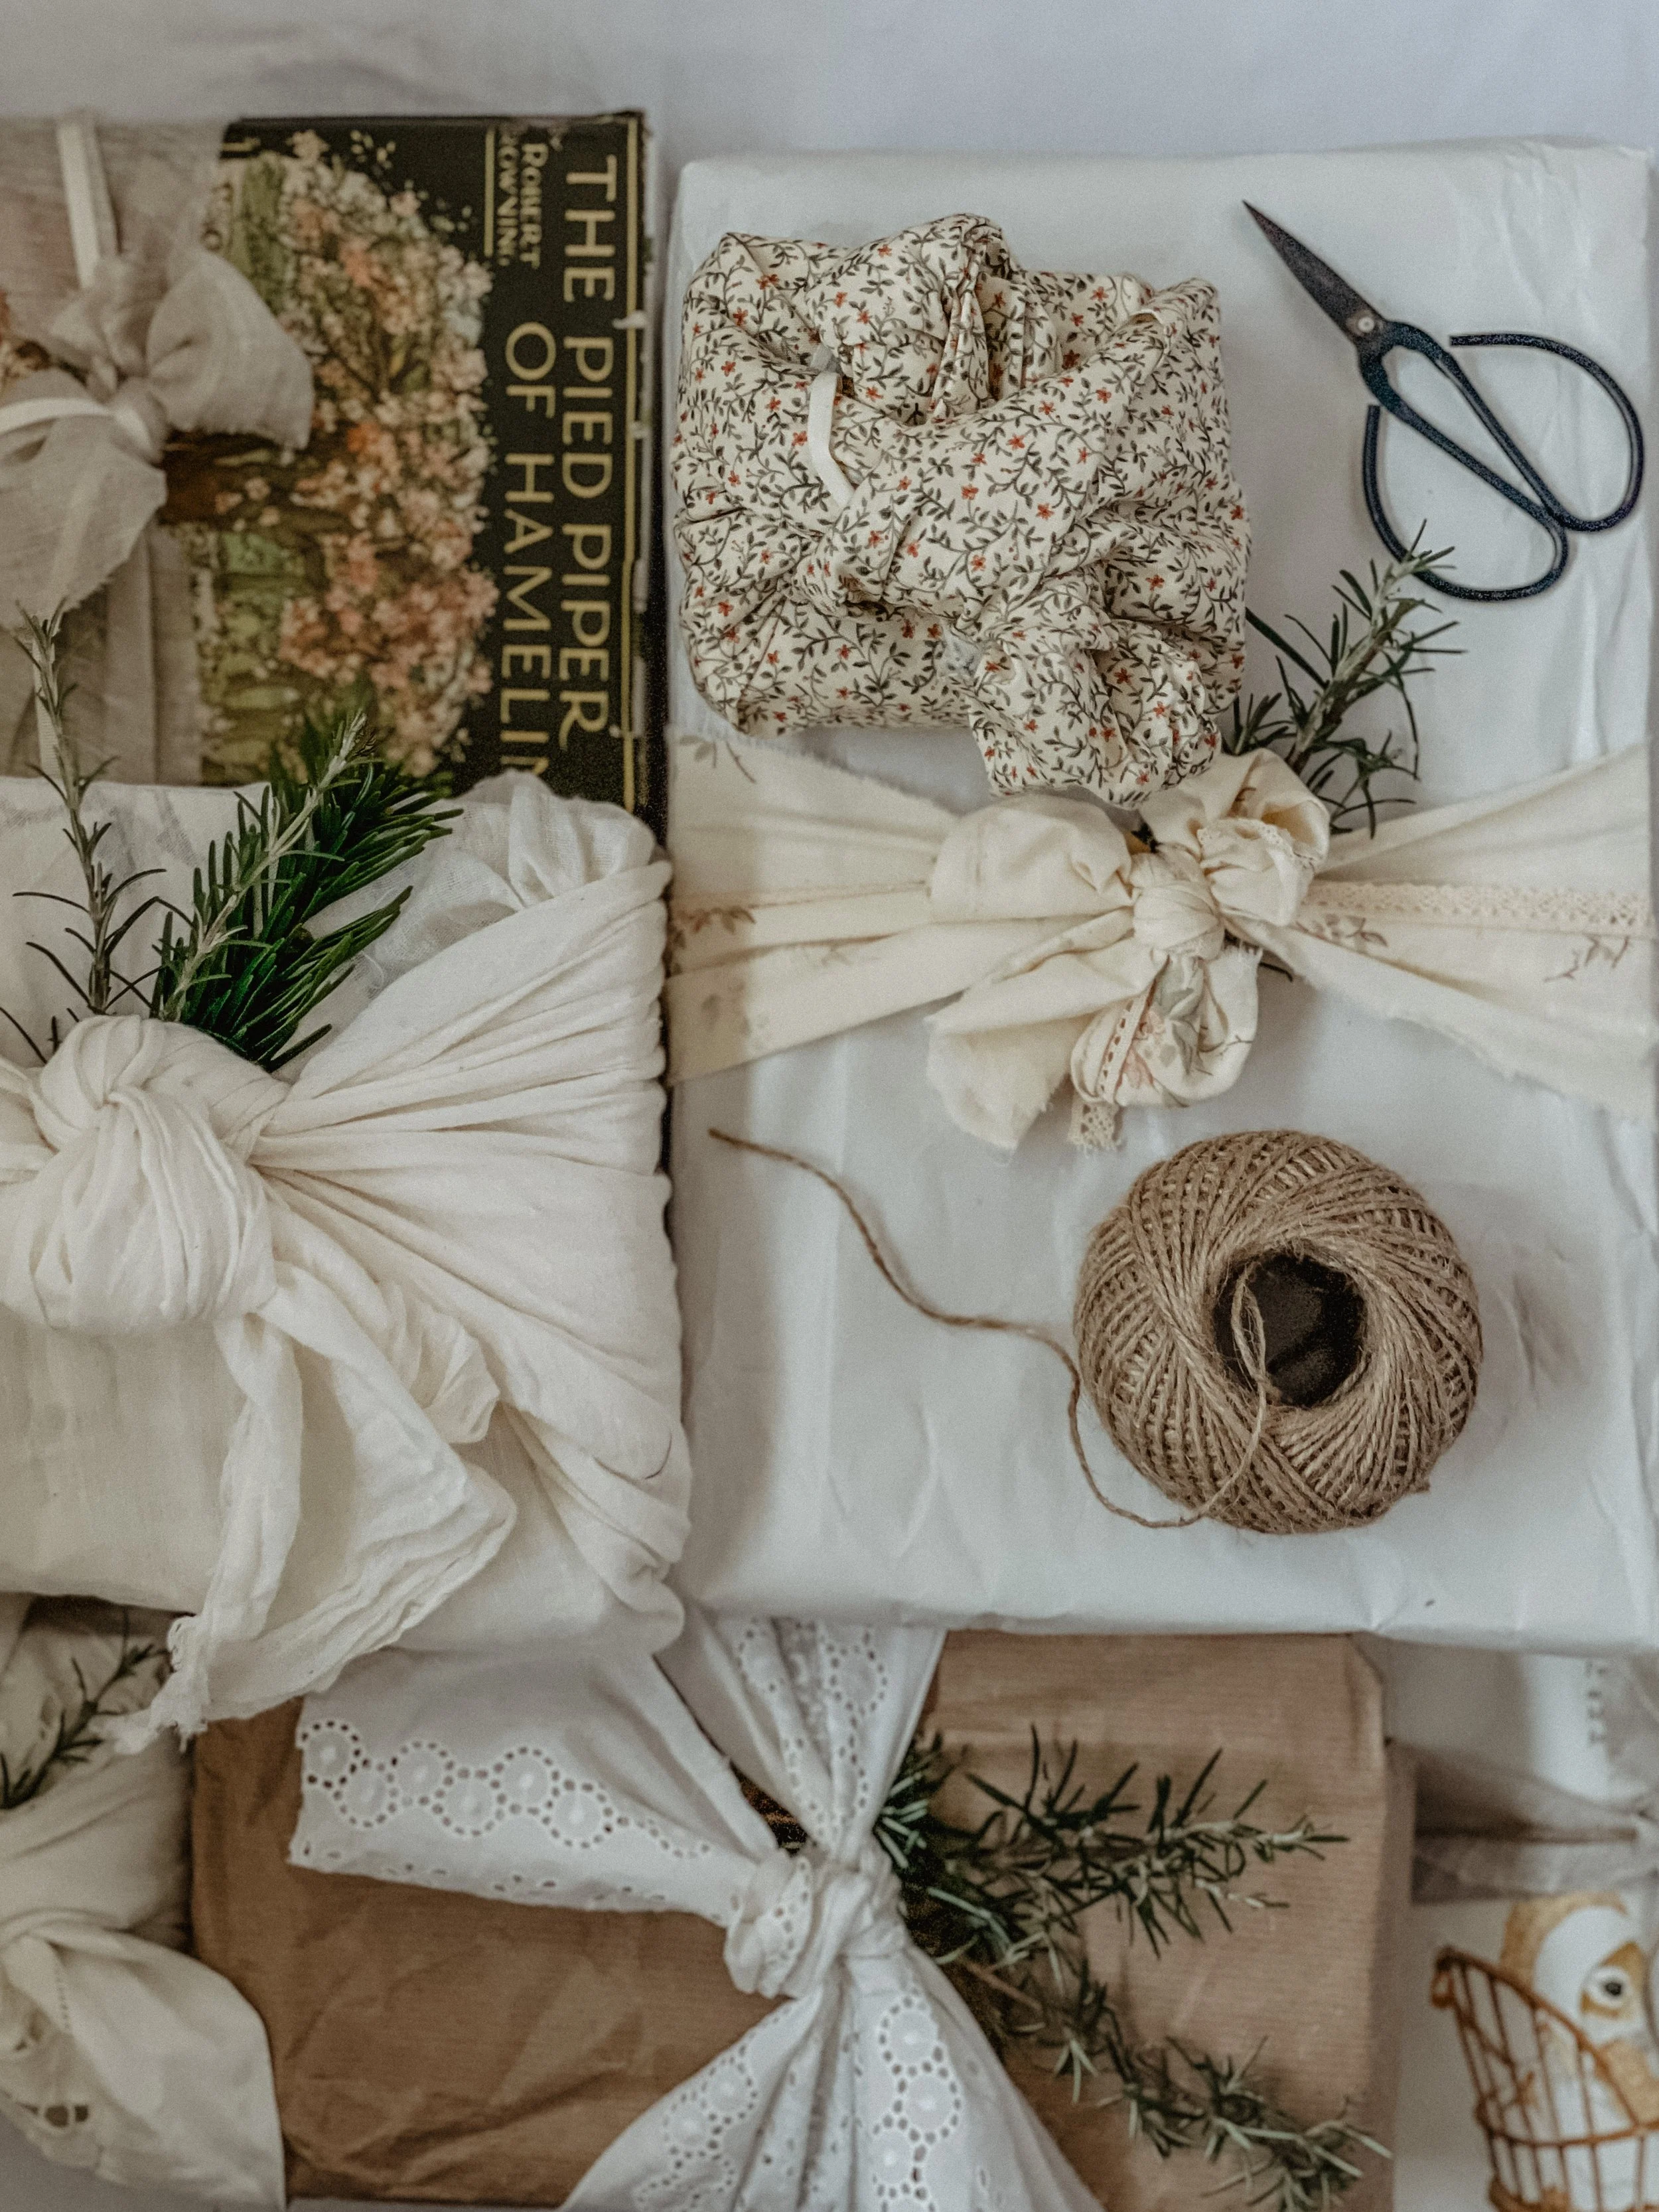
6. Making a DIY Gift Wrap
If you're giving someone homemade cookies, soap, or another small gift, why not wrap it in a beeswax wrap? It’s a beautiful and sustainable way to present a gift, and the wrap itself becomes part of the present!
7. Sealing Bottles or Jars
Lost the lid to a jar? A beeswax wrap can act as a temporary cover for a mason jar, bottles, or even wine glasses if you're having a picnic. Just secure it around the rim with a piece of twine or an elastic band.
8. Rolling Up as a Travel Utensil Holder
If you bring your own reusable cutlery when eating out or traveling, use a beeswax wrap to roll up your utensils neatly. It keeps everything together and protects them from getting dirty in your bag.
For more DIY projects, take a look at my Instagram, or this post where I share how to make fabric bows.
This page contains affiliate links, which earn me a little bit of commission if you make a purchase, at no additional cost to you. Thank you!
You might like …