7 Tips to Give You the Best Start to Free Motion Quilting
I’ve aspired to create beautiful free motion quilting ever since I started making quilts. There’s something special about the transformation of a fluffy quilt sandwich into a crinkly, lovely quilted top. It’s so satisfying! But until recently, I’d only ever attempted to quilt on my machine in straight lines, and was pretty certain that free motion quilting would be way beyond my abilities as a beginner.
Well, it turns out, it’s easier than it looks (really!). As I came to quilting a baby quilt for my friend’s little girl, I took the plunge and had a go at free motion, and it turned out to be reasonably successful. Thing is, I learnt a lot of things in those first couple of hours with the free motion foot. It is a very steep learning curve! So I’d love to share some of things I learnt as a beginner so that you can have the most confident start to your free motion quilting journey.

1. Get comfortable with walking foot quilting first
Before attempting free motion quilting I had a few projects under my belt where I’d successfully machine quilted with a walking foot. Using a walking foot is much easier as the feed dogs do all the work to pull the quilt sandwich through evenly, meaning that you don’t have to worry about getting your stitches the same length.
The downside is that doing anything more intricate than straight lines is nearly impossible with a walking foot. Having said that, quilting with a walking foot is a great way to build confidence with machine quilting. It’s very satisfying to see the beautiful lines you can achieve, and will inspire you to move onto bigger things!

2. Use a free motion quilting foot
Using a proper free motion quilting foot (or darning foot) will make all the difference to how easy you find it to quilt. These little feet have a circle at the bottom, giving you maximum visibility of your stitches in every direction. Plus, this kind of foot will put a minimum of pressure on the quilt, allowing you to move it freely. Although it’s important to have one of these special feet, I don’t think you need to invest a lot, especially if you’re just starting out. I used a fairly basic foot and the results were still good. The important thing is to get started and get the practice in, rather than waiting for the perfect foot to come along.
3. Use quilting gloves
The first time I sat down at my machine to try free motion quilting, I didn’t use gloves, and let me tell you, it did not turn out well! My stitches were jerky and uneven, and I had terrible achy shoulders the next day from trying to grip the quilt top. Gloves with special grabby finger tips will help you no end here. I have these ones from Sullivans but any free motion quilting gloves you can find will probably be fine.
4. Plan your design
It’s worth having an idea of your whole design before you start. This is important because as you quilt you’ll need to be thinking about where you want to go next and working out the best path to get there. If that sounds a bit daunting, try getting some inspiration first. Pinterest is excellent for quilting ideas – just search for free motion quilting ideas. Alternatively you could use a book.This one indicates the order in which each section is sewed, helping you to navigate across the quilt top.

5. Doodle
This sounds silly, but trust me! Grab a piece of paper and draw your design without lifting your pen off the paper. If you do this a few times, you’ll start to develop the muscle memory needed to recreate the design on your machine, and you’ll have an idea of where you need to be going when you’re sewing.
6. Pull up your bobbin thread
You know how sometimes your machine freaks out and the bobbin thread gets all tangled? You don’t want to be unpicking a load of those when your quilt’s done.. I speak from experience!
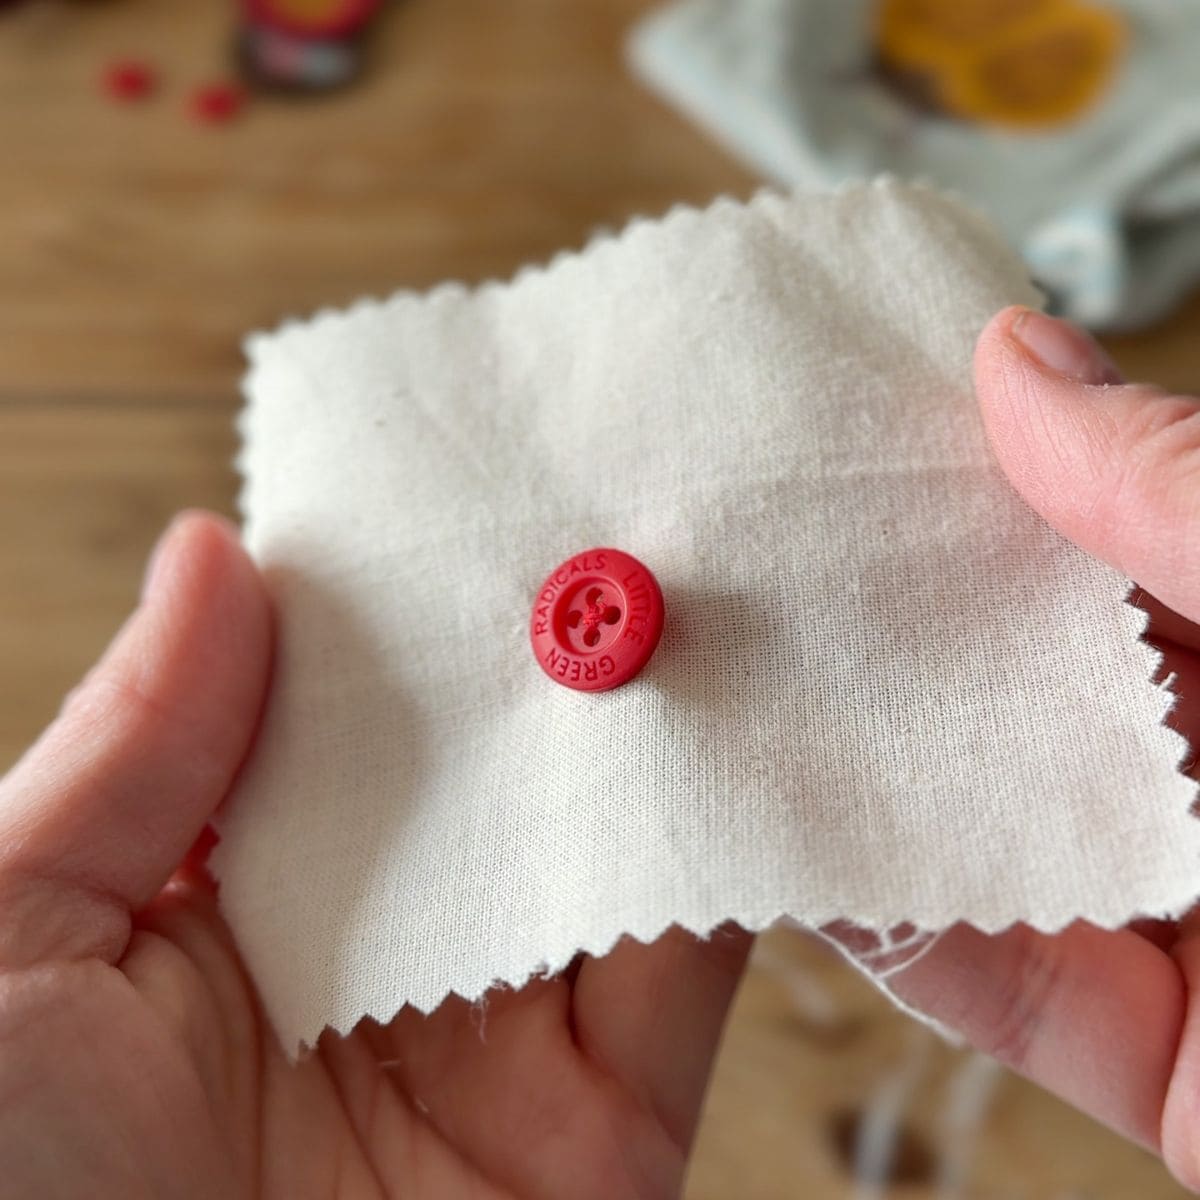
7. Practice on a mini quilt sandwich
I can’t stress this one enough. Practice really does make perfect here. Make up a little quilt sandwich with some old sheets or scraps and practice your pattern over and over. This is a good idea every time you come to free motion quilt. I found that I’d got a bit rusty after a couple of days away from the machine, so a quick practice run helped to bring the muscle memory back and saved my best work for the quilt.
The quilt in this post is my first attempt at free motion quilting, using the Sun Flare quilt pattern by Then Came June. I adapted the pattern to make it square, so that it could be used as a playmat.