
How to DIY Dollhouse Wallpaper: Easy, Affordable & Bespoke Miniature Paper
Dreaming of perfect dollhouse wallpaper without the boutique price tag? Discover the easy, budget-friendly way to wallpaper at a miniature scale.
This page contains affiliate links, which earn me a little bit of commission if you make a purchase, at no additional cost to you. Thank you for supporting my little corner of the internet!
There’s a dollhouse in my daughter’s bedroom that has taken over my heart.
Little chairs have appeared. A tiny rug. A minuscule kettle that I find absolutely delightful. I found a miniature Aga in a charity shop that fits perfectly with my vision of the perfect little farmhouse kitchen.
Room by room, it’s turning into a proper little home – and I’m not sure who’s more invested, me or the kids!
But the thing I kept coming back to, the project I’d been quietly dreaming about for months? The perfect wallpaper for those tiny rooms.
I looked into proper dollhouse wallpaper packs. There are some genuinely gorgeous options out there (Annika Reed Studio and Oh So Daisy are at the top of the list), and I spent a very happy twenty minutes browsing, but I knew I couldn’t wallpaper the whole dollhouse with ready-made paper.
Here’s what I found instead: you can make beautiful miniature wallpaper for almost nothing, using paper you probably already own.
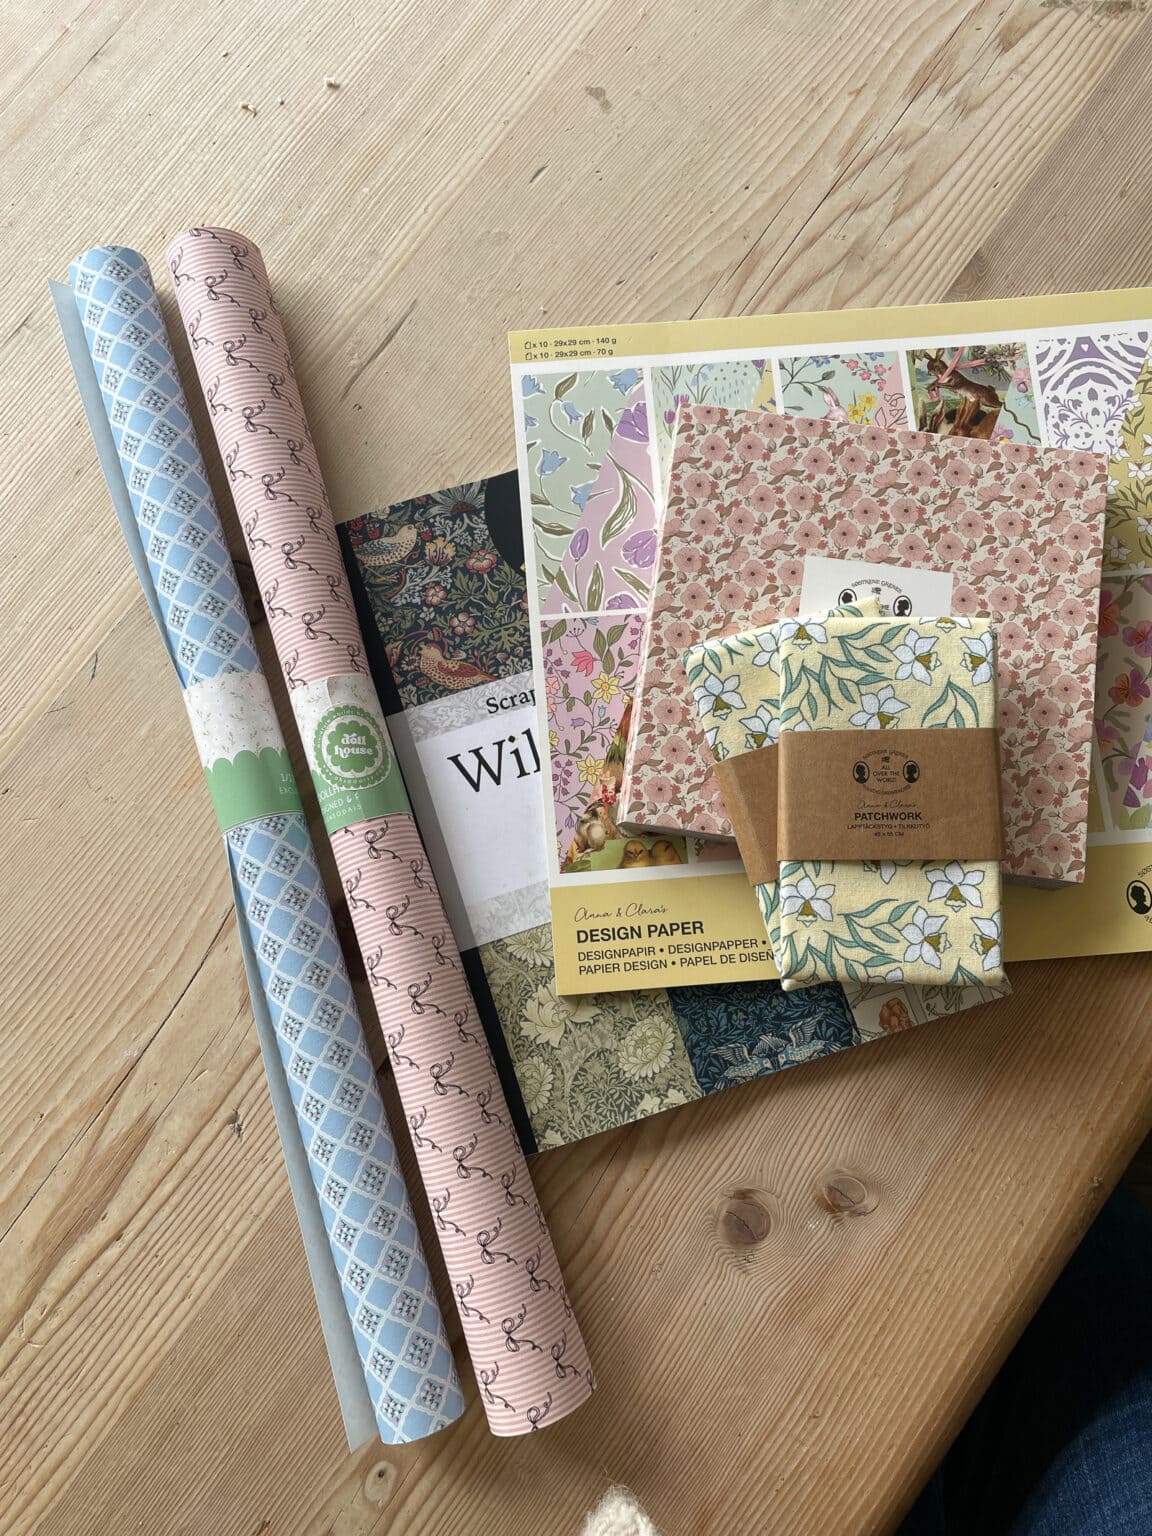
Scrapbook paper, origami paper, wrapping paper, or designs you print yourself. All of them work brilliantly at miniature scale, and the results are beautiful.
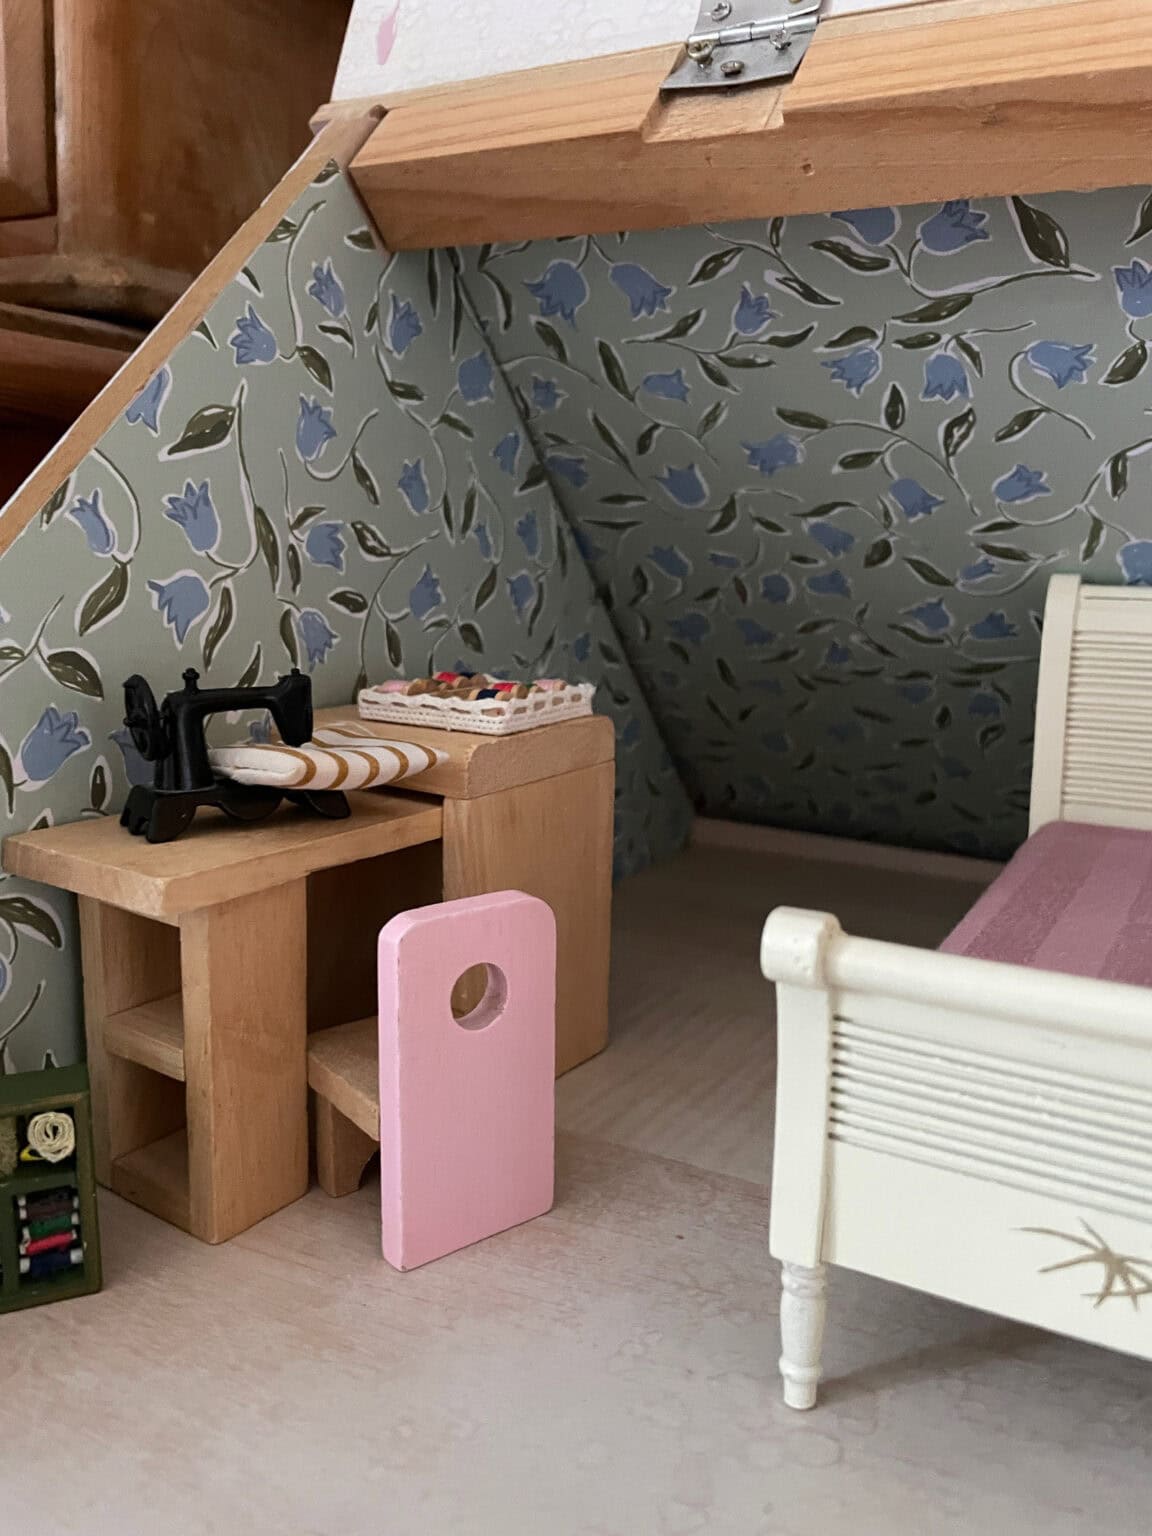
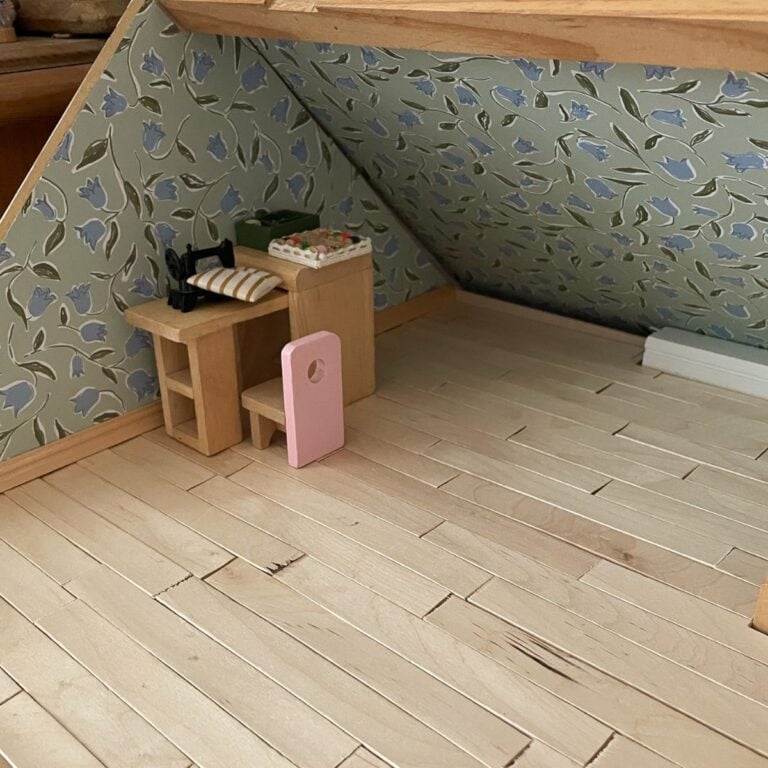
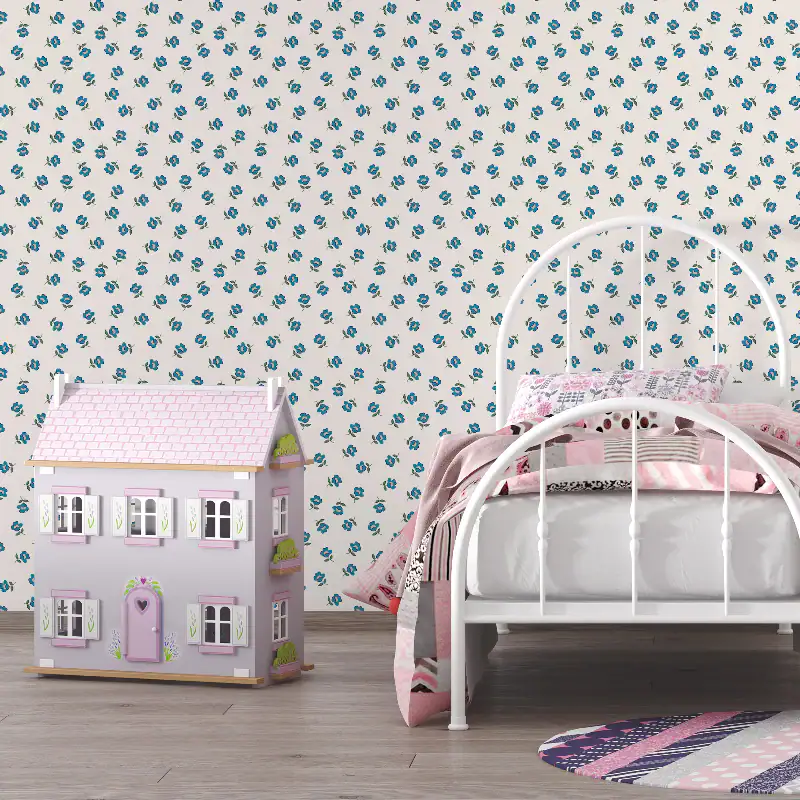
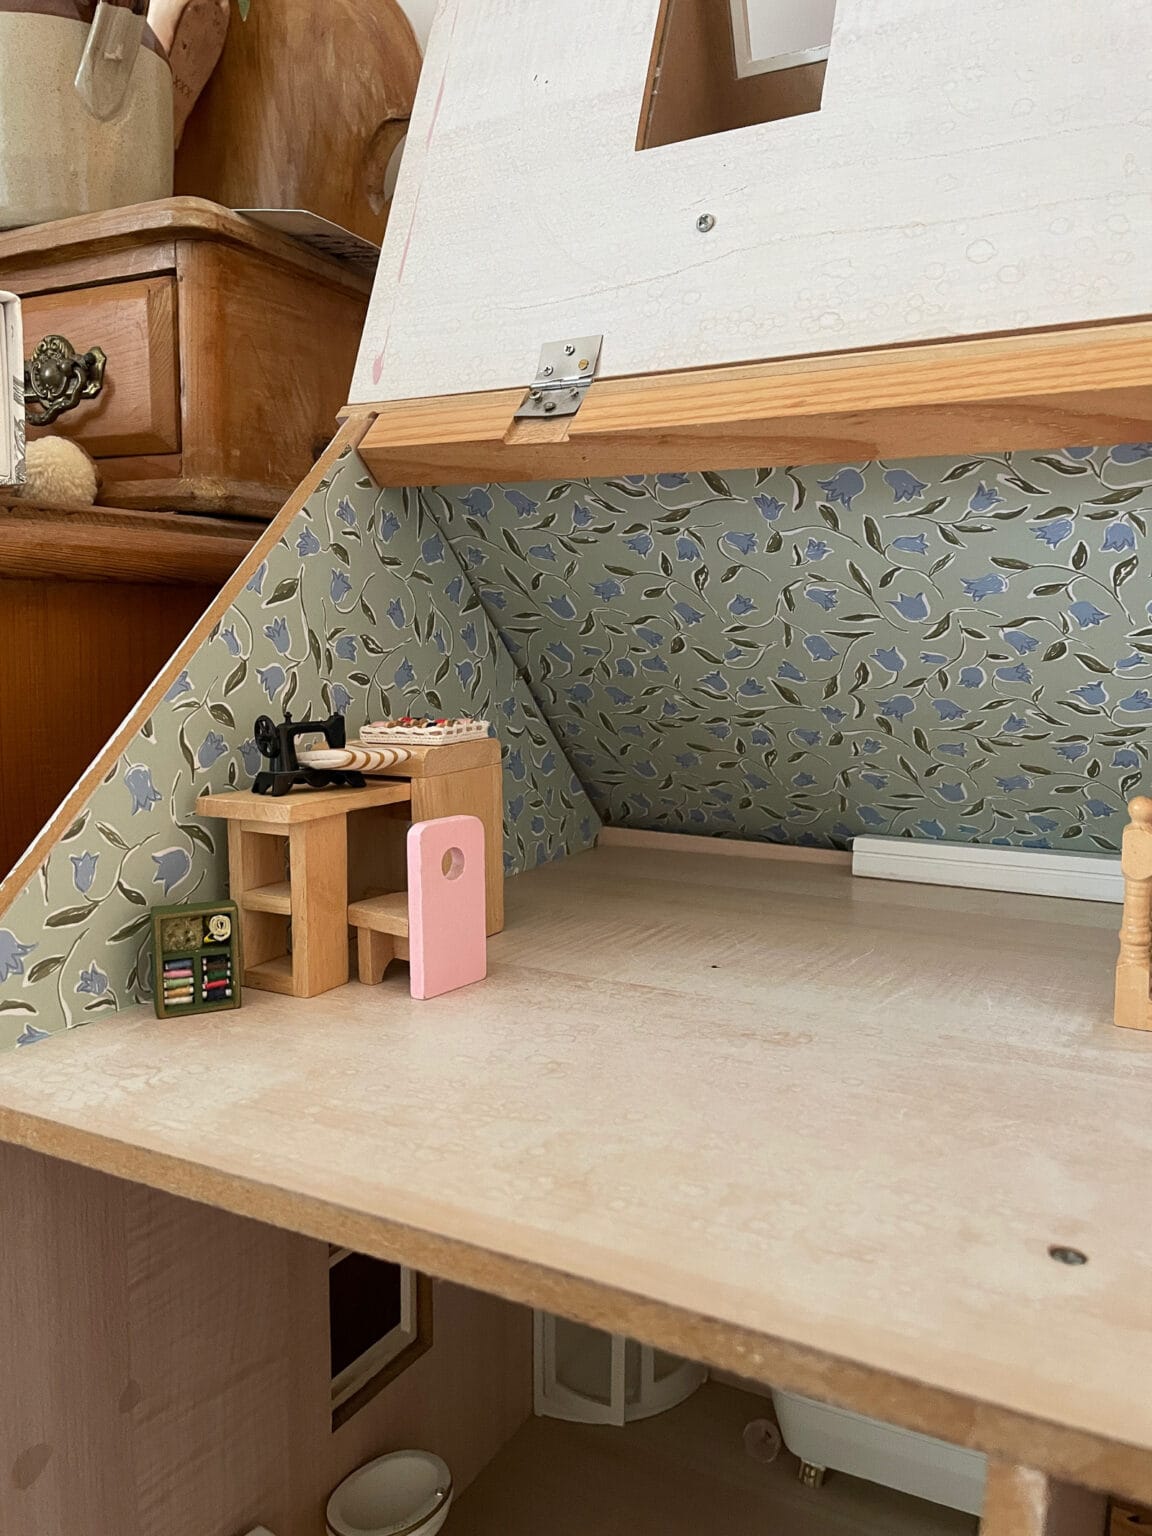
The kids got to choose a different pattern for each room, which led to some very strong opinions. Itsy bitsy florals for the bedroom – obviously. Something “fun” for the attic, which after prolonged deliberation turned out to mean even more florals. At this stage, the whole house may disappear under a floral avalanche and I’m not mad about it.
Here’s exactly how we did it.
The Cheapest (and Easiest) Dollhouse Wallpaper You’ll Ever Make
The secret that nobody tells you about dollhouse wallpaper is this: it’s just paper on a wall. Which means that almost any paper works. Here’s what to try:
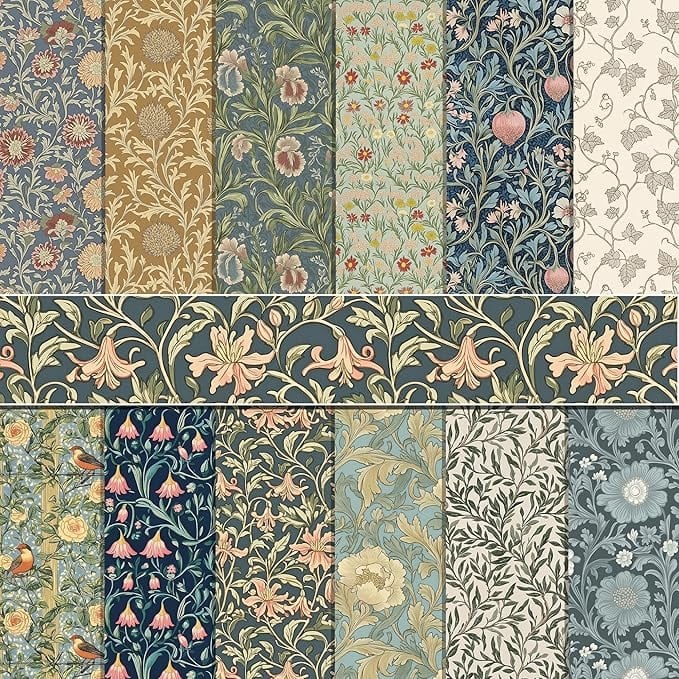
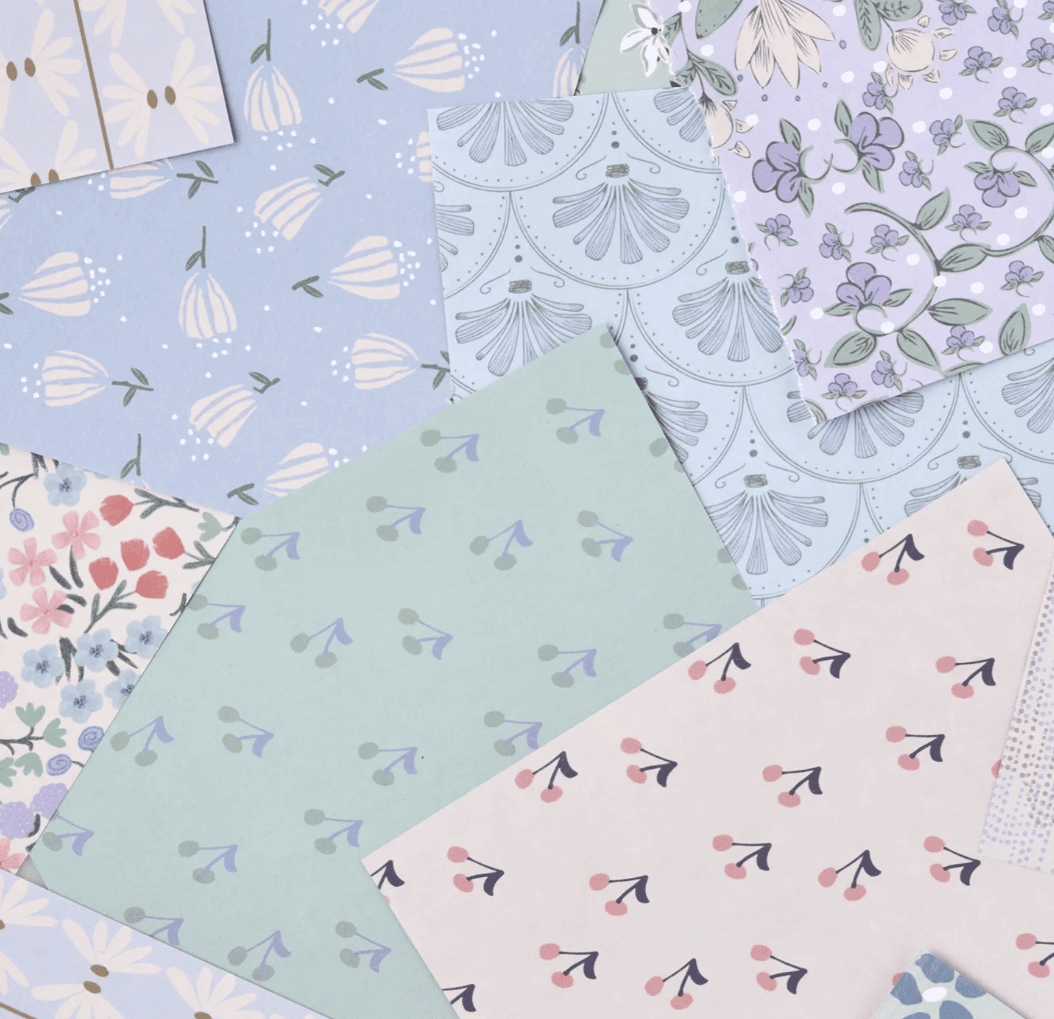
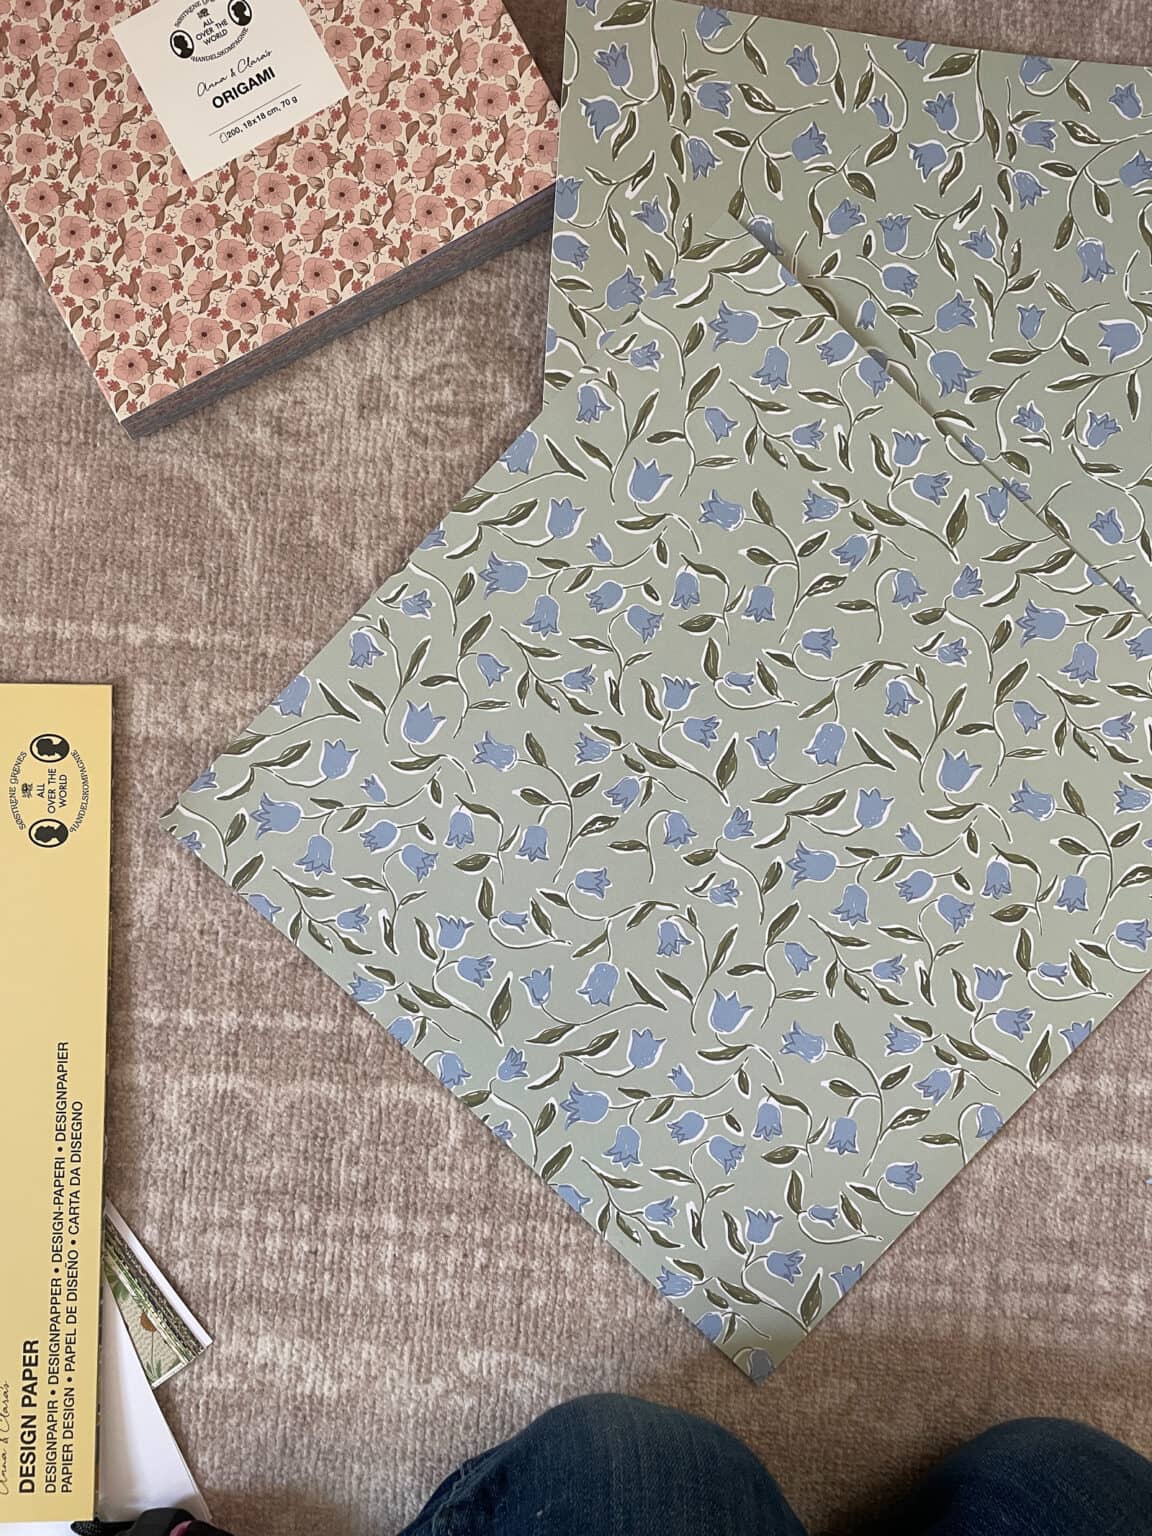
- Scrapbook paper is probably the best starting point – it comes in hundreds of gorgeous patterns and different designs, and the scale is usually just right. Go for smaller prints if you can; a large bold floral can look a little overwhelming at miniature scale, though it can also look wonderfully maximalist if that’s your vibe.
- Origami paper is often beautifully patterned, and if you have some lurking in a drawer, it’s absolutely worth using. You’ll need to tile a few pieces together, but the results can be really lovely.
- Wrapping paper comes in endless different designs and in big enough rolls that cutting it to size is quick and easy. It’s especially good if you want to paper several rooms in one go.
Have a rummage through your craft stash before you buy anything – you might be surprised what you find!

How to Make Completely Bespoke Miniature Wallpaper (This is the Fun Part)
If you’ve been through your stash and nothing is quite right. Or if, like me, you have a very specific vision involving miniature shabby chic dollhouse wallpaper, here’s some brilliant news: you can design and print your own for pennies, and it looks incredible.
This is honestly the best way to do it, because you can create something completely unique to your dollhouse.
Open Canva and create a new A4 or letter-size document. Browse the built-in elements and patterns – there are some really fun options – or upload an image of a wallpaper you love and tile it to fill the page. Download it as a high-quality PNG and you’re ready to print.
A few things I learned the hard way so you don’t have to:
- Boost the saturation slightly in Canva before you download. Colours tend to come out a little washed out in printing, so a small bump makes a big difference.
- Download as PNG at 100% quality. This is not the moment to save file space.
- Set your printer to ‘best’ quality. The difference is genuinely visible at miniature scale.
- Print a test sheet first. Before you commit to printing fifteen sheets of wallpaper, do a test to check the scale and the colours. Thirty seconds of patience can save a lot of wasted paper.
With those four things in place, you’ll have paper ready for the walls of your dollhouse that looks like it came from a boutique interiors company.
How to Install Your Dollhouse Wallpaper (Step by Step)
Supplies
What you’ll need:
Your chosen wallpaper paper
Plain white paper
Scissors or a craft knife and cutting mat
Double-sided tape
Regular tape
SHOP THE PROJECT
Wallpaper Recommendations for Your Dollhouse
Shop similar wallpapers to the ones I used
Step 1: Make a template
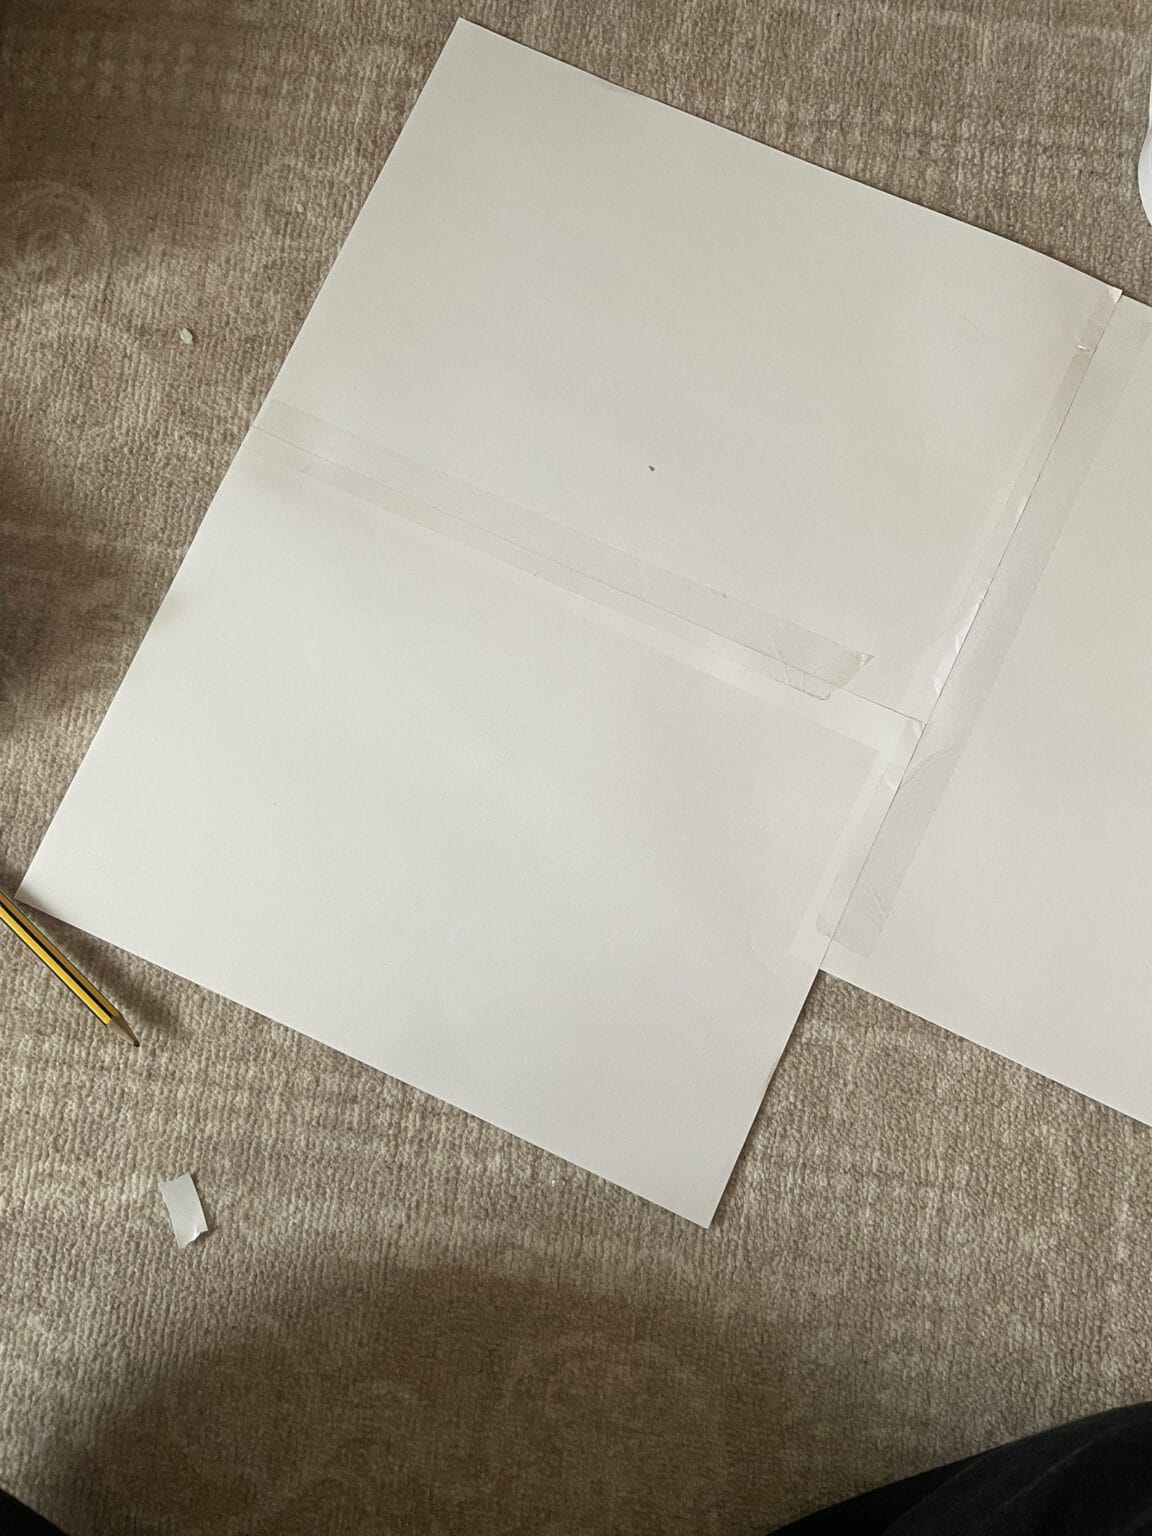
Tape together as many pieces of plain paper as you need to cover your wall.
Hold the sheet up to the wall, press it firmly into the corners and around any windows and doors to create creases, then cut along those lines. You now have a perfect template of your wall.
Hold it up to check the fit before you move on.

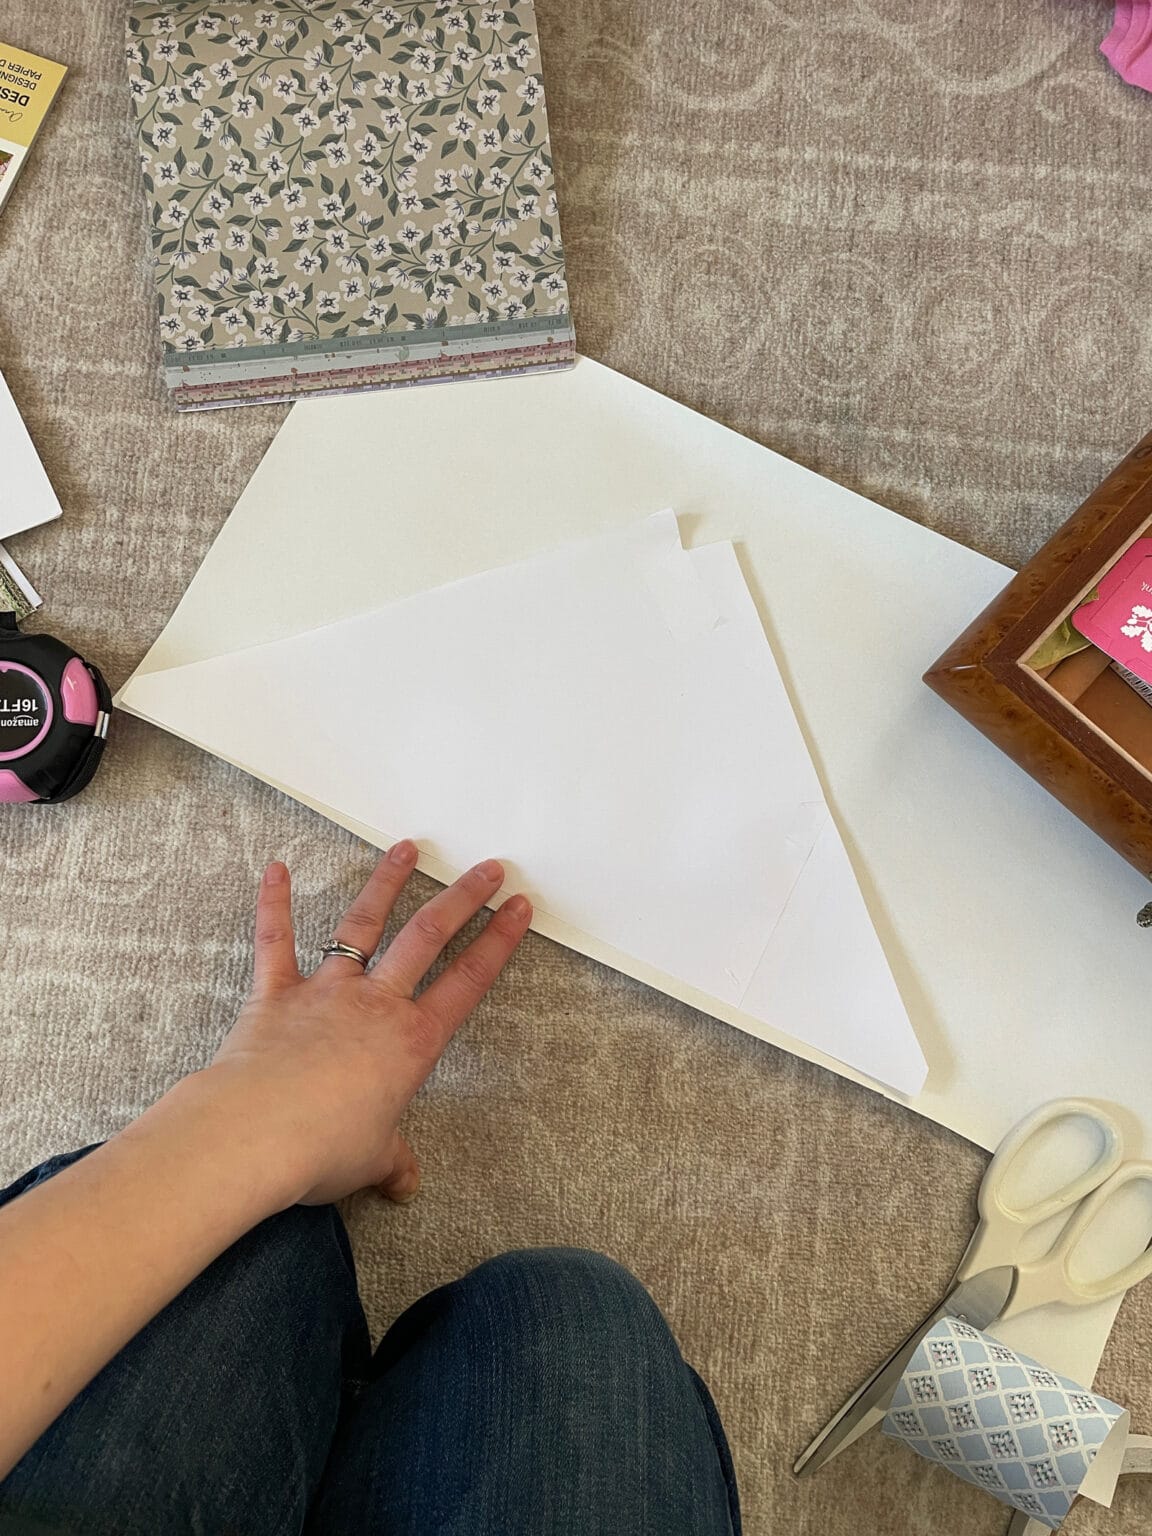
Step 2: Cover your template with wallpaper
Lay your wallpaper over the template and attach it with double-sided tape, making sure the pattern is the right way up and all the edges are secured.
Trim off any excess around the edges and any window or door openings.
Step 3: Do a dry run
Hold the whole thing up against the wall before any permanent tape gets involved. Check the fit, check the pattern, check you’re happy. It takes thirty seconds and can save a lot of frustration. I speak from experience (!)
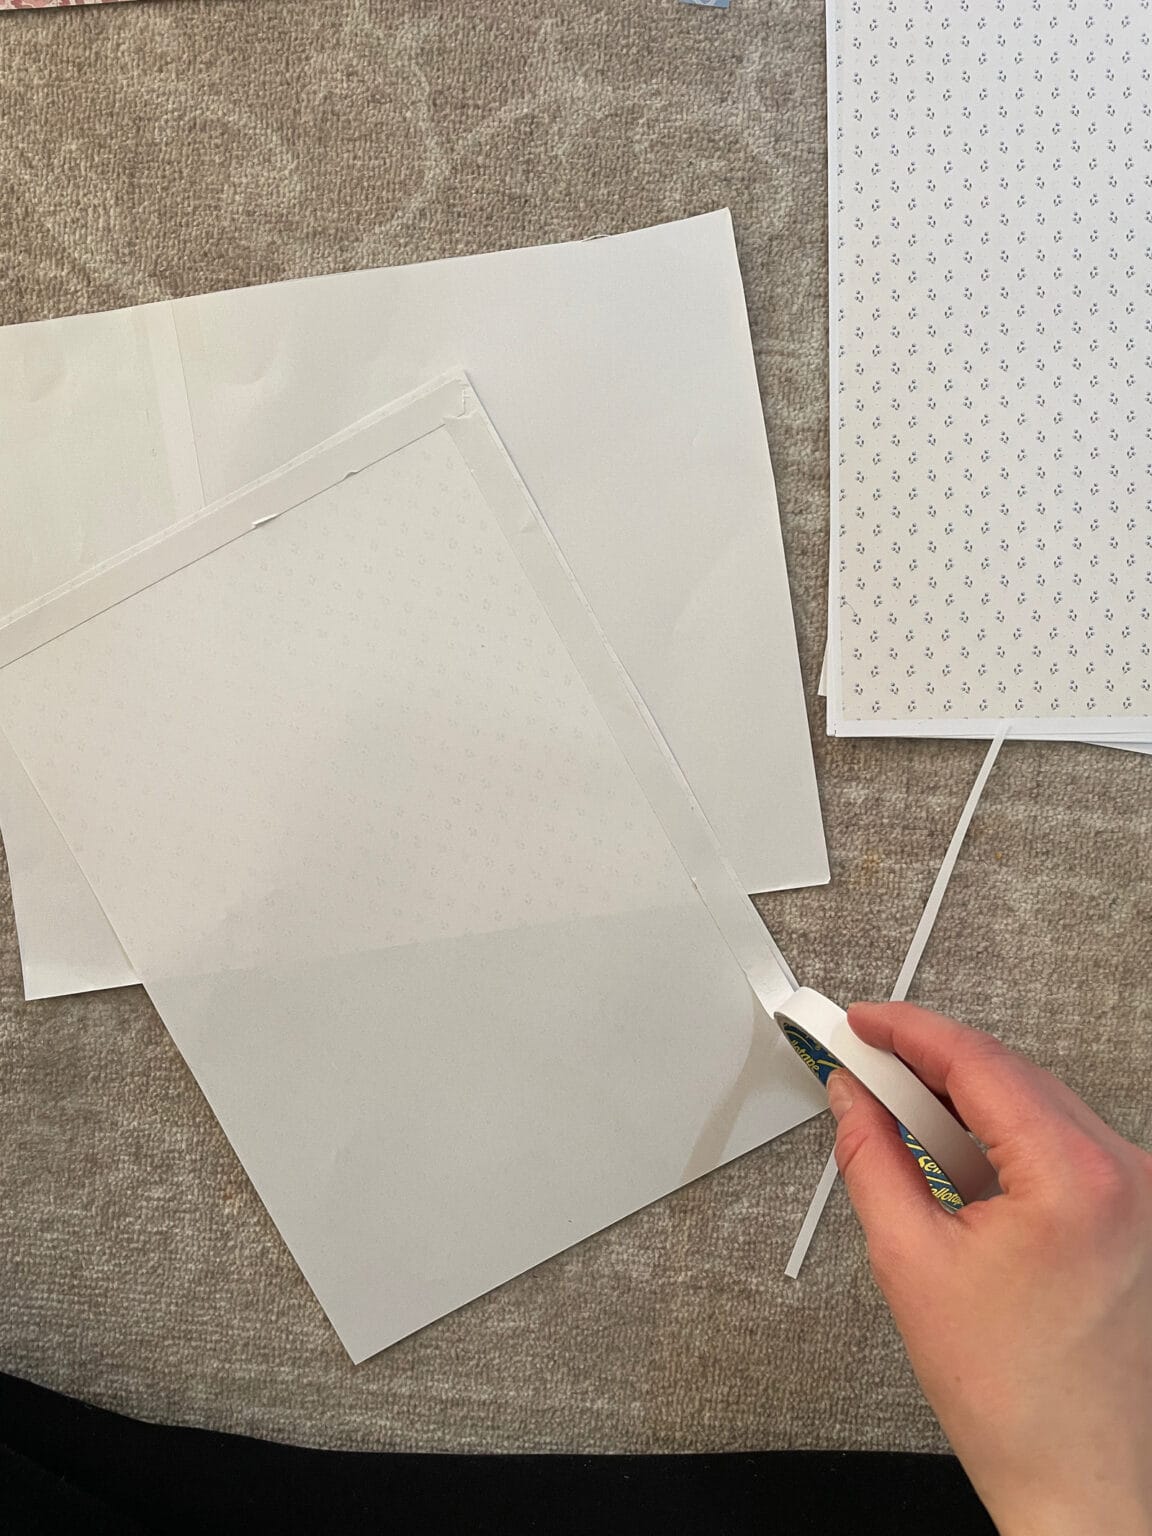
Step 4: Stick it down
Apply double-sided tape around all the edges of the wallpaper and one or two strips across the middle.
Press the paper onto the wall, aligning it carefully, and work from one end to the other pressing it firmly as you go.
Step 5: Trim and tidy
Once everything is in place, trim any overhanging edges with a craft knife. If any corners are lifting, a tiny dab of glue and firm pressure will sort them right out.
Was It Worth It?
Every time I walk past the dollhouse and catch a glimpse of that little floral bedroom, I think: absolutely yes.
It cost us next to nothing, took an afternoon, and the kids play with it every day. That’s about as good as a craft project gets. If your dollhouse walls are looking a little sad, give this a go — it’s much easier than it sounds, and the results are genuinely lovely.
And fair warning: once you start, it is very difficult to stop. Next on my list is trimming out the kitchen with the perfect little architectural details to really bring my tiny farmhouse to life.
If you’re on a full dollhouse renovation kick (and I completely understand if you are), these might be your next ports of call:
How to Paint a Dollhouse
How to Do Dollhouse Flooring
Frequently Asked Questions

DIY Dollhouse Wallpaper
Equipment
- Scissors or craft knife
- Cutting mat
- Ruler
- Pencil
Materials
- Scrapbook paper, wrapping paper, origami paper, or printed wallpaper design
- Plain white paper (for template)
- Double-sided tape
- Regular tape
- Optional: PVA glue or Mod Podge
Instructions
Make a wall template.
Tape together pieces of plain paper until the sheet covers your dollhouse wall. Press the paper into corners, around windows, and along edges to create crease lines. Cut along the creases to form a template.Attach wallpaper to the template.
Place your chosen wallpaper over the template and secure it with double-sided tape. Make sure the pattern is facing the correct direction.Trim the edges.
Cut around the template to remove excess paper and trim openings for windows or doors.Do a dry fit.
Hold the wallpaper panel against the dollhouse wall to check the size and pattern placement before sticking it down.Install the wallpaper.
Apply double-sided tape around the edges and across the middle. Carefully press the wallpaper onto the wall and smooth it into place.Finish the edges.
Trim any overhanging edges with a craft knife. Press down corners or add a small dab of glue if needed.
Notes
- Scrapbook paper is one of the easiest materials for dollhouse wallpaper because it comes in many small-scale patterns.
- Printable wallpaper designs allow you to create completely custom dollhouse rooms.
- Use smaller patterns for the most realistic miniature look.
- Double-sided tape works well because it keeps the paper flat and allows easy removal later.


