
How to Do Sashiko Stitching: Easy, Beautiful Visible Mending
Learn how to do sashiko stitching to create visible mending with beautiful geometric patterns.
This page contains affiliate links, which earn me a little bit of commission if you make a purchase, at no additional cost to you. Thank you!
It’s bedtime. I take off my little boy’s trousers, and let out a big, frustrated sigh.
This is the third pair of trousers he’s worn through in as many weeks!
I chuck them into a box under our bed, where there are broken zips, worn out elbows and those slightly embarrassing crotch tears that always seem to come at exactly the wrong time.
With four children in the house, I need to be able to mend things quickly, and I want it to be fun for a spot of afternoon stitching.
This is exactly why I love sashiko so much.
Super beautiful, surprisingly fun and so simple you can do it with a toddler on your knee.
Come with me today as I teach you this special Japanese mending method.

What is Sashiko?
Sashiko is a Japanese stitching style that was originally used by working class people as a means to mend used clothing and household items. Sashiko literally means little stabs, referring to the repeated, even stitches.
Worked with white thread, a long needle and a simple running stitch, sashiko is a fun option when you want your mending to be decorative as well as functional.
Typically the little white stitches are used to create geometric designs, but the beauty of sashiko embroidery is that you can make it as simple or as intricate as you like.
Sashiko is now sometimes used purely as an embroidery technique (without the mending aspect) and you can buy or make sashiko samplers to give this a go. But I still love honouring the origin of sashiko and using it for mending.
Mend Your Clothes in Minutes
Discover the course that teaches you the exact methods to mend your clothes in less than 20 minutes.
Learn no-sew, hand-sew and machine techniques, each with easy-to-follow video tutorials. You’ll learn practical skills to save your clothes (and your money) without needing to be “crafty.”
Just simple, satisfying fixes that actually last.
The Rules of Sashiko Stitching (And Why It’s OK to Break Them!)
Sashiko is a historic form of hand embroidery, so there are some ‘rules’ to the technique that are important to recognise. Having said that, I also think that creativity is a beautiful thing, so you can take these methods and put your own spin on them!
Sashiko Needle and Thread
Traditionally, Japanese sashiko stitching is done using a special sashiko needle and thread. Sashiko needles are very long and have a larger eye than other needles. The thread is traditionally white cotton thread, that is highly durable.
Having tried these, I think it’s worth investing a small amount in the right materials, as it gives you the best result.
I bought my sashiko needle and thread from here, but there are lots of places that sell similar.
However, if you’re not too bothered about perfection, then a long embroidery needle and embroidery floss (use all 6 strands) will work just fine.
You can also buy special sashiko thimbles if you’d like to use the traditional method of holding the needle.

Sashiko stitching order and size
The most important thing for creating sashiko’s beautiful lines of stitches is to keep your stitches the same size.
Usually, sashiko is worked by creating all the horizontal lines and then adding the vertical and diagonal lines after that. It’s a good idea to mark your design in washable ink or chalk before you start sewing to help with this.
Wherever your lines cross over, for example when creating star shapes, leave the centre of the design over (that is, don’t cross your sashiko stitches). You can see some sashiko patterns here for inspiration.

How to Mend Clothing Using Japanese Sashiko Stitching
Supplies
You will need:
- Item with a hole in
- Fabric scraps
- Fabric scissors
- Pins or safety pins
- Sashiko needle or long embroidery needle
- Sashiko thread or embroidery threads
- Thimble
- Taylor’s chalk or erasable pen (optional)


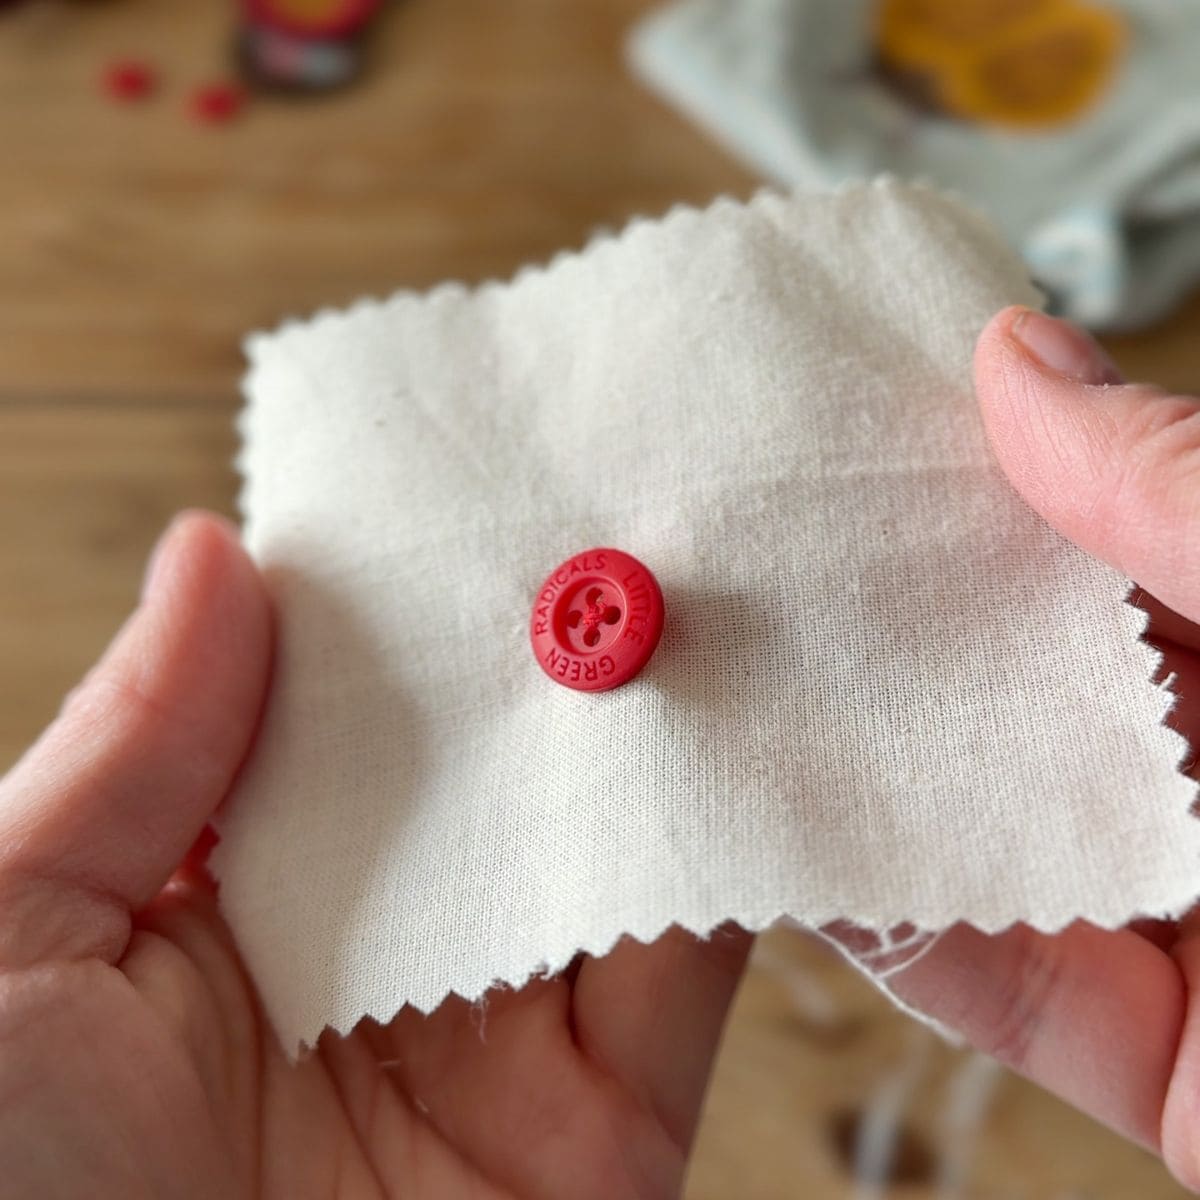
Step 1: Cut out your patch
Cut a patch of fabric that covers the hole and a few centimetres around the edge.
To stop the edges of the patch fraying, overlock the edges, use a zigzag stitch or cut the edges with pinking shears.

Step 2: Pin the Patch Inside the Garment
Pin the patch to the reverse of the garment, through both layers of fabric, centred over the hole. I started off using pins, but safety pins work slightly better as they’re less likely to move. Flip the garment right side out again.
At this point, you may want to mark a rectangle or lines with erasable pen or chalk, to indicate where you’re planning to sew, but this isn’t essential.
Step 3: Thread the Needle and Secure your Thread
Thread your needle and knot the end of the thread.
Starting on the inside of the garment, in an area where the garment is still intact (i.e. not where the hole is!) bring the needle up through the patch and fabric to the right side, then tug the thread to bring the knot between the patch and the garment fabric. You’re ready to start stitching!
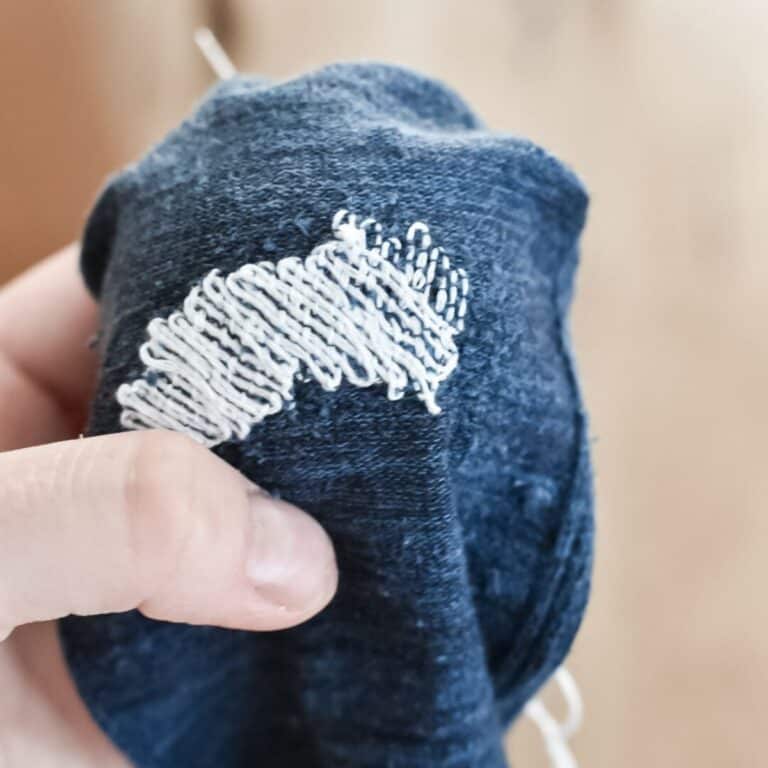
Step 4: Start Sashiko Stitching!
Bring the needle down and up through the fabric several times, until you have your needle loaded, then pull the needle through to create your stitches. Loading the needle like this is part of the tradition of sashiko and helps to create even stitches.


Step 5: Create your Design
Continue like this until your design is complete. Feel free to get as creative as you like!
Pinterest is a great resource for inspiration. Note, if you want to create crosses like I did, the best way is to create all the horizontal stitches first and then go back and create all the vertical stitches.
Step 6: Finishing off your Sashiko stitching
Once your design is complete, bring the needle to the back of the fabric and secure loose ends with a knot.
Then tell all your friends about how you’ve created something beautiful out of a piece of clothing destined for the bin!
Frequently Asked Questions
If You Loved Sashiko, Try This
Now you’ve learnt the basics of sashiko, you might also like to try a different way of mending like darning, which you can learn all about here.
Or you can try my beginner-friendly mending course, which teaches you how to mend your clothes in under 20 minutes (really!). You can find that here.
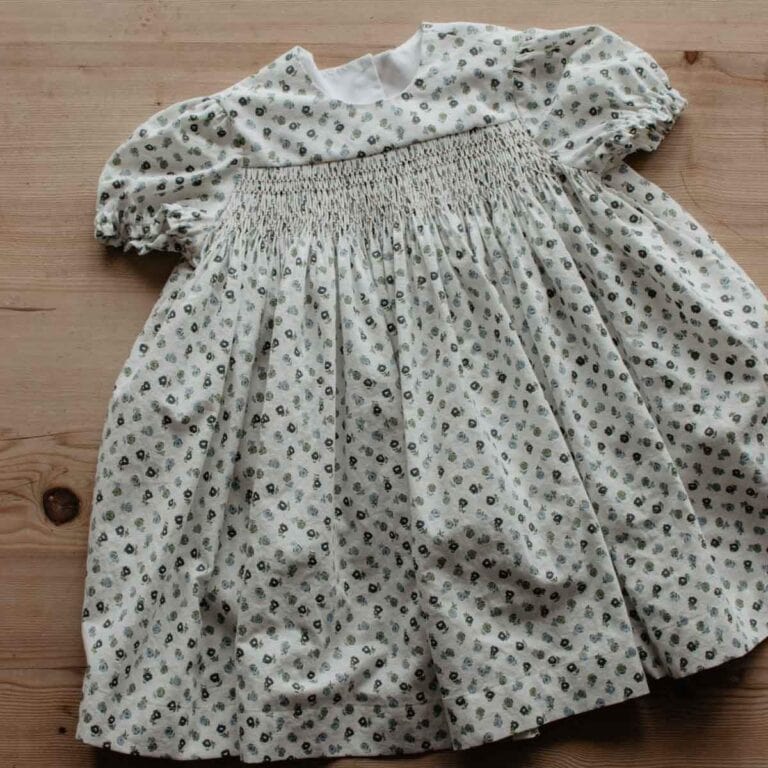
You might also like smocking, another hand embroidery technique that’s simply beautiful!
Whatever you try, you’ll never need worry about another torn knee 🤍


This was a great little summary. Thank you!
So glad to hear it! 🥰
Brilliant and helpful description of Sashiko. I saw a course advertised but thought it was expensive so wanted to find out what exactly it involves. Thank you so much for your straightforward guidance and information. I’m going to try it out myself and save the money. (Might need the cash for the special needle and thread if I enjoy it!).
Wonderful!