How to Make a Bed Canopy (Easy DIY Bed Sheet Canopy Tutorial)
Learn how to make a bed canopy using old sheets. This simple bed sheet canopy tutorial is affordable, quick and perfect for adding a little magic!
This page contains affiliate links, which earn me a little bit of commission if you make a purchase, at no additional cost to you. Thank you for supporting my little corner of the internet!
When I was six years old I had a friend with the most joyful thing in the world.
Her name was Anna and she lived in a beautiful tudor house with a heavy front door.
Her room was filled with all manner of exciting toys – Barbies, Sylvanian families, stuffed toys and an enormous blue dolls house with a red front door.
But all of that paled in comparison to the delight that hung around her bed.
You see, when I was little I thought that any bed surrounded by fabric was automatically a princess bed. Like those beautiful wooden four-poster beds from my fairytale books, a bed with a canopy is a bed fit for royalty.
Of course, my friend wasn’t a princess, and the canopy was just a cleverly arranged piece of floral fabric. But to a six year old, that’s magic.
Here I am today, 30 years on, and while I’ve never had my own princess canopy bed, I just had to find a way to make a canopy happen for my own children. To recreate a little of that magic from my own childhood.
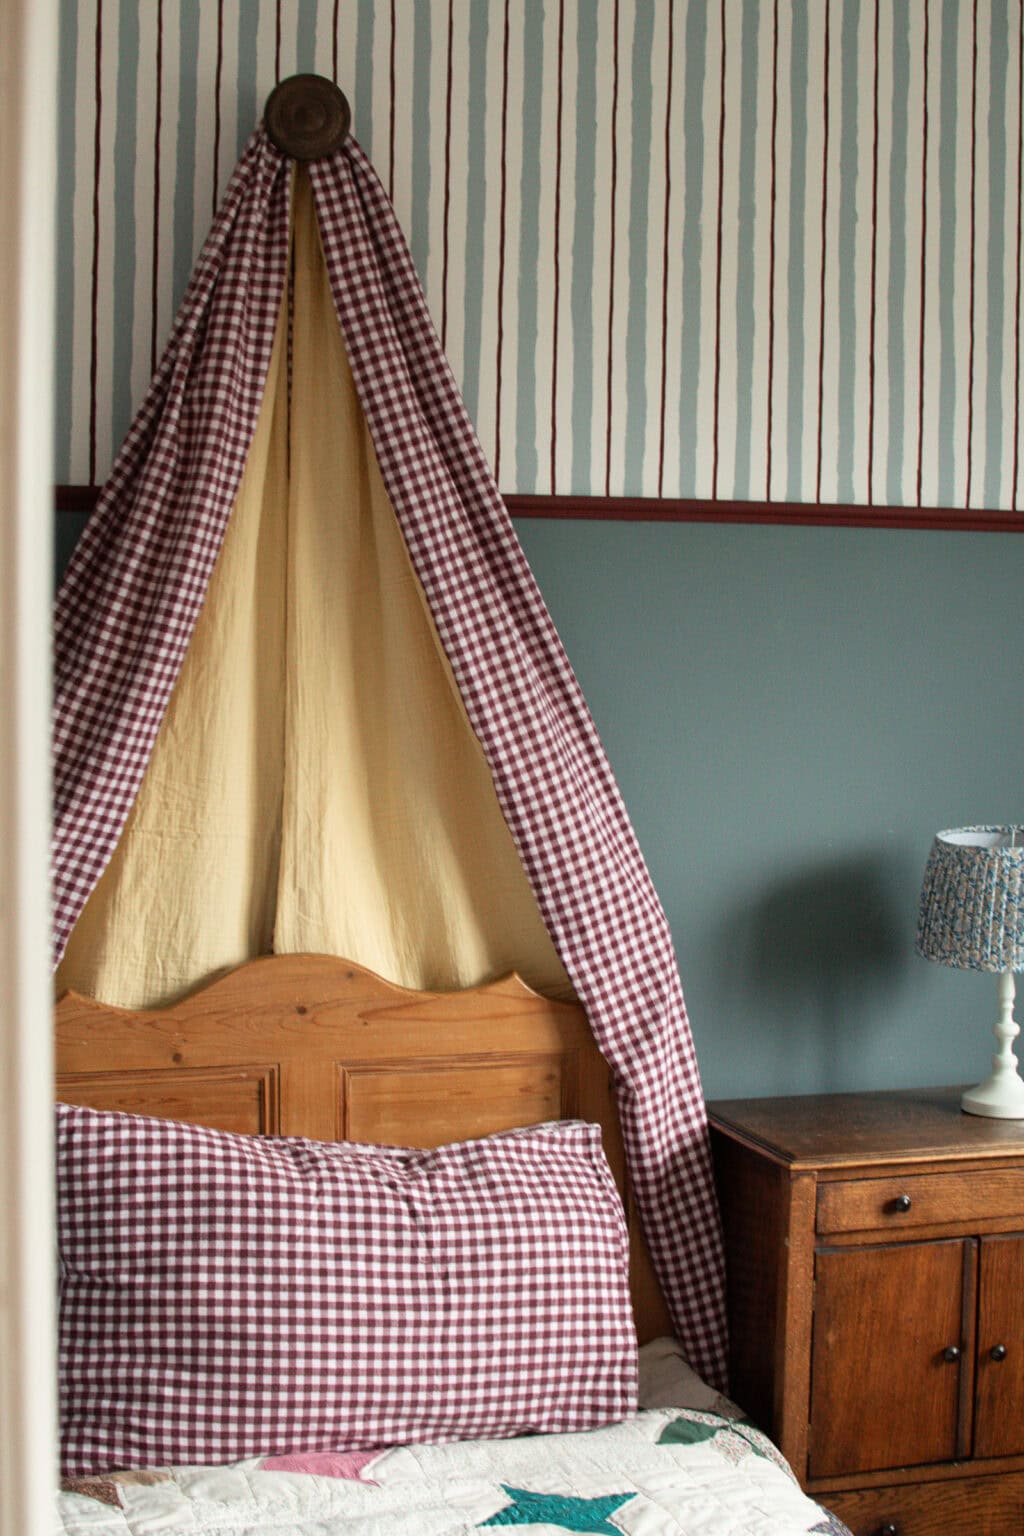
Here’s how I made a bed canopy for my little four year old, using old bed sheets.
This is the Simplest Way to Make a Bed Canopy – Trust Me!
I’ve spent many an evening knee deep in a complicated DIY project, so I can tell you that the way to enjoy making your own stuff is to find the most straightforward method.
So yes, you could buy some wooden dowels, a ceiling hook, copper elbows and curtain rods and make it a whole process. Or you could buy one curtain holdback and have your canopy made while your little one naps.
That’s right, this DIY bed canopy is absolutely do-able in a couple of hours. You can find step-by-step instructions below, but in a nutshell the process involves hanging a curtain holdback centred on the bed, then created a long piece of fabric that drapes on the holdback and down over the sides of the bed.
And not only is it easy, it’s affordable too – and here’s why.
Related: How to Paint Wall Stripes Without Tape: Beautiful, Quick and Easy!
Why Bed Sheets Make the Perfect Canopy
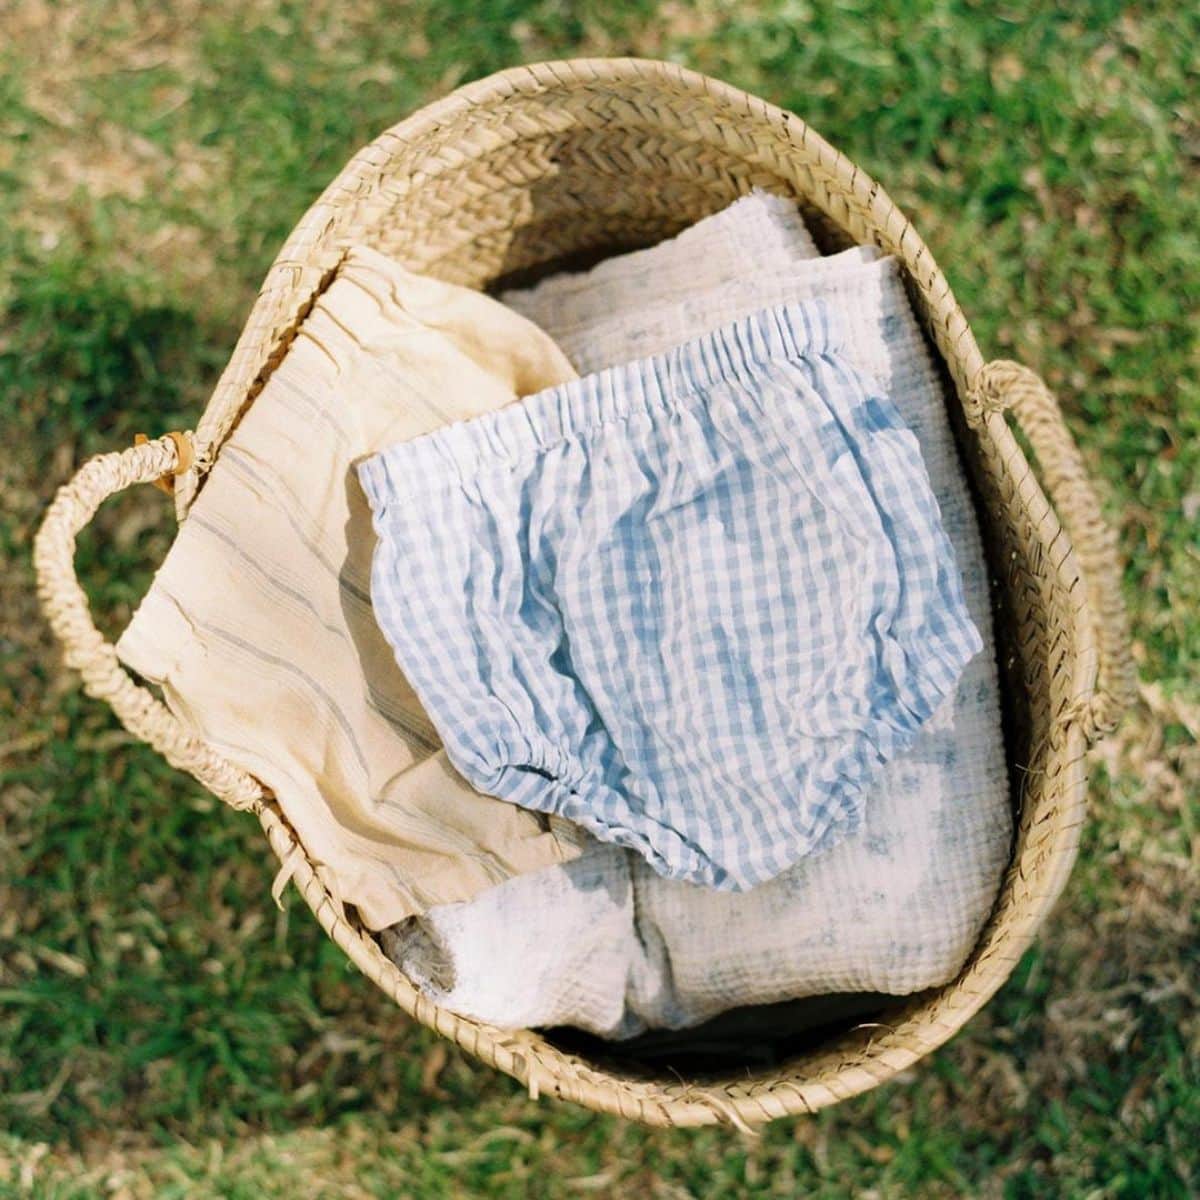
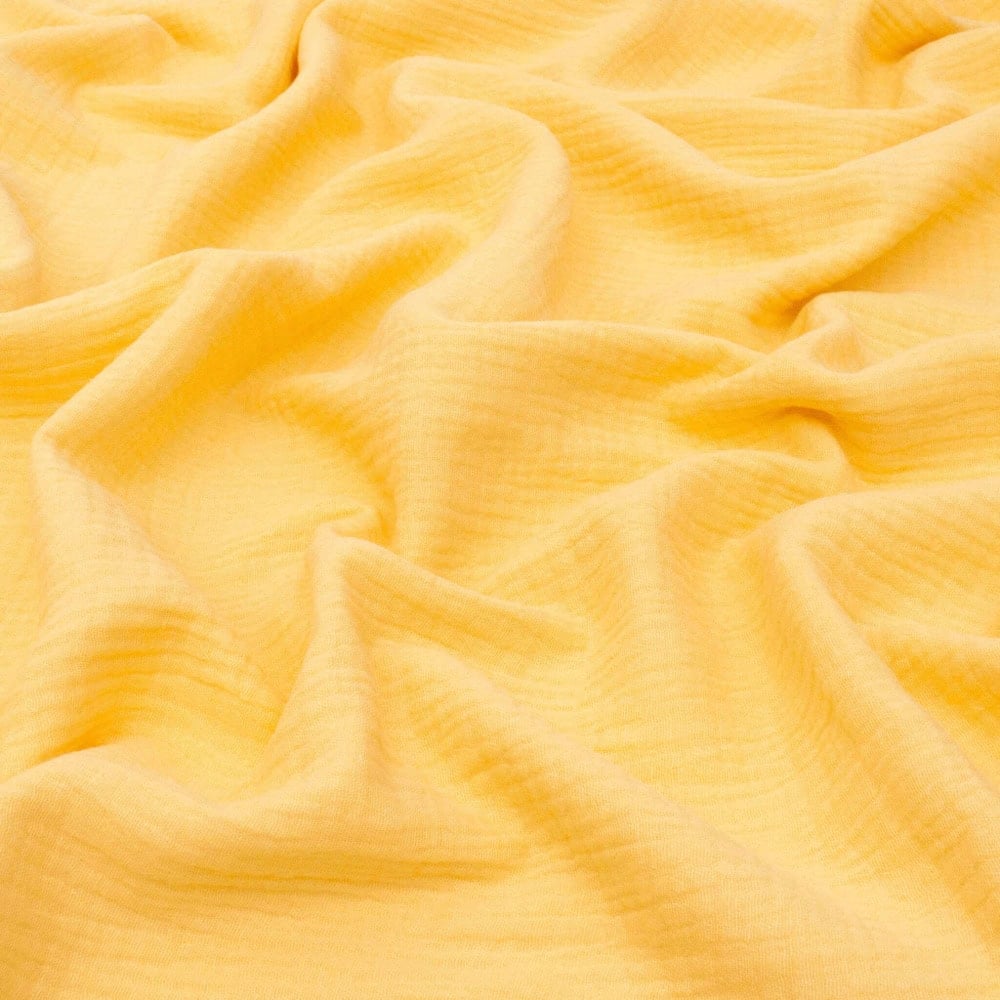
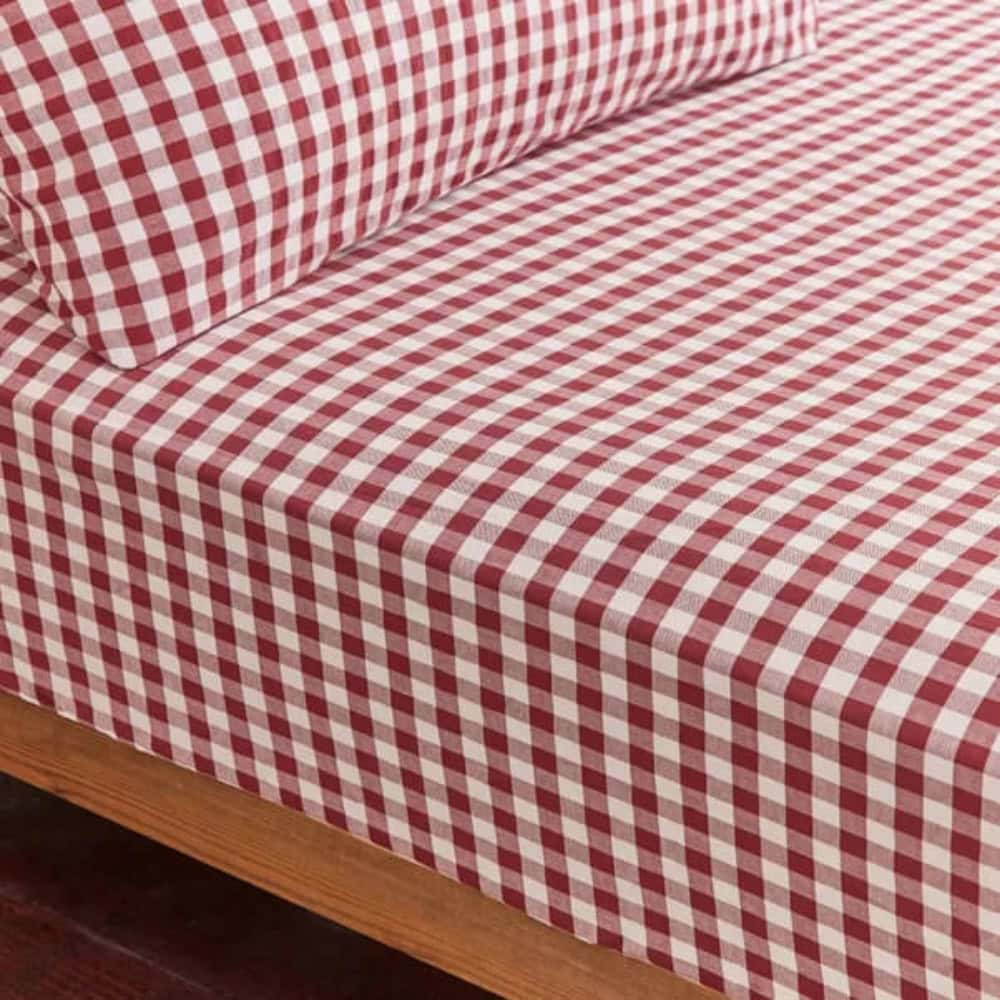
The bed canopy method I’m showing you today only needs a large rectangle of fabric, and duvet covers or flat sheets happen to be exactly the right size!
Assuming you’re doing this for a single bed like me, you’ll need one or two pieces of fabric, each at least 140cm wide and 200cm long. More width is better (especially if your own bed is wider than a standard single), but finding wide fabric can be tricky, so bed sheets are perfect for this project.
If you can’t source bed sheets then you can use normal fabric – just make sure it’s not too narrow.


These fabric requirements also assume that you’ve hung your curtain holdback approximately 1m above your bed. If you want your canopy to be taller, then you’ll need more fabric.
To work out how much you’ll need, I’d suggest hanging your holdback and then measuring from the top of the holdback to one side of the headboard. Add around 1m of drop and you’ll have the length you need.
For my project, I chose to line my canopy because I wanted two different fabrics. You don’t need to do this if you’re happy with the wrong side of your fabric showing on the inside – some fabrics are the same on both sides. In this case, you’d just need to hem the long raw edges.
Can I Make This Bed Canopy Without Sewing?
Yes! Since the bed canopy is purely decorative, you can follow the same steps but make all your seams with fabric glue or iron-on hem tape. It won’t be quite as strong, but as long as no-one pulls too hard on it, you should be fine.
Related: How to Make a DIY Pleated Lampshade (No-Sew & Easy!)
How to Make a Bed Canopy from Old Sheets
Supplies
You will need:
Curtain holdback
Drill and screws, or command hooks
Two pieces of fabric at least 140cm wide by 200cm
Fabric scissors or rotary cutter
You will also need all the sewing essentials – you can shop my favourites here.
SHOP THE PROJECT
Recommended Supplies for your DIY Bed Canopy
Shop similar products to those I used
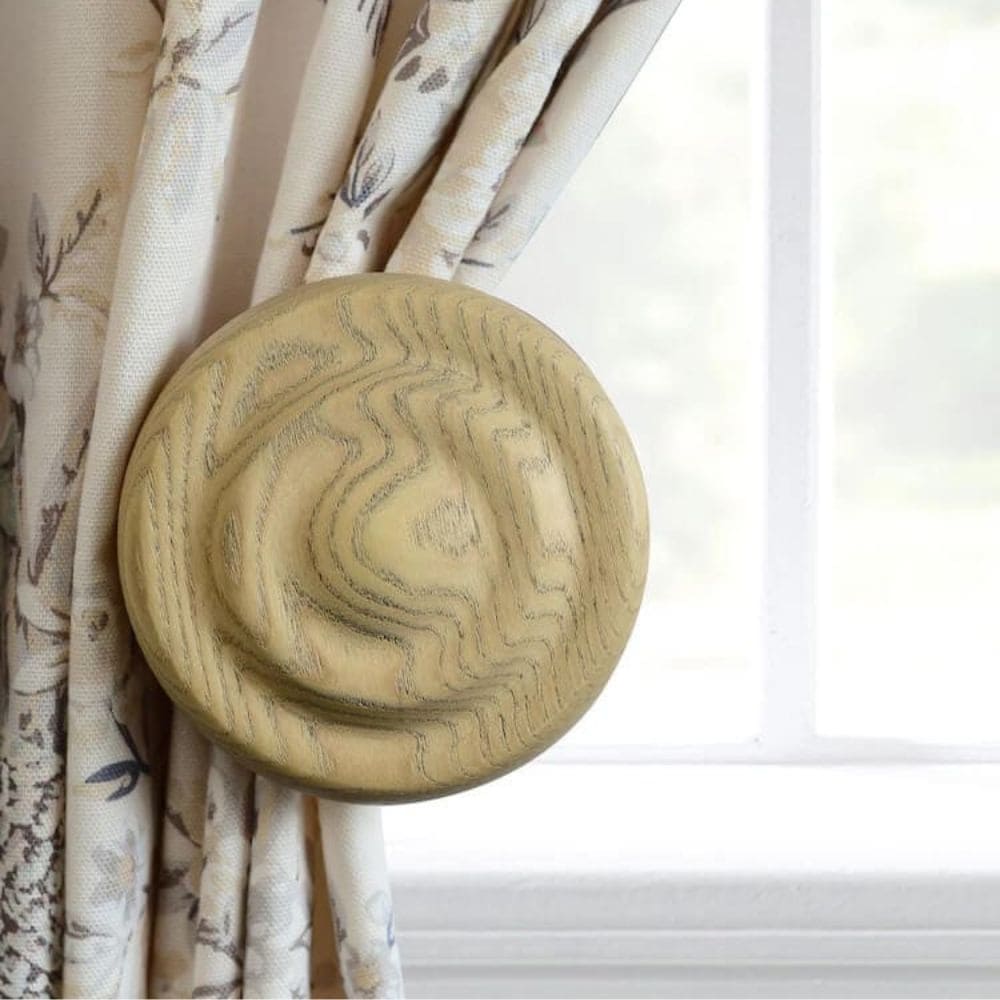
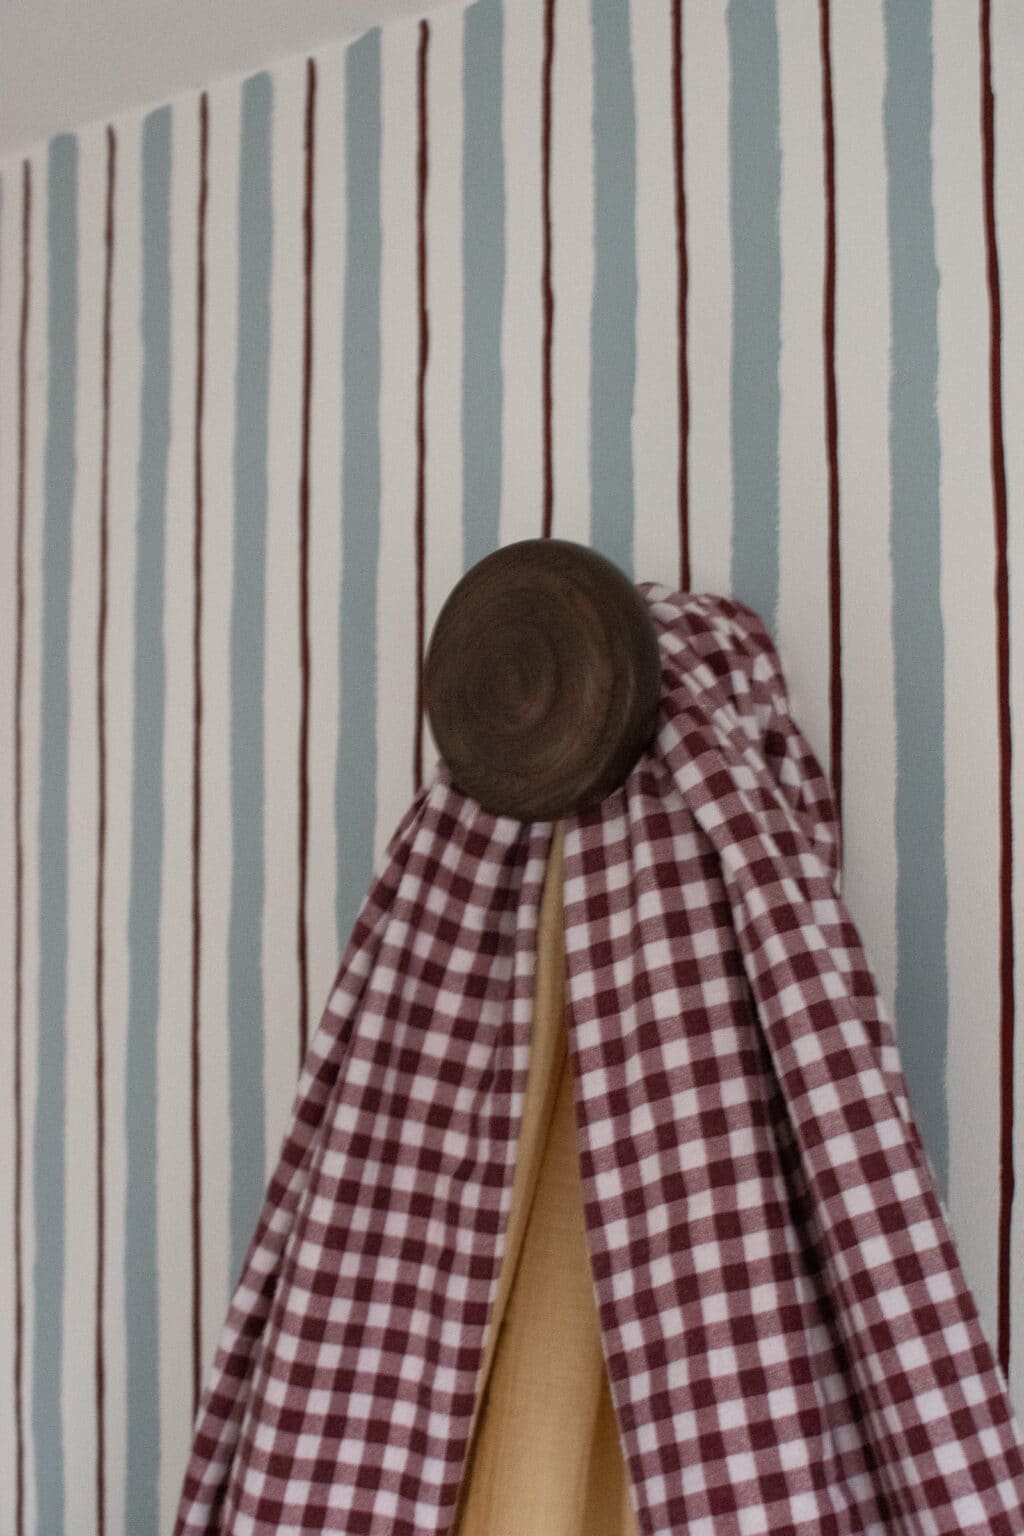
Step 1: Fix Your Curtain Holdback to the Wall
Start by hanging your curtain holdback according to the instructions. It should be around 1m above the bed. You could choose to hang it higher, but bear in mind that you’ll require a longer length of fabric.
Step 2: Cut Your Fabric
Note: It helps if the fabric you’re using for the lining (inside) of the canopy is slightly narrower (by around 10-20cm) than the outer fabric.
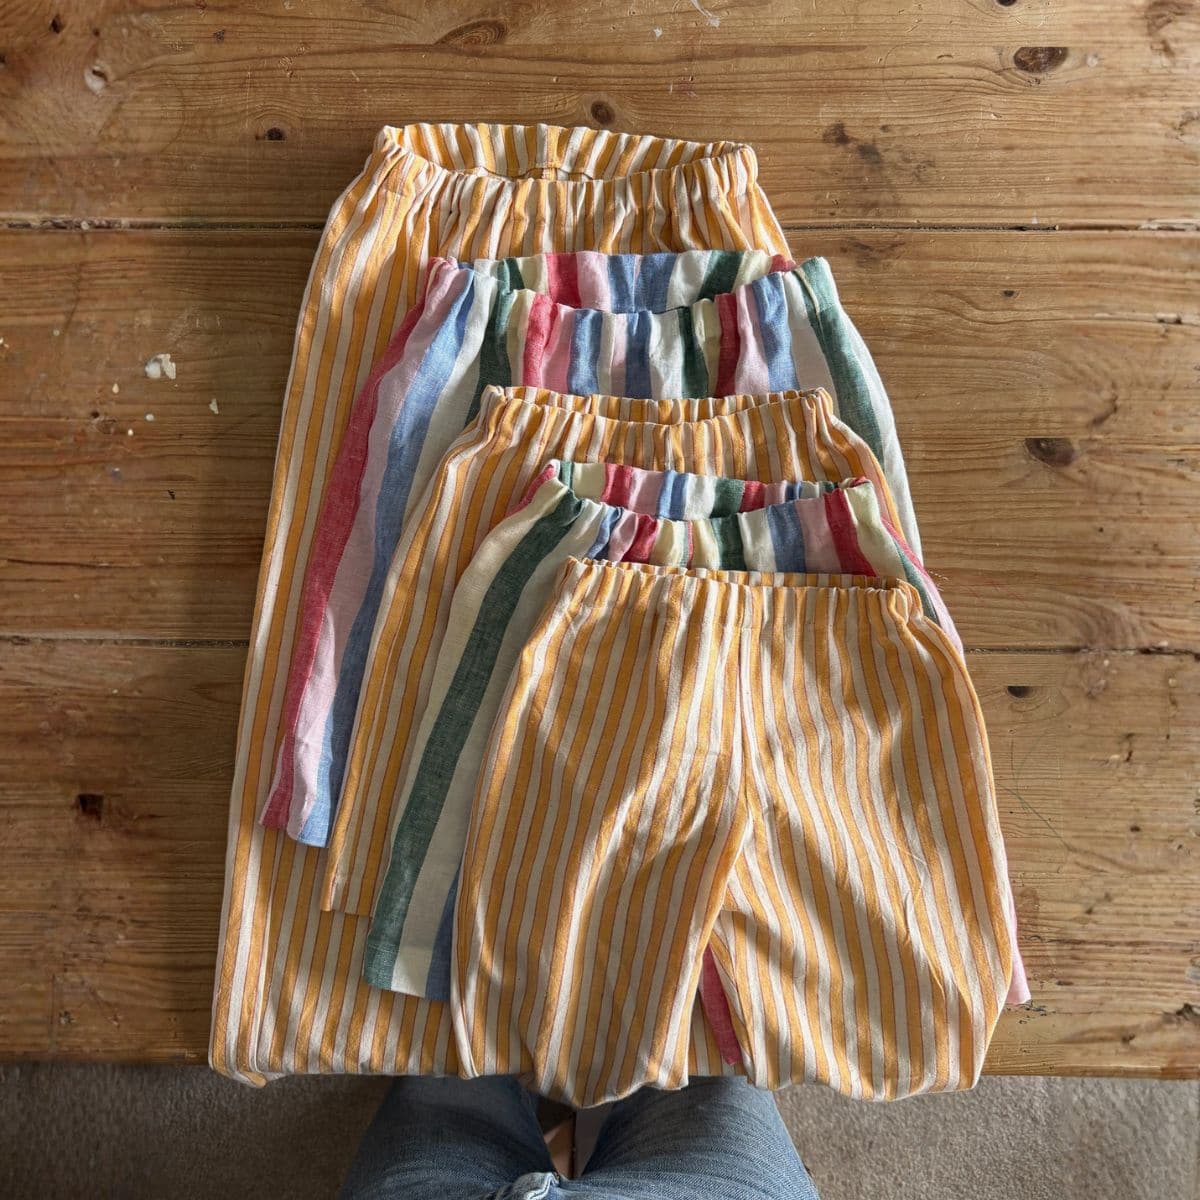
Take one of your pieces of fabric and cut it in half lengthways. The quickest way to do this is to fold the piece of fabric in half lengthways, make a small snip in the middle and then tear down from the snip all the way to the bottom.
Repeat for the second piece of fabric.


Step 3: Join Your Pieces
Take your two pieces of one fabric and put them right sides together along one of the short edges. Sew together so you have one long piece that’s around 4m long. Repeat for the two pieces of your other fabric.
Step 4: Hem Your Pieces
Take the short raw edge at the end of each of your joined pieces of fabric and fold it up 1cm and then 2cm. Press in place and sew.

Step 5: Join Your Pieces
Lay out the two fabrics, one on top of the other, with the centre seam aligned and right sides together. Pin and sew down each of the very long side seams. You should now have a very long tube.


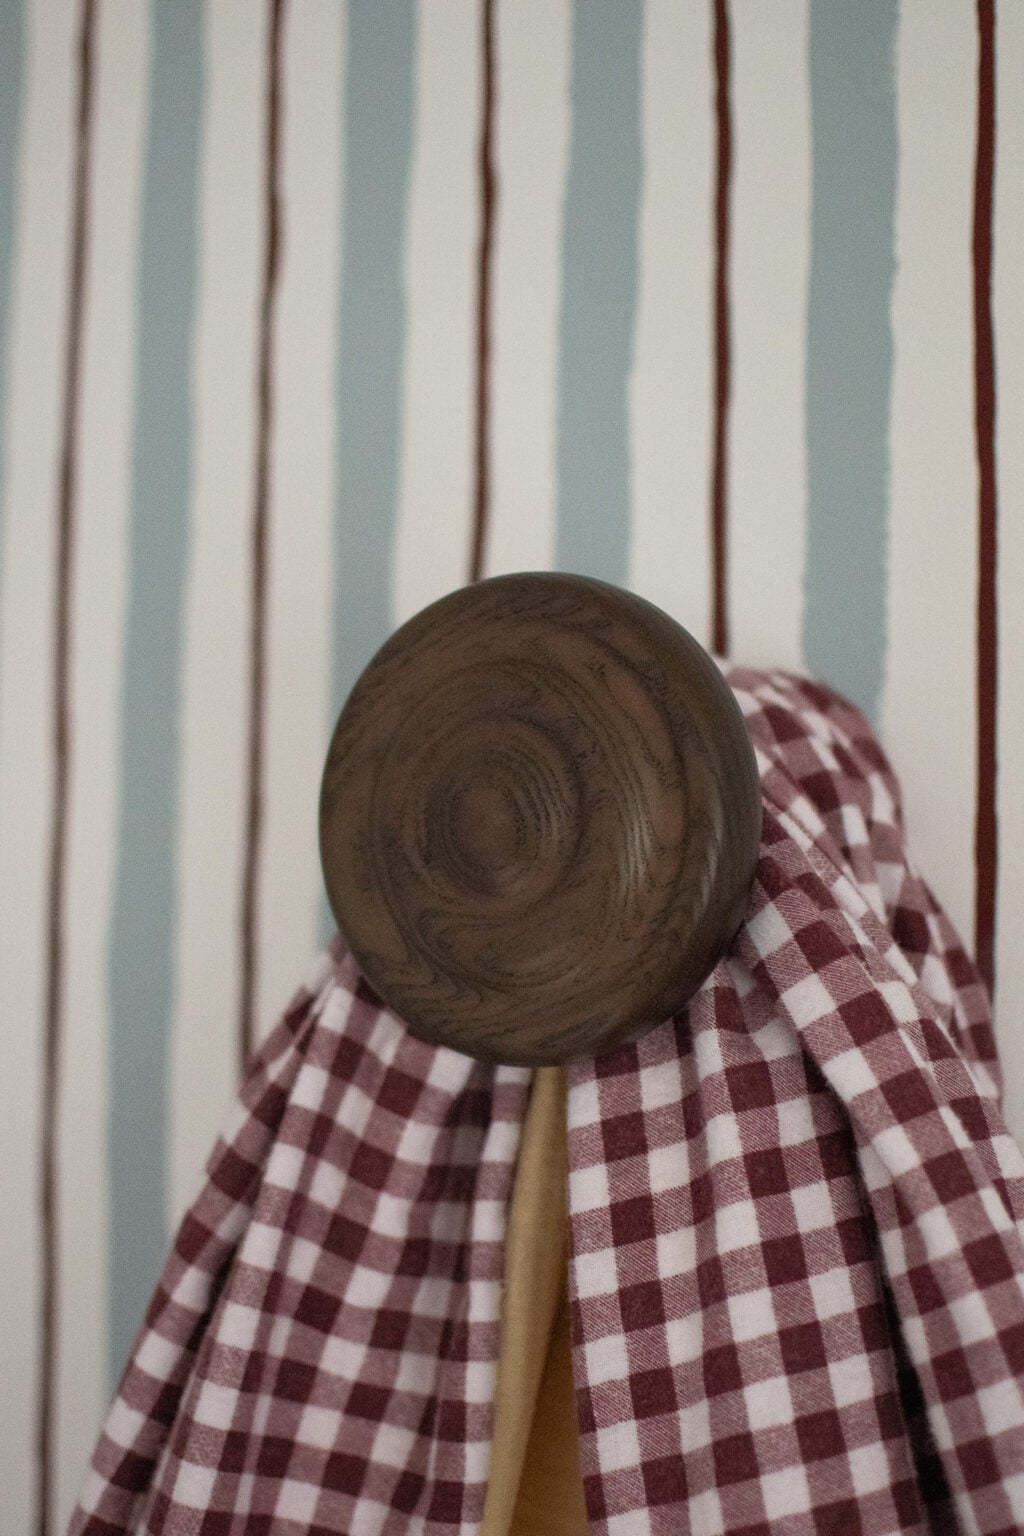
Step 6: Hang Your Canopy
Turn the tube right side out and give everything a good press.
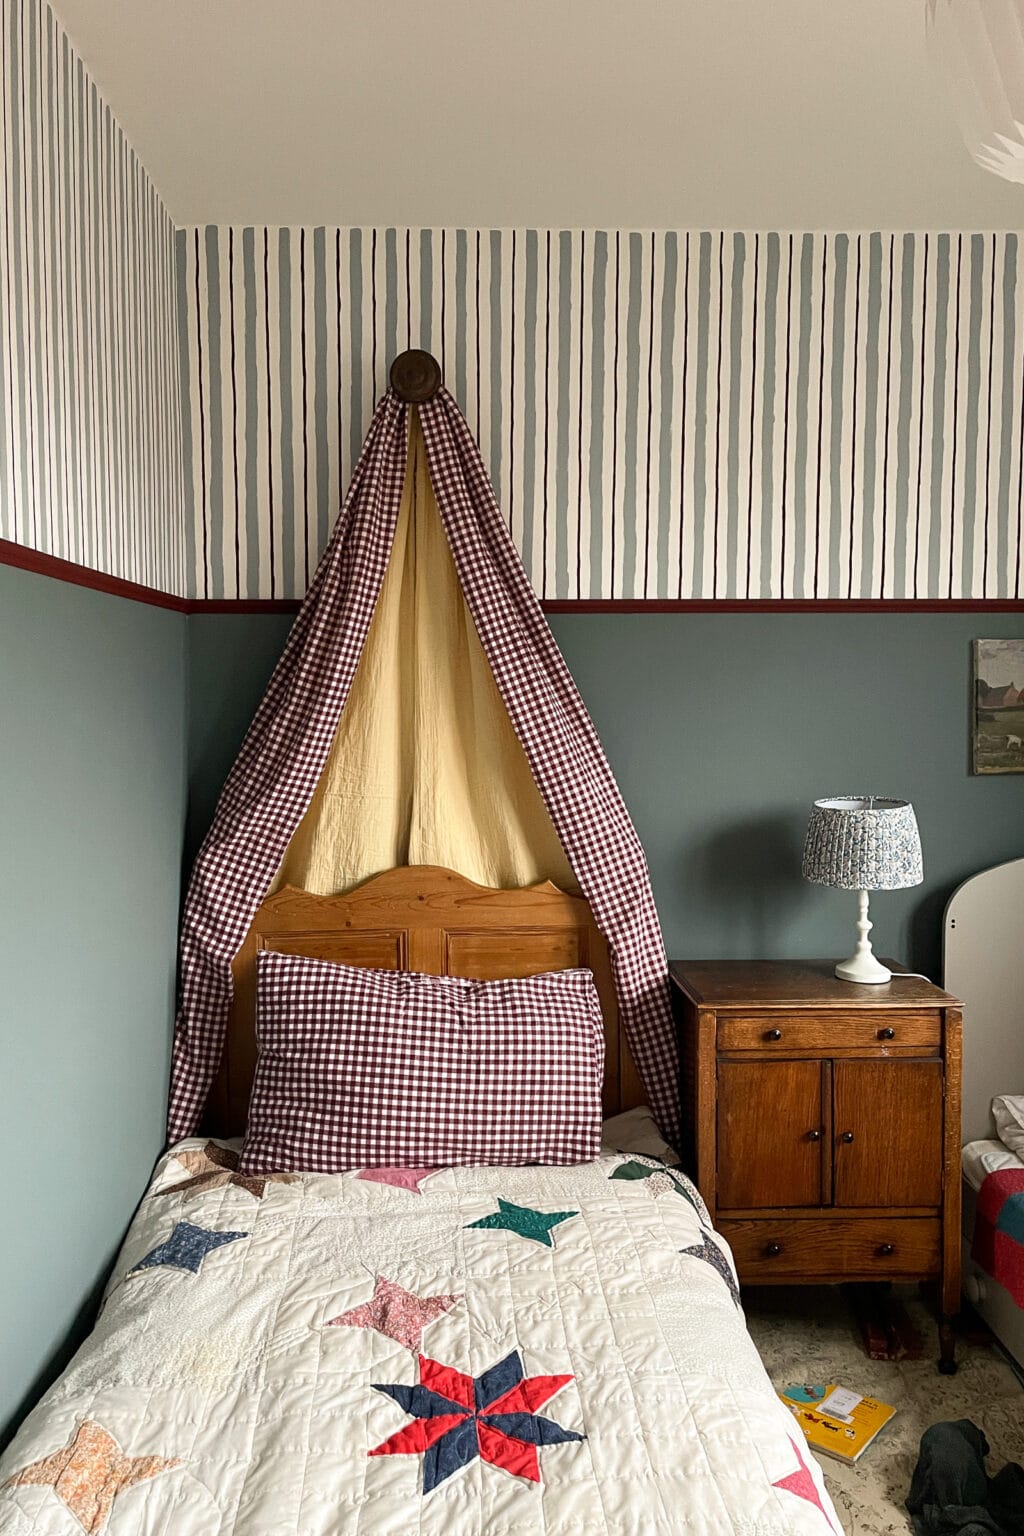
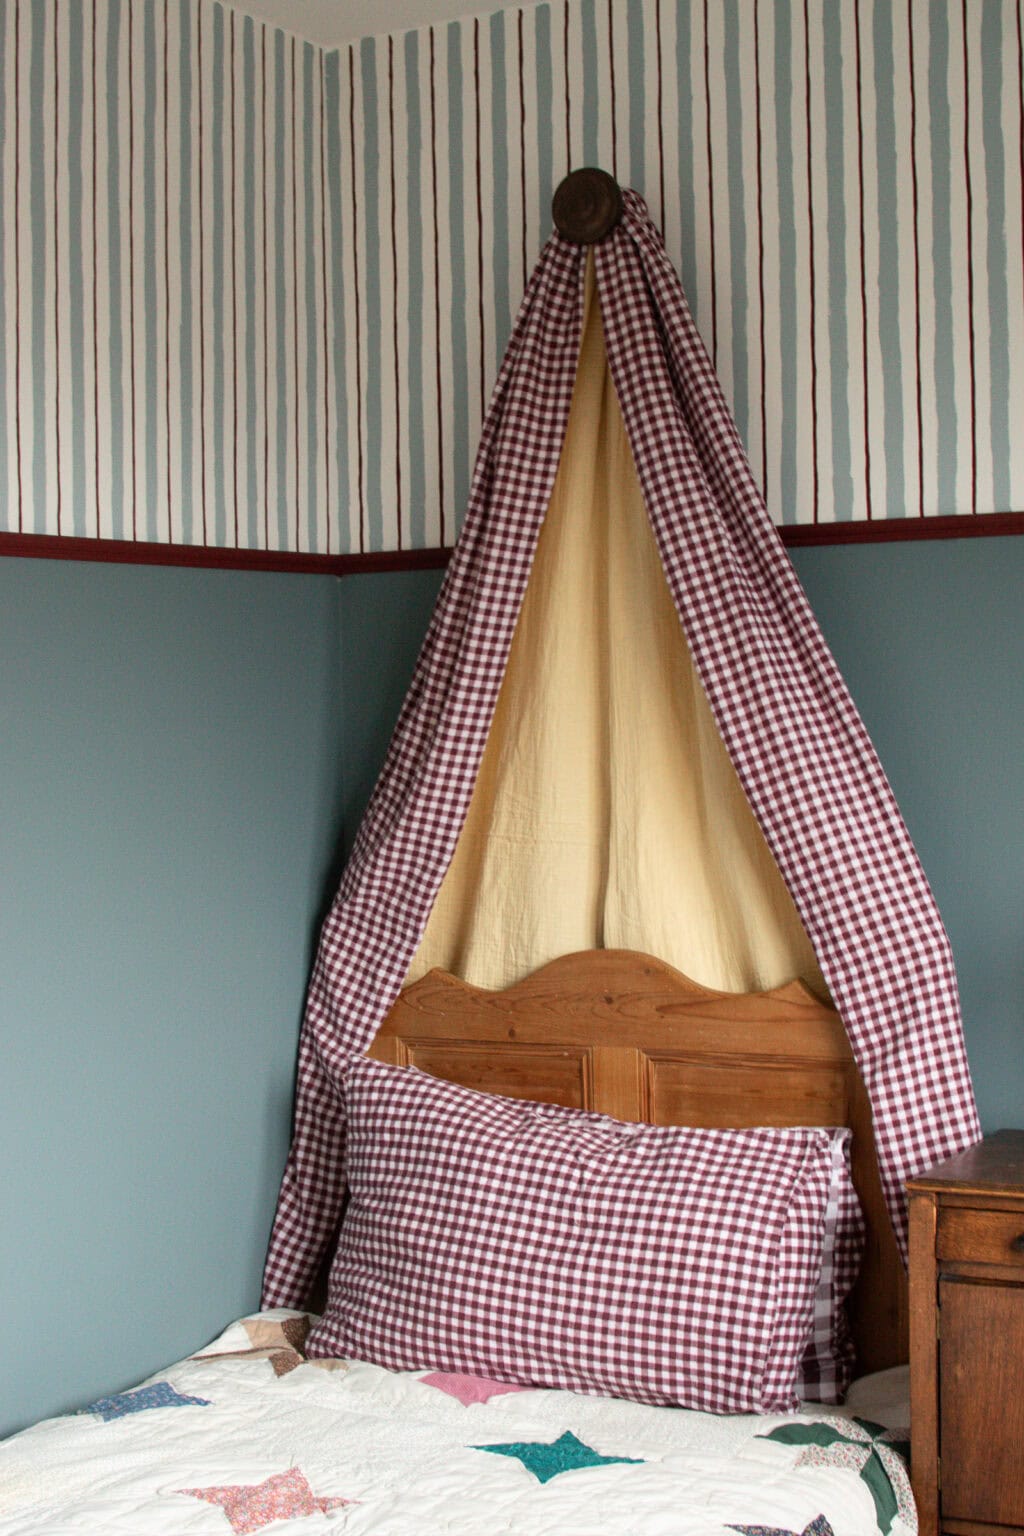
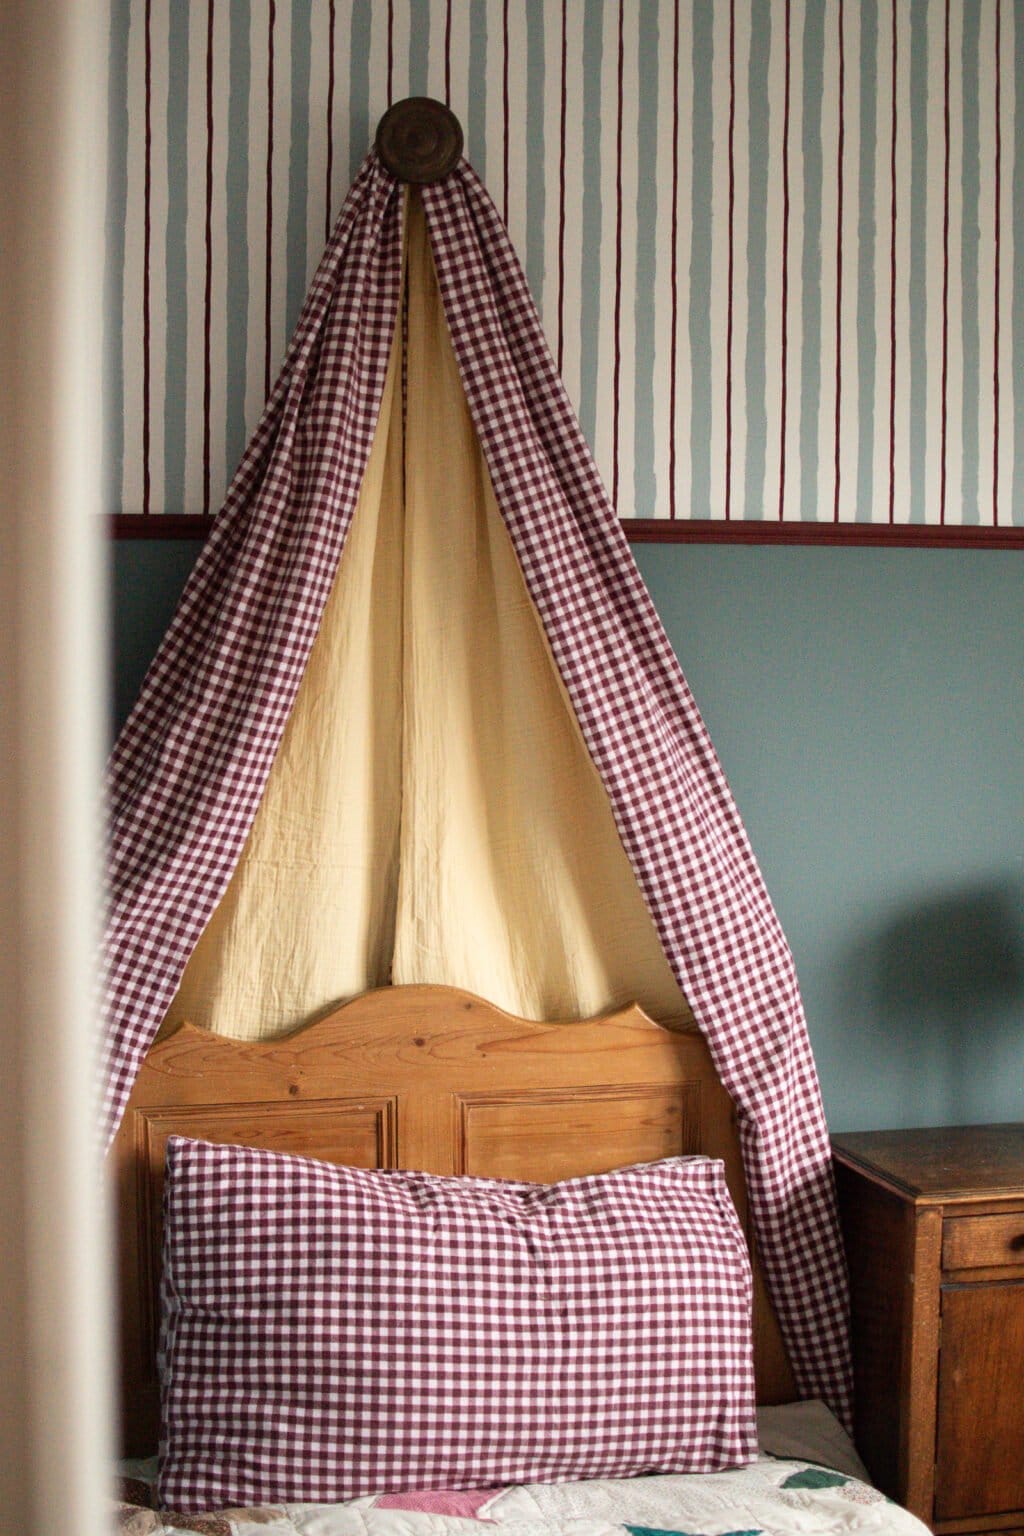
Pop your canopy fabric over the curtain holdback, with the centre seam on top of the holdback so it can’t be seen. Drape the canopy over the sides of the bed.


Want to Sew More Lovely Things for Your Kids?
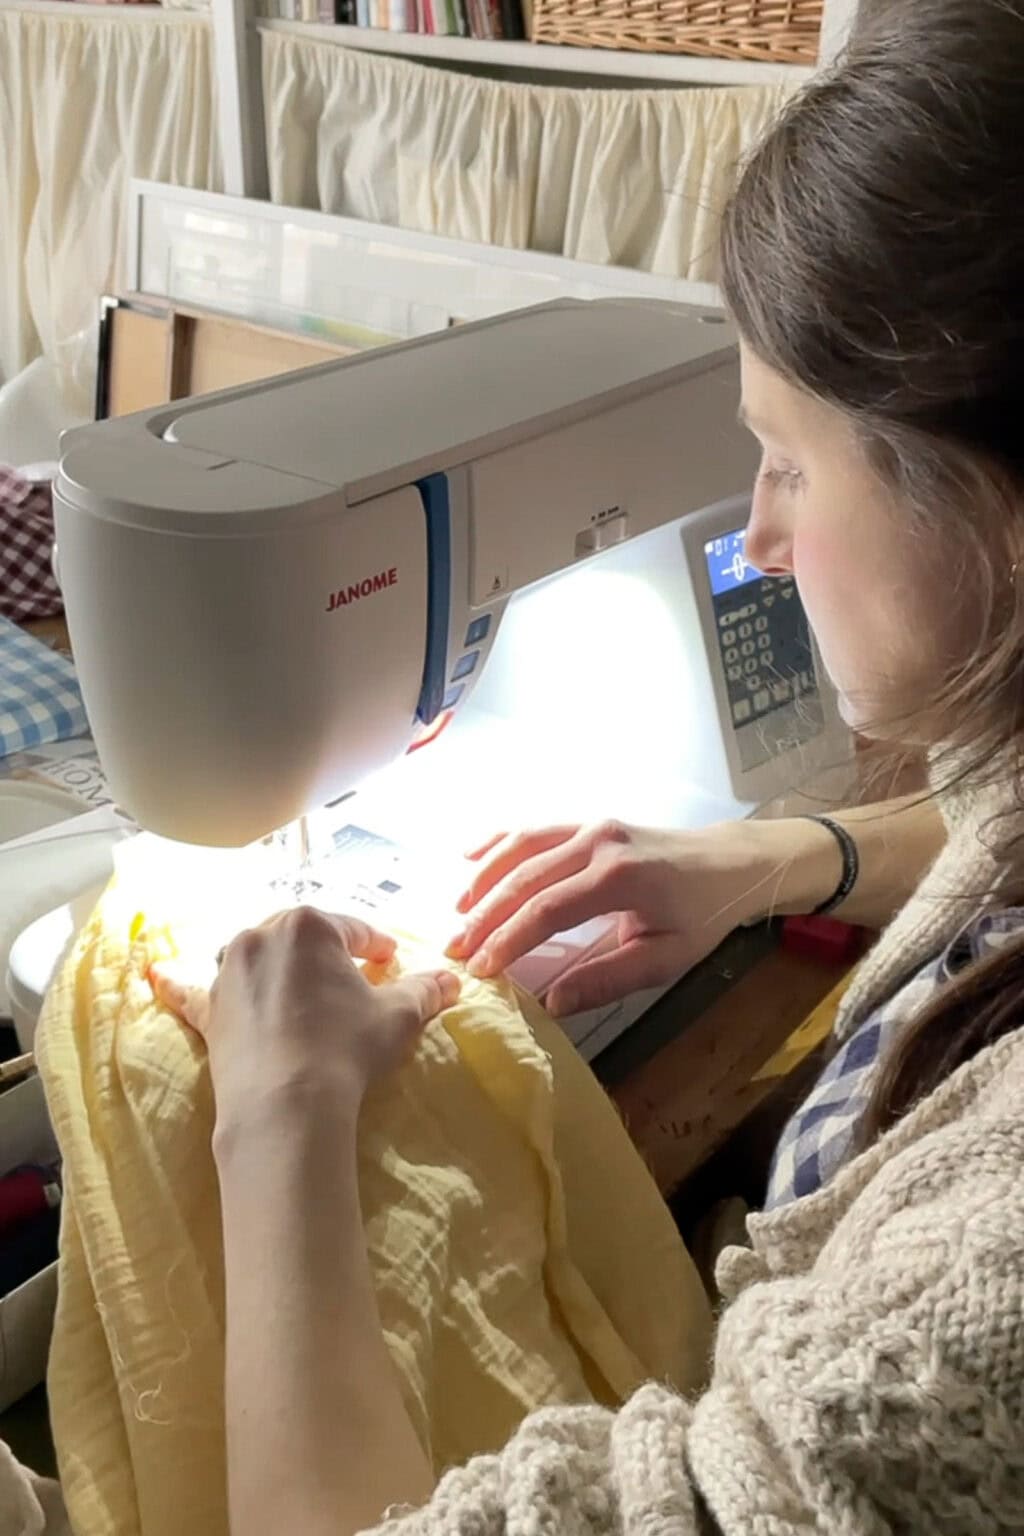
My Alphabet Banner sewing pattern is the perfect little decor project for your little one’s nursery!
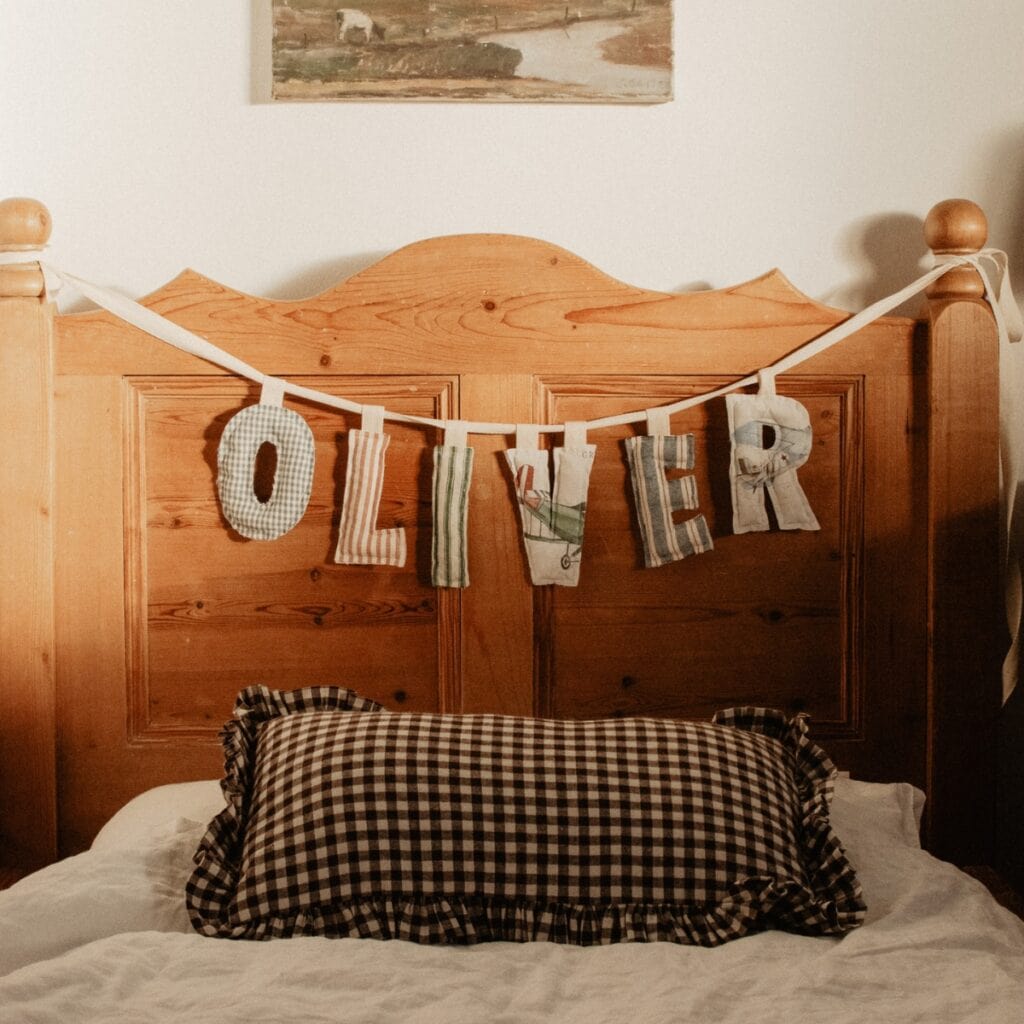
Sew a Personalised Banner
(No New Fabric Required!)
A clear, beginner-friendly pattern that teaches you how to transform your fabric scraps into a cheerful keepsake.
You might also like my scrap-busting post on how to make a bow garland – they make a lovely little decoration for a girl’s room!
Or you could try making a ruffled pillow cover for the bed using the same fabric as your canopy – perfection if you ask me!
Frequently Asked Questions

How to Make a Bed Canopy (Easy DIY Bed Sheet Canopy Tutorial)
Equipment
- Curtain holdback
- Drill and screws (if fixing into wall)
- Fabric scissors or rotary cutter
Materials
- 2 flat sheets or duvet covers
- Command strips optional
Instructions
- Install the Curtain HoldbackFix the curtain holdback to the wall approximately 1 metre above the bed, centred over the headboard.
- Cut the FabricCut each sheet in half lengthways. Fold lengthways, snip at the centre, and tear or cut down to create two long panels per sheet.
- Join the Short EdgesPlace two panels right sides together along one short edge. Sew to create one long piece (approx. 4m long). Repeat for the second fabric.
- Hem the EndsOn the short raw edge of each long piece, fold 1cm then 2cm. Press and sew to hem neatly.
- Sew the Long SeamsLay one fabric on top of the other, right sides together, aligning centre seams. Sew down both long edges to create a long tube.
- Turn and PressTurn the tube right side out and press well.
- Hang the CanopyDrape the fabric evenly over the curtain holdback with the centre seam hidden at the top. Arrange the fabric down both sides of the bed.
Notes
- If lining your canopy, make the inner fabric 10–20cm narrower than the outer fabric.
- For a taller canopy, measure from the holdback to the desired drop and adjust fabric length accordingly.
- No-sew option: Use fabric glue or iron-on hem tape instead of sewing.
- For double or king beds, use two pieces of fabric at least 120cm wide and 4m long and skip the lengthwise cutting step.