

How to Sew Clothes: A Beginner’s Guide to Starting Sewing
Want to learn how to sew clothes but don’t know where to start? Here’s everything a beginner sewist needs to know.
This page contains affiliate links, which earn me a little bit of commission if you make a purchase, at no additional cost to you. Thank you for supporting my little corner of the internet!
“I could never learn to sew.”
That’s what a friend said to me the other day and it made me feel so sad.
Because I believe that anyone can learn to sew their own clothes.
Sewing can look intimidating from the outside. There are multiple kinds of sewing machine, all of which look rather scary. There’s the baffling language of sewing patterns. And that’s before you even get to zippers, buttons, ruffles and piping.
When I was starting out (over 20 years ago now, which is slightly alarming), I made loads of mistakes. Wrong fabric, funky seam allowance, threading the machine incorrectly. I sewed an entire sleeve inside out and didn’t notice until I tried it on.
But each time something went wrong I learned something, and slowly it started to feel less like a foreign language.
I want to share what I wish I’d known at the start, so the beginning is a little less overwhelming for you than it was for me. Let’s learn how to sew clothes!
Step 1: Get Your Tools
When I start a new hobby (more often than I care to admit), my first instinct is to buy all the things and feel like a proper member of the club. But I’ve been burned many times by cupboards full of barely-touched equipment and I’m telling you that’s not always the move.
So here’s what I’d actually say you need when you’re learning how to sew clothes, and what can wait.
The Essential tools
A reliable sewing machine
You don’t have to spend a lot on a sewing machine. Some of the simplest machines are the most reliable, because there’s less to go wrong. I’ve always owned Janome machines and I love them. Brother machines have a good reputation too. If you’re in a position to spend a bit more, Bernina and Juki are very highly thought of.
Buy the best you can afford, and don’t buy anything new until you’ve had a look at what’s going around secondhand.
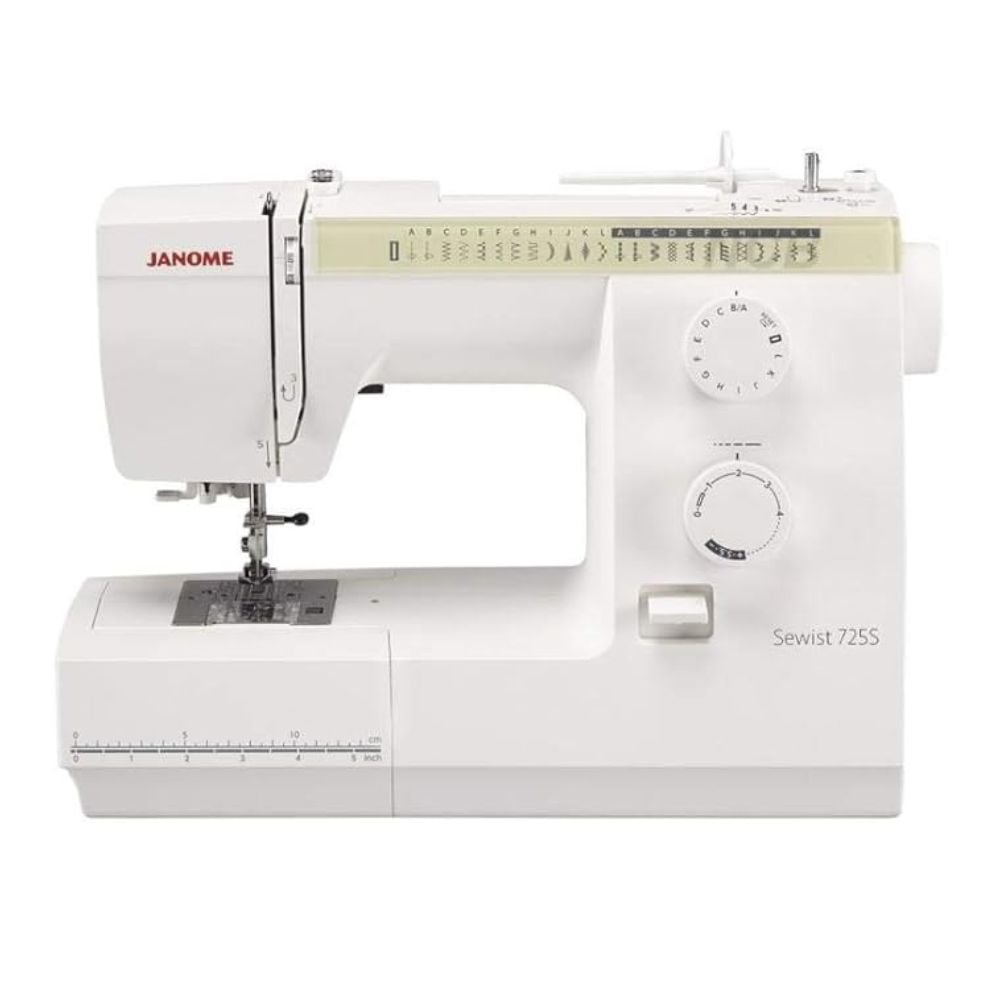
My recommendation for a beginner machine would be the Janome Sewist 725S – it’s reliable, easy to use and will still be useful well into your sewing journey. I have the Janome Atelier 5 (which is sometimes also known the Skyline S5) and it has been excellent, but I definitely don’t think you need to start with such a fancy machine!
Janome Sewist 725S
Thread
If you can, buy good quality thread. Cheap thread breaks, shreds, and causes all sorts of tension headaches which are the last thing you’re need when you’re learning how to sew clothes. A set of neutrals (white, cream, black, grey) will take you a very long way on easy sewing projects. My favourite thread is Gutermann Sew-All thread.
An iron and ironing board
Pressing your seams might seem optional, but it’s an important part of sewing. Investing in a decent iron and ironing board is essential if you want good results. I have this Brabantia ironing board and the Polti Vaporella 505 Pro iron.
A pair of fabric scissors
The one rule I will be firm about: keep your pair of fabric scissors for fabric only. Not paper, not string, not Amazon packaging. They’ll stay sharp for years if you do. Fabric is surprisingly hard to cut without nice scissors. LDH scissors are widely considered to be the best out there, and worth spending money on.
A soft measuring tape
Useful for all sorts of things, but particularly for taking your measurements. A rigid tape measure like the ones you use for DIY won’t work well for sewing so make sure to get a flexible one.
A seam ripper
Used for undoing seams when you go wrong – so absolutely essential! Buy two, because you will put one down and never find it again.
Pins and hand-sewing needles
A basic hand-sewing kit covers you for hems, finishing, and small fixes. Hand-sewing needles in a few sizes is plenty to start. Pins are essential too – I like the small ones like this.
Machine needles
These wear out faster than you’d think, and a blunt or wrong-size needle causes more problems than almost anything else. Keep a few spares. A universal needle is the right starting point for most woven fabric.
Marking tools
Tailor’s chalk (I prefer it in a pencil) or a heat-erasable marker for transferring pattern markings onto fabric.
the tools to save for later
An overlocker (serger)
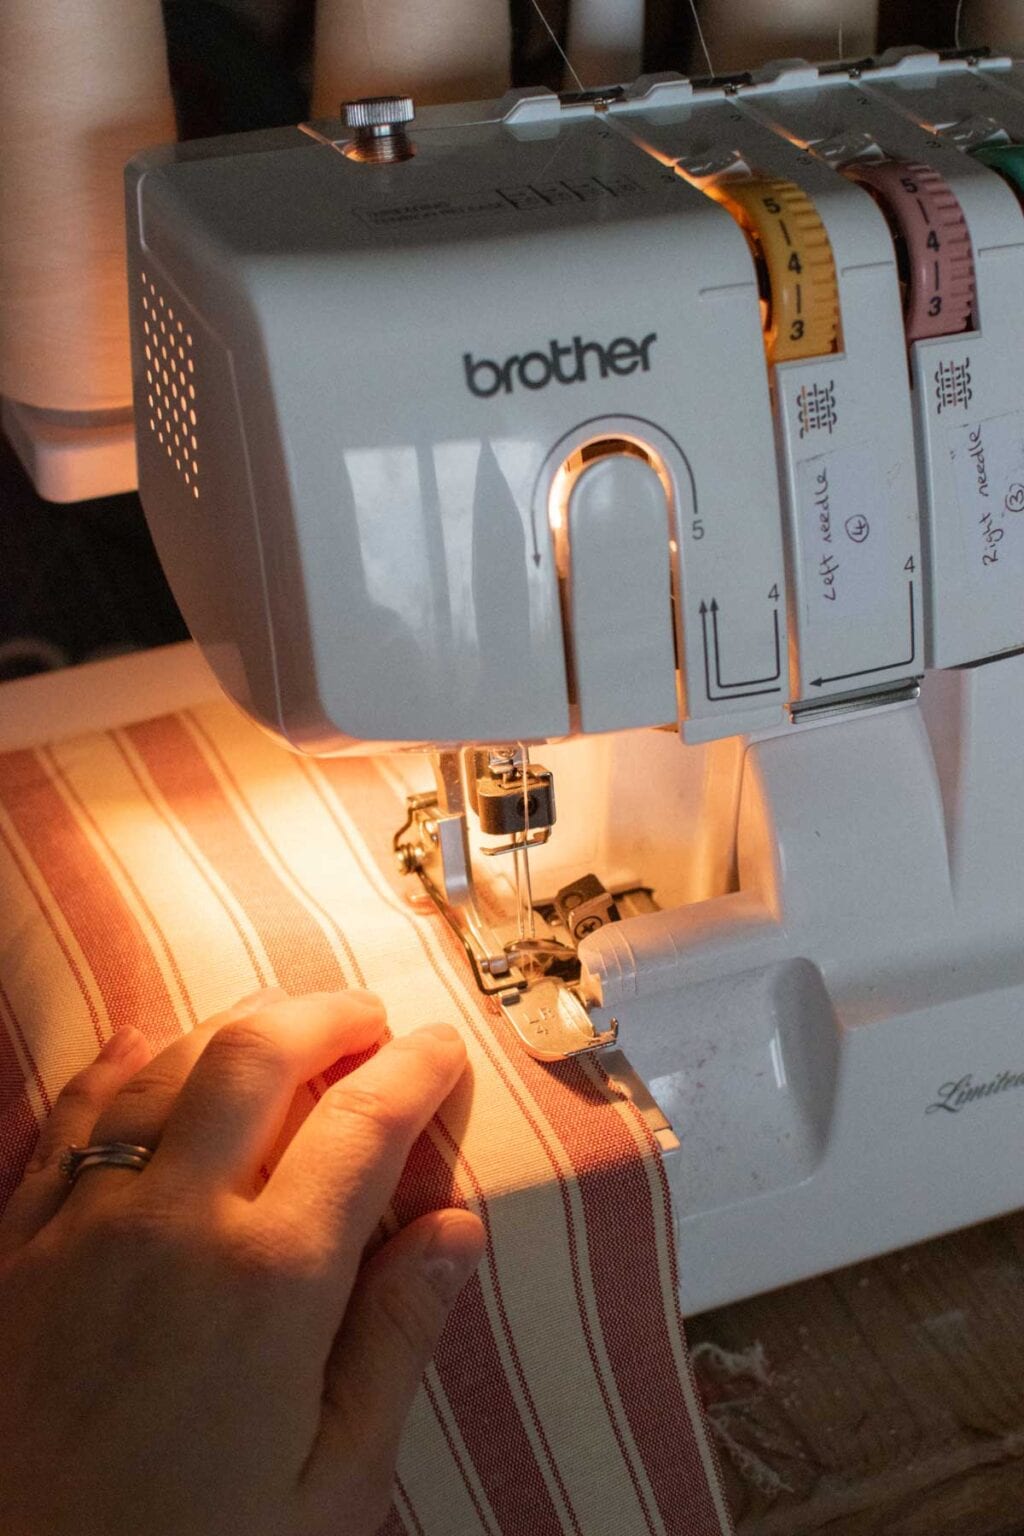
I didn’t get mine until I’d been sewing for about ten years, which tells you something about how non-essential it is when you’re just learning how to sew clothes. But if you want to properly sew clothes long-term, an overlocker is a genuine game changer.
It finishes raw edges faster and more reliably than a sewing machine can, and it makes sewing knit fabrics so much more manageable.
I have (and love) the Brother 1034D.
A rotary cutter and mat
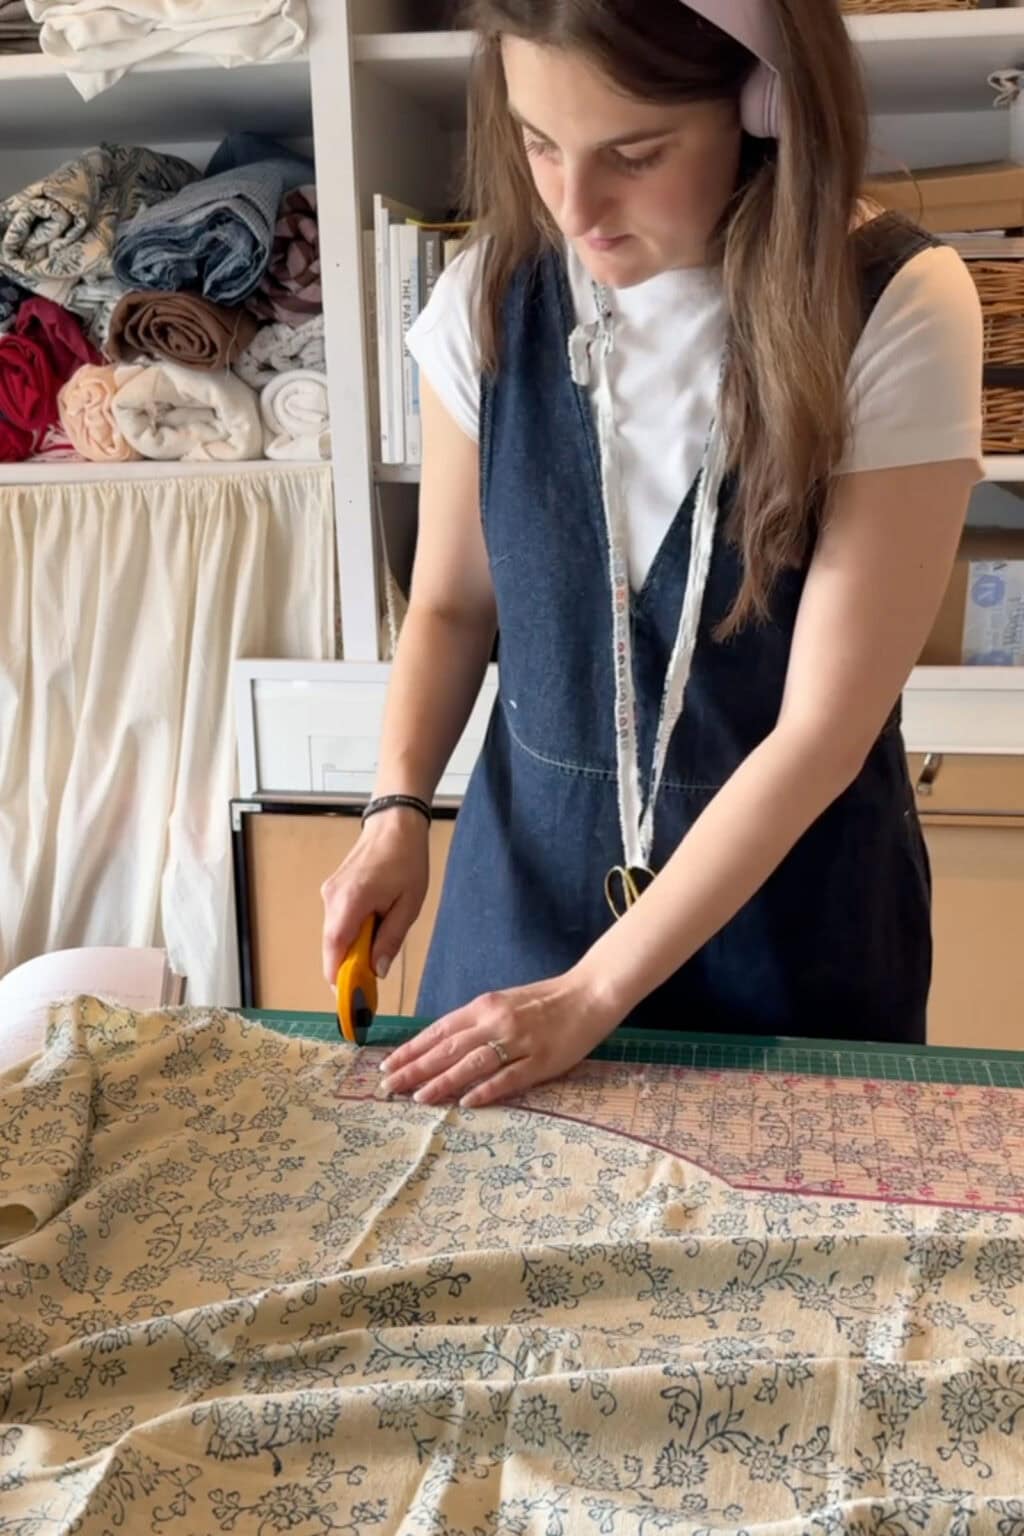
A rotary cutter and mat are brilliant for patchwork, and if you ever go down the projector cutting rabbit hole (very much not a beginner thing, but it exists) you’ll use them constantly. For garment sewing they’re less obviously essential — a good pair of fabric scissors will serve you well for a long time.
An ironing ruler (hot ruler)
If you find yourself pressing a lot of hems or working with bias binding, an ironing ruler will come in very handy. It gives you a straight, accurate edge to press against and takes some of the faff out of getting things even.
Pinking shears
Pinking shears are quick way to finish raw edges without a machine finish or an overlocker. Not as neat as an overlocked edge, but they’re fast and they work, and sometimes that’s what you need.
A dress form
Useful down the line, especially if you plan to try draping. But not necessary for your first few makes.
Step 2: Take Your Measurements
I put this second because you need to do it before you get excited and start cutting. Take your body measurements: bust, waist, hips at minimum, and write them down somewhere you won’t lose them.
As you measure, make sure you take the fullest part (for bust and hips) and narrowest part (for waist) and that the tape measure is perfectly level.
Here’s something that trips up almost every beginner sewist: pattern sizing can be very different to clothing sizing. A size 14 in one pattern brand is completely different from a size 14 in another, and both could be different from what’s on the label in your jeans.
Instead of going off the size you’d usually wear, compare your own measurements to the size chart for the pattern to decide which size to make.
If your measurements fall into different sizes (for example, your bust measurement is a size 14 but your hips are a size 16) the pattern will usually direct you on how to choose your size. If the garment is fitted on the bust but loose on the waist and hips, they may direct you to use the bust measurement to choose your size. Or they may suggest grading between two different sizes, which is where you draw a new line, say, from the bust in size 14 to the hip in size 16.
Patterns will sometimes also include instructions for simple adjustments for those who have a large bust or bicep, for example.
Step 3: Find a Pattern That Won’t Make You Want to Give Up
A sewing pattern gives you pattern pieces to cut (the shapes that become your garment) and step-by-step instructions.
The honest truth is that some patterns have much better instructions than others and it’s not necessarily related to price. I put together a list of helpful beginner sewing patterns here.
In my opinion, aside from having helpful instructions, these are some things that actually make a pattern beginner-friendly:
- Fewer pattern pieces
- No zips or other fiddly closures
- An elastic waistband rather than a fitted one
- A loose fit
- Straight seams, or gently curved ones
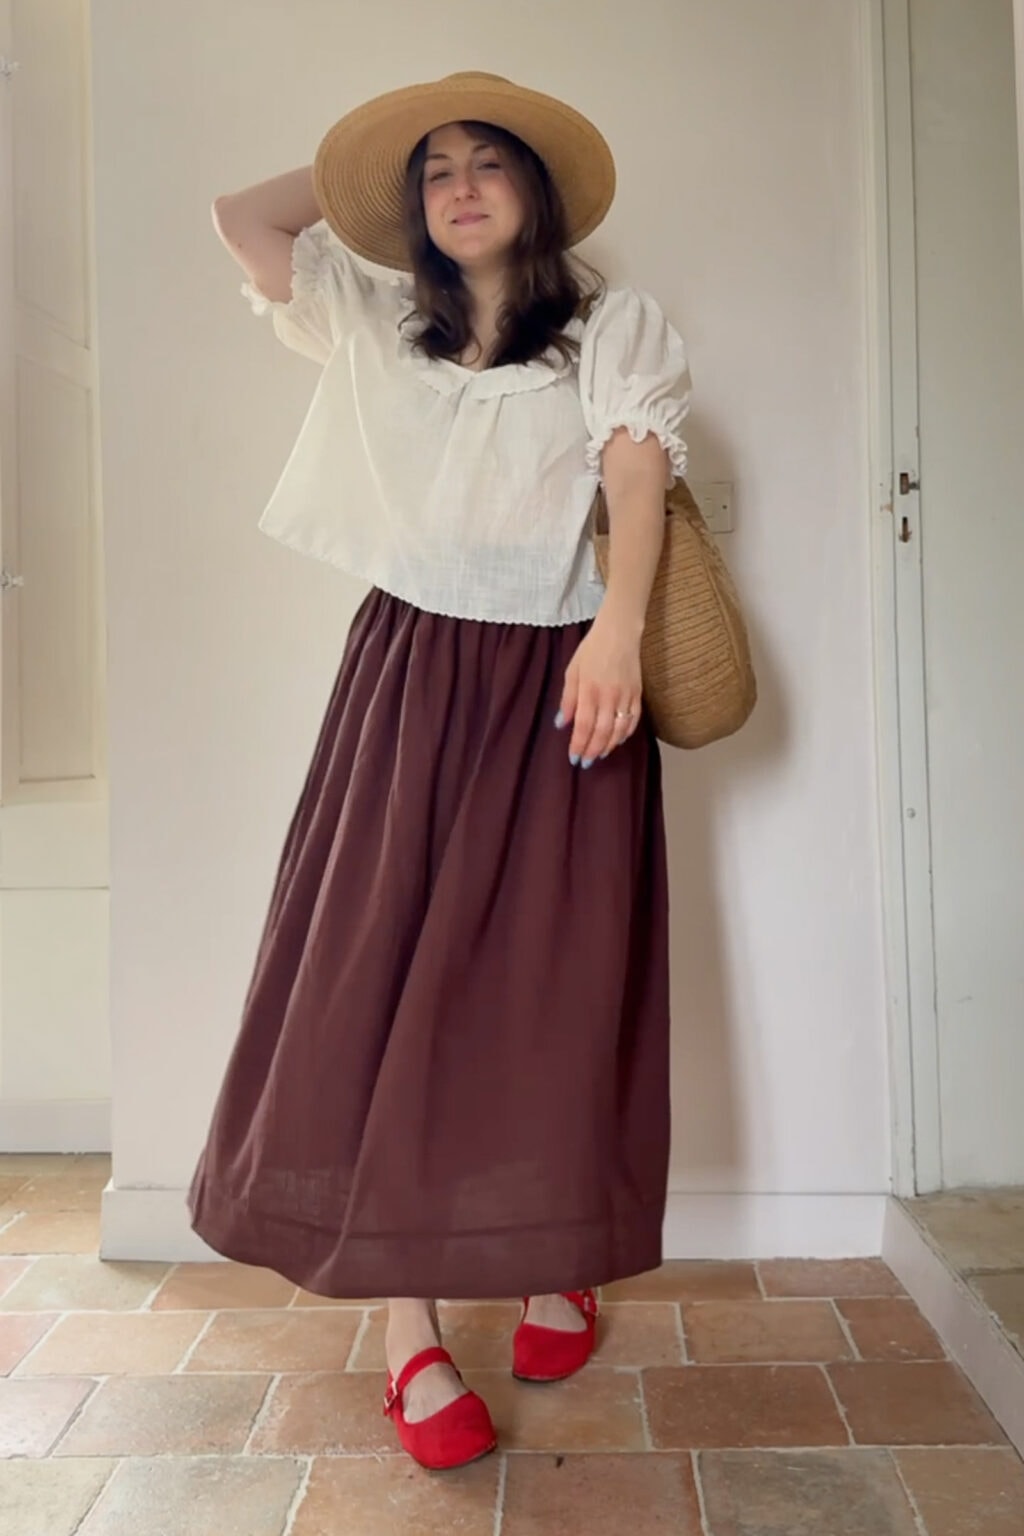
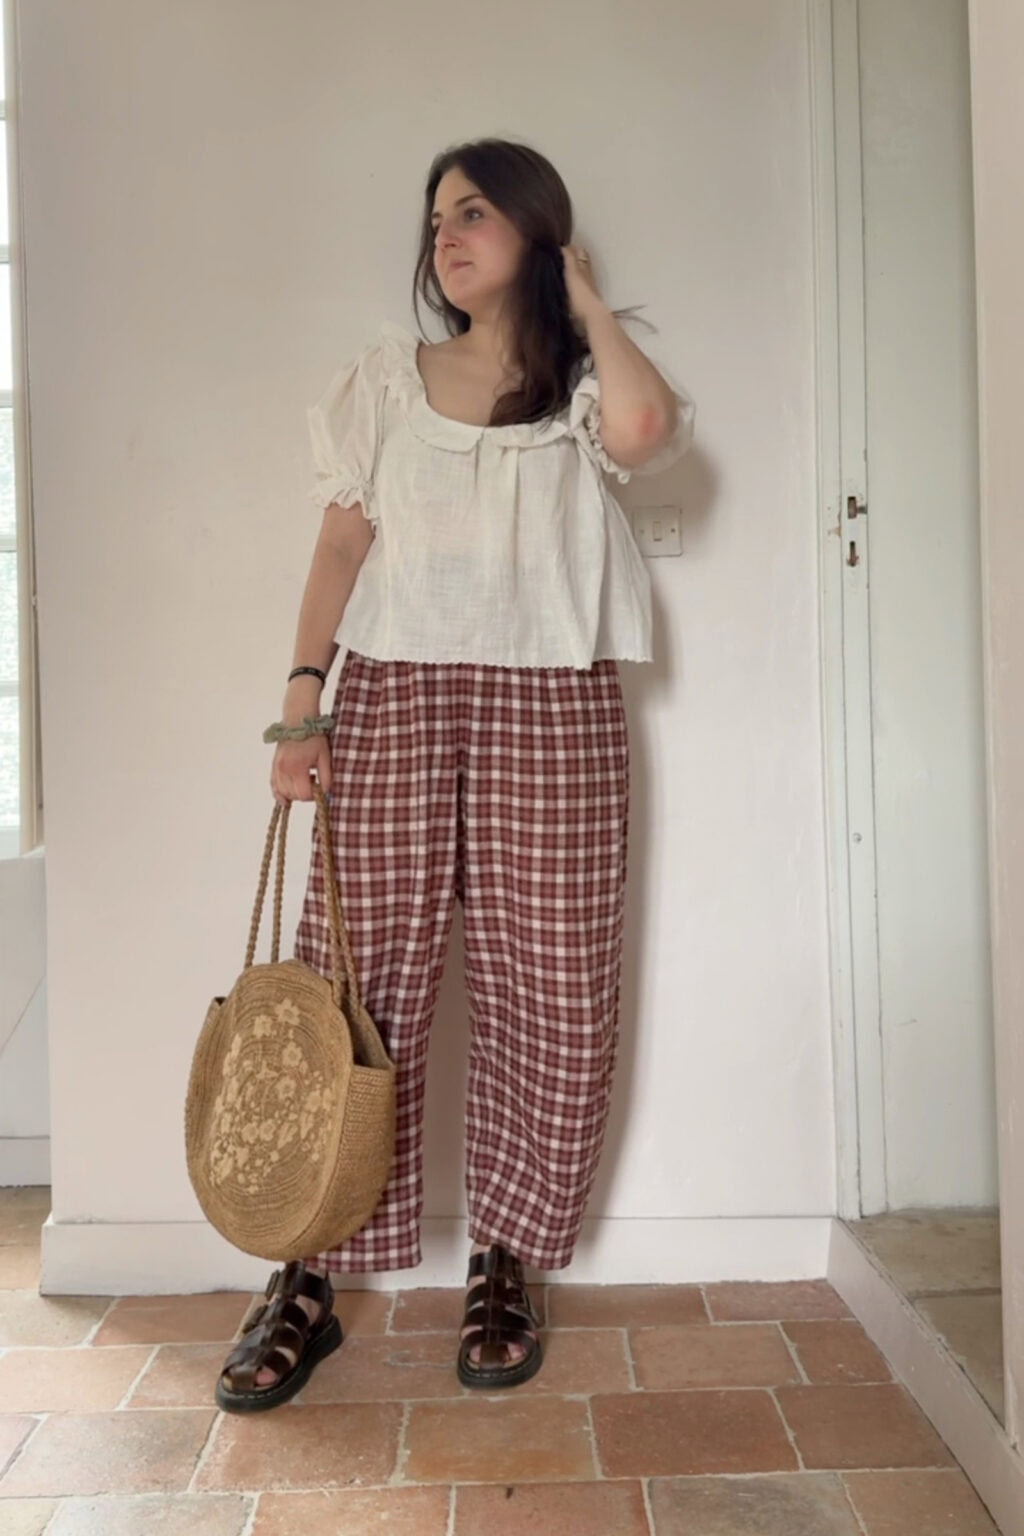
Look for things like an elastic waist skirt, wide-leg trousers or a simple top. All very simple projects and things you’ll actually wear.
I have a real soft spot for patterns from independent designers. They tend to have clearer, more thorough instructions than the big pattern brands, and often better sizing too.
Step 4: Choose Your Fabric (Don’t Make This Harder Than it Needs to Be)
This is where I see beginners go wrong most often, because you fall in love with something gorgeous and buy it before checking whether it suits your skill level. I have done this and it isn’t very fun.
Woven or knit?
Your pattern will specify what type of fabric it needs. As a general rule: start with woven fabric rather than knit fabrics. Wovens don’t stretch, which makes them much easier to cut accurately and feed through the machine. Knits are wonderful but they need a slightly different approach, and that’s a lesson for another day.
Go mediumweight to start
Mediumweight fabrics like cotton or chambray are forgiving and easy to handle. Think of the kinds of fabric that a button-up shirt would be made from.
Save anything like heavy canvas, thick denim, slippery fabrics or anything very lightweight for later on. Cotton and linen are your friends right now.
Where to buy fabric
Your local fabric store is worth visiting when you’re starting out, because you can actually feel the fabric before you commit. Local shops often carry good cotton and linen basics, and the people who work there are usually very happy to help a beginner.
Online is good too, but order swatches first if you’re unsure about different fabrics.
How much fabric to buy
Your pattern will tell you how much to buy for the size you’re making. Buy slightly more than it says so you have a little margin for error.
Prewashing Your Fabric
Before you do any cutting, make sure to wash your fabric – some fabrics shrink slightly in the first wash, so it’s best to do this before you do any sewing, or you’ll end with a garment that’s too small! It’s also a good idea to iron your fabric so there are no wrinkles.
Step 5: Cut Out Carefully
Most patterns will come with a cutting layout which shows you the best way to cut out all your pattern pieces.
Place your pattern pieces following the cutting layout. The pieces will have big arrows on which indicate the direction of the fabric grain (the grainline). You should place the pattern pieces so that the grainline arrow is parallel to the selvedge (that’s the finished edge of the fabric).
Some pattern pieces will instruct you to cut on the fold. For these you’ll need to fold the fabric and place the pattern piece on the folded edge.
Some pieces will also have markings on them which you’ll need to mark on your fabric pieces before sewing:
- Notches (little lines or triangles on the edge of the pattern pieces) are used to match up points on two different pattern pieces when you sew. You can mark these by making a small snip into the notch, cutting a little triangle outwards, or marking them with heat erasable marker
- Darts are wedges of fabric that are sewn closed to help a garment fit the body. I like to mark the dart points with a tailor’s tack, and then use a heat erasable marker to draw the two dart legs onto the fabric before sewing
- Other markings to show, for example, where pockets should be placed. Again, if these are in the middle of the pattern piece I’d use tailor’s tacks to mark them.
I know it feels like the exciting bit is the sewing, but how carefully you cut makes a difference to whether your fabric pieces go together neatly at the machine. It’s worth taking a little time on.
If you want to do a fit test before cutting into your good fabric, you can cut the pieces from cheap calico or an old sheet and sew them together first. This is called a toile. It feels like extra work, but it has saved me headaches more than once.

Step 6: Get your Head Around Seam Allowance
Seam allowance is the strip of fabric between the edge of your cut fabric and your stitch line. So if your pattern says a 1cm seam allowance, you stitch 1cm in from the edge of the fabric.
It sounds simple, and it is, but getting it right is important to making sure your finished garment comes out the right size. Too little seam allowance and seams can pull apart. Too much and things end up smaller than they should be.
Most patterns will tell you what seam allowance they use, usually on the first page of the instructions. Some use 1.5cm throughout. Some use 5/8 inch. Some vary it depending on the seam.
Your sewing machine will have lines marked on the needle plate (the metal bit under the needle) to help you stitch a consistent distance from the edge. Get familiar with which line is which, and try to keep your fabric pieces running along the right one as you sew. This is something you might want to practice before you actually get started!
Step 7: Keep Learning
There is more to sewing clothes than I could possibly cover in one blog post. There will be new techniques and terms that arise as your work your way through your pattern instructions. This still happens to me after decades of sewing!
If you’re struggling with a particular step, I find YouTube incredibly helpful – there’s a video for just about every sewing technique out there. I also find it very useful to have a couple of sewing books on hand. The one I reach for most is the Reader’s Digest Complete Guide to Sewing – it’s invaluable!
Even better, if you have a family member or friend who sews, ask them to help you through your first make. Having someone walk you through the steps is the best way to learn.
What I Wish Someone had Told Me at the Beginning
You will make something imperfect and that’s not a problem. That’s just the first project. The one after that will be better! Even now, almost every garment I make has a mistake or thing that I wish I’d done better.
Sewing is a constant learning process, and you don’t have to be amazing at it for it to bring joy to your life.
I’d love to see what you make. Tag me on Instagram or drop a comment below!
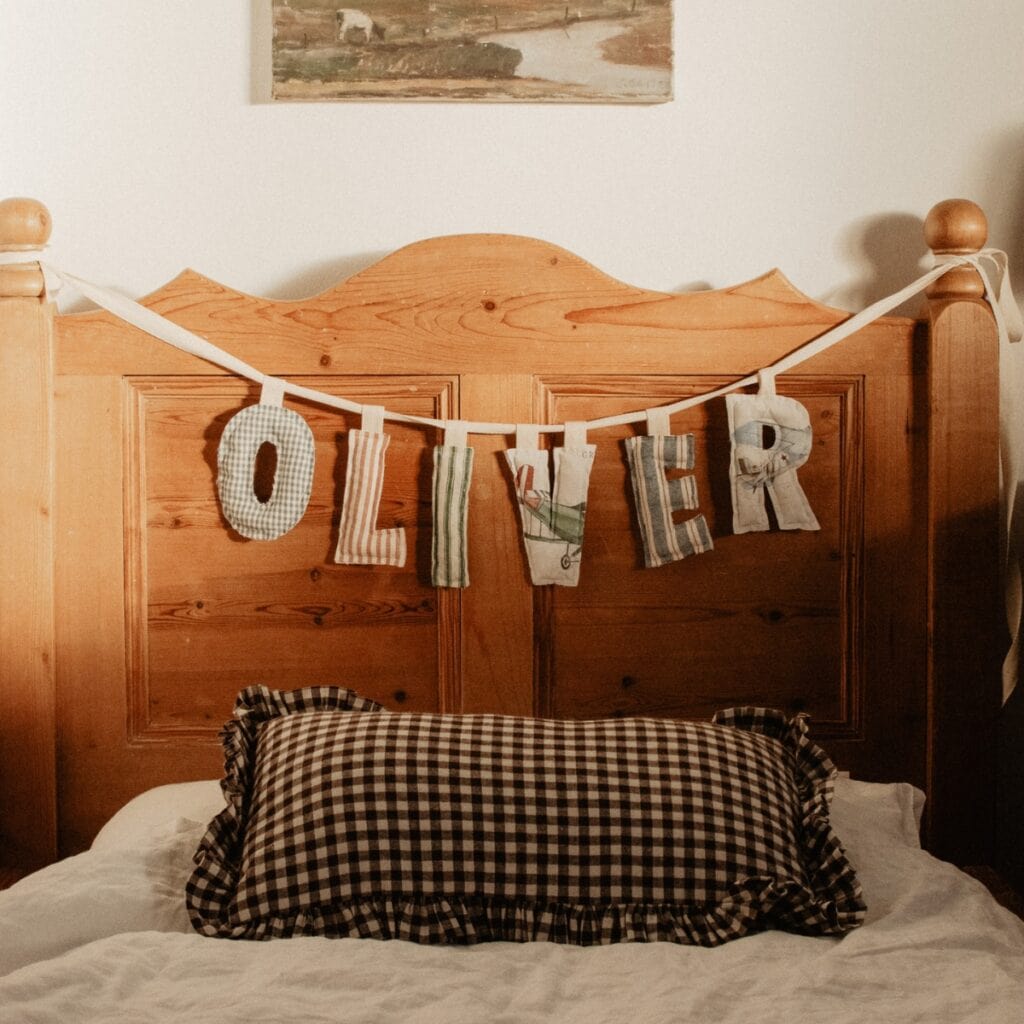
Sew a Personalised Banner
(No New Fabric Required!)
A clear, beginner-friendly pattern that teaches you how to transform your fabric scraps into a cheerful keepsake.
Between choosing fabric and cutting fabric, it is very helpful to wash and, if needed, iron the fabric. If the fabric shrinks after being sewn instead of before, it may pucker and spoil the finished effect.
Great point, I forgot to add this but I’ll put it in!