How to Make a Quick and Affordable Baby Outfit from a Shirt
Learn how to make a sweet upcycled baby outfit from an adult’s shirt in this super quick and easy sewing tutorial. I love making these for my little ones! Skip down to the written tutorial or head to the YouTube video for sew-along instructions.
This page contains affiliate links, which earn me a little bit of commission if you make a purchase, at no additional cost to you. Thank you!

Over the years I’ve tried really hard to dress our children in sustainable baby clothes. But if you’re always buying new clothes for your children then you’ll find the cost quickly stacks up. Ethical kids clothing brands are really pricey!
Thankfully, with a spot of thrifting and a bit of sewing, you can easily make your own upcycled baby clothing. One thing I’ve done a fair amount of over the years is upcycled old shirts into baby clothes, and this idea is another one of those fun transformations!
Tips for Finding A Shirt to Upcycle
Before you get started it’s important to find the right kind of shirt for this project. It goes without saying that this is the perfect opportunity to find a secondhand shirt to upcycle. Charity shops and thrift stores are packed full of barely worn men’s shirts that are just perfect for this project.
Alternatively, you could to raid the closets of your loved ones. Making a little baby outfit out of a sentimental shirt (that’s no longer wanted!) is a really sweet way to honour a family member or friend.
Since this is a two-piece project, you really want the biggest shirt you can find. In my experience, a large shirt should work for a baby under 12 months, and an XL (or above) works for a baby age 1-2 years.
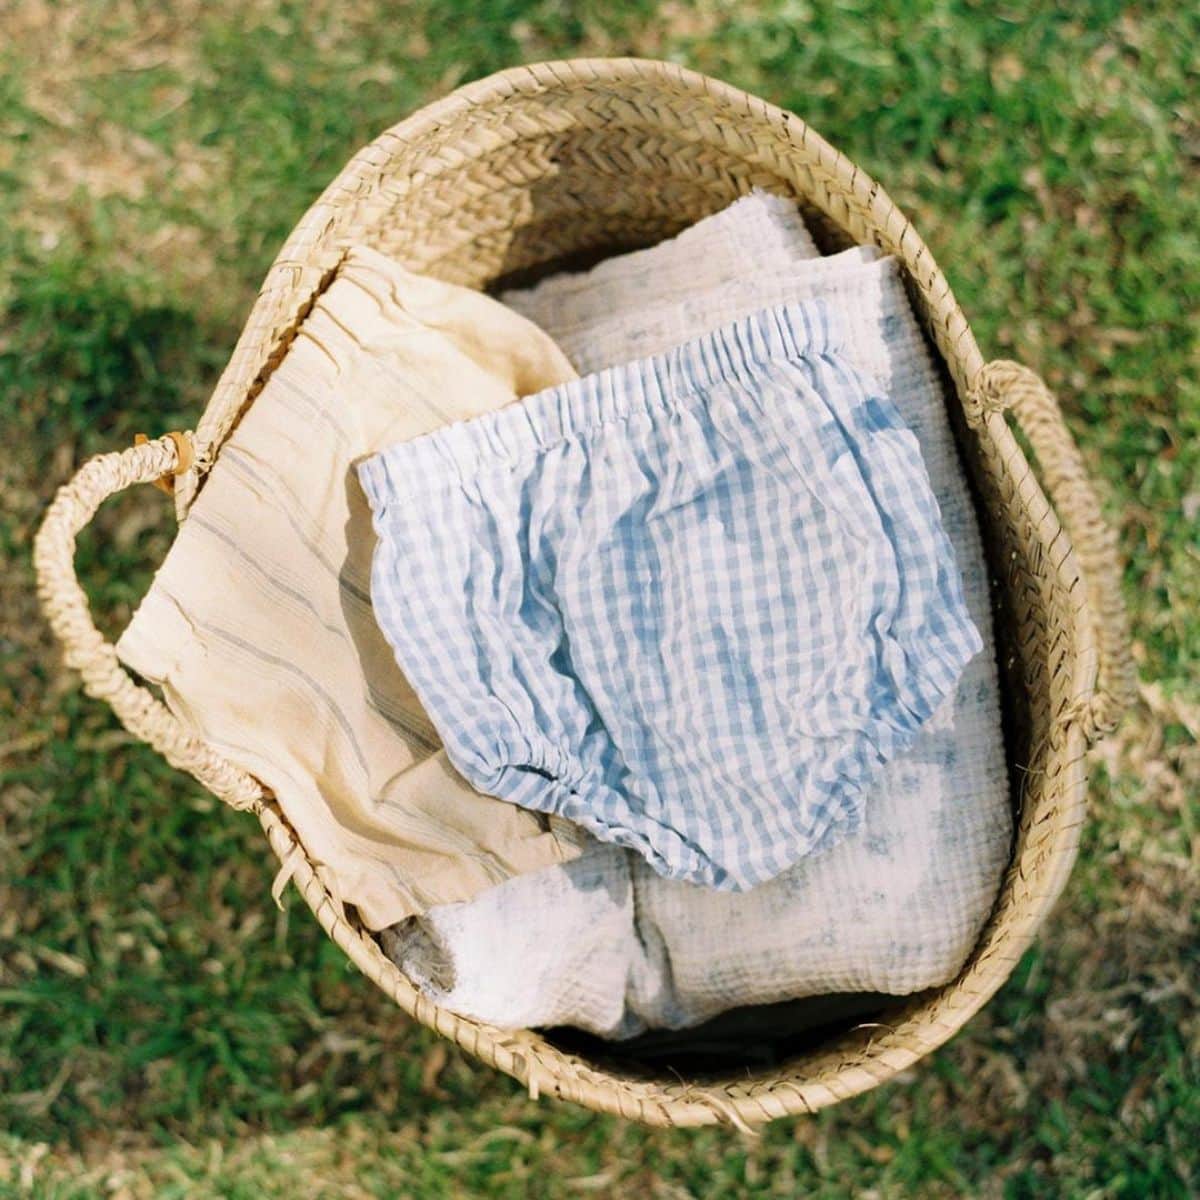
The set I made for the photos is 12-18 months and was made from a large shirt, and both the top and the trousers have got slightly too short now my little boy is nearer 18 months. So it’s worth going for a larger shirt if you can manage!
If you want to make this project for older children a large shirt dress would probably work for most children up to age 4. Otherwise, try this romper upcycling tutorial, which works with a shirt for children up to age 4.
I love working with linen shirts, but cotton shirts work well too. Some shirts contain a little bit of polyester to make them easy to iron. I prefer to avoid these because polyester isn’t super comfortable, but it will still work great if that’s what you’ve got!
Sewing Patterns to Try for This Project
For this project, I used a self drafted t-shirt pattern that I traced off a top that fits my little boy well, but you could use any top pattern that works for woven fabrics. The Moss Tee by Flora Child would work well.
For the trousers I used my all-time favourite trouser pattern, the Sage Pants by Flora Child, but again you could also draft your own pattern from some trousers you already have.

Follow the YouTube Tutorial
How to Make a Two-Piece Upcycled Baby Outfit from an Old Shirt
Supplies
You will need:
An old shirt (see notes above for sizing)
A t-shirt or shirt sewing pattern
A trouser sewing pattern
Elastic (20mm/1″ wide and the length of your child’s waist measurement)
You will also need some of the usual sewing essentials – you can find my favourites here.
Instructions
Prep the Shirt
Start by removing the pocket (if there is one) from the shirt with a seam ripper. Then cut the collar as close as possible to the collar stand. This will give you a nice neat collar that doesn’t need any finishing.

Cut the Top
Fold your shirt carefully in half and place your top pattern on the shirt. The neckline of the pattern should be aligned as closely as possible with the shirt collar, but you don’t need to worry about it matching perfectly. Cut out the top.


Cut the Trousers
Take the bottom unused half of the shirt and cut down the two side seams. Take the front piece of the shirt and fold it in half. Place your trouser pattern onto it and cut out the trouser fronts. Then take the back piece of the shirt, fold it in half and cut the trouser backs.


Sew the Top
Sew down the two side seams and finish the raw edges. Hem the shirt.

Sew the Trousers
Place the trouser fronts onto the trouser backs, right sides facing, and sew the outside leg seam and the inside leg seam. Finish the raw edges. Turn one trouser leg inside out and place it inside the other trouser leg, aligning the crotch seam. Sew the crotch seam and finish the raw edges.


Finish the Waistband and Hem
Finish the raw edge at the top of the trousers and then fold down and press the top of the trousers by 2.5cm to form a channel for the waistband elastic. Sew close to the turned edge, leaving an opening of about 3cm (1.5″).
Thread the piece of elastic through the channel, sew the ends of the elastic together and then sew the opening closed. If needed, hem both legs.

If you make this little upcycled outfit I would love to see it! Tag me on Instagram @aboderie and let me know how you got on!