
How to Paint Wall Stripes Without Tape: Beautiful, Quick and Easy!
The complete guide to painting wall stripes without tape, with a simple freehand method and everything you need to know for beautiful results.
This page contains affiliate links, which earn me a little bit of commission if you make a purchase, at no additional cost to you. Thank you for supporting my little corner of the internet!
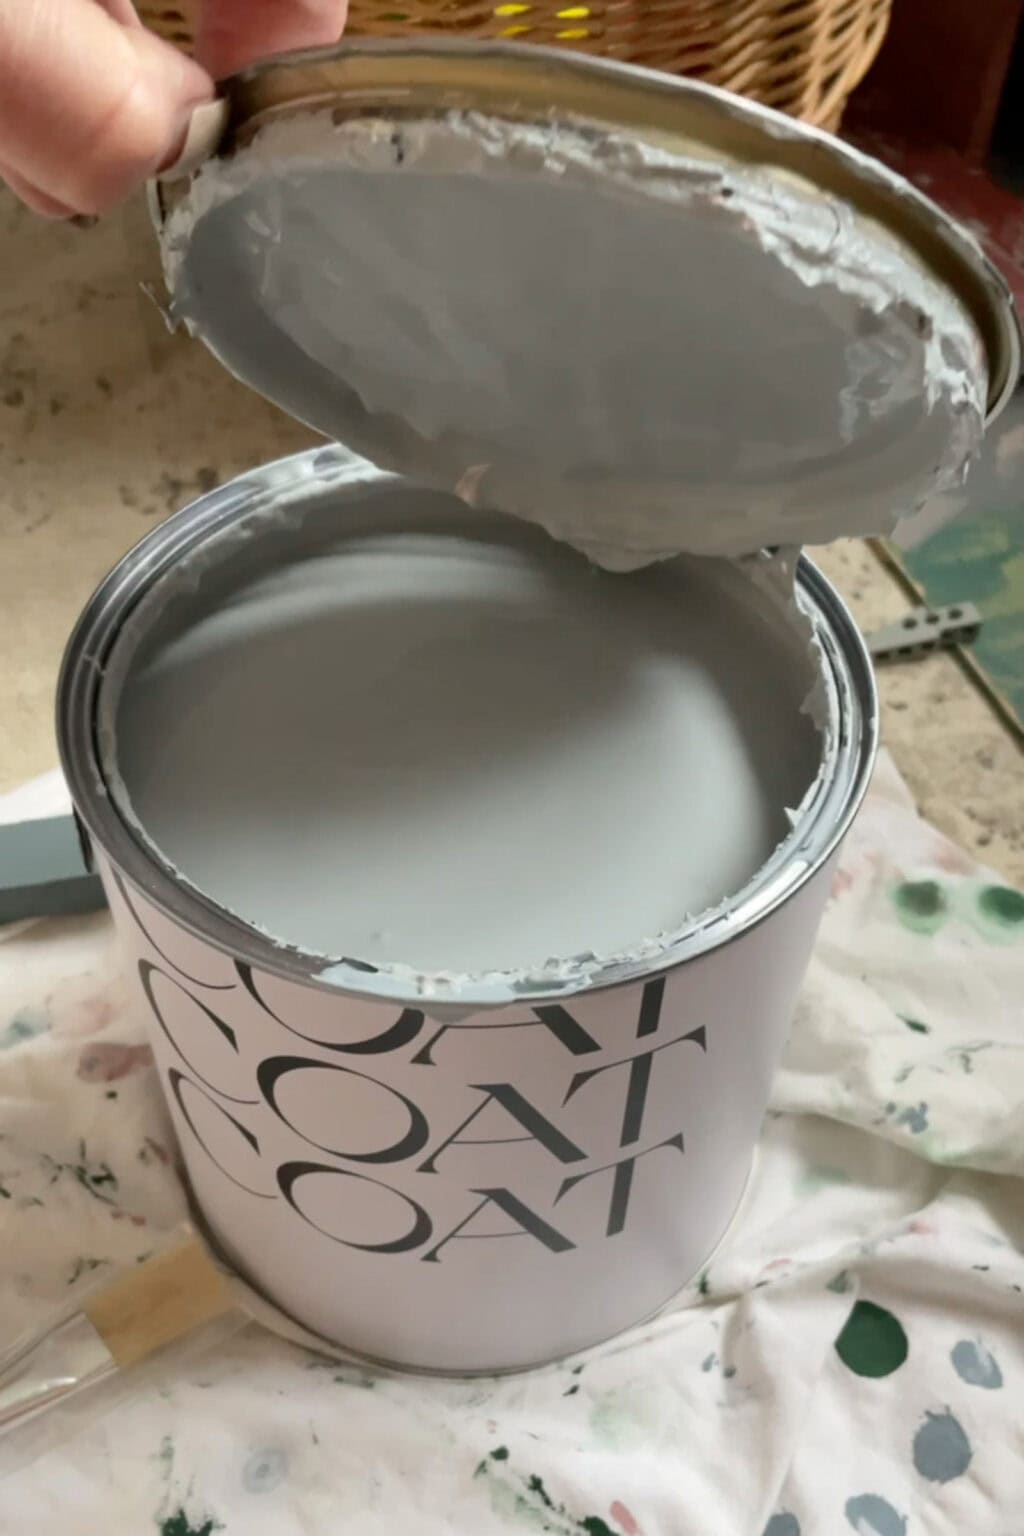
The paint used for this project was gifted by Coat Paints.
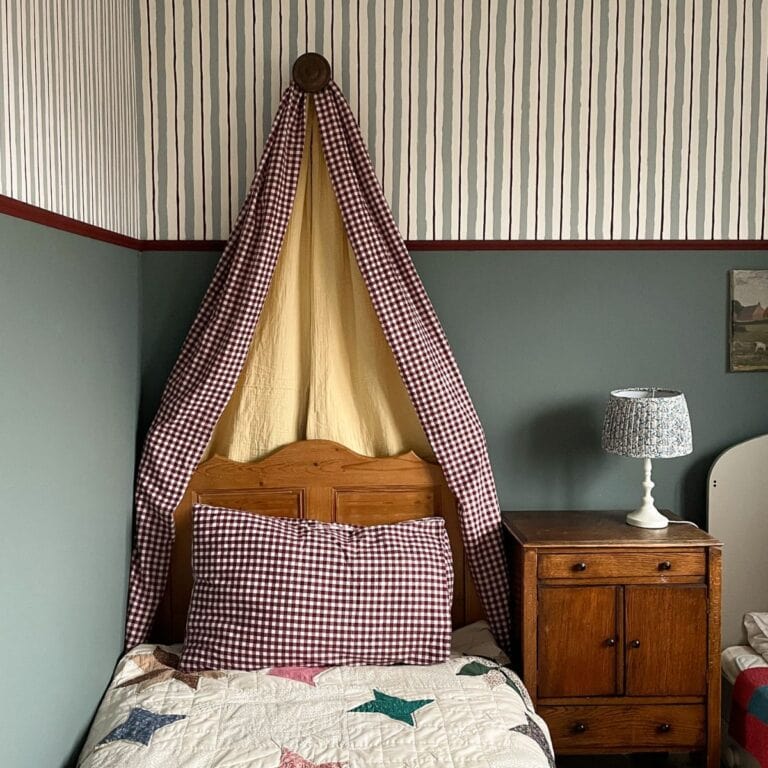
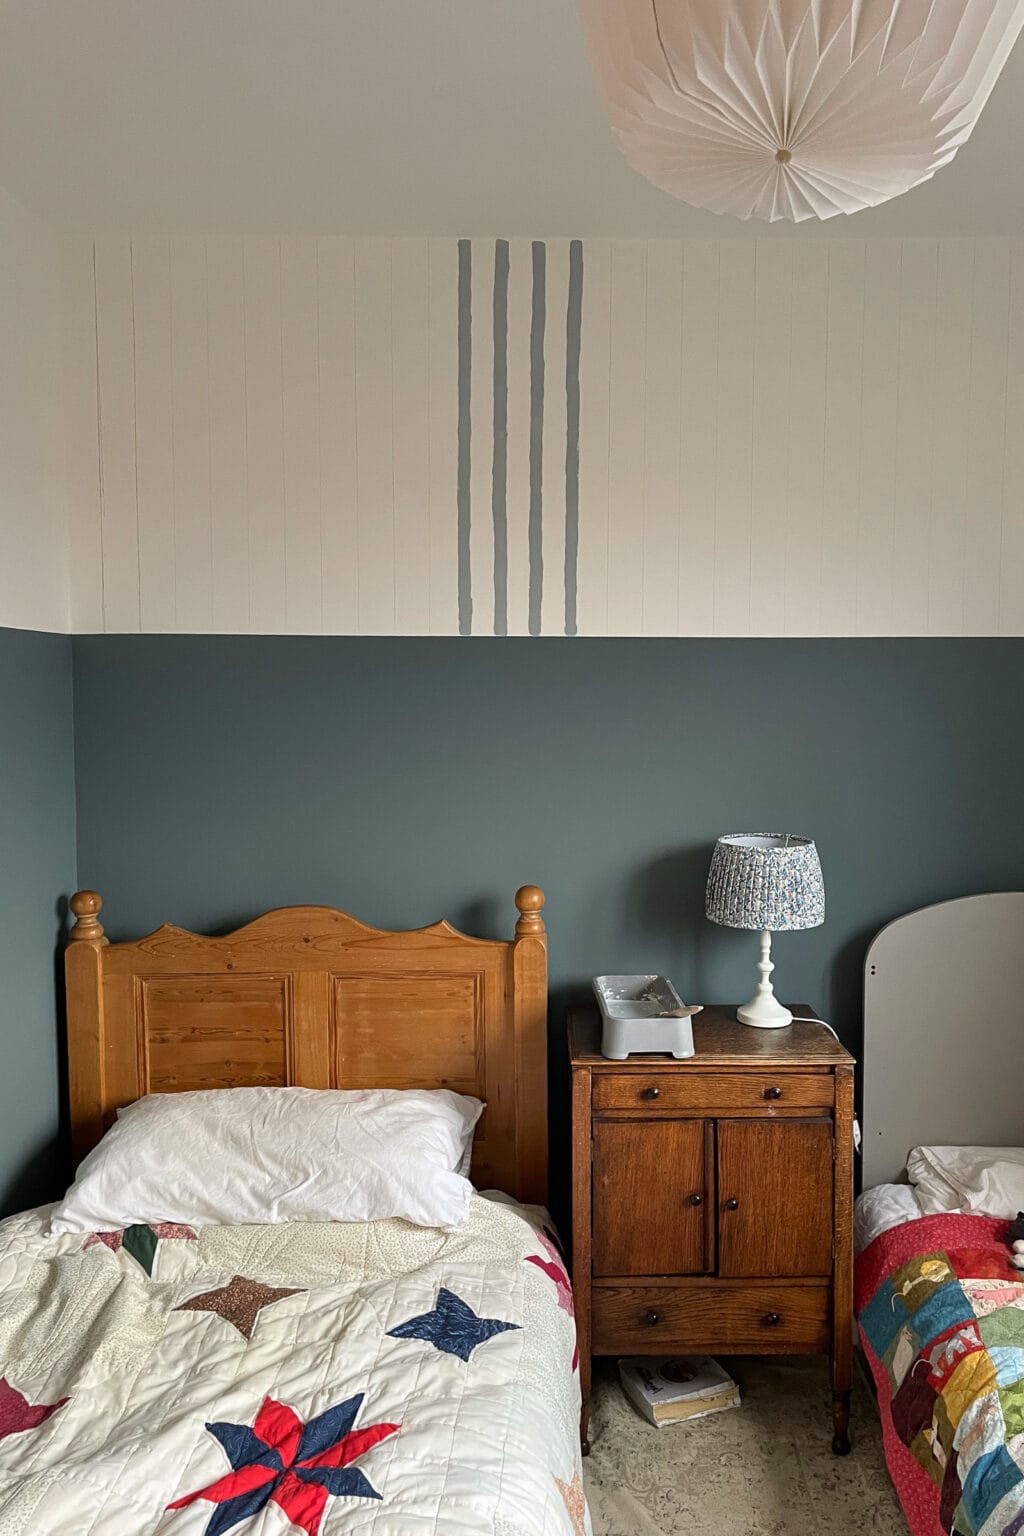
The walls of my very first bedroom, all my own, were covered in pink roses.
Curling vines, muted green leaves and huge, blousy blooms climbing across every wall. I could probably recreate it now if you asked me to, even 25 years later.
Some childhood details settle so deeply in our minds that they never quite leave. They’re little reminders of lovely days, cosy nights and all those evenings when we should have been in bed and somehow weren’t.
Over the years, in pursuit of creating a little whimsy for my own children, I’ve taken on everything from hand-stencilled flowers to DIY curtains made from an old bedsheets.
And if there’s one thing I really love, it’s a project that delivers buckets of whimsy without taking over every spare evening or draining the bank account.
That’s how today’s idea was born! All the joy of wallpaper, without the cost, and finished in just a couple of evenings. Just about perfection if you ask me.
Here’s how I created my very own freehand stripe wallpaper, without a strip of wallpaper in sight.
The Secret Ingredients for Painting Perfect Wall Stripes
Just like the time I tried to make a birthday cake without eggs, DIY projects have the potential to go awry if you choose the wrong tools. But in this project, having the right materials is essential for getting a beautiful result.
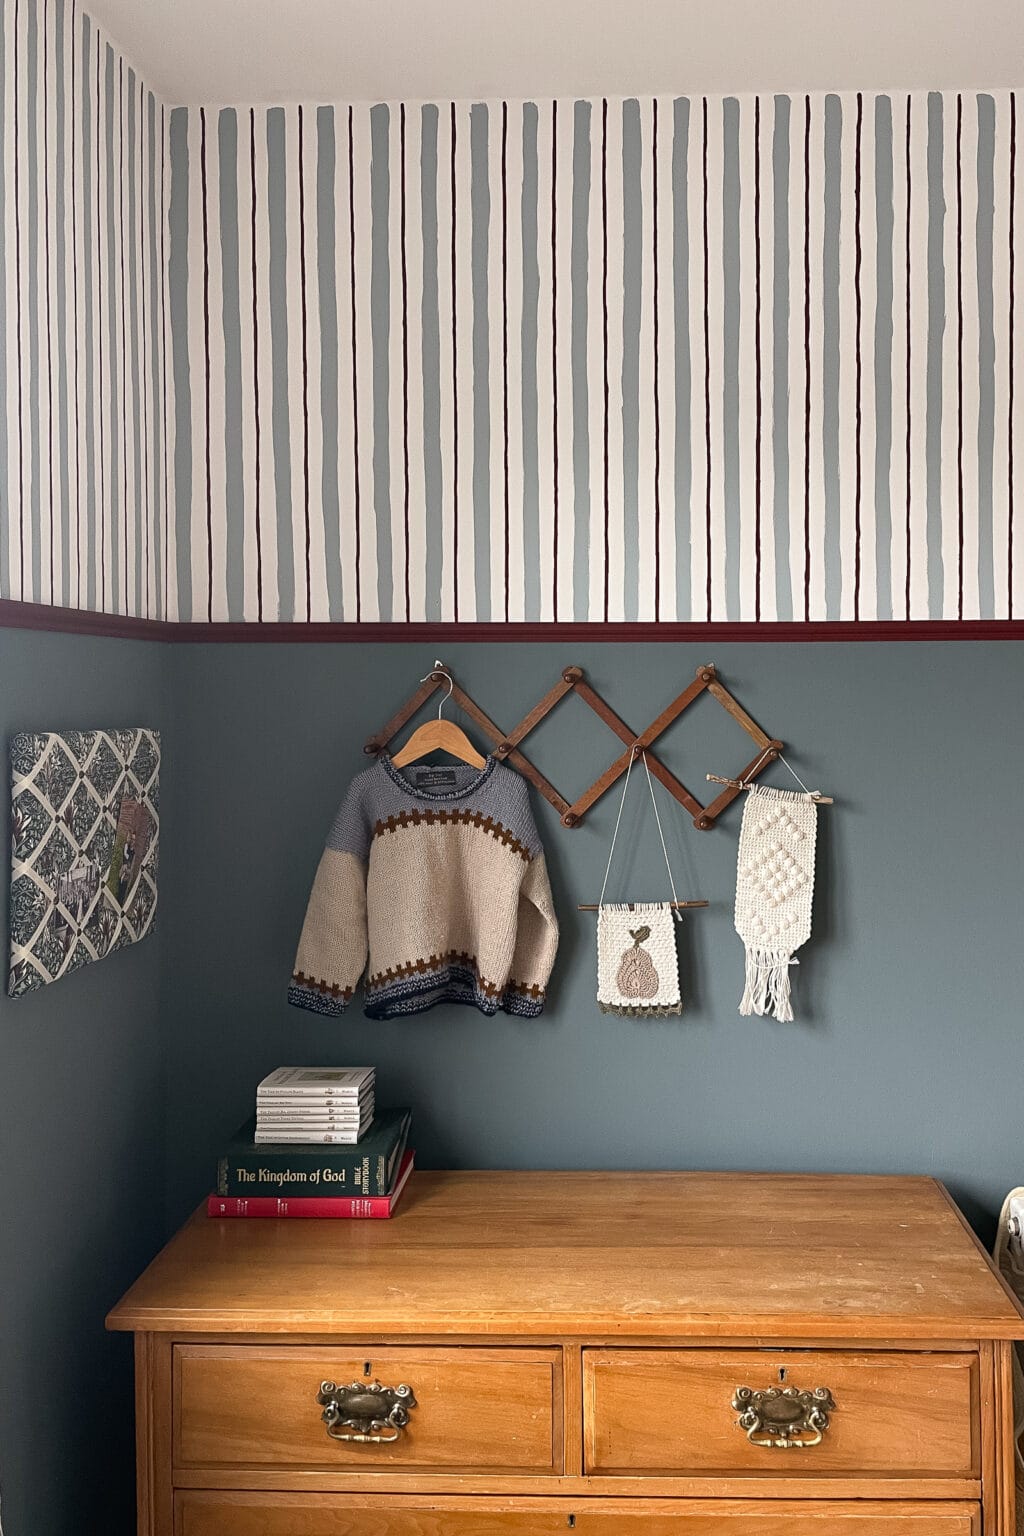
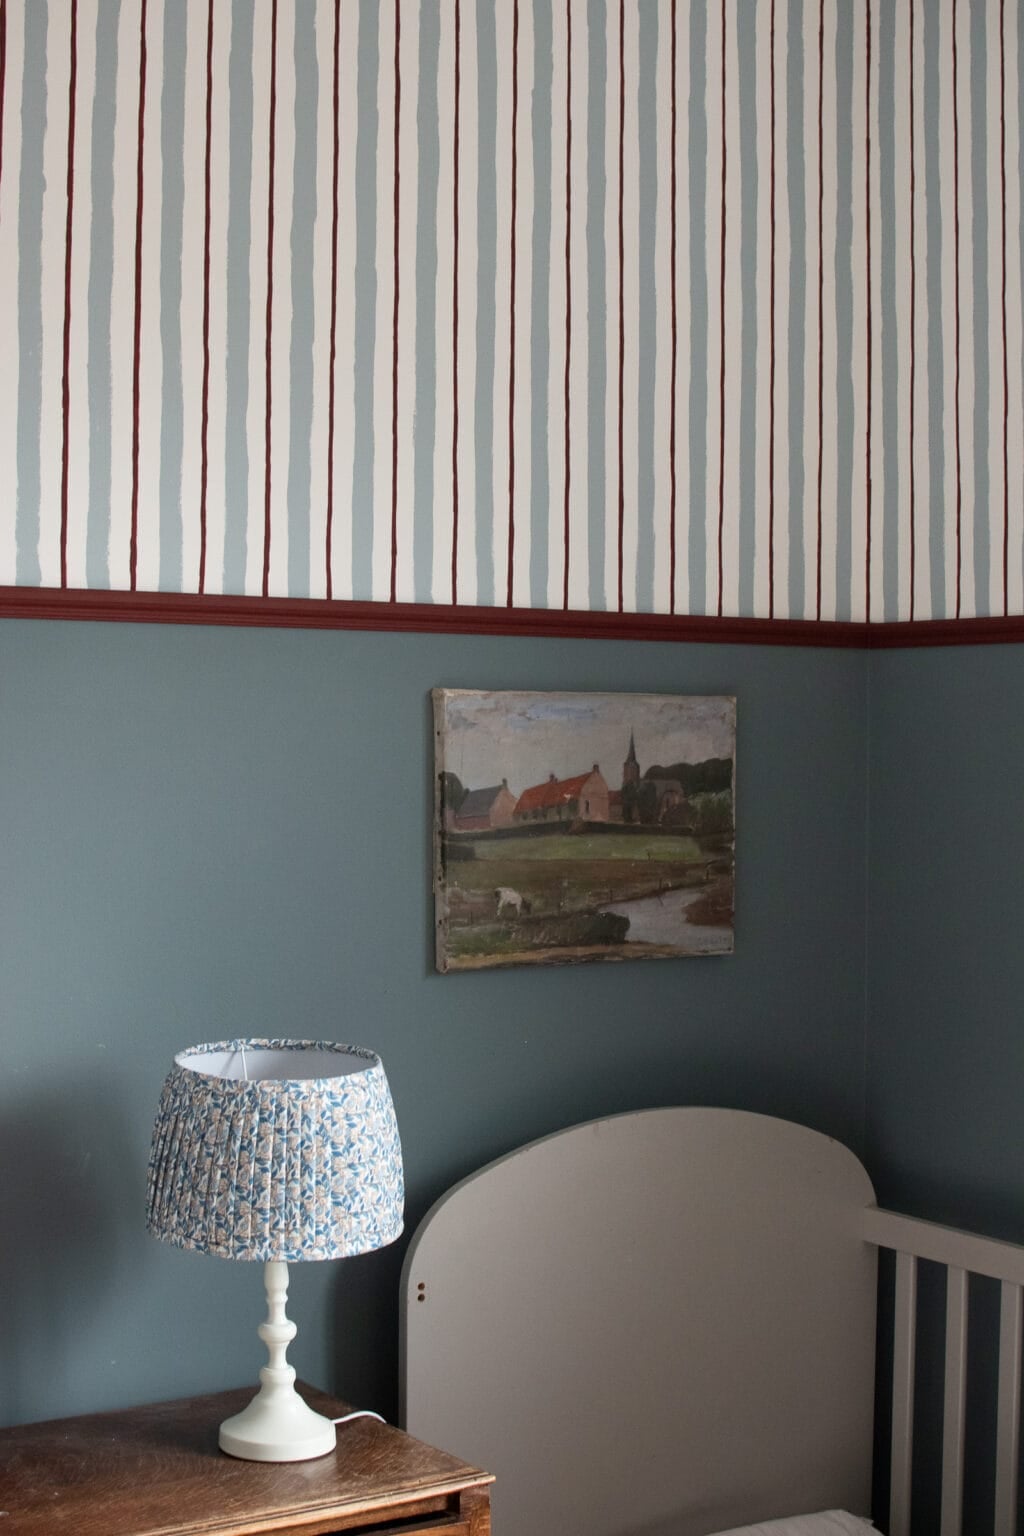
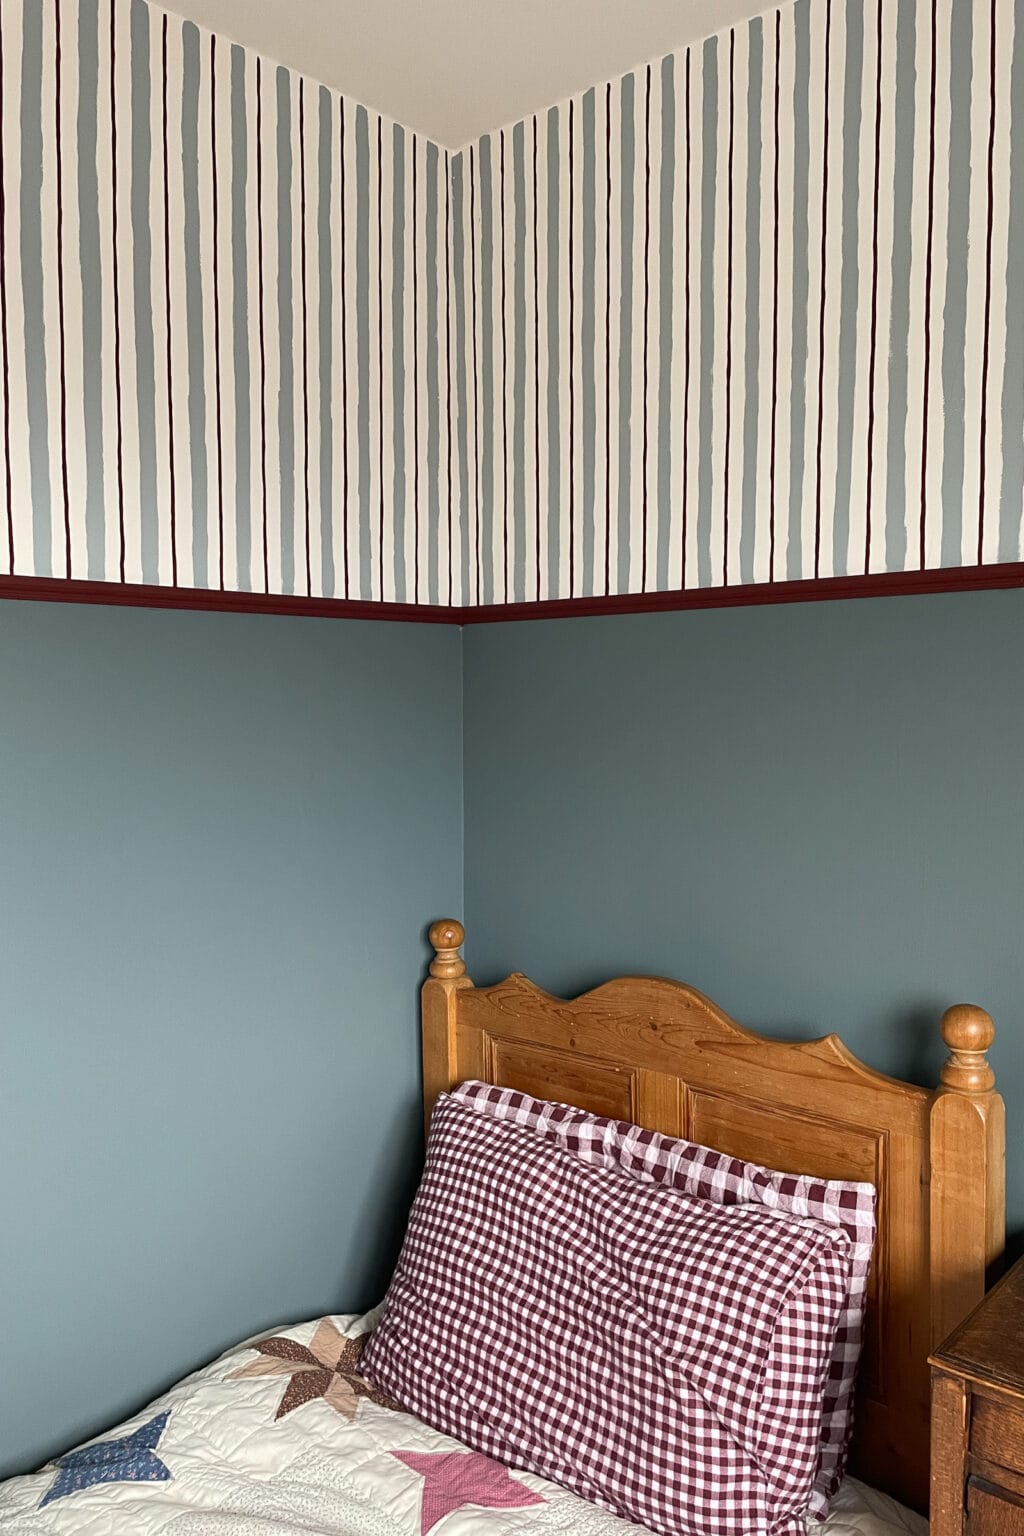
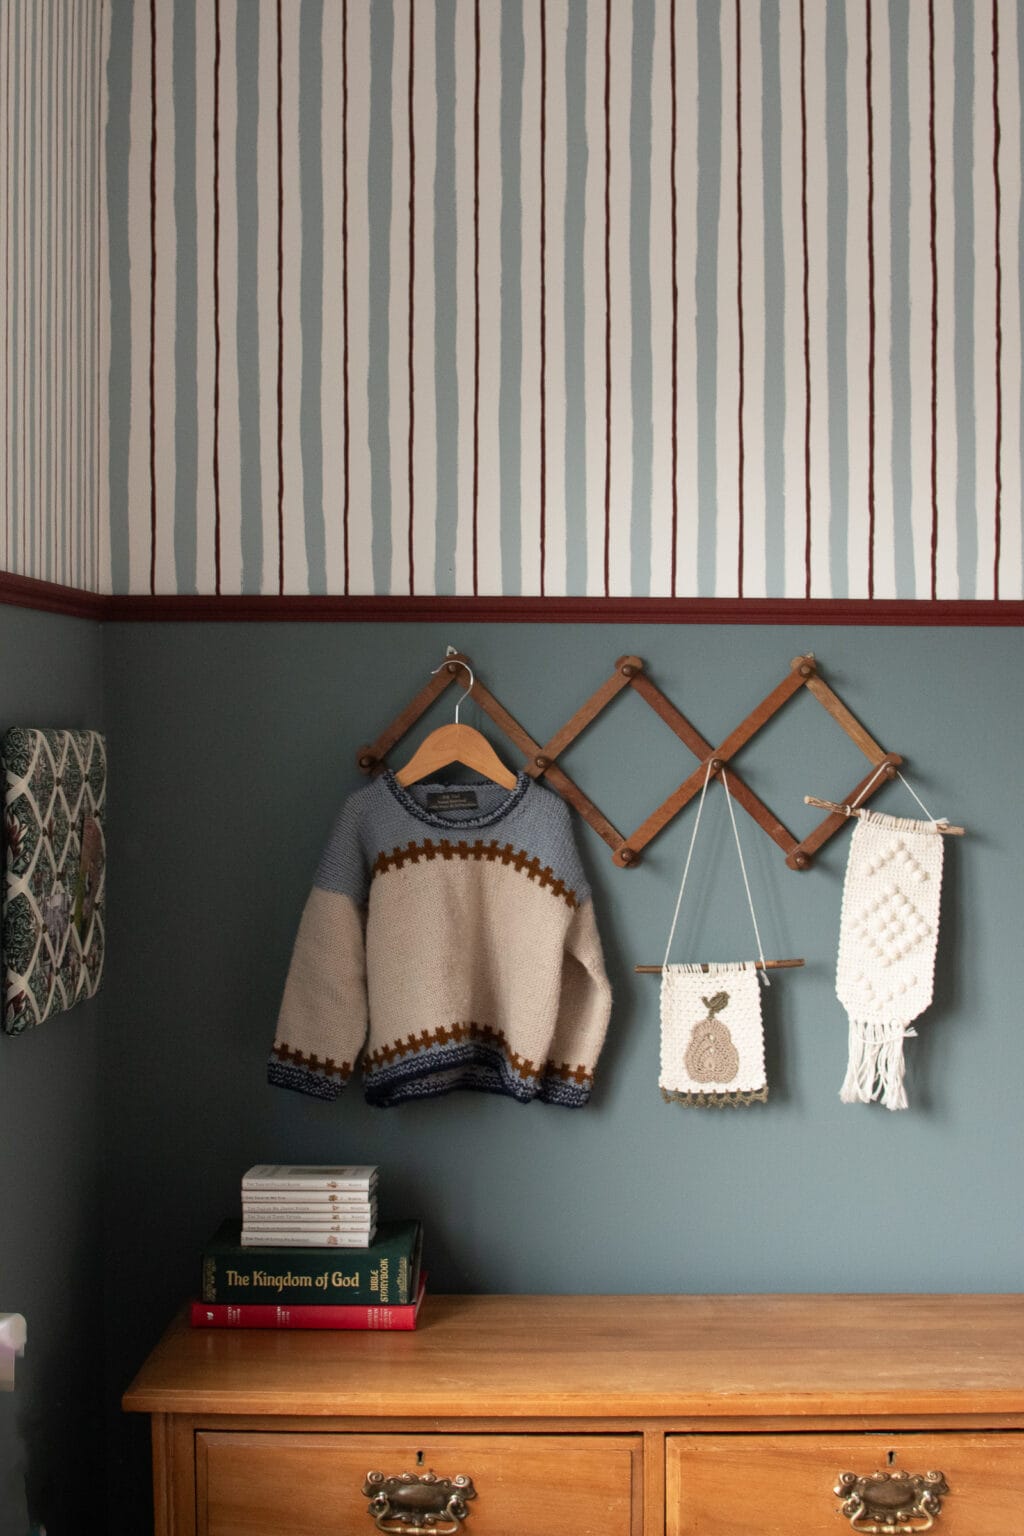
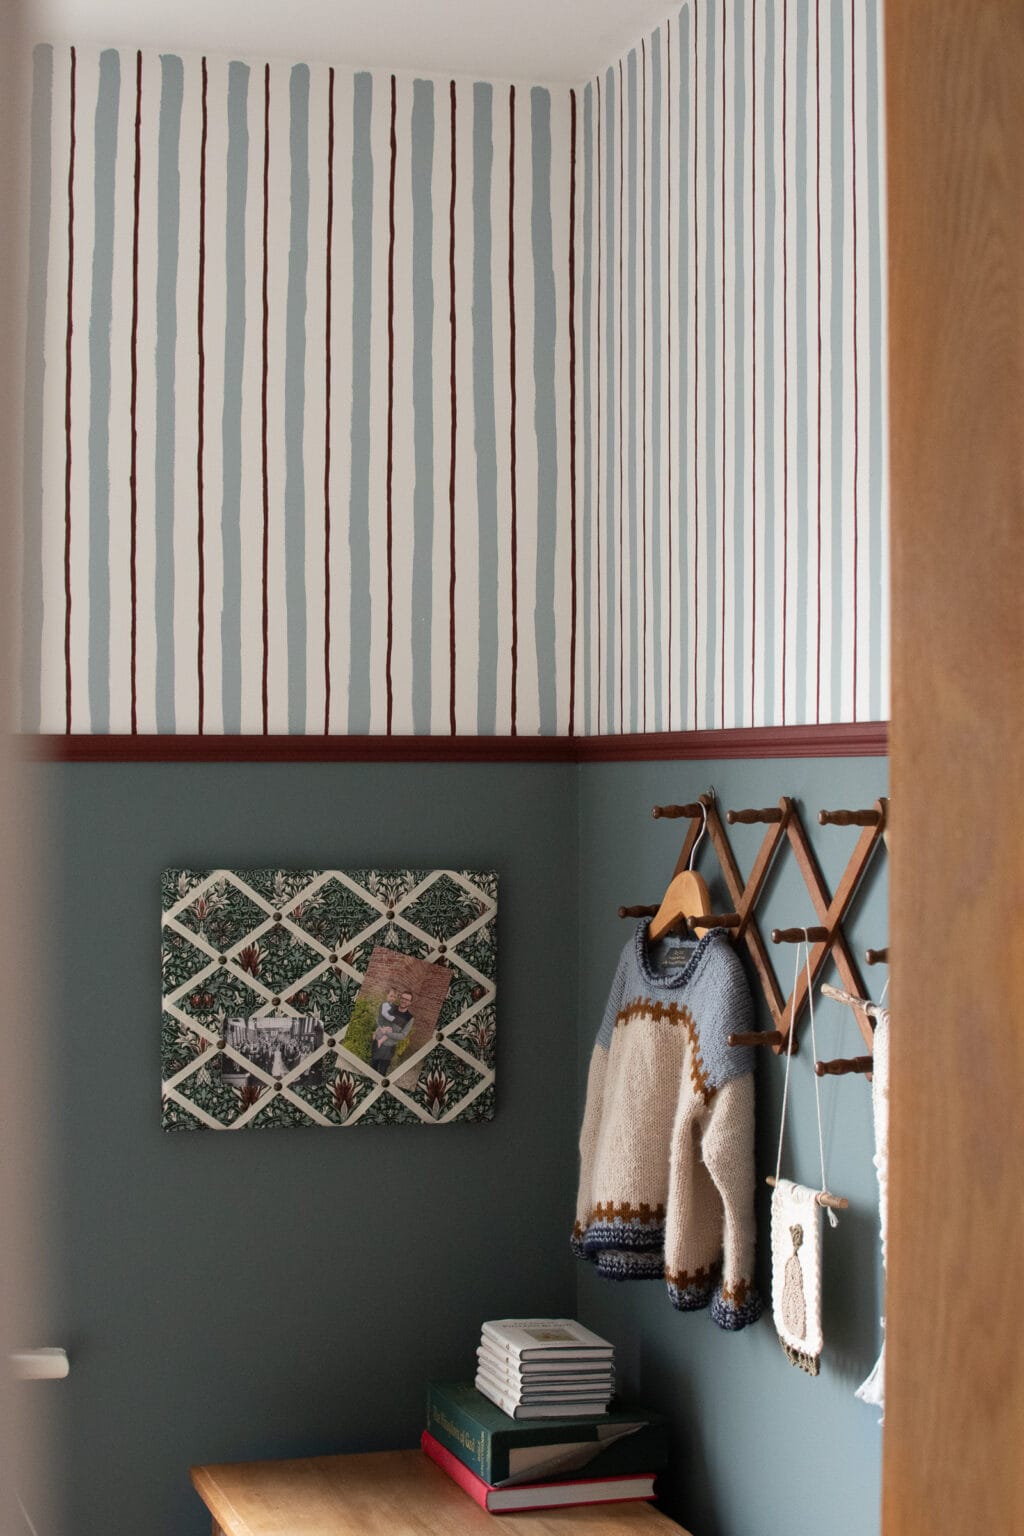
1. Choose your brushes carefully: Use a paint brush that’s the same width as your desired paint stripe width so you can let the brush do the work of keeping the stripes the same width.
For my thick stripe (the blue color) I used a 1″ (2.5cm) brush, and for the small stripes (the red) I used a 3/8″ (1cm) brush. For both kinds of stripe, I used the brush side on.
2. Use high quality paint: For best results, use full coverage paint for this project. You really don’t want to have to do multiple coats of paint!
Using matt or flat paint will also go smoother – it’s easier to touch up if things go wrong and will look more like wallpaper.
Why Painter’s Tape is Unnecessary for Painting Wall Stripes
There’s a surefire way to make your stripes take a lot longer to paint. Taping lines all around your room might give you straight, clean stripes, but it takes hours, a ton of painter’s tape and lots of fiddling with a laser level.
With very little spare time on my hands, that’s one big reason why I chose to paint my stripes freehand.
Besides the time saving, freehand stripes look really lovely! They’re more organic, whimsical and playful, perfect for a children’s room.
SHOP THE PROJECT
Recreate the Look
Shop the paint colors I used for the wall stripe design

Does this Method Work for Both Horizontal and Vertical Stripes?
While I chose to do vertical lines, this process will work just as beautifully for horizontal stripes. Just flip everything horizontal and you’ll be away!

Painting Wall Stripes Without Tape
Supplies
You will need:
Wall paint
Scrap cardboard
Tape measure
Laser level or spirit level
Pencil
Paintbrushes
Step 1: Paint Your Base Color
If needed, paint your entire wall in your desired base color.
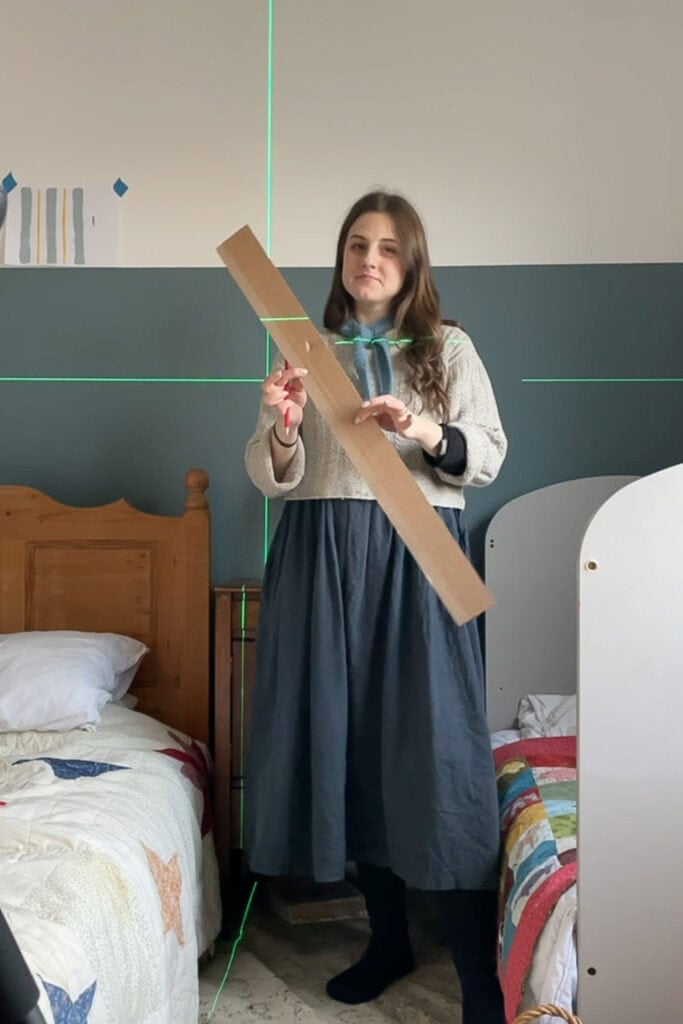
Step 2: Make a Template
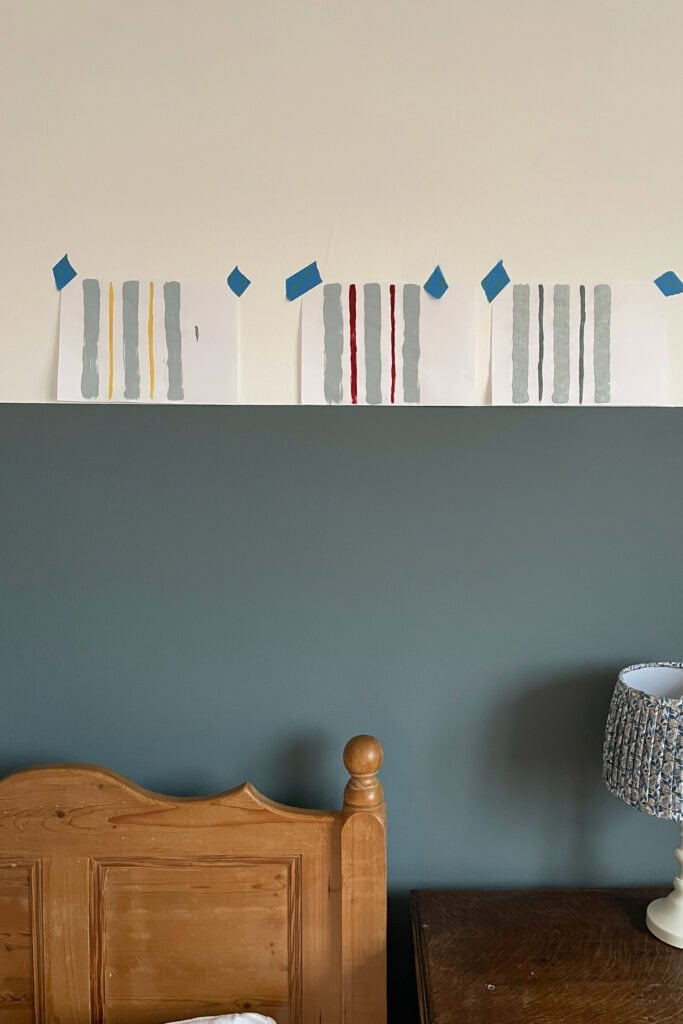
Decide how far apart you want your stripes to be by painting some test stripes on a piece of paper. Measure the distance between the centre of one stripe and the centre of the next.
Create a cardboard template that’s the same width as this distance. For example, I chose to have my stripes 3 inches apart from centre to centre.
If possible, make this template as tall as your wall (or the part of your wall that you’re painting).
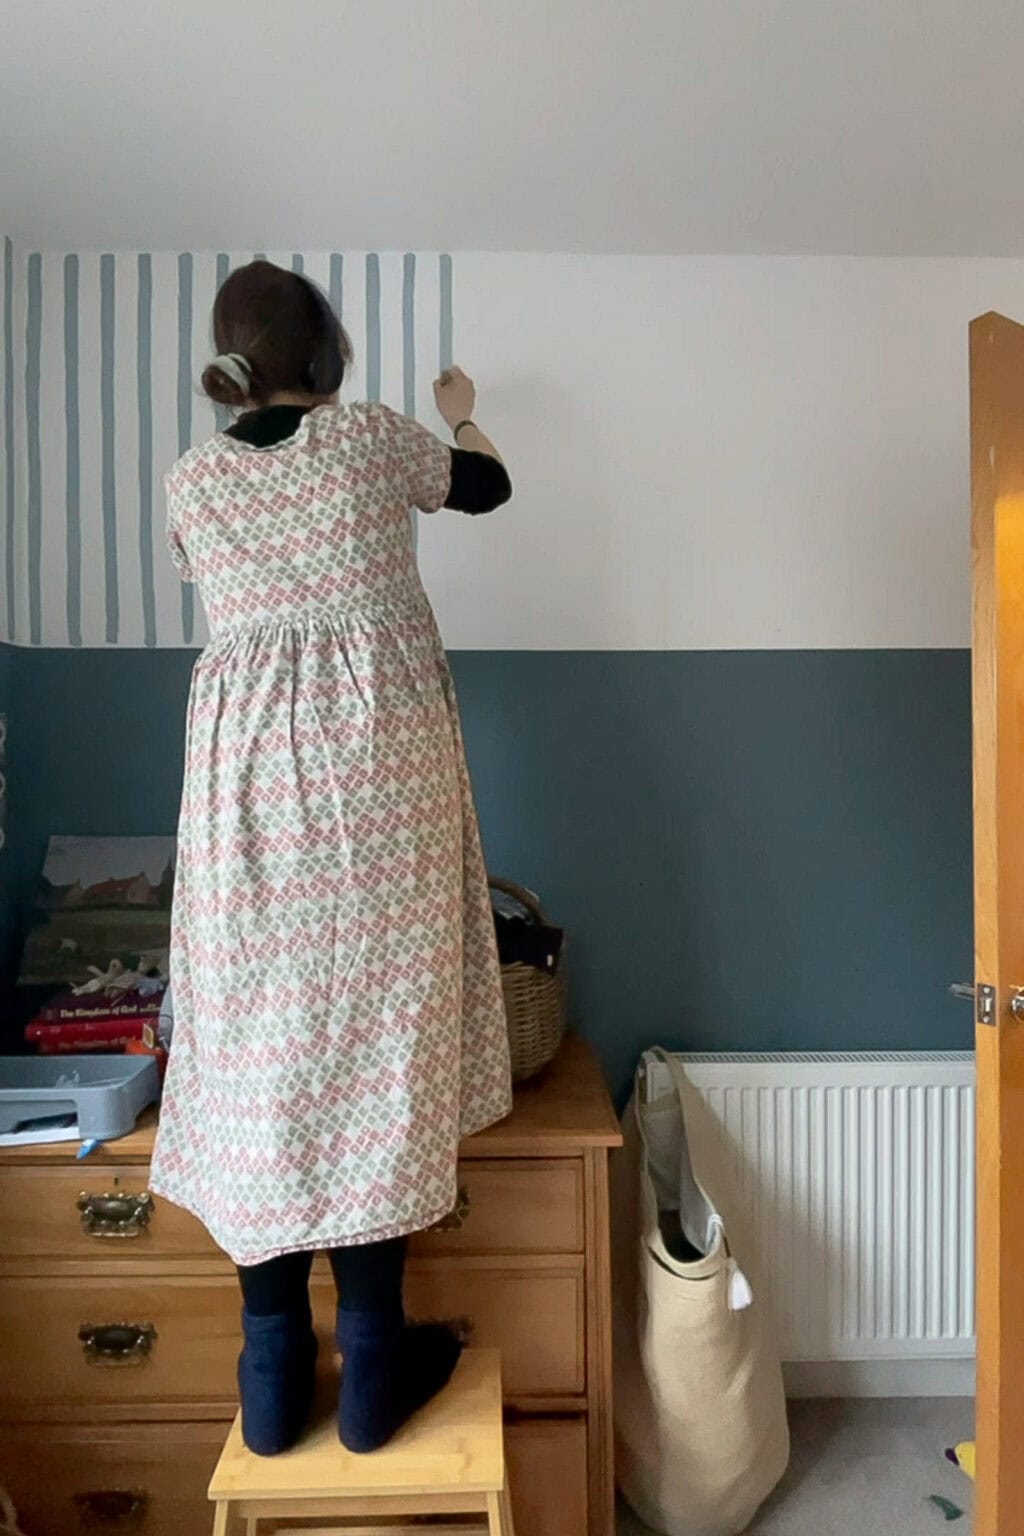
Step 3: Draw your guidelines
Starting in a part of the room that’s likely to be hidden (for example, behind a door or curtain), place your template on the wall and check it’s perfectly vertical with a spirit level or laser level.
Draw down one side of it with a pencil.
Then move your template along, aligning one side with the pencil line you’ve just drawn and drawing the next line. Continue drawing your straight lines, checking regularly that your lines are still perfectly vertical.

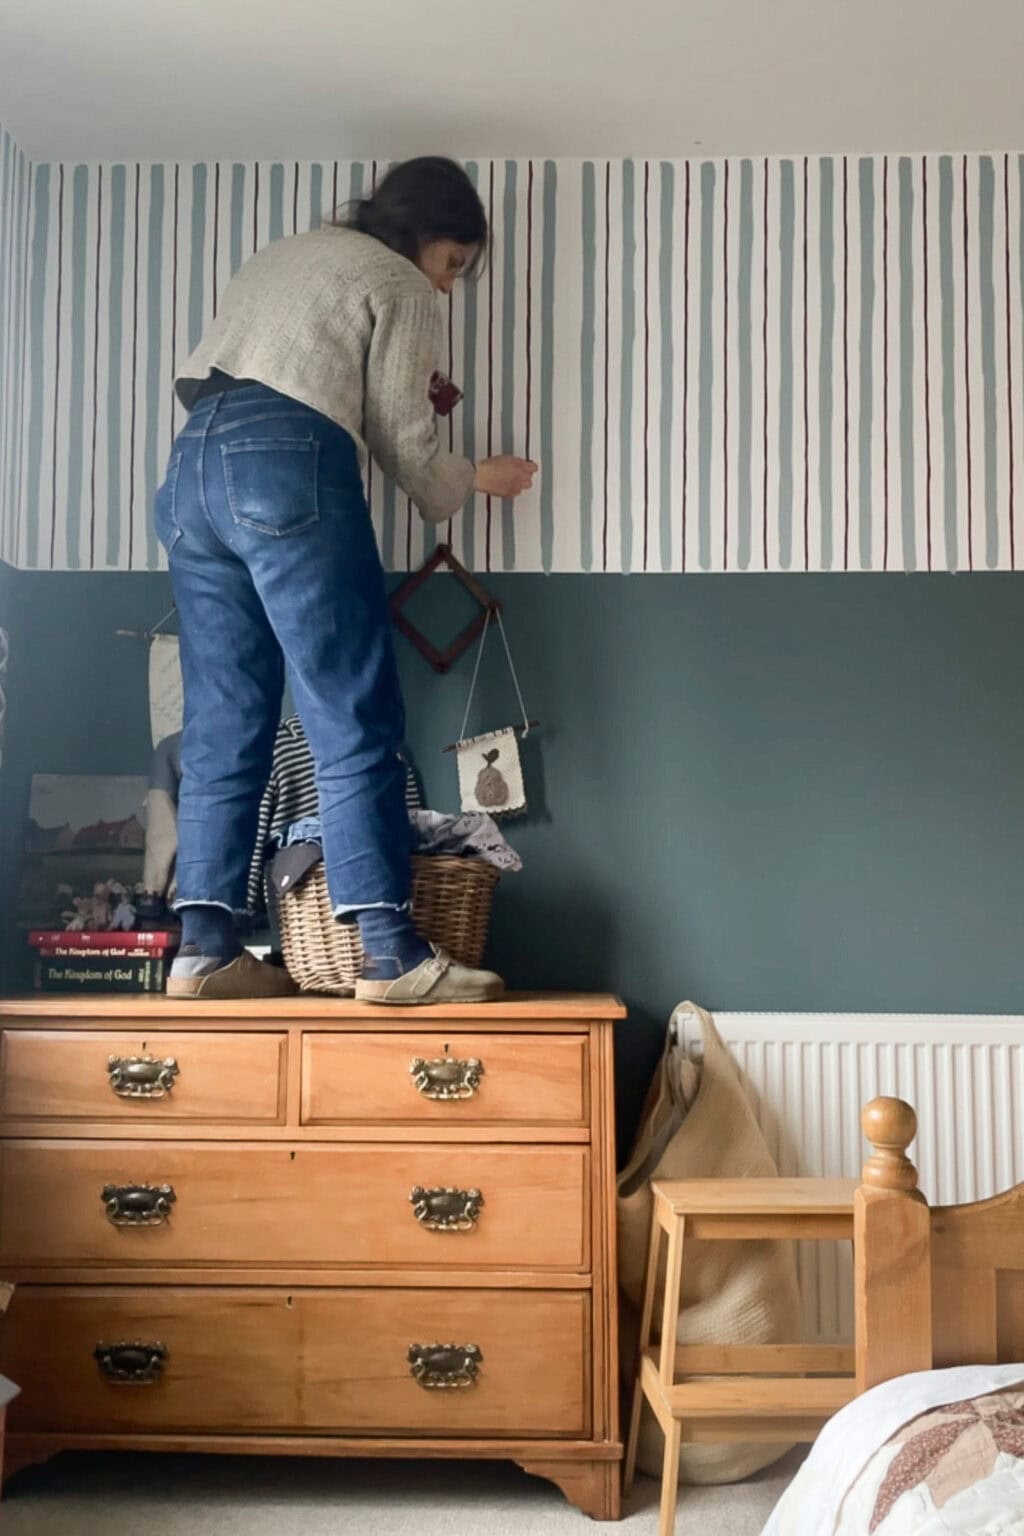
Step 4: Painting Your Wall Stripes
Load your brush and paint carefully down each guideline, centring your brush on the line. You’re not aiming for perfect stripes or crisp paint lines – just as uniform as possible with their own little quirks.
Choose a brush that’s the same width as you want your stripes to be because it will help your stripes to stay uniform.
If you’ve chosen high quality paint you shouldn’t have to do a second coat.
Continue until your whole wall or room is complete.
Step 5: Add Your Second Color
If you’re adding a second set of stripes in a different color, repeat the process, drawing small pencil marks and then painting over them.
Step 6: Tidy Things Up
If needed, tidy up any mistakes with your wall color.
Looking for More Whimsical Decor Ideas?
If you love decorating with a sense of playfulness and ease, you’re very much in the right place.
If this freehand stripe idea has sparked something, you might enjoy a few of my other gentle, joy-filled decorating projects too:
How to Stencil a Design on a Wall (Cute DIY Flower Wallpaper!)
How to Make DIY Curtains: A Quick & Easy Sew!
How to Make a Quick Tapestry-Style Wall Hanging
Frequently Asked Questions
Painting Wall Stripes Without Tape
Equipment
- Tape measure
- Laser level or spirit level
- Pencil
- Paint brushes (same width as desired stripes)
- Scrap cardboard (for template)
Materials
- Base wall paint
- Stripe paint colors
- Extra wall paint for touch-ups
Instructions
- Paint Your Base ColorIf needed, paint your entire wall in your chosen base color and allow it to fully dry.
- Make a TemplateDecide your stripe spacing (measure centre to centre) and cut a cardboard template to match.
- Draw Your GuidelinesUsing a level, place the template vertically and draw a pencil line. Move across the wall, repeating to create evenly spaced guidelines.
- Paint the StripesUsing a brush the same width as your desired stripes, paint directly over each pencil line, centring the brush on the guideline.
- Add a Second Color (Optional)Repeat the guideline and painting process for your second stripe color.
- Tidy UpTouch up any mistakes with your base wall color.
Notes
- Choose brushes that match your stripe width.
- Matte or flat paint gives the most wallpaper-like finish.
- Freehand stripes create a softer, more organic look than taped stripes.
- This method works for both vertical and horizontal stripes.


This turned out beautifully. I really like the way the lines aren’t exactly straight. You’re so right it does add a warm whimsical feel. The pattern doesn’t need to change as your son grows older. 👌
Thank you! Yes it would work just as well as he gets older!