How to Paint a Dollhouse To Last Beautifully (Through Years of Play!)
Ready to turn a thrifted find into something magical? Here’s how to paint a dollhouse that’s charming, durable, and totally unique.
This page contains affiliate links, which earn me a little bit of commission if you make a purchase, at no additional cost to you. Thank you!
I spent weeks searching.
Every night after the kids were tucked up in bed, I’d open my laptop and type the same hopeful phrase into Facebook Marketplace: dollhouse.
And every night, I’d scroll through a jumble of plastic monstrosities, half-broken castles, and Peppa Pig palaces – none of which had the vintage charm I was hoping for.
Until one Tuesday evening, I saw it.
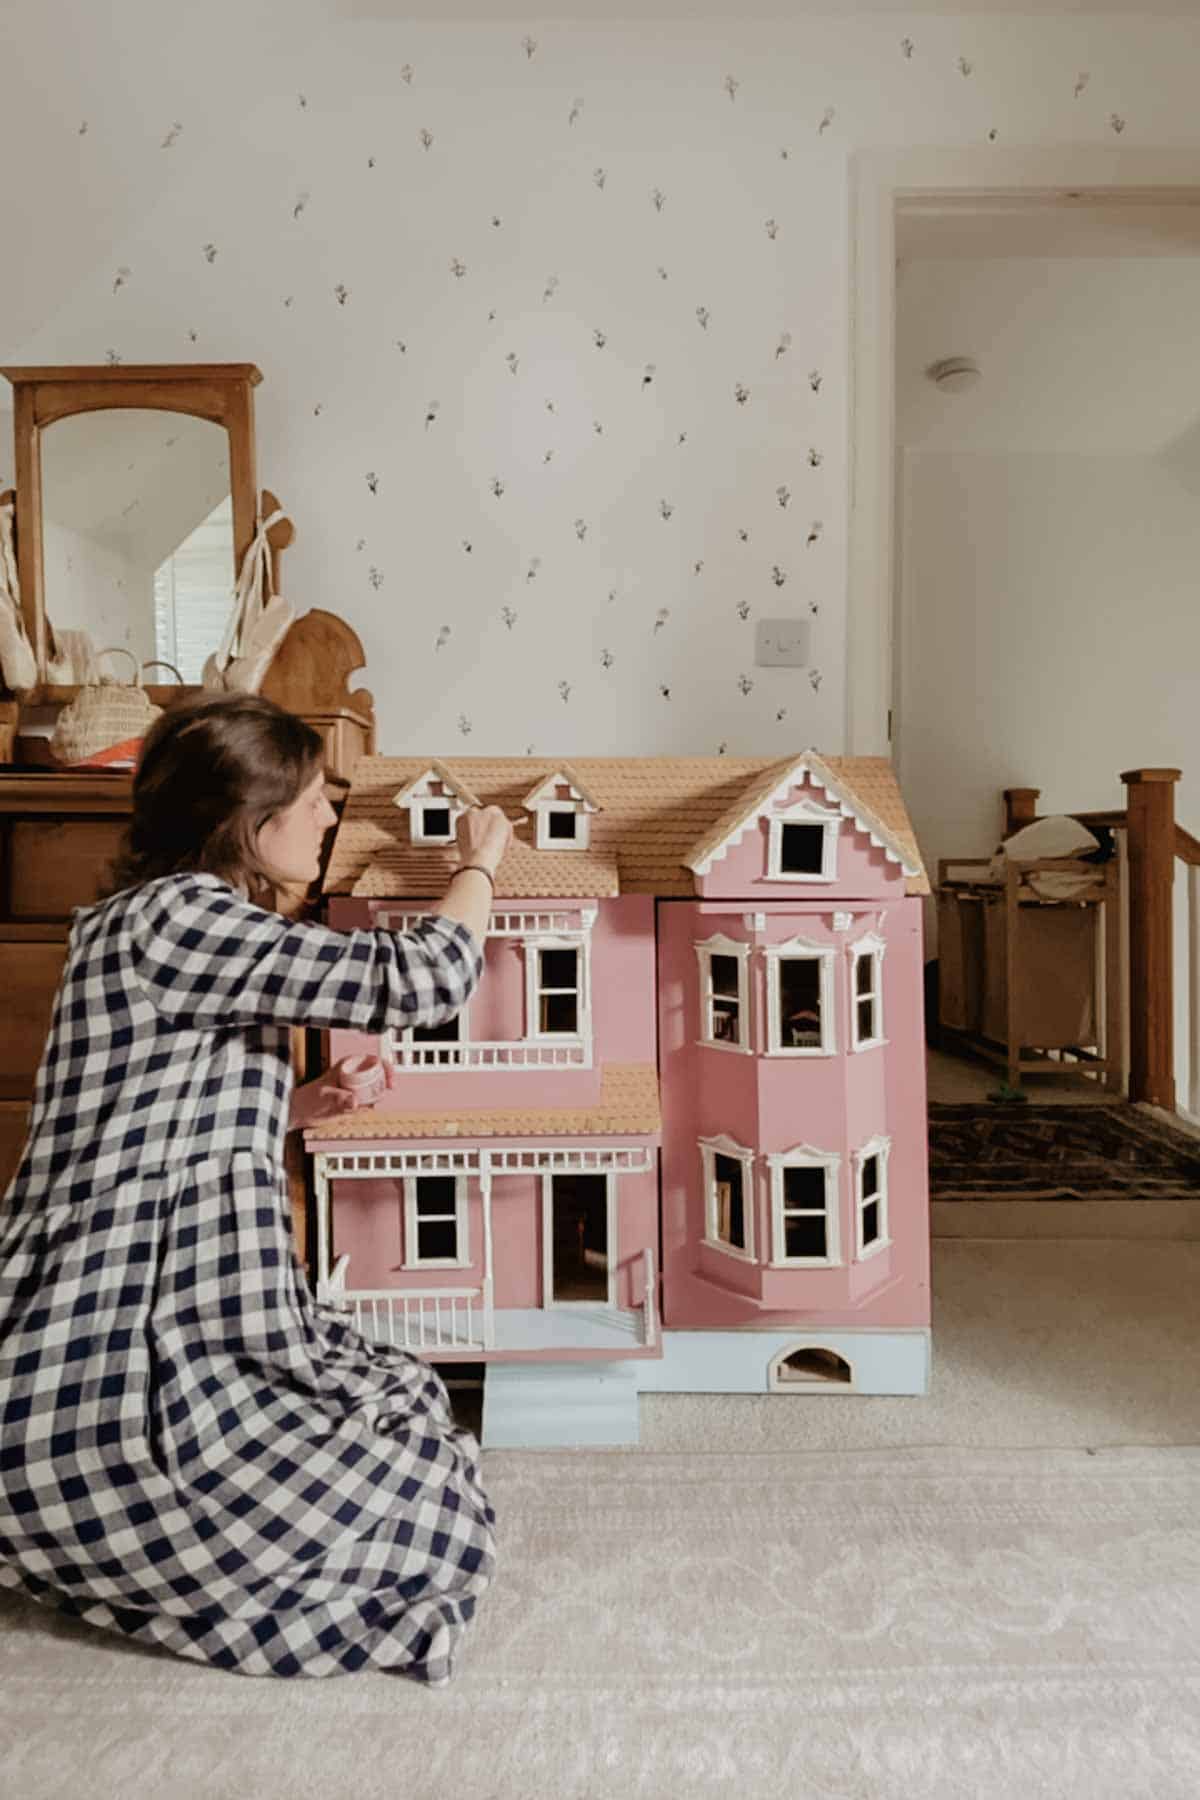
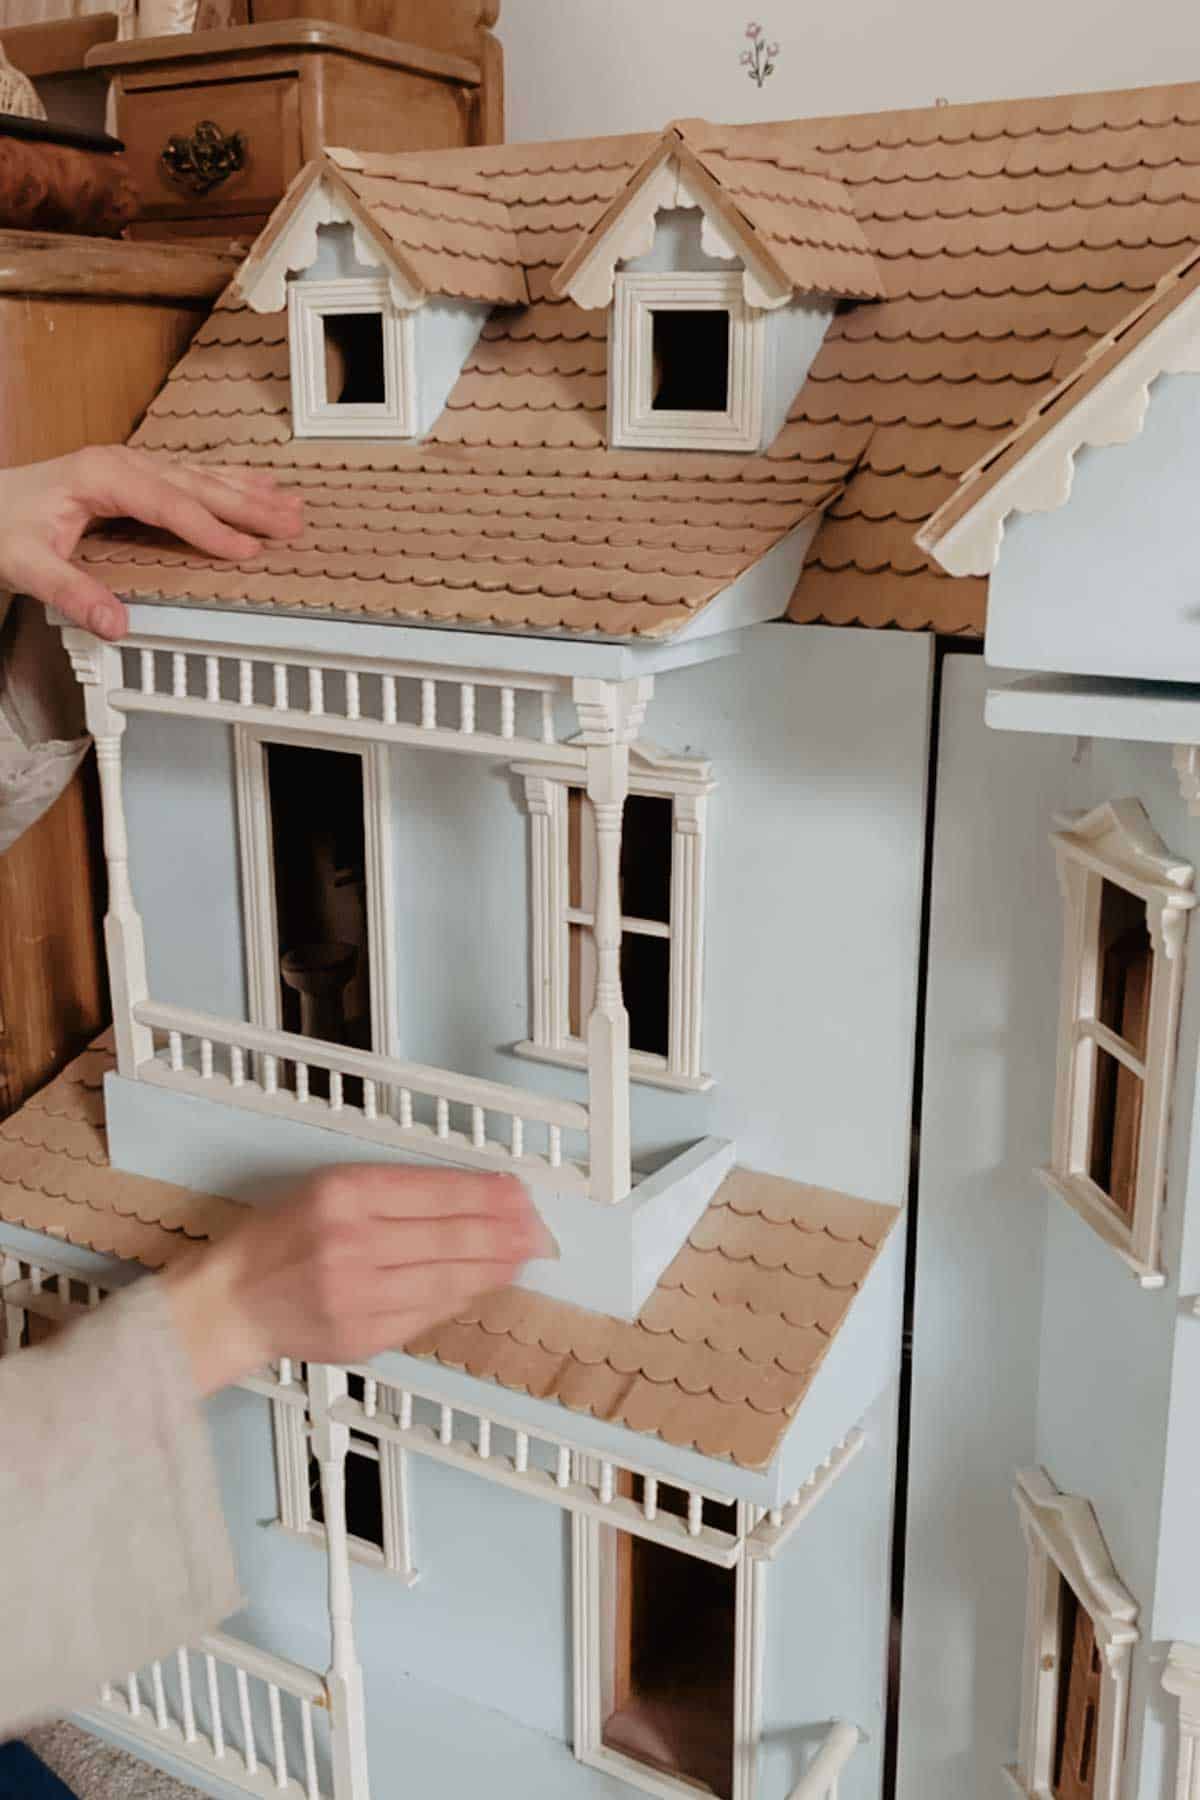
A big wooden house with sloped eaves, faded paint, and a bundle of mismatched furniture. It was rough around the edges, but it had everything I was looking for.
And it was only £40!
I messaged the seller immediately and picked it up the following evening, wedged between the pushchair and the balance bikes.
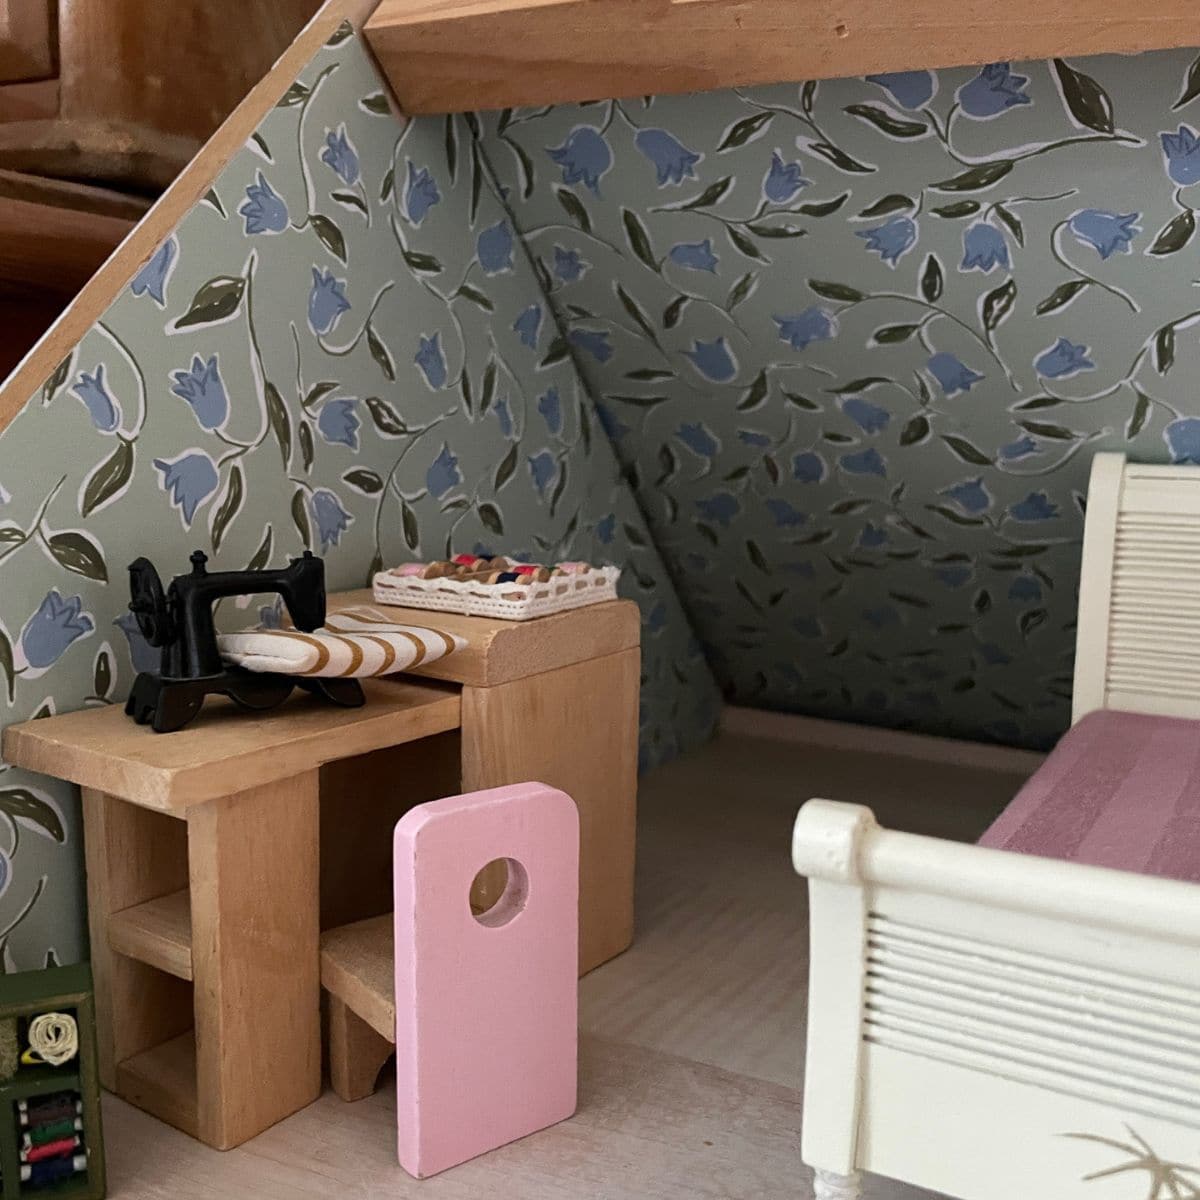
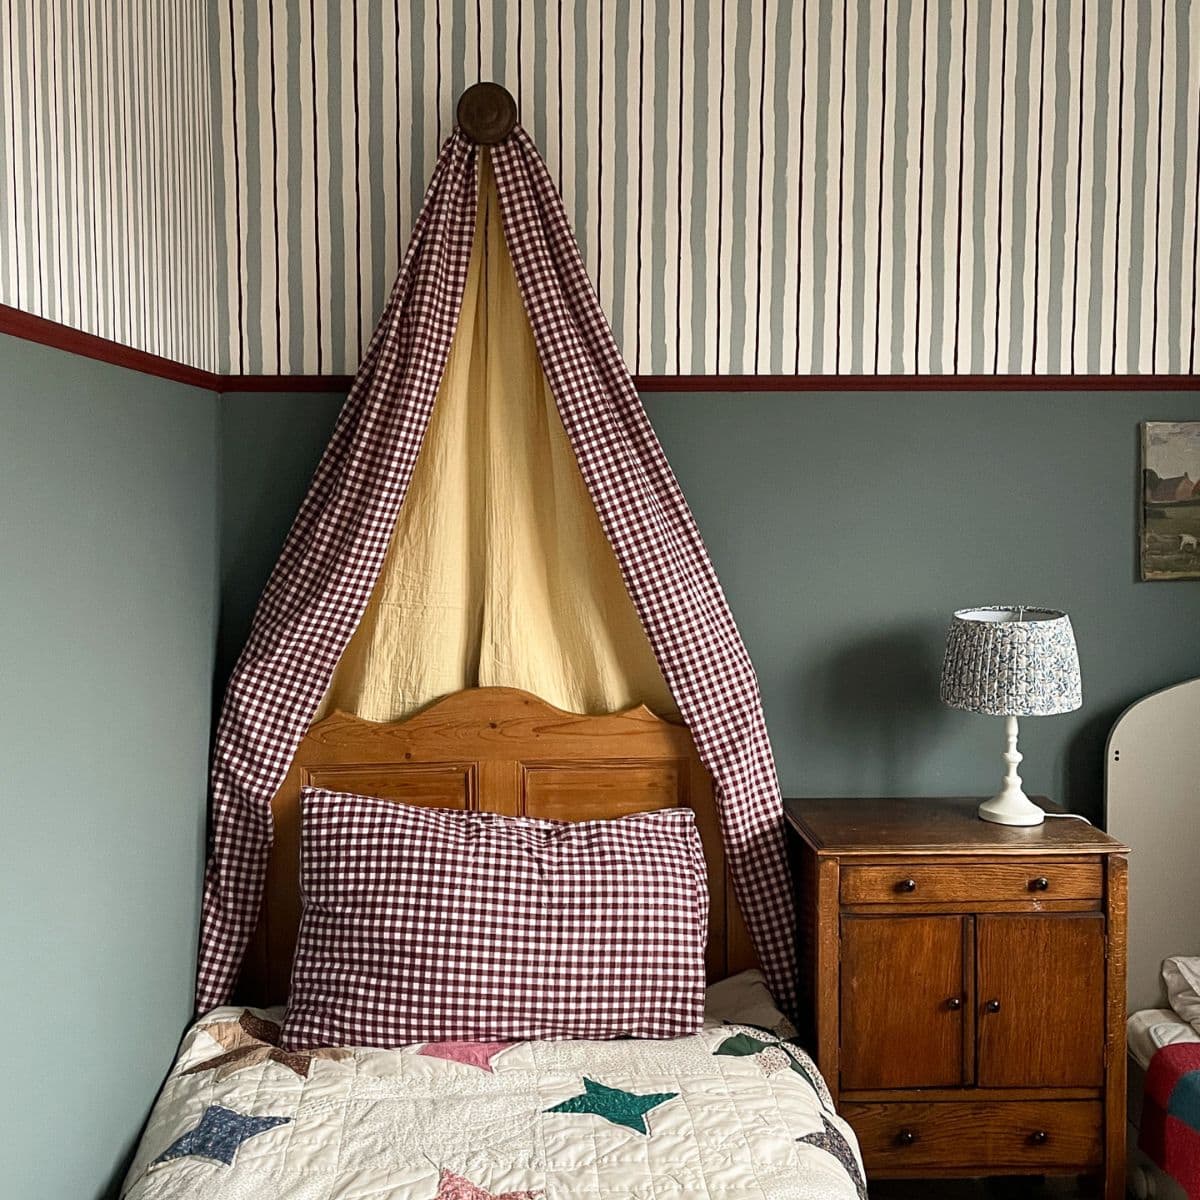
It wasn’t in great shape, but I didn’t mind. I was already imagining it in soft chalky pinks, tiny wallpaper and the kind of sweet details you can only get when you make things by hand.
Now I’ve fallen down the dollhouse rabbit hole, I’ll be sharing all the ins and outs of how I’m bringing this dollhouse back to life. And we’re starting, of course, by painting it.
Because once you know how to paint a dollhouse, you’ll never look at an unloved one the same way again.
The Paints I Used to Paint a Dollhouse That Lasts
If you’ve ever found your toddler painting the walls with acrylic paint, you’ll know that not all paints are created equal.
When it comes to dollhouses, you want a paint that will withstand years of rough play. I did loads of research beforehand about what kinds of paint to use, and these were the ones that came up again and again:
- Chalk paint works beautifully for a rustic, vintage-style dollhouse and can be sealed with a wax or matte varnish.
- Household emulsion is perfect for big areas like walls and roofs. You won’t need much so stick to buying tester pots. Flat, matt, or satin work best – gloss tends to be too shiny for miniatures.
- Acrylic paint is easy to find, dries quickly, and comes in endless colours, but it’s not as longlasting.
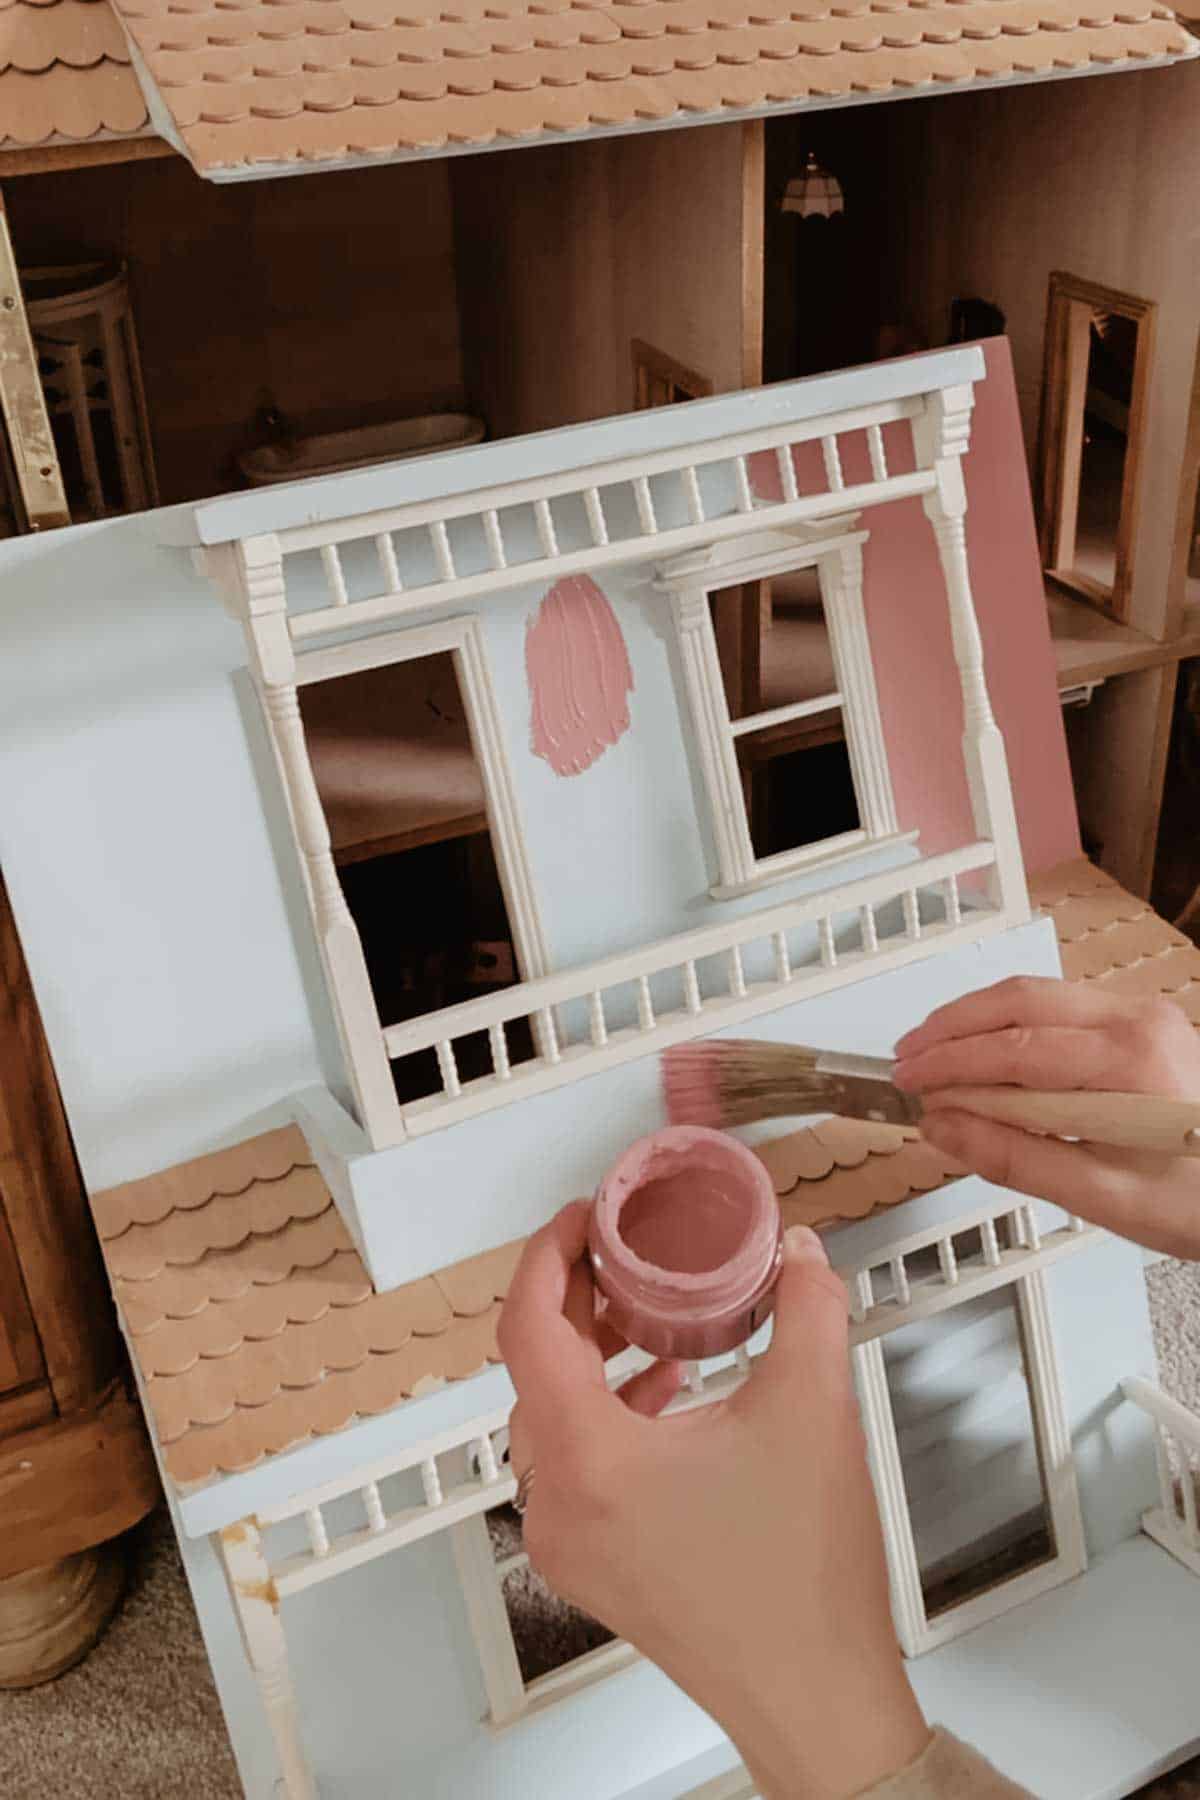
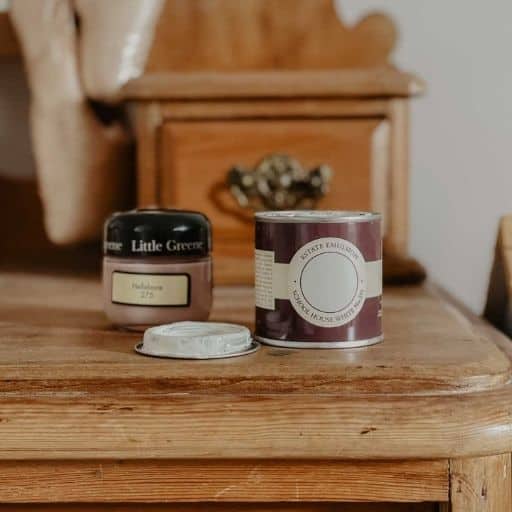
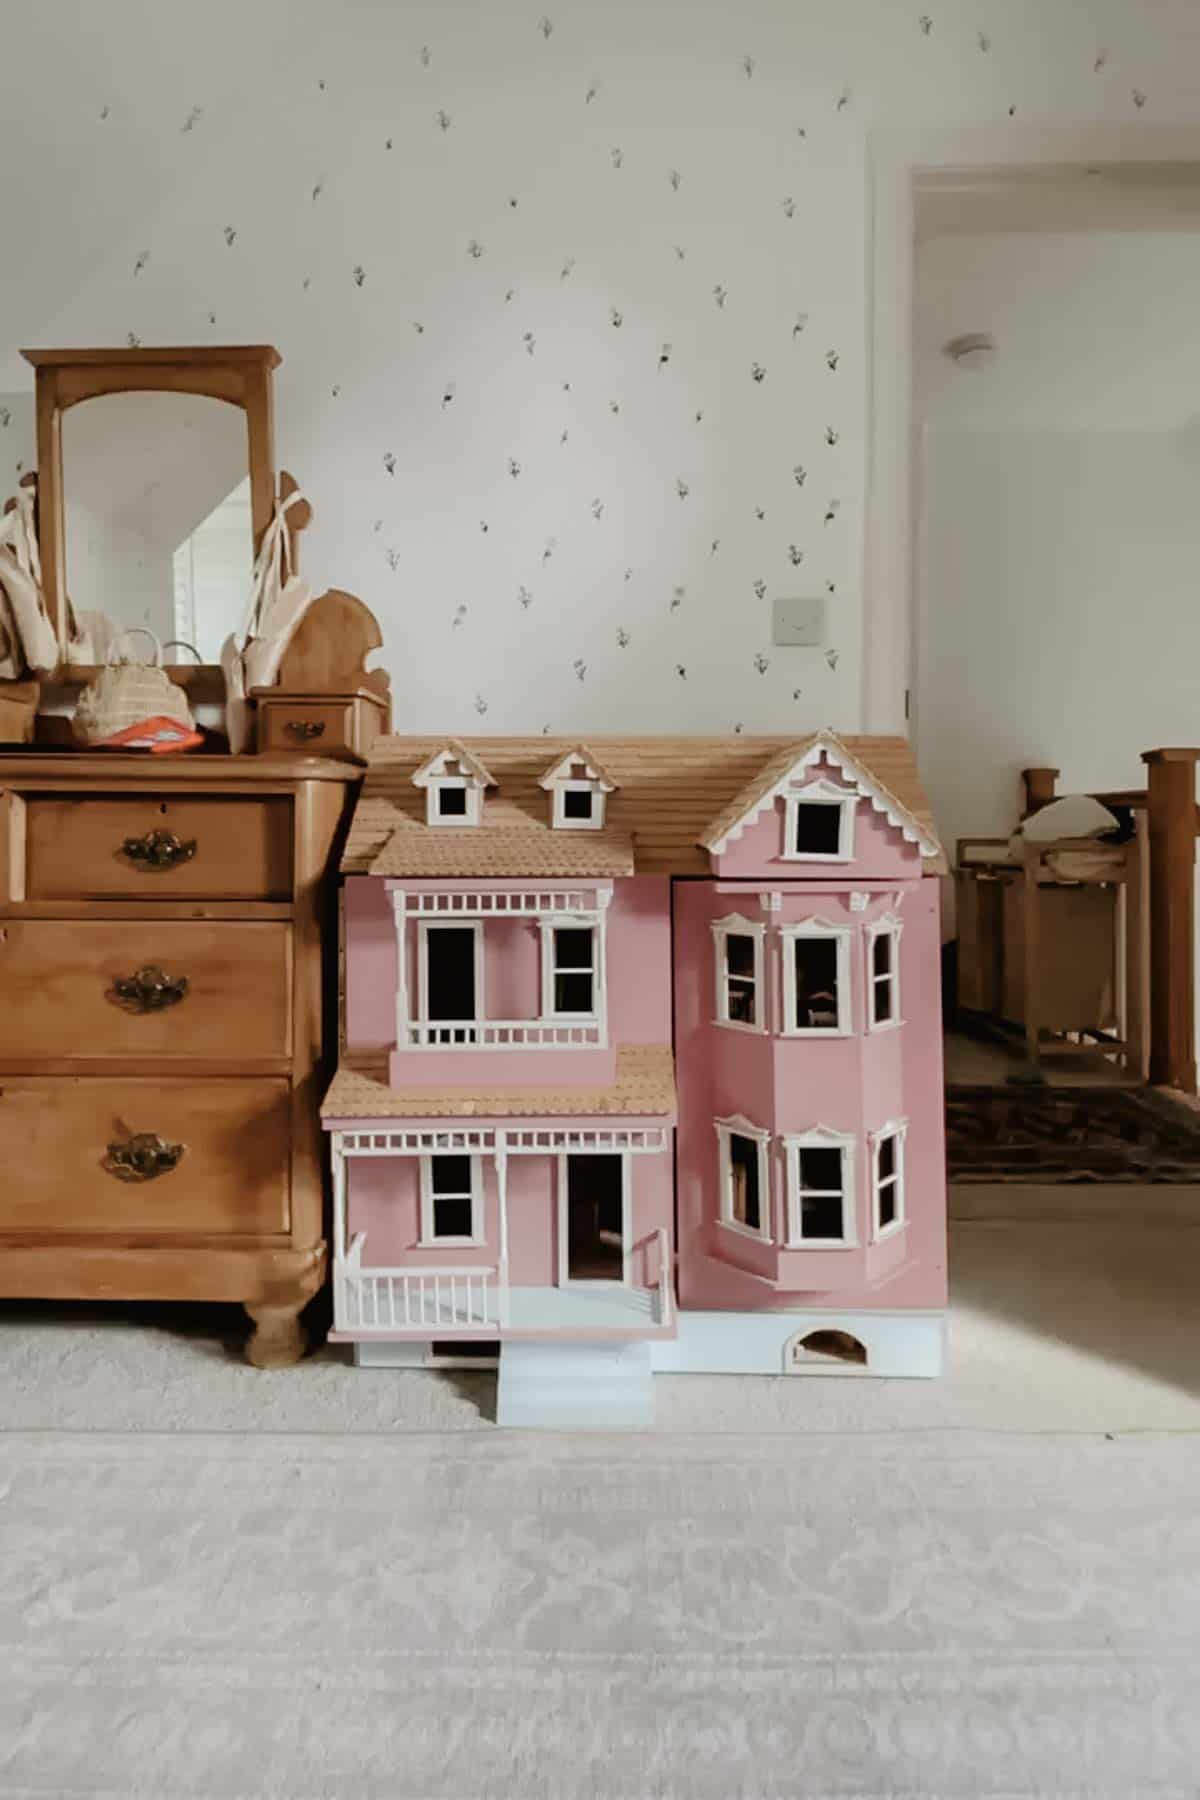
In the end I chose to use some tester pots of household paint. For the exterior walls I used Little Greene Paint matt emulsion, because I had some left over from the wall stencilling project I did in my daughter’s room.
The shade is Hellebore, and I used 2 and a half pots for the whole dollhouse.
For the doors and windows, I used one sample pot of School House White by Farrow and Ball.
The joy of a dollhouse is that you can experiment on a small scale. If you don’t like a colour, simply repaint!
How to Paint a Dollhouse
Supplies
- Primer (optional)
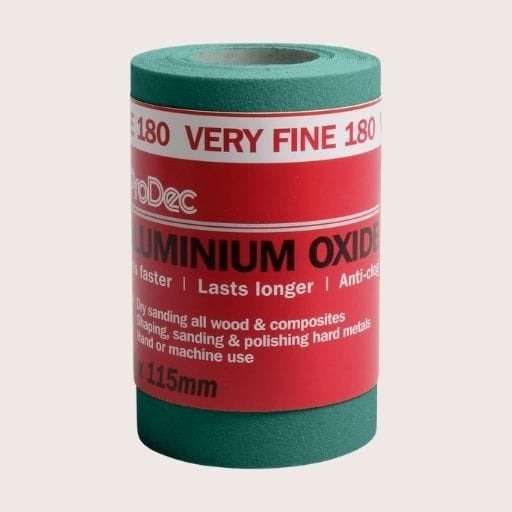
- Fine grit sandpaper
- Paint of your choice
- Painter’s tape
- Small artist’s brush
- Mini paint roller
- 1 inch paintbrush
- Matt varnish (optional)
- Wood filler (optional)
SHOP THE PROJECT
Shop the Dollhouse
Buy the products to paint my dollhouse

Step 1: Prepare to paint the dollhouse
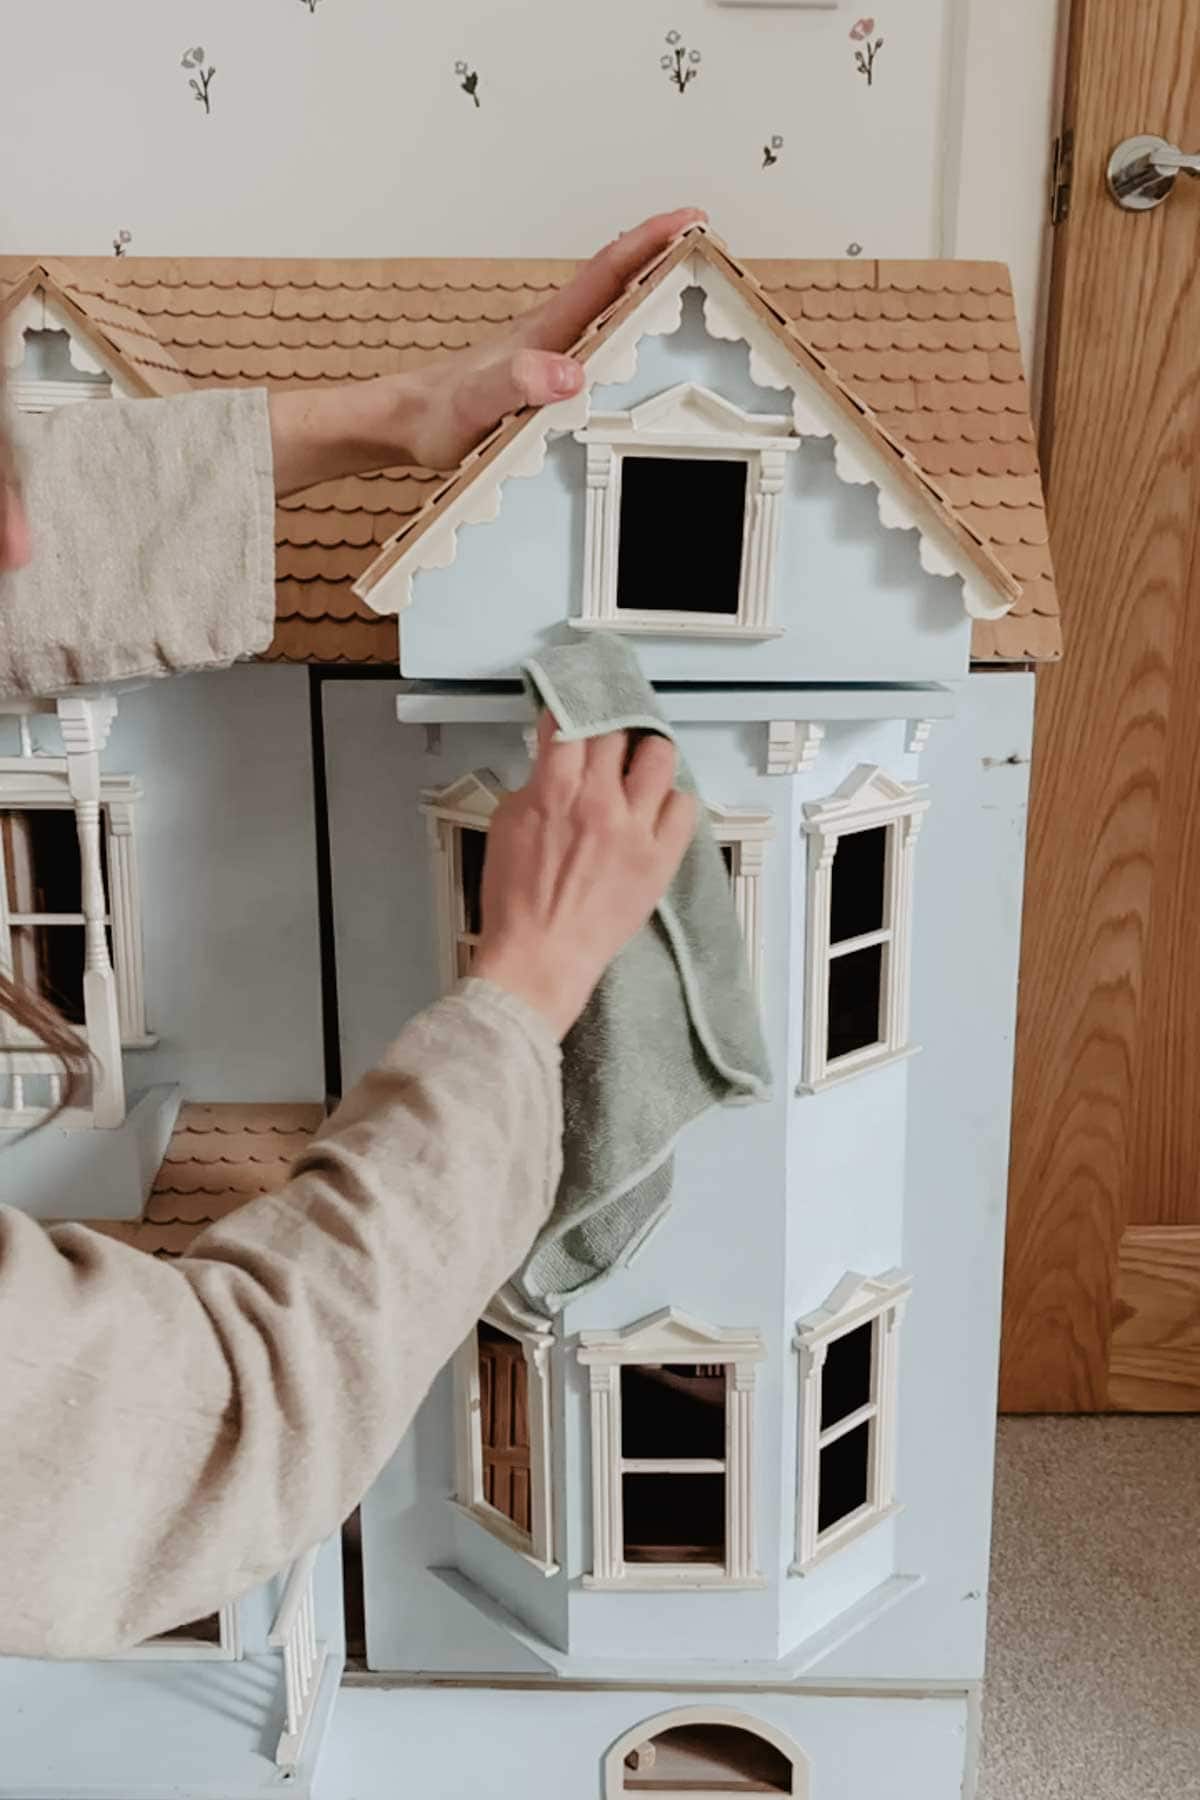
I know, it’s a boring way to start! But a little prep work will make your dollhouse paint job last longer.
First, wipe away dust, sticky patches, or old playroom grime with a damp cloth.
Fill any cracks or chips with wood filler.
Lightly sand glossy finishes to prime the surface.
If you can, remove any doors and windows so it’s easier to paint. If not then you can tape them off like you would with a real house. Or if you’re anything like me you could just wing it with a careful hand!
Step 2: Prime the dollhouse
If you’re starting with bare wood or dark, shiny finishes, apply a coat of primer before your main colour. This helps your paint stick and helps your colour look fresh.
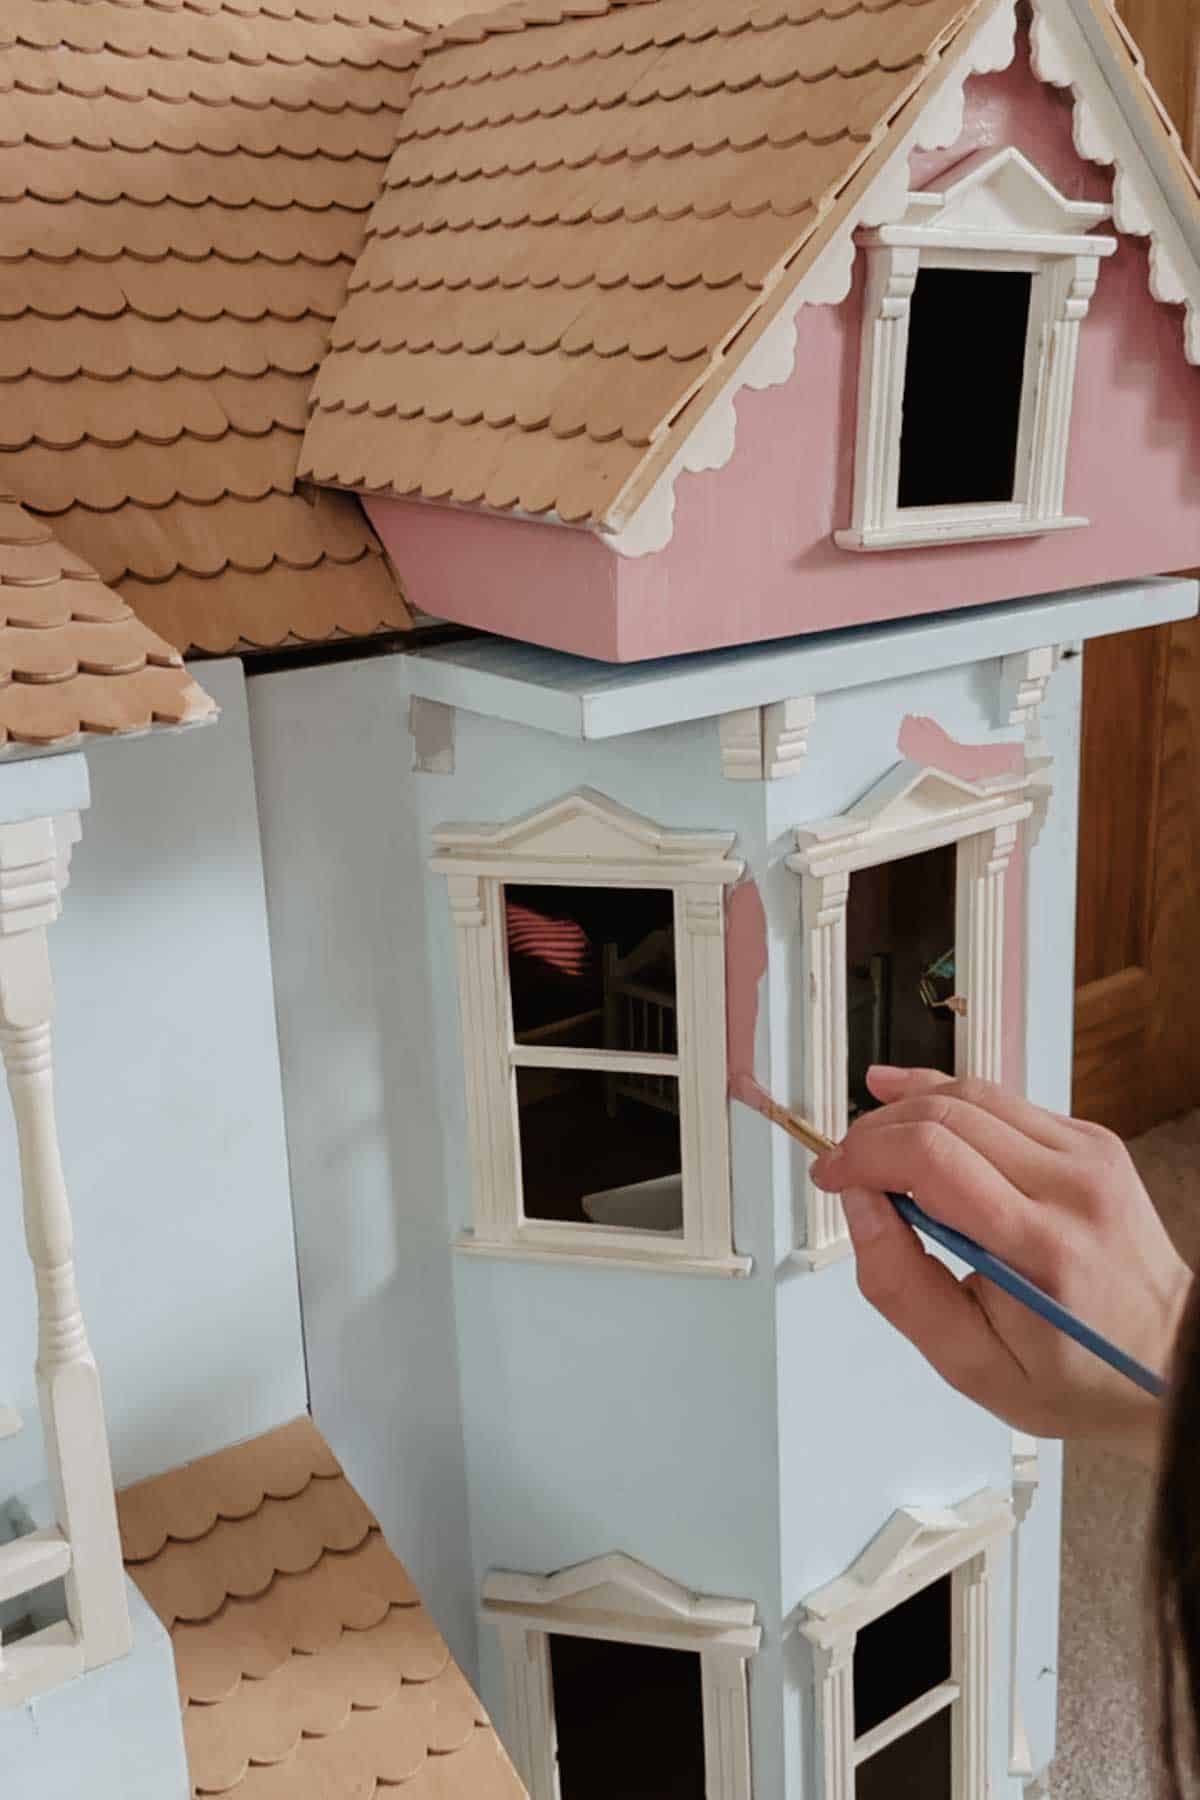
Step 3: Time to Paint a Dollhouse!
You’ve sanded, primed and taped, and now you can finally get to painting!
I used the following brushes:
- a small artist’s brush for cutting in around the windows and doors, and for painting the windows and doors themselves
- a small roller for large areas
- a 1 inch paintbrush for everything in between.
Just like when you paint a real house, paint thin coats so they’ll dry quickly and look lovely.
Step 4: Seal Your Paint
If you’ve used satin paint you may be able to skip this step.
Paint a layer or two of matt varnish over the top to protect the paint work against scuffs and sticky fingers.
FAQ
We’re Just Getting Started…
When I first took it home, I had no idea just how much joy this little wooden house would bring. Now, with its new coat of paint and soft, chalky colours, it’s begun its journey to a new life.
But there are still curtains to sew, tiny chairs to fix and miniature William Morris wallpaper to hunt down. And I’ll be sharing it all, bit by bit, because these kinds of projects take time.
So if you’ve found yourself falling down a dollhouse rabbit hole too – welcome. You’re in good company.