How to Reupholster a Footstool (Even as a beginner!)
It turns out even a beginner can reupholster a footstool. Find out how to reupholster a footstool even if you’ve never done it before.
This page contains affiliate links, which earn me a small commission if you make a purchase, at no additional cost to you. The HOTO stapler in this post was gifted to me, with no obligation to feature it. Thank you for supporting my little corner of the internet!
A couple of years ago we drove far into the Shropshire countryside to a big old Victorian farmhouse.
It was packed to the rafters with beautiful antiques – bookcases, velvet armchairs, and a huge cottage fireplace with a log burner.
But it wasn’t the log burner that I loved most (and I love a log burner a lot!) It was the huge footstool just in front of it.
A footstool so large that whichever sofa you sat on, you could always put your feet up. So large that the kids clambered on to it to perform the show they’d practiced for us. So large that we could play a huge family game of Catan on it.
There was room for everyone.
And since then I haven’t stopped thinking about how much I want to recreate it in our home.
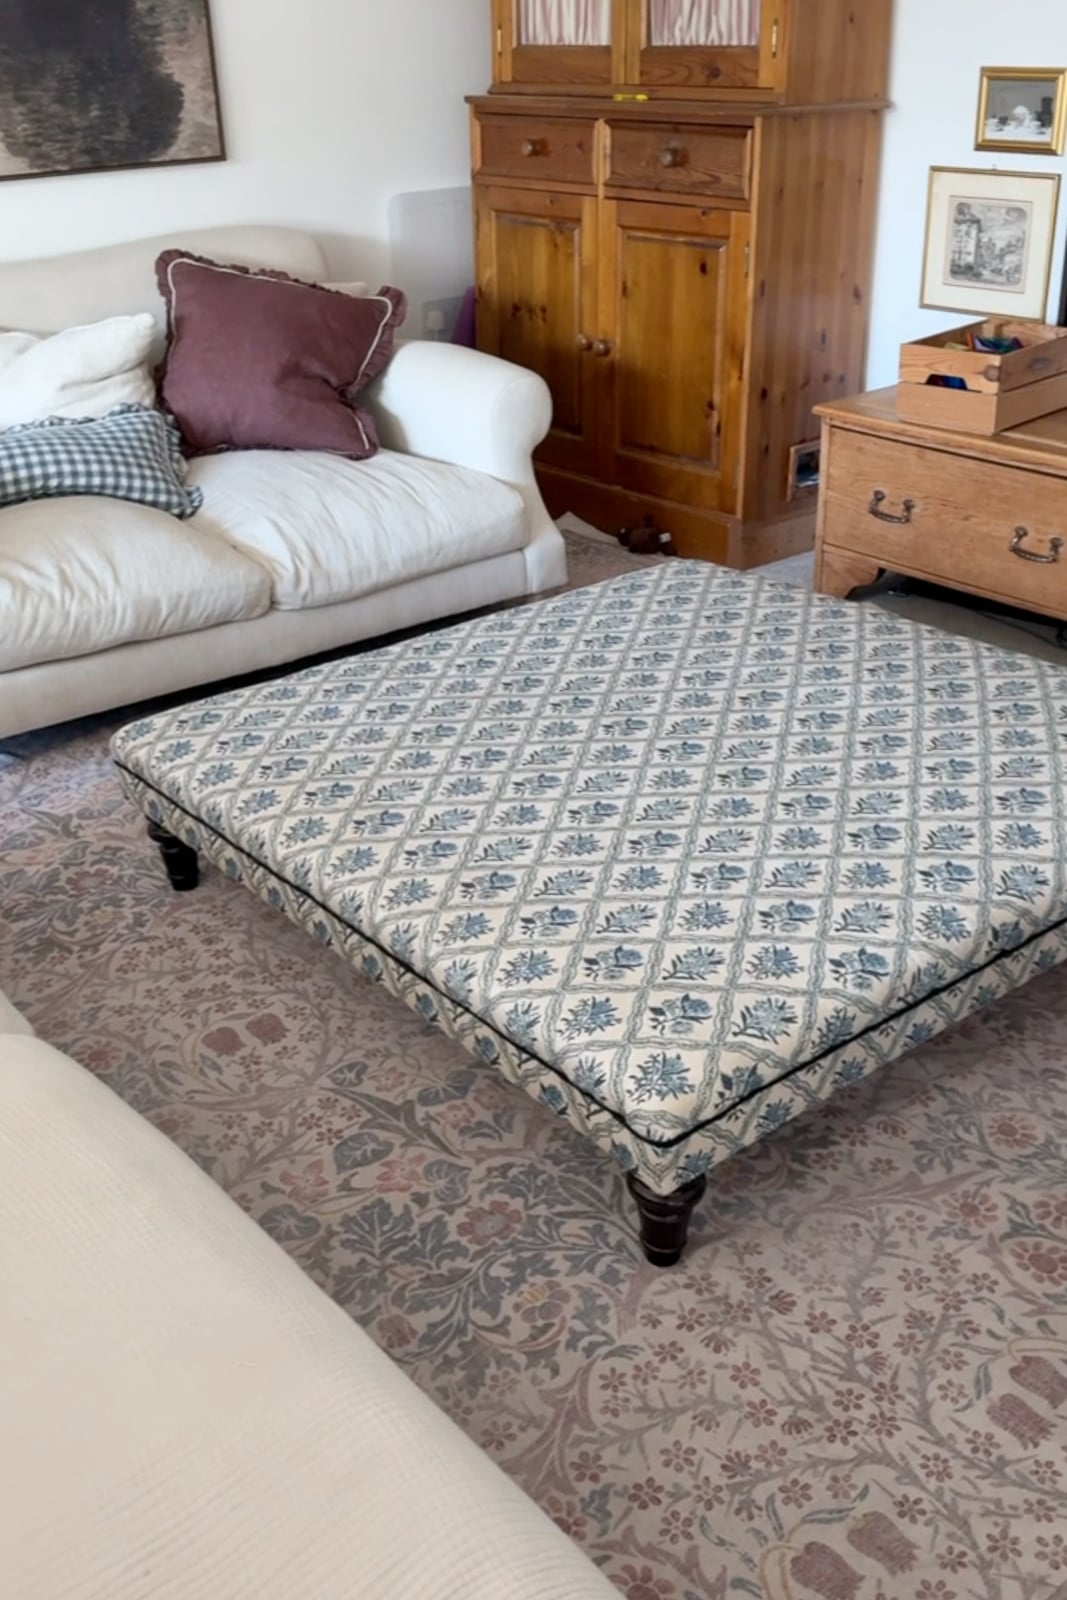
So when a huge old upholstered footstool turned up on Facebook Marketplace for £50, covered in tired blue velvet, I didn’t hesitate.
It’s about 125cm square, which is almost too big for our lounge. But I knew with a little reupholstery it would fit my dream perfectly.
This was my first ever upholstery project, so I’m not going to pretend to be a professional upholsterer. What I can show you is how to reupholster a footstool as a beginner.
Shall we dive in?
Why a Footstool is the Best First Upholstery Project
If you’ve been eyeing up upholstery projects but feel a bit intimidated, a footstool is a great piece of furniture to start with.
With a flat top, no arms and no springs, it’s a small project in terms of skill, even if (like mine) it’s a big one in terms of size.
Old footstools are pretty easy to find: Facebook Marketplace, charity shops, car boot sales and auctions (or estate sales and antique stores, if you’re reading from the US). Look for a sturdy frame. It’s a bonus if it has good legs, but these can often be easily replaced.
If you sew, as I know a lot of you do, that will really help with this project. You’ll already know how to choose fabric, sew it together and possibly even how to make piping, which will come in handy.
Aside from that, I discovered that a lot of upholstering a footstool is basically just clever stapling. You need to get the tension on the fabric right (that is, pull it firmly but don’t stretch it), but once you’ve got that figured out it’s quite straightforward. So it really is an excellent project for beginners like me.
Mine came to around £115 all in, including the footstool itself, which is a saving of over £1,000 on the one I was dreaming of buying from Rowan and Wren.
Where I Found Gorgeous Linen for £8 a Metre
Upholstery requires firmer, thicker fabric that can withstand lots of wear and tear, but that often means it’s really expensive.
To keep the cost of my footstool down, I went to the factory shop at Standfast & Barracks, an upholstery manufacturer local to me. They have an online shop here, but there’s a lot more in person.
Other places I love for affordable upholstery fabric are Haines Collection (for deadstock upholstery fabric) and The Pure Edit (for affordable cottage style fabrics).
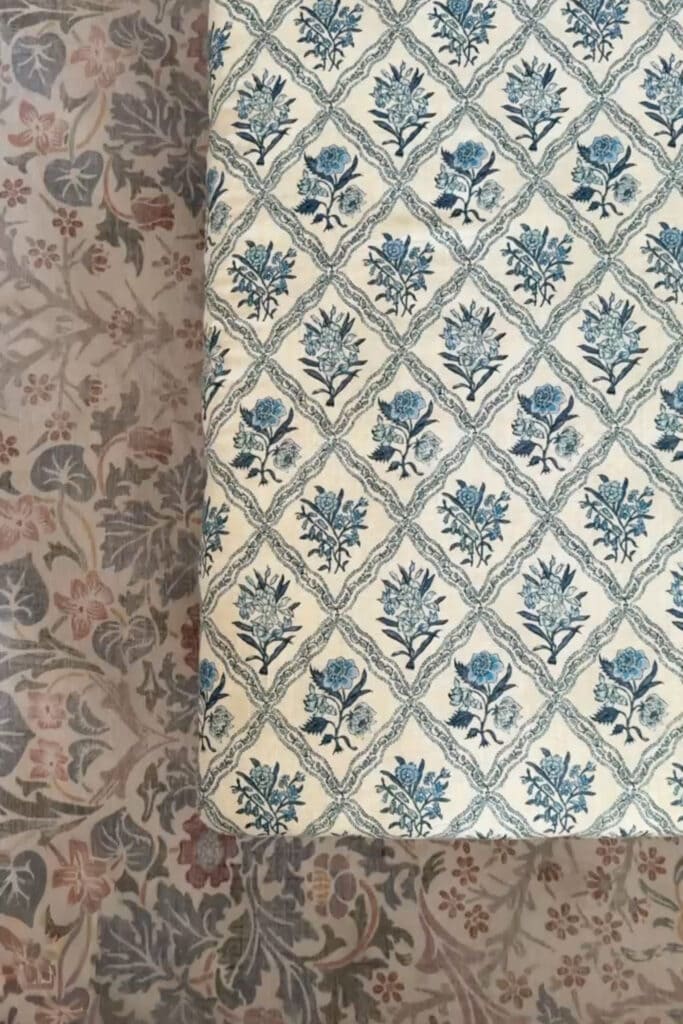
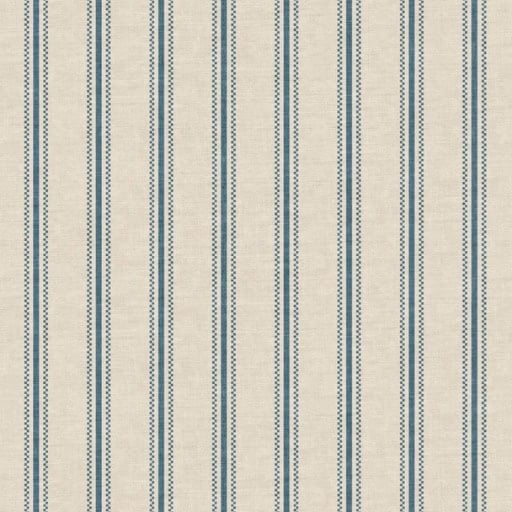
I chose a cream linen with a navy floral print, and it was £8 a metre.
I used about 3 metres. Measure generously before you work out how much fabric to buy. You need the top and sides, plus a good wrap underneath to staple into.
If you’re also doing piping like me, you’ll need a metre of fabric for that. Or you could buy ready made piping.
Here’s what I’d look for in fabric for a fabric footstool:
Weight
Upholstery weight fabrics or a sturdy linen so that it can survive feet, kids and the odd spilled cup of tea. Dressmaking fabrics are unlikely to last well
Pattern
A print is forgiving of spillages and marks. It also helps disguise slapdash upholstery skills! A plain fabric looks smart but will show any mistakes more easily.
Placement
Lay the fabric over the top of the footstool before you cut to decide where the pattern lands. Make sure it’s centred and square.
Should you Reuse the Old Foam?
Here’s where I nearly went wrong.
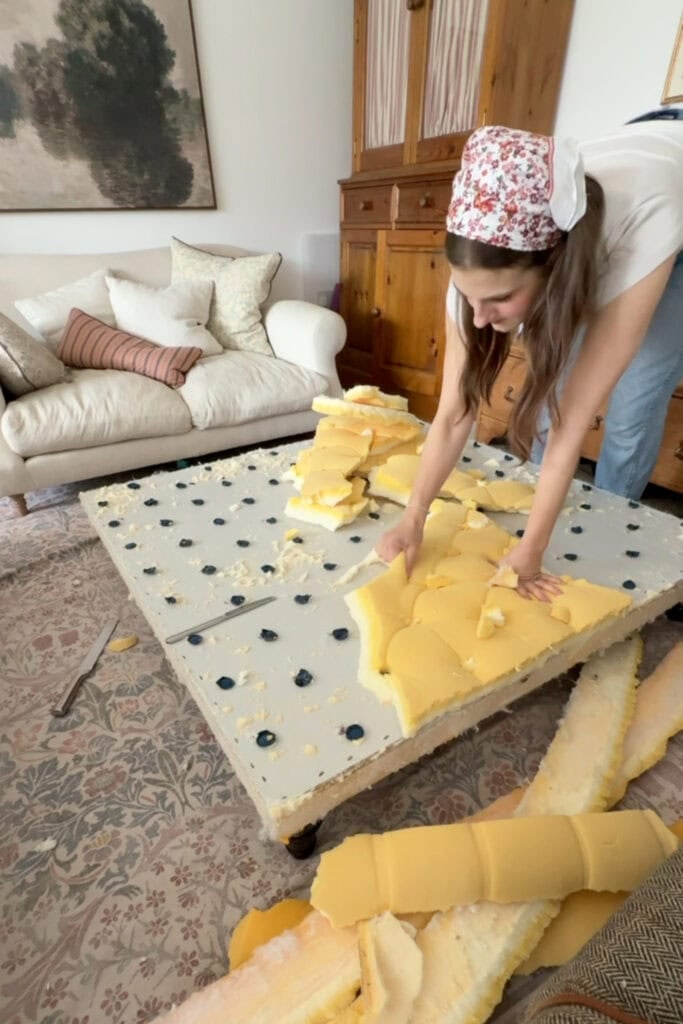
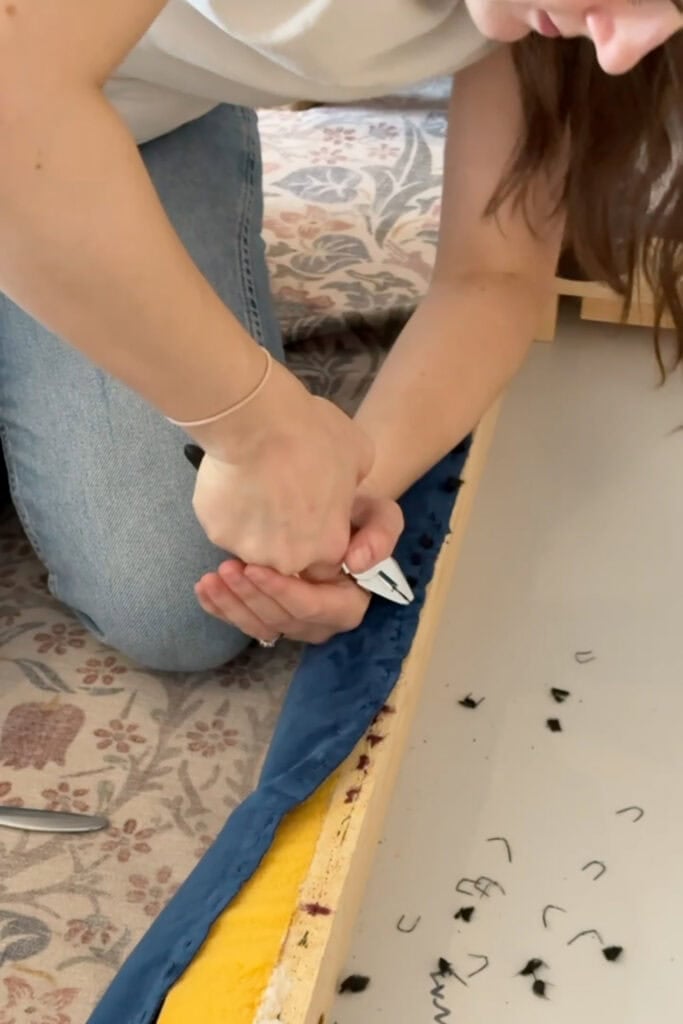
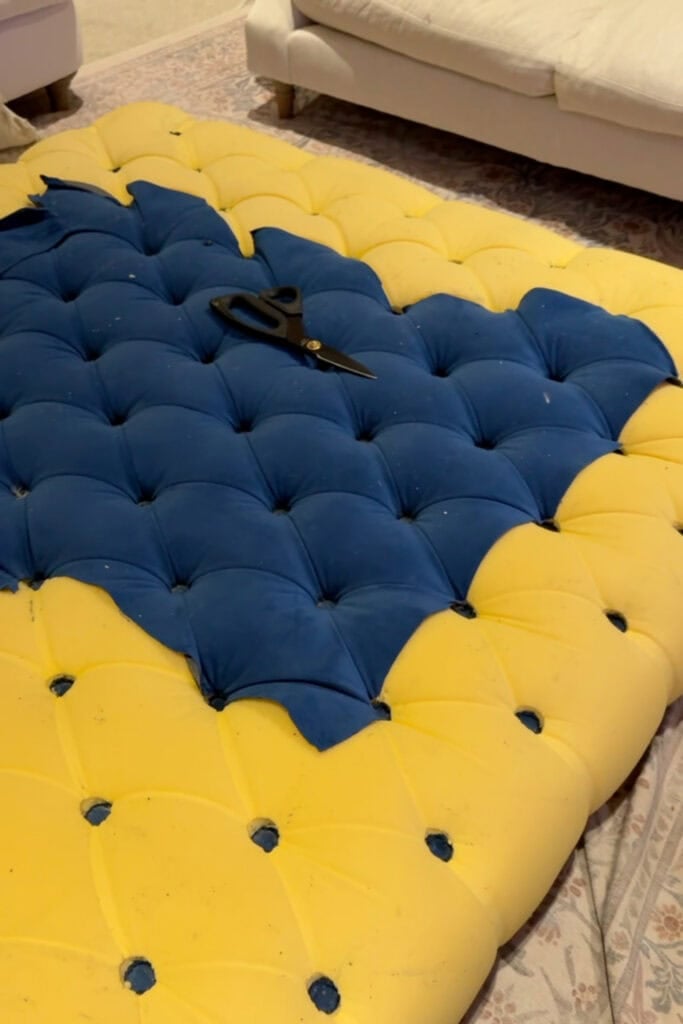
Stripping the old blue velvet off the footstool was easy enough. I used a small kitchen knife and some pliers. A staple remover would be a much better choice!
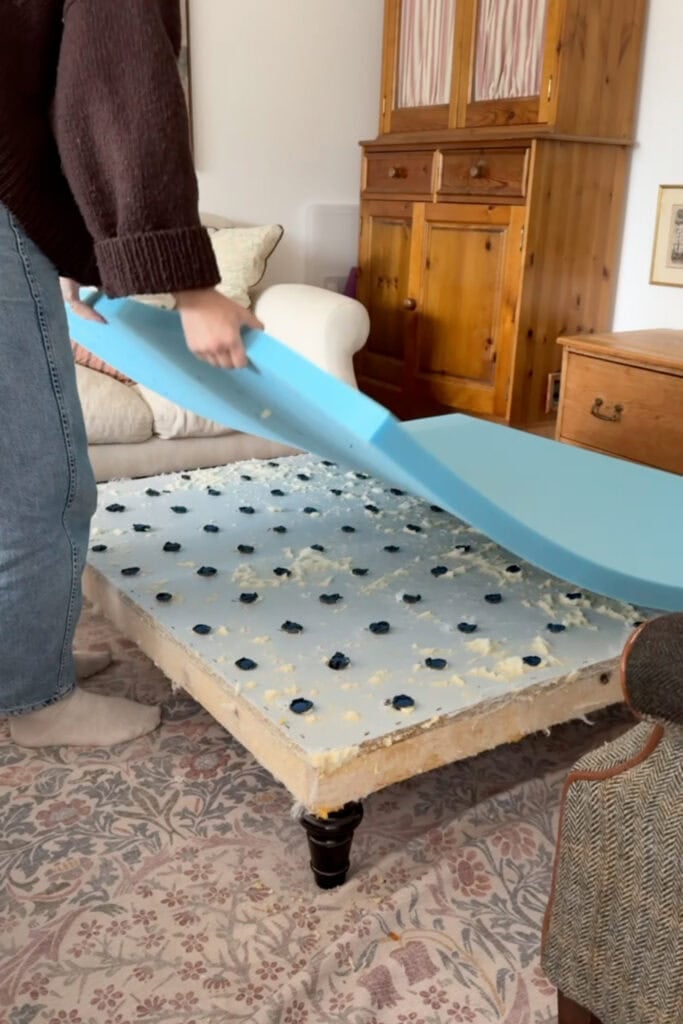
My plan was to reuse the original foam. But I hadn’t anticipated that the tufting would leave permanent dimples in the foam, even when the buttons were removed. I tried packing the holes with more foam, but when I laid the fabric over the top the dimples were really obvious.
So I rang M&S Foam, a place in Leyland that cuts upholstery foam while you wait.
Best decision of the whole project!
I asked for a piece 125 x 125 x 5cm (so about 2cm of extra on each side). It cost about £40 and they even carried it out to my car for me.
If your footstool wasn’t tufted then there’s a good chance you could reuse the old foam, but given how affordable foam is, it’s probably just worth buying new.
SHOP THE PROJECT
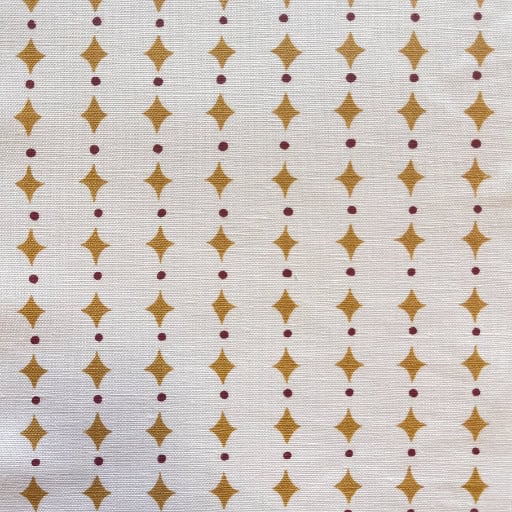
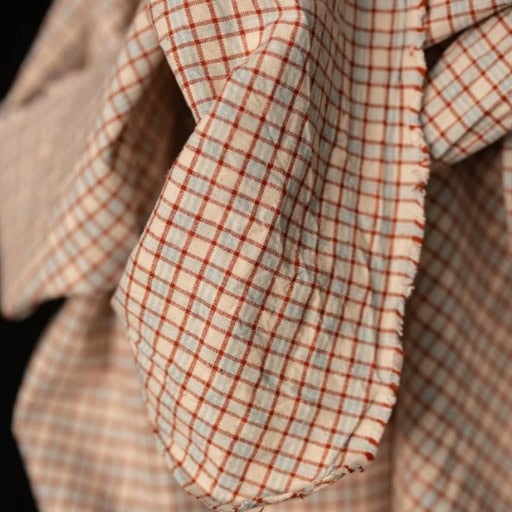
Fabric Recommendations for Your Footstool
Shop beautiful fabric for your upholstery project
Materials and Supplies
You will need:
Staple gun
Staples
Fabric scissors
Spray adhesive
Upholstery foam
Batting
Upholstery fabric
Card tacking strip
Piping
Cambric or calico for the bottom
How to Reupholster a Footstool
Step 1: Replace the foam
Remove any old foam and fabric. Spray the top of the footstool with spray adhesive. Once the new foam was in place, I worked from the top down.
Step 2: Cover the top
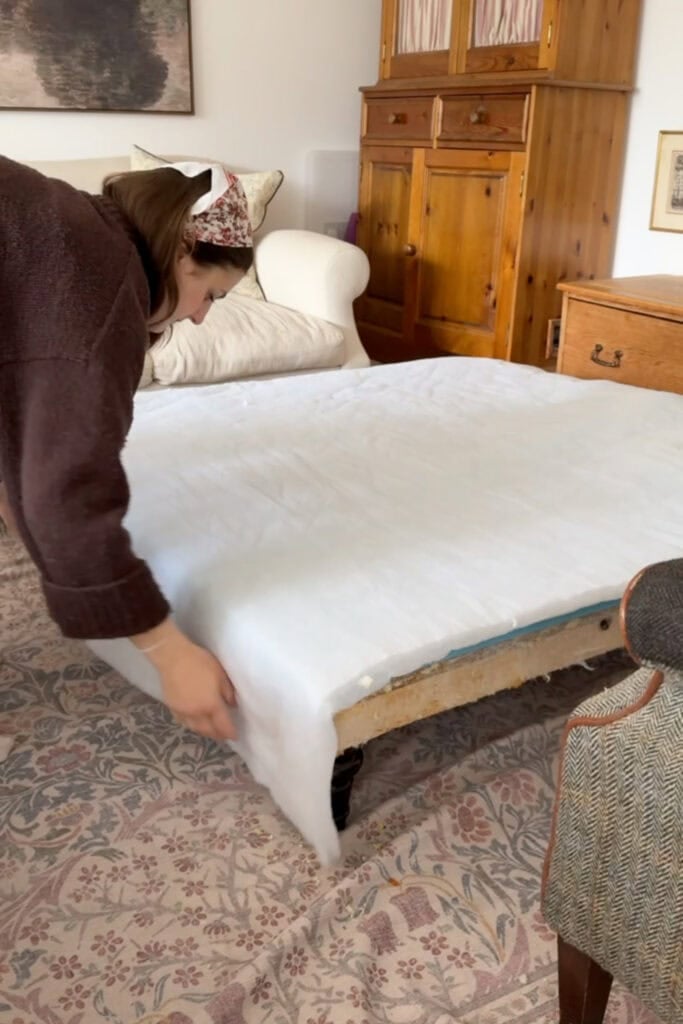
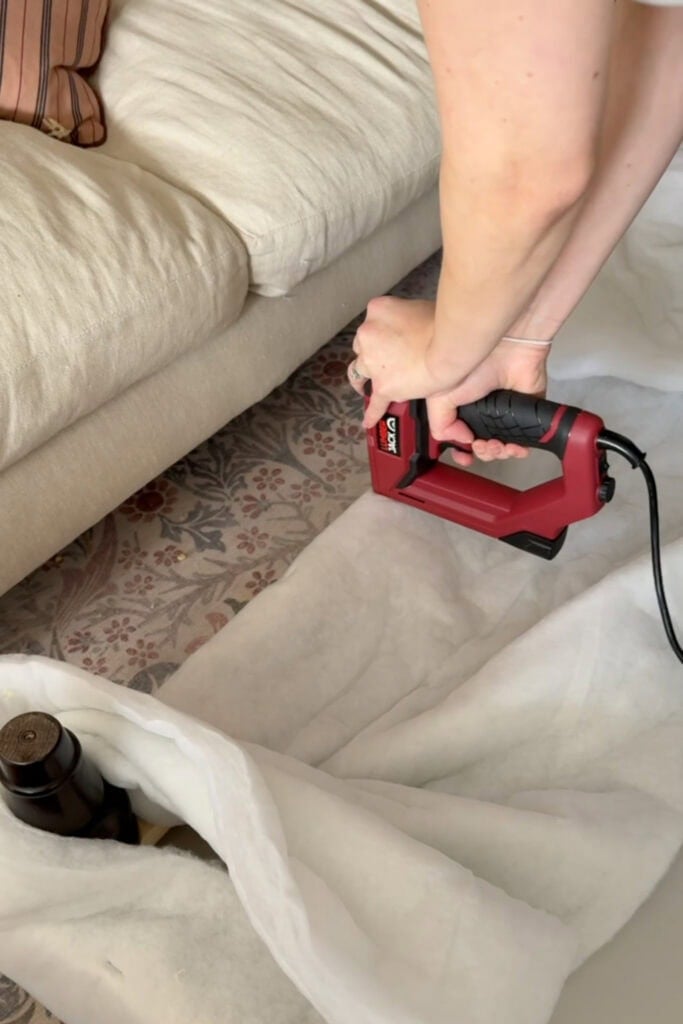
Lay your batting over the top of the footstool and staple underneath, making sure to pull it taut.
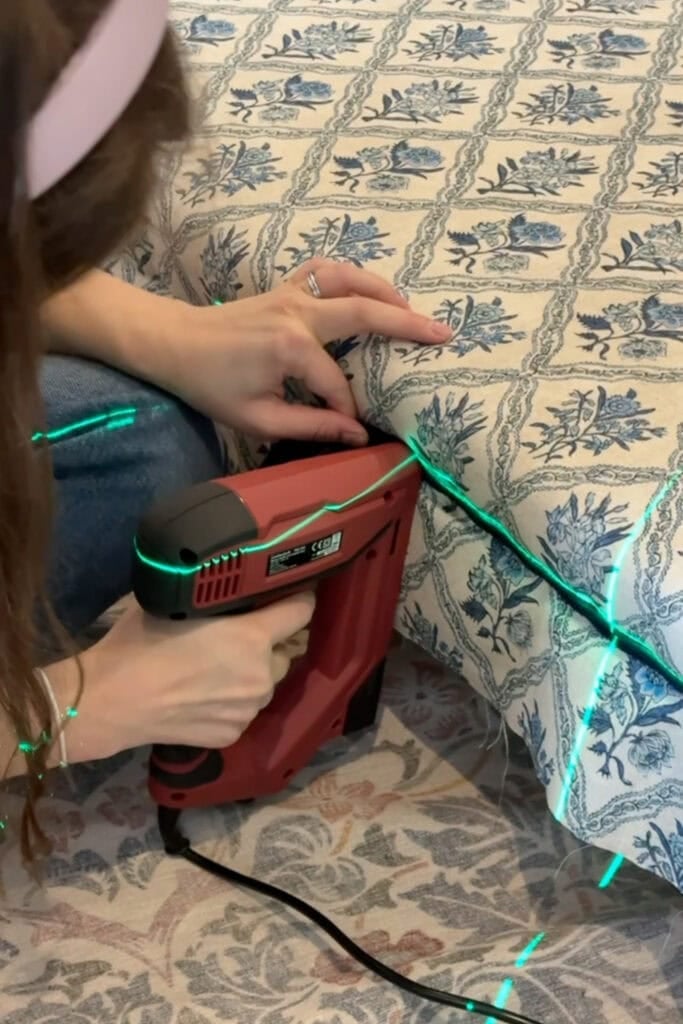
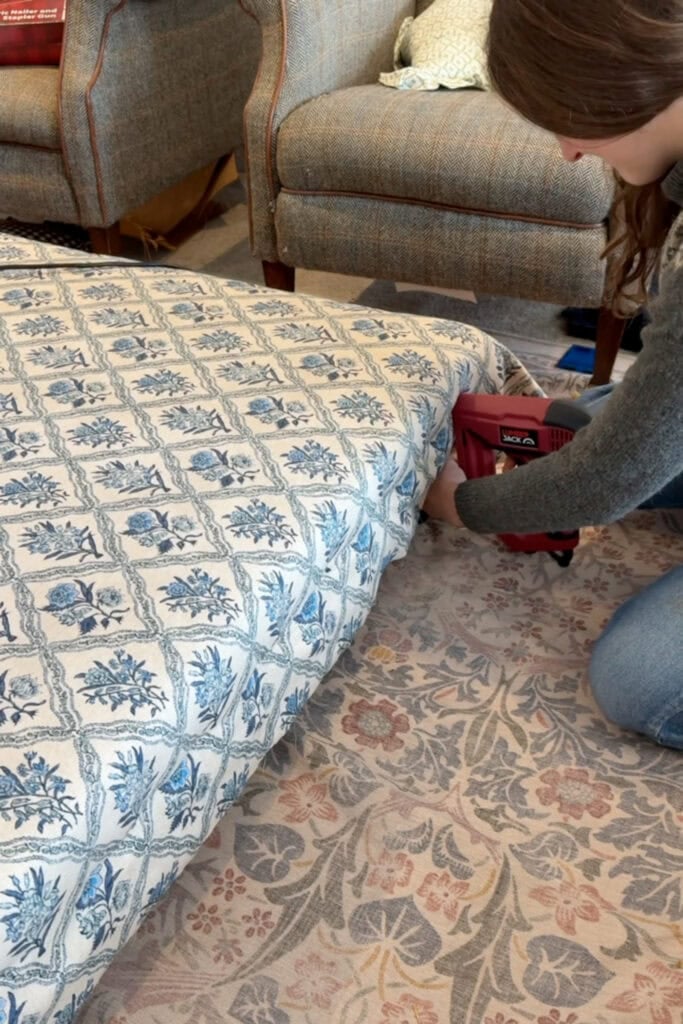
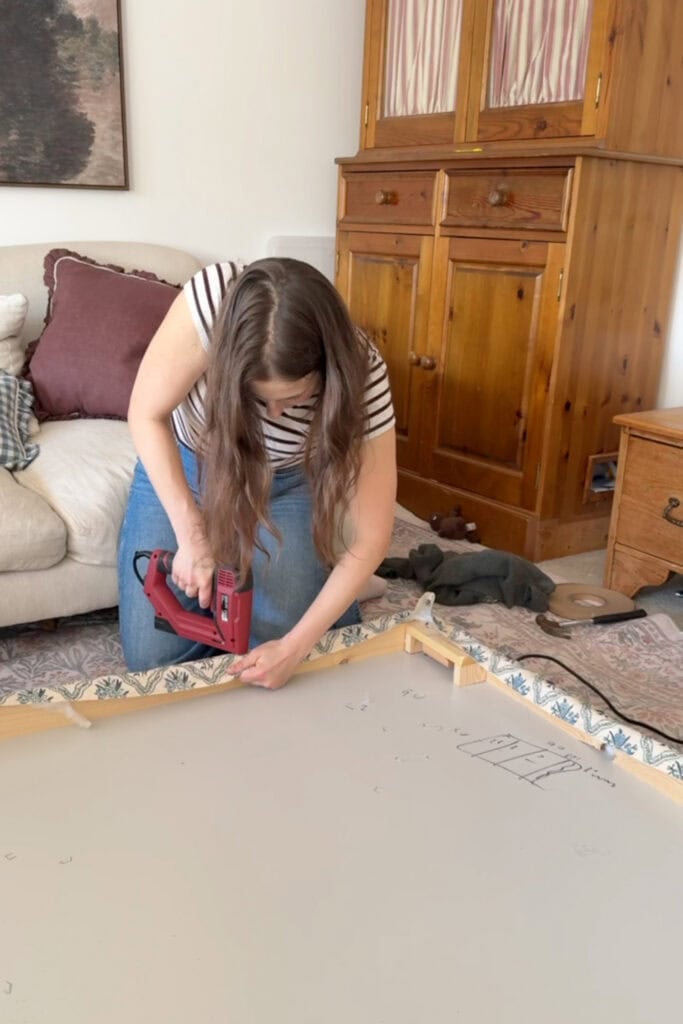
Lay your fabric over the batting, pull the fabric down over the sides and staple to the wooden frame. Start in the middle of one side, then do the opposite side, then the other two. Work out towards the corners in small sections, keeping the fabric taut but not so tight it pulls the print out of line.
When you get to the corners, make a neat fold and staple in place.
Step 3: Add piping
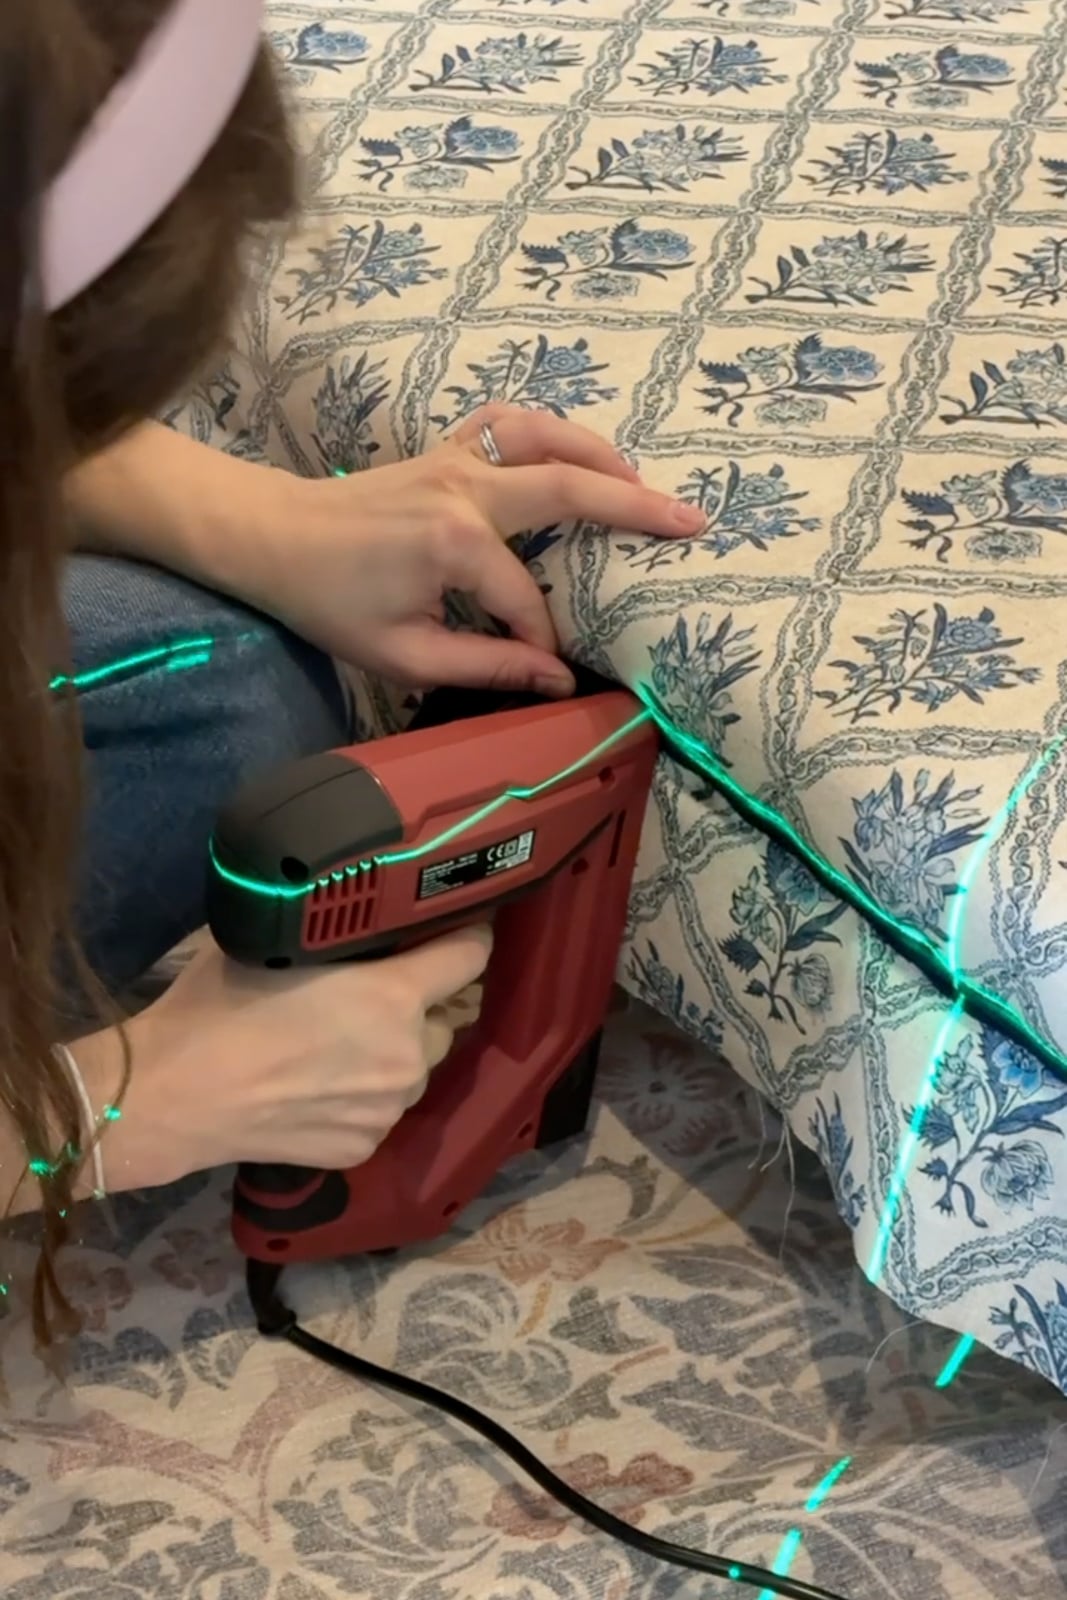
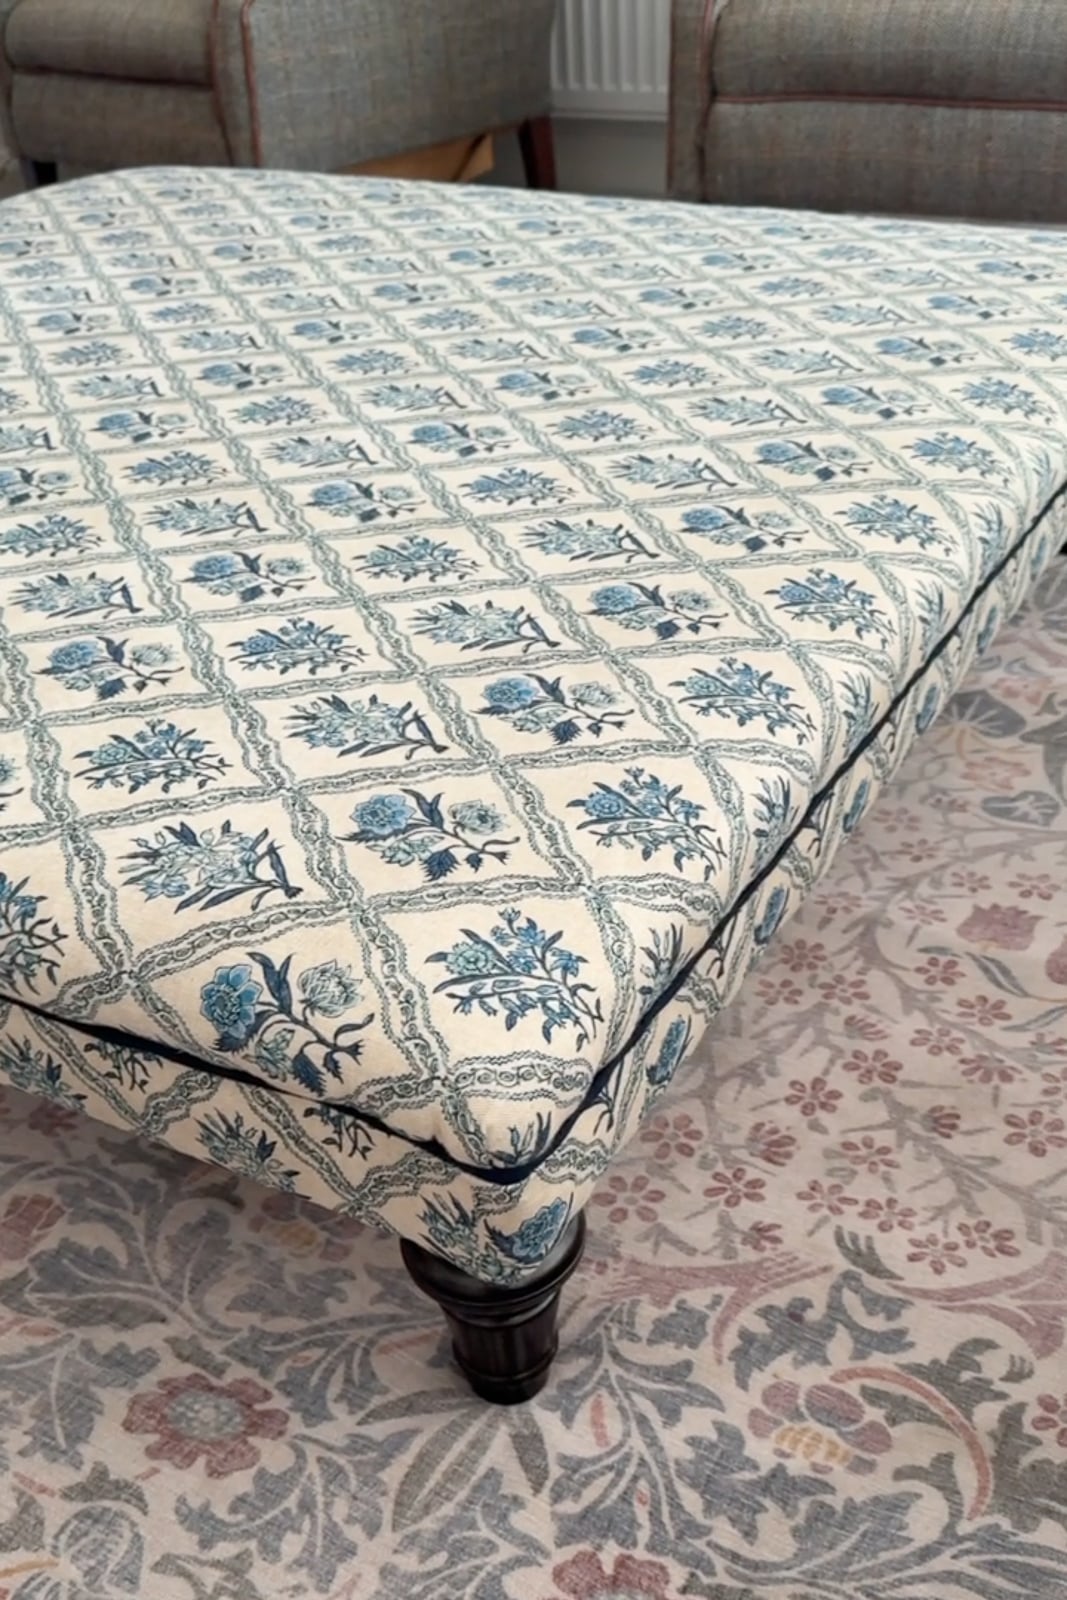
I made navy linen piping to run around the very top of the frame (so just below the foam), picking up the navy in the print. You can make it in a colour of your choice, either a contrast to your main fabric or even in the same fabric so it blends in.
Gently pull the piping as you staple it so it sits straight and curves nicely round the corners.
Step 4: prepare the side panel
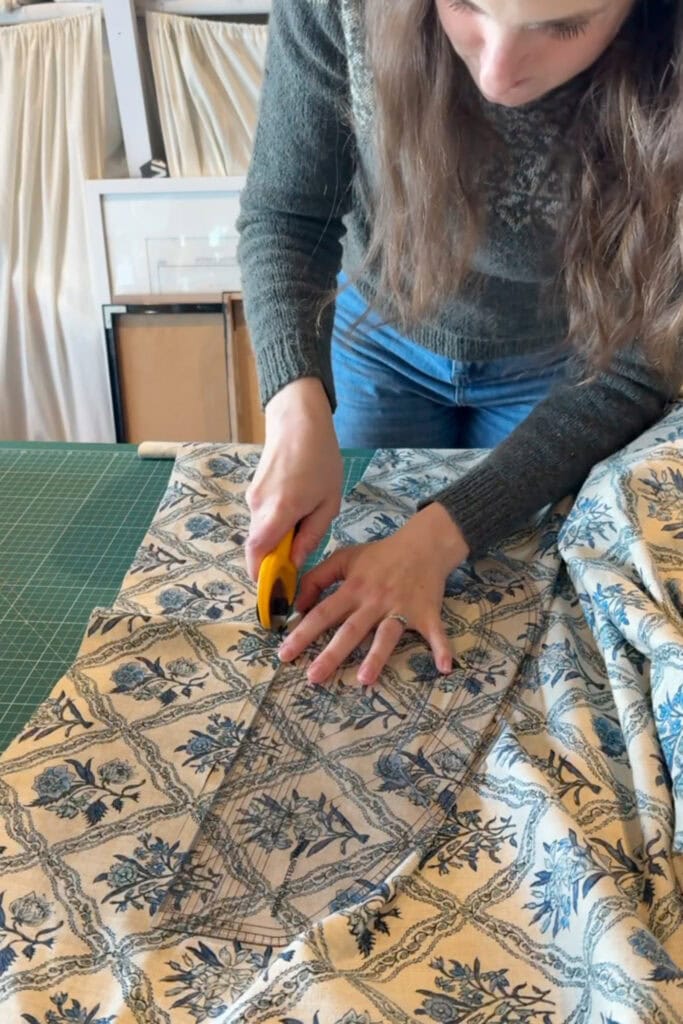
For this bit you first need to sew the side panels together. I cut 4 pieces of fabric around 10cm long and the full width of my fabric, one for each side. Then I pinned them right sides together around the footstool to work out where I’d need to seam them together.
Then I took them to my machine and sewed about 1cm inside the pinned line. Once it’s all sewn together it’s a good idea to do a “dry fit” to check it’s nice and tight to the footstool and that the seams are in the right place. Make any changes you need.
Step 5: Add the side panel with tacking strip
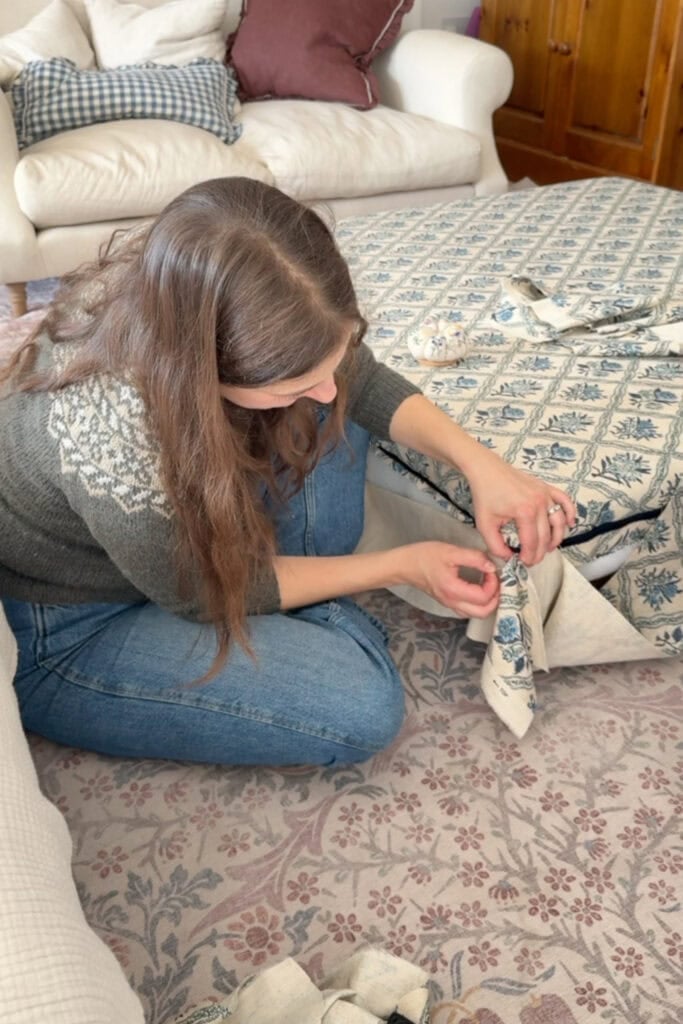
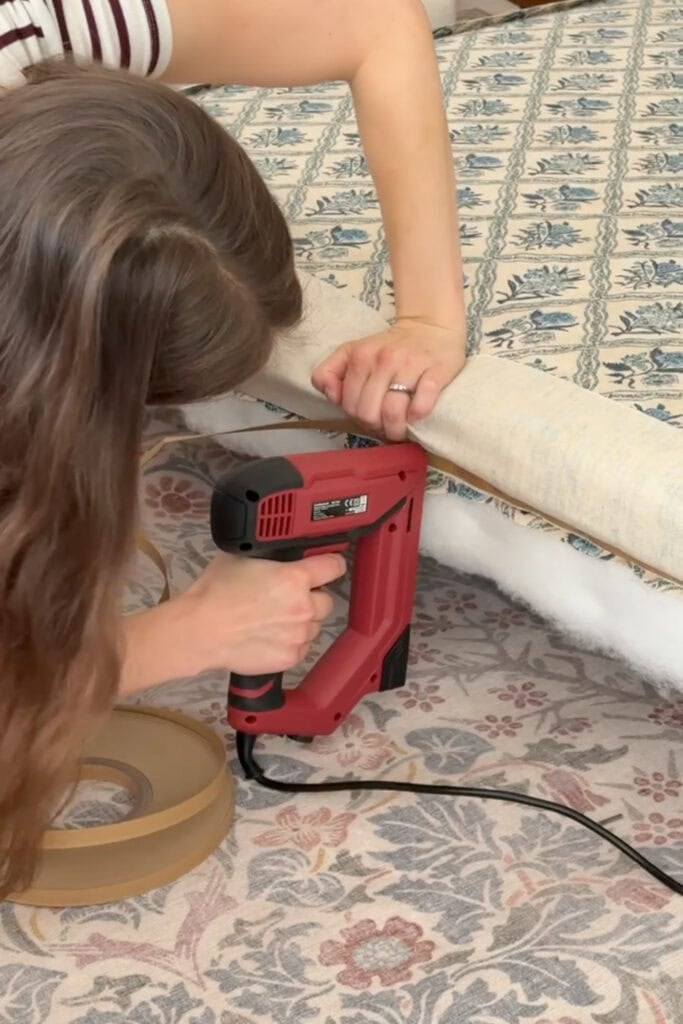
Next, I stapled the side panel piece face down just under the piping, with a tacking strip on top to give it a sharp, straight edge. Then I flipped the fabric down over the strip so it sat neatly around the sides of the footstool, and stapled it underneath.
This is a classic upholstery trick and it works like magic to make it all look neat and tidy.
Step 5: Add a cambric dust cover to the bottom
I probably should have done this but I didn’t! I just stapled a piece of calico to the bottom to make it look neat.
I’m not going to write you a long set of simple steps when people who do this for a living have already done it brilliantly. If you want to see it done properly:
- Real Homes: how to re-cover a footstool is clear and practical, with a good section on piping.
- Annie Sloan’s guide to re-covering a footstool is handy if your footstool’s legs need attention too. A couple of coats of paint (chalk paint, naturally) makes a huge difference to scuffed wood.
- A Beginner’s Guide to Upholstery by Alex Law and Posy Gentles looks like a great book if you prefer a book
- If you learn better by watching, find a YouTube video on back tacking strips.
The Stapler I Wish I’d had from Day One
The biggest mistake I made was doing this whole project with a £20 stapler I found on Amazon. It took so much man handling to get the staples to actually go in, and a footstool this size takes hundreds of staples. I was left with quite a few blisters on my hands!
Then, right near the end, HOTO sent me their Pulse Cordless Staple Gun. It was gifted, with no obligation to mention it, and I’m mentioning it because it’s so good.
I literally just pressed it gently against the fabric, and by some wizardry it slam dunked each staple right flush into the wood. I don’t know how they do it in a cordless stapler but it’s flippin amazing.
It’s battery powered and charges by USB-C, and HOTO say it’ll do over 1,000 shots on one charge.
If you’re planning a footstool makeover of your own, my biggest tip is to get a decent stapler before you start!
What I’d Do Differently Next Time
I’m no expert but I have learnt a thing or two from my first upholstery project – here’s what I’d say:
Buy new foam first
I lost time trying to make the old tufted foam work. If yours has buttons, skip straight to the foam shop.
Get a decent stapler
It’s worth spending money to save your hands!
Is it Too Big? Absolutely
My footstool takes up a ridiculous amount of the lounge. But there’s room for everyone’s feet. The kids lie on it to watch TV. It’s exactly the footstool I fell for in front of that Shropshire fire.
If you’ve got a tired old footstool lurking somewhere, give it a little love. It’s a great project for a first go at upholstery, and I’d love to see yours. Tag me on Instagram or drop a comment below.
How to Reupholster a Footstool
Equipment
- Cordless or manual staple gun
- Tack lifter or flat screwdriver
- Pliers
- Measuring tape
- Fabric scissors
Materials
- 1 foostool with a sturdy frame
- Upholstery foam cut to size add 2cm on each side
- Upholstery weight fabric or sturdy linen
- Contrast fabric and piping cord for piping
- Card tacking strip
- Black cambric or plain fabric for the dust cover
- Staples
Instructions
- Remove the old fabric and staples with a tack lifter and pliers. If possible, keep the old pieces as rough templates.
- Check the foam. Replace it if it’s tufted, crumbling or lumpy.
- Lay your fabric over the top and decide on pattern placement before cutting.
- Staple the top fabric underneath, starting at the middle of each side and working out towards the corners.
- Fold and trim the corners neatly, then staple.
- Sew piping and staple it around the top edge, pulling it tight as you go.
- Staple the side fabric face down under the piping with a tacking strip on top, then flip it down and staple underneath.
- Finish the base with a dust cover, edges folded under and stapled.