How to Make DIY Curtains for a Glass Cabinet (Sew or No-Sew)
Learn how to make DIY cabinet curtains for your glass cupboards – a super simple way to hide the mess and bring a little cottage charm to your home!
This page contains affiliate links, which earn me a little bit of commission if you make a purchase, at no additional cost to you. Thank you!

What parent doesn’t love being able to shove all of their clutter into a cupboard and shut the door? I’m 100% guilty of this, and the worst offender in our house is the big wooden cabinet with glass doors that lives in the corner of our lounge.
This cabinet is a great way to store all our stuff, but the glass cabinet doors were revealing all of my messy secrets to everyone who visited. So I knew as soon as we bought it that I would need to do something to cover the glass doors. Having seen lots of beautiful Pinterest images of glass cabinets with curtains behind the doors, I decided to make two little curtain panels to hang inside.
The cupboard curtains turned out to be the perfect solution to our problem, so here is how I did it.
Why make DIY cabinet curtains?
There are plenty of different ways to cover the glass inside a glass cabinet. You could glue a piece of fabric or scrapbook paper directly to the window. Or you could try something like frosted window film.
I considered these options but decided that curtains were a great solution for us. Here’s why:
Long lasting: Curtains won’t peel or bubble. If they get dirty, they can be removed, popped in the washing machine and then rehung.
Easy to remove: If I decide in future to remove the curtains, I’d simply take them down and unscrew the hooks, without any sticky residue to remove from the glass.
Affordable: This project doesn’t require much fabric at all. I think I used about a metre of fabric, which cost me about £12. Even with the curtain wire kit included, this is a very affordable solution.
Pretty: This is probably the main reason I chose to do curtains – they’re pretty! Curtains make any cabinet look more expensive than it was. Our cabinet only cost £50 on Facebook Marketplace, but with the little farmhouse style curtains it looks just a little bit more elevated.

Is this project suitable for beginners?
Yes! These are probably the easiest curtains I ever made, since each curtain panel is basically just a rectangle of fabric and you only need to sew straight lines. If you really can’t manage a sewing machine there’s even a no-sew method.
Supplies for Your DIY Cabinet Curtains
Fabric of Your Choice
Before you buy your fabric, work out how much you’ll need.
Using a tape measure, work out the length you’d like your curtain to be and add on 3cm (or 1 1/4″) at the top and bottom for the channel the curtain wire will run through. Make sure you don’t just measure the length of the glass. You want your curtain to extend beyond the glass a little way (ideally at least 3cm or 1 1/4″) so that the seams and curtain wire are hidden.
Then measure the width for the finished curtain, again making sure to extend beyond the glass by at least 3cm (1 1/4″) on each side and multiply this number by 1.5 (or even 2 if you’d like a fuller look!) So for example, if I wanted my finished curtains to be 50cm wide, I would cut my curtain panel 75cm wide.
You could also add on 2cm (1″) for seam allowance each side, but I don’t find this is particularly necessary since you’re adding a lot of extra inches of fabric for the pleats anyway.

You can use just about any fabric to make your curtains, as long as it isn’t stretchy. Some options include cotton, linen or polyester. Upholstery fabrics are particularly hardwearing if you’re planning your curtain for a high traffic area. You could use vintage fabric, drop cloths or even upcycle a tablecloth or old curtain.
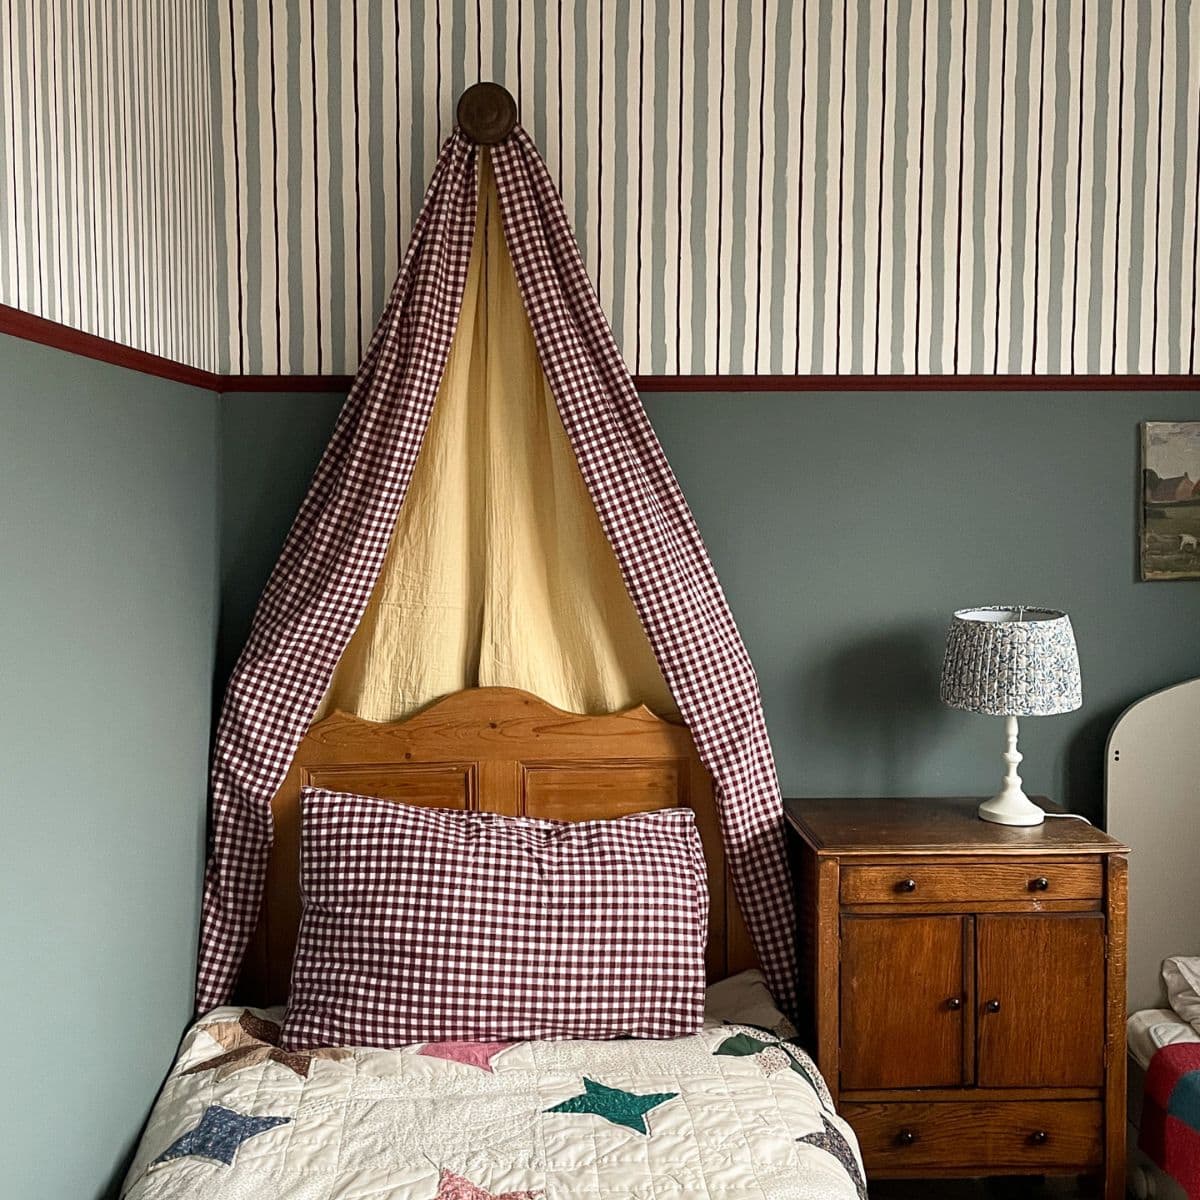
I used this red striped fabric from Selfmade, which is a medium-heavyweight cotton canvas.
Whatever fabric you use, make sure to pre-wash it before you cut your panels, because fabric has a tendency to shrink in the wash.

Curtain Wire & Hooks
A standard curtain rod will be too bulky for inside a cabinet, so to hang your cabinet curtain you can either use curtain wire and hooks or a narrow tension rod. Curtain wire is generally cheaper, so I used this set, which worked really well.
The downside of using curtain wire is that it will slightly bend in the middle, so you need to be able to put it well beyond the edge of the cabinet opening to avoid having a gap at the top and bottom of the curtain. If this isn’t possible then you might find it better using a tension rod.
Sewing Essentials
If you’re planning to sew your curtains like I did, you’ll need all the usual sewing essentials like a sewing machine, thread and scissors. You can find my favourites here.
Iron-On Hem Tape
If you’re using the no-sew method, you’ll need a good quality hem tape like this one.
How to Make DIY Cabinet Curtains
Cut your fabric
The first step is to cut your fabric panels to size, using the measurements you determined in the steps above.

Hem the Sides of Your Curtain
Next, hem the sides of your curtain. You can do this by serging or zigzag stitching the raw edge, folding it under 1cm (1/2″) and stitching in place with a straight stitch.
Or you could fold the raw edge 1cm (1/2″) and then 1cm (1/2″) again and stitch in place close to the fold.
If you’re doing a no-sew curtain, fold under 2cm and apply the hemming tape according to the package instructions.


Create the Channels for the Curtain Wire
To create the channels at the top, serge or zigzag stitch the top raw edge, then press them both down by 3cm (1 1/4″). Stitch a straight line close to the edge to create a loop that your wire can go through.
If you’re using the no-sew method, fold your top down 1cm (1/2″) then 2cm (1″) and then fix in place along the edge using your hemming tape.

Install Your Curtain Wire
To install your curtain wire, start by planning where to place your hooks. You’ll want to put these the same distance away from the glass as you planned your curtain to go. So if you planned to make the curtain extend 3cm beyond the glass then you’ll need to place your hooks 3cm away from the glass.
Note: I put mine too close to the glass in the pictures!

Drill small holes and then screw the hooks into place.

Cut your curtain wire using some wire cutters, making the wire a couple of centimetres shorter than the actual distance between the hooks, to give it some tension. Screw the loops into the ends.

Hang your Cabinet Curtains
Thread the curtain wire through the channels on your curtains, distributing the gathers evenly.

Hook the ends of the wire onto the hooks. Your curtains are finished!