How to Make a DIY Bow Garland (Easy, No-Sew Christmas Decor!)
This DIY bow garland tutorial shows you how to turn fabric scraps into a sweet, simple decoration for your home.
This page contains affiliate links, which earn me a little bit of commission if you make a purchase, at no additional cost to you. Thank you for supporting my little corner of the internet!
They’ve crept into every corner of my December… perched on presents, tied to the wreath on the front door, tucked between branches on the tree.
That’s right – bows everywhere, bringing a cheerful, festive lift to the whole house.
There’s something sweet about them, so it’s no wonder they’ve become a favourite for holiday decor lately. Oversized fabric bows, tiny velvet ribbon bows, and everything in between.

The tricky part is that so many tutorials use shiny polyester satin bows from fast-fashion brands – unattractive and not particularly friendly to the planet.
And it’s wonderfully easy to make your own from the scraps already in your sewing basket (like, doable-in-a-nap-time-easy!)
So this year I gathered a handful of leftover fabrics and turned them into a bow garland, and today I’m sharing my fabric bow garland tutorial so you can make one too!
Why Everyone Should Make a DIY Bow Garland
Adorning your staircase, hanging across the mantle with a lovely fresh pine garland, slung across the top of an antique wardrobe – a bow garland works in so many places.
In fact, if you make it in simple fabrics, it can be used for year round decor.
Not only that, but this project is so quick and easy you can finish it in an evening, which is perfect when you have a mountain of presents to wrap and not enough time to do it!
What Fabric Can I Use for My Bow Garland?
Any non-stretch fabric will do nicely for this project. It helps if they’re medium to heavy weight and quite structured so they hold their shape.
Aside from that, you can really use anything! Linen and cotton work beautifully, as do thrifted fabric, sheets and curtains. This could even work with quilt scraps!
SHOP THE PROJECT
DIY Bow Garland Fabric Recommendations
Shop the fabrics I used for my garland


How to Make a DIY Bow Garland
Supplies
- Fabric ribbon (made using this method) 6cm (2 1/2″) wide and 1m (1yd) long
- Fabric scissors
- Hot glue or fabric glue
- Twine or string for hanging
- Optional: pinking shears


Step 1: Make Your Fabric Ribbon
If you haven’t already, make your fabric ribbon following the instructions in this blog post. If you’d like to prevent your bow garland from fraying, use pinking shears to cut your fabric strips.
I made my ribbon 6cm (2 1/2″) wide and 1m (1yd) long, but of course you can change the measurements as you please!

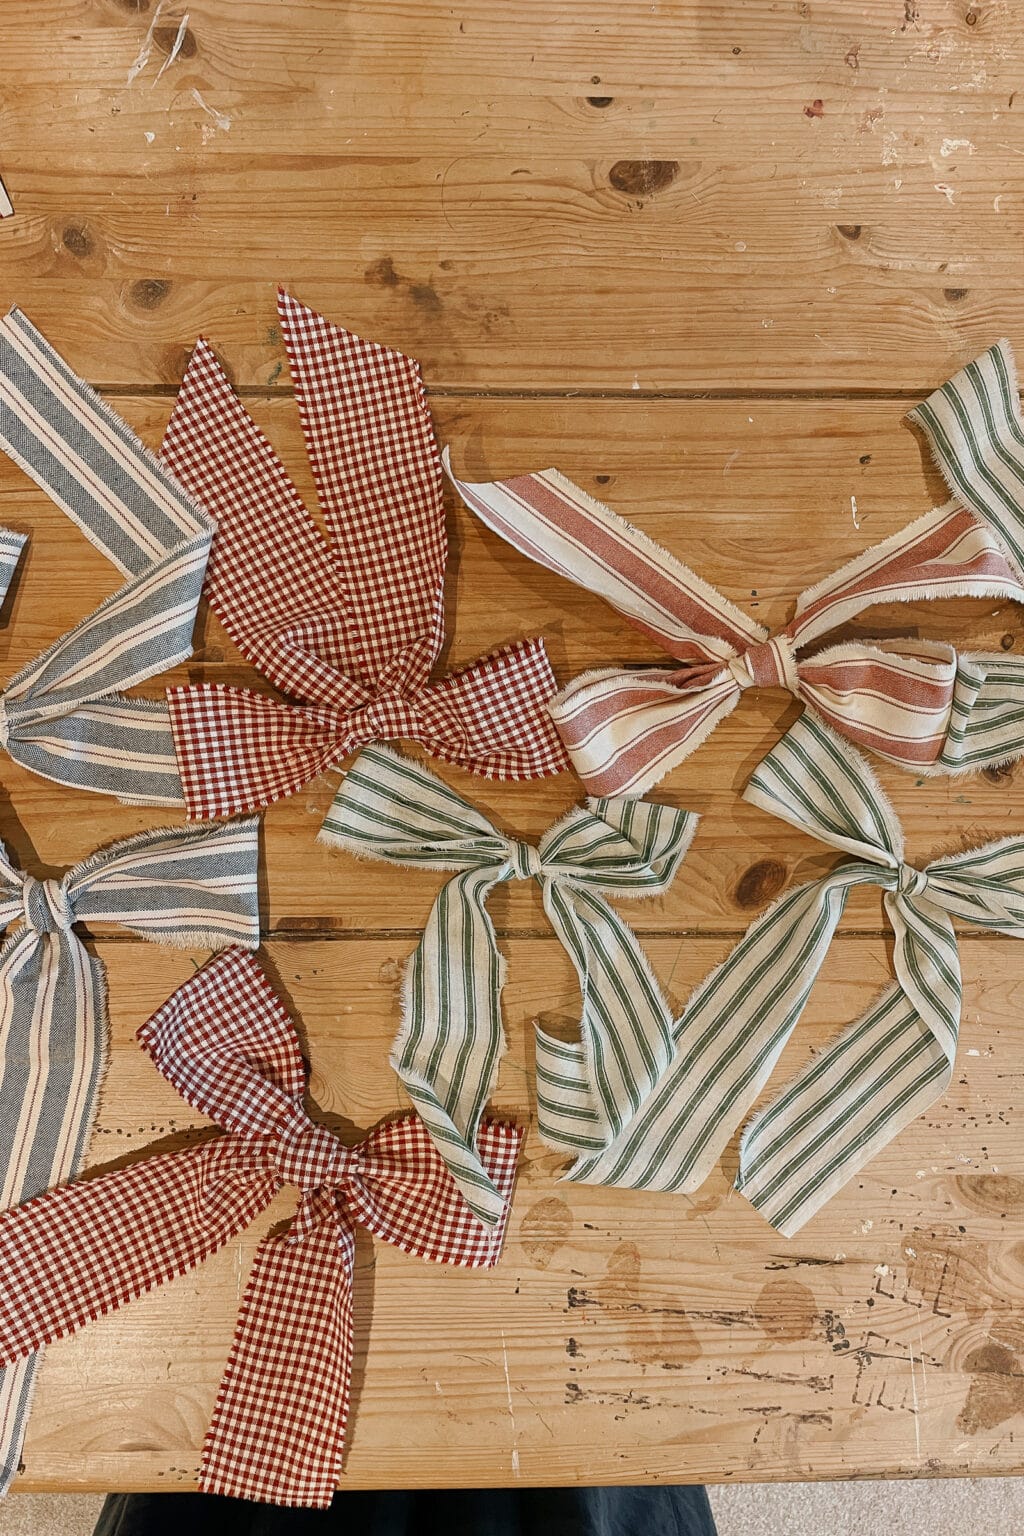
Step 2: Create your Bows
Cut your ribbon into equal lengths. They don’t need to be exact, but keeping them roughly the same size helps your garland look cohesive and intentional.
Tie each ribbon piece into a bow.

Step 4: Attach the bows
Attach the bows together by adding a small strip of glue to the bow loops. Fabric glue works best, but you can use hot glue if that’s all you have on hand. Leave them for a little time to dry.
Continue until your garland is the desired length.


Step 5: Hang
Tie a small loop of string or twine through the bows on each end for hanging.
Looking for More Easy Christmas Decor Projects? You’ll Love These!
So you’ve made your pretty bow garland, it’s hanging beautifully above your mantle and you’re wondering what’s next.
Why not make yourself a beautiful oversized fabric bow with this easy-to-follow tutorial?
Or perhaps you’d like to make an heirloom Christmas stocking with my free Christmas stocking pattern.
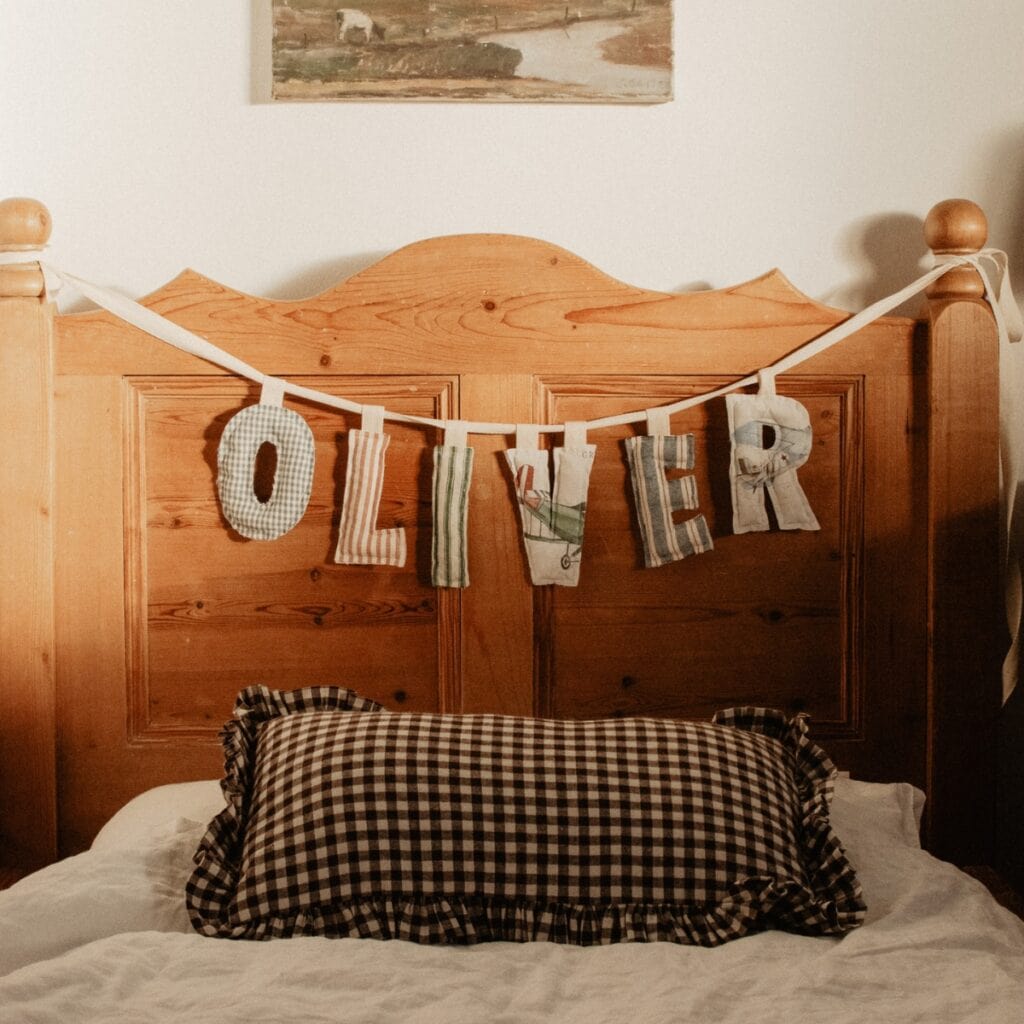
Or you could try another garland with my beginner-friendly letter banner pattern:
Sew a Personalised Banner
(No New Fabric Required!)
A clear, beginner-friendly pattern that teaches you how to transform your fabric scraps into a cheerful keepsake.


DIY Bow Garland
Equipment
- 1 pair fabric scissors
- 1 pair pinking shears optional
Materials
- Fabric ribbon made using my fabric ribbon tutorial
- Hot glue or fabric glue
- String or twine
Instructions
- Make your fabric ribbon using the method in my ribbon tutorial. If you want less fraying, cut your strips with pinking shears.
- Cut your ribbon into equal lengths. Keeping them roughly the same size helps your garland look neat and cohesive.
- Tie each ribbon strip into a bow. Choose whichever bow-tying method you prefer.
- Add a small line of glue inside the bow loops to attach them together. Let them dry before moving on. Continue until your garland reaches the length you want.
- Tie a loop of string or twine through the bows at each end of the garland for hanging.
Notes
- Medium- to heavy-weight non-stretch fabrics hold their shape best.
- Quilt scraps, thrifted sheets, linen, and cotton all work beautifully.
- Keep colours coordinated for a classic look, or embrace a scrappy patchwork style.