How to Make a Ruffled Pillow Cover (Delightful DIY Cottagecore Tutorial!)
Discover how to make a ruffled pillow cover with this easy, cottagecore-inspired sewing tutorial.
This page contains affiliate links, which earn me a little bit of commission if you make a purchase, at no additional cost to you. Thank you!
I’m going to tell you one of my deepest secrets: I don’t like Autumn.
Everyone else seems to hop into the season with wax melts burning, Gilmore Girls on repeat and pumpkin spice everything.
But when September rolls around my heart sinks. The days fade, the sun disappears behind a permanent cloud, and I’m back in my thermal layers wondering if summer will ever come again.
That’s exactly how I felt last week, so I decided to lift my spirits with something that always works – a little sewing.

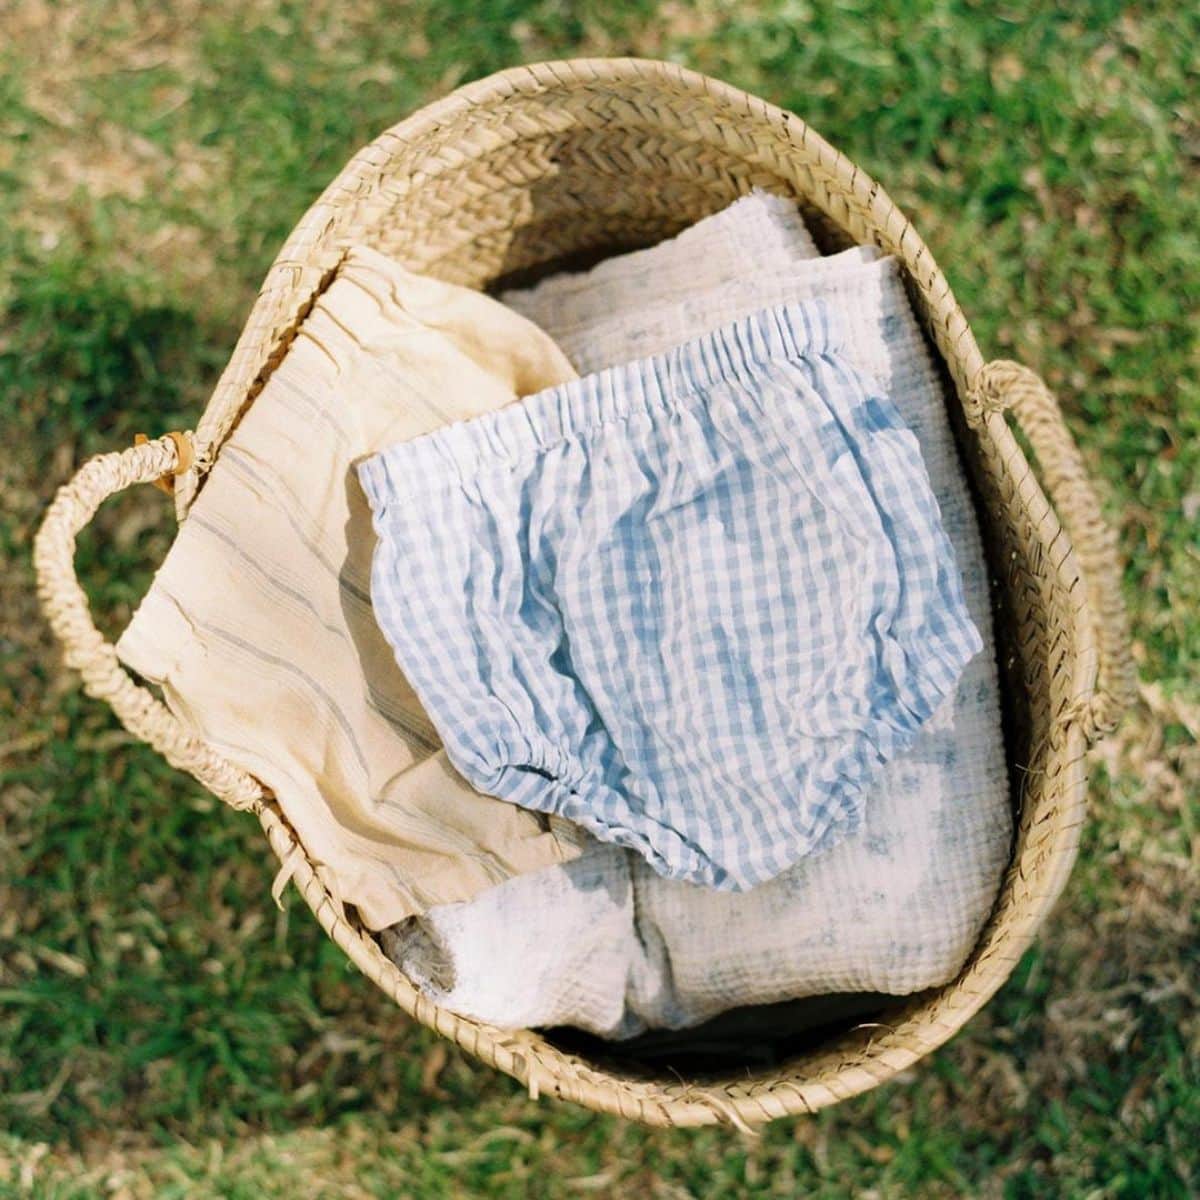
I picked out a slubby chocolate brown linen and spent a couple of hours cutting, stitching and gathering to my heart’s desire.
The result was the sweetest little ruffled pillow cover, that made the whole room feel warmer.
So here’s how to make it, just for you, and I hope it lifts your autumnal spirits too!
Watch the Ruffled Pillow Cover Video Tutorial
Here’s a little video tutorial to help your ruffled pillow cover project go super smoothly!
If you’d prefer to follow the written instructions you can find them here.
The Secret to Making a Ruffled Pillow Cover that Looks (and Feels) Delightful
Back when I first started sewing, I’d pick out some fabric, usually cheap, and hope that sewing it up would magically give me what I was looking for.
Now I know that making a ruffle pillow that looks and feels beautiful is almost entirely down to the fabric choice.
While you might be tempted by a floaty quilting cotton, lightweight fabrics don’t hold up for cushions. Instead, choose upholstery-weight fabrics like heavy linen, canvas and corduroy, which are designed to last.
You don’t need much fabric for throw pillows, so it’s worth splashing out more for something special.

Here’s the Fabric Yardage You’ll Need (No Guessing Required)
Most standard sizes of pillow will require about a metre (yard) of fabric. You’ll be able to get away with less for smaller pillows.
Skip to the fabric requirements here for a handy-dandy diagram that shows you exactly what you’ll need for your ruffled pillow cover.

Your Shortcut to Perfectly Plump Pillows
Whenever I’m making a pillow cover, I always make it slightly smaller than the pillow itself. This is the best way to make sure your ruffled throw pillows are perfectly plump!
To do this, make your cut pieces the same size as the pillow, and skip adding seam allowance. It sounds mad, but I promise it works.

Why You Shouldn’t Skip the Zipper (Even if It Feels Scary)
In my many years of making cushion covers I’ve learnt that the longest lasting ones are those that have zippers.
I know that zippers are faintly terrifying if you’re new to using them, but the method I’m sharing in this tutorial is about as easy as it gets. You’re in safe hands!
If you would like a simpler closure method, you can find my envelope pillow cover post here. Or you could follow that same tutorial but add buttons.

How to Make a Ruffled Pillow Cover
SUPPLIES
- 1 metre (yard) of fabric
- Matching thread
- Zipper (around ½” or 1 cm longer than the width of your pillow)
- Zipper foot (optional but very useful!)
You will also need all the usual sewing essentials – you can shop my favourites here.
SHOP THE PROJECT
Ruffled Throw Pillow
Shop the products I used for my ruffled throw pillows


Step 1: Measure your Pillow and Cut Your Pieces
Start by measuring your pillow. Cut pieces of fabric as shown in the picture below.

The circumference of your pillow is the distance all the way around the edge, so that’s 2 times the width plus 2 times the length.
If your pillow is large you may need to join two lengths together for the ruffle.
Note that we don’t add any extra for seam allowances around the edge of the pillow. This is intentional! Making the pillow cover ever so slightly smaller than the pillow insert will help it to be nice and plump.
Step 2: Sew the Zipper
Take piece “Back A” and press ⅜” (1 cm) on one of the zipper edges to the wrong side.
Pin the folded edge close to the zipper teeth and, using your machine’s zipper foot, sew down close to the folded edge.


On piece Back B, press 1 ⅛” (3 cm) on one of the zipper edges to the wrong side. Pin this piece to the other side of the zipper, so that the folded edge just covers the zipper.
Turn the whole thing over and from the wrong side sew down the side of the zipper, as close as possible.
That’s your zipper done!


Step 3: Gather the Ruffle
Join the short ends of your ruffle piece(s) together so you have one long loop.
Fold in half lengthwise and press in place.


Set your sewing machine to its longest stitch length and sew two rows of stitching ¼” (0.7 cm) and ⅝” (1.5 cm) away from the long raw edge.
Gently pull on the top threads to gather the fabric. Adjust the gathers so that the ruffles are even and the length of the ruffle matches the circumference of the pillow.


Step 4: Assemble the Ruffled Pillow
Lay the front piece down with right side up. Arrange the ruffle around the edge, lining up the raw edges and with the ruffle facing into the middle of the front piece.
Lay the finished back on top with right side down. Pin well all around the edge and then sew all the way around with a ⅜” (1 cm) seam allowance.

Frequently Asked Questions

Get Rid of the Autumn Blues Once and For All
I still don’t love autumn. But I love the way this ruffled pillow makes home feel a little warmer!
If you make this project, do share it with me on Instagram here.
And if you’re looking for more pillow cover inspiration you’ll love this tutorial for a one-piece envelope pillow cover.