How to Make an Easy Envelope Pillow Cover from One Piece of Fabric
Discover how to make an envelope pillow cover, using only one piece of fabric, in under half an hour!
This page contains affiliate links, which earn me a little bit of commission if you make a purchase, at no additional cost to you. Thank you!
It was one of those days where everything felt just a little too much.
Crumbs from breakfast all over the floor, yesterday’s dishes in the sink, and a to-do list that had somehow grown its own to-do list.
On these days, I always feel better if I just achieve something. That’s why I love crafting, by the way! Nothing gets you through the day like the dopamine hit from finishing a satisfying little project.
So with just ten minutes and a piece of fabric I couldn’t stop thinking about…
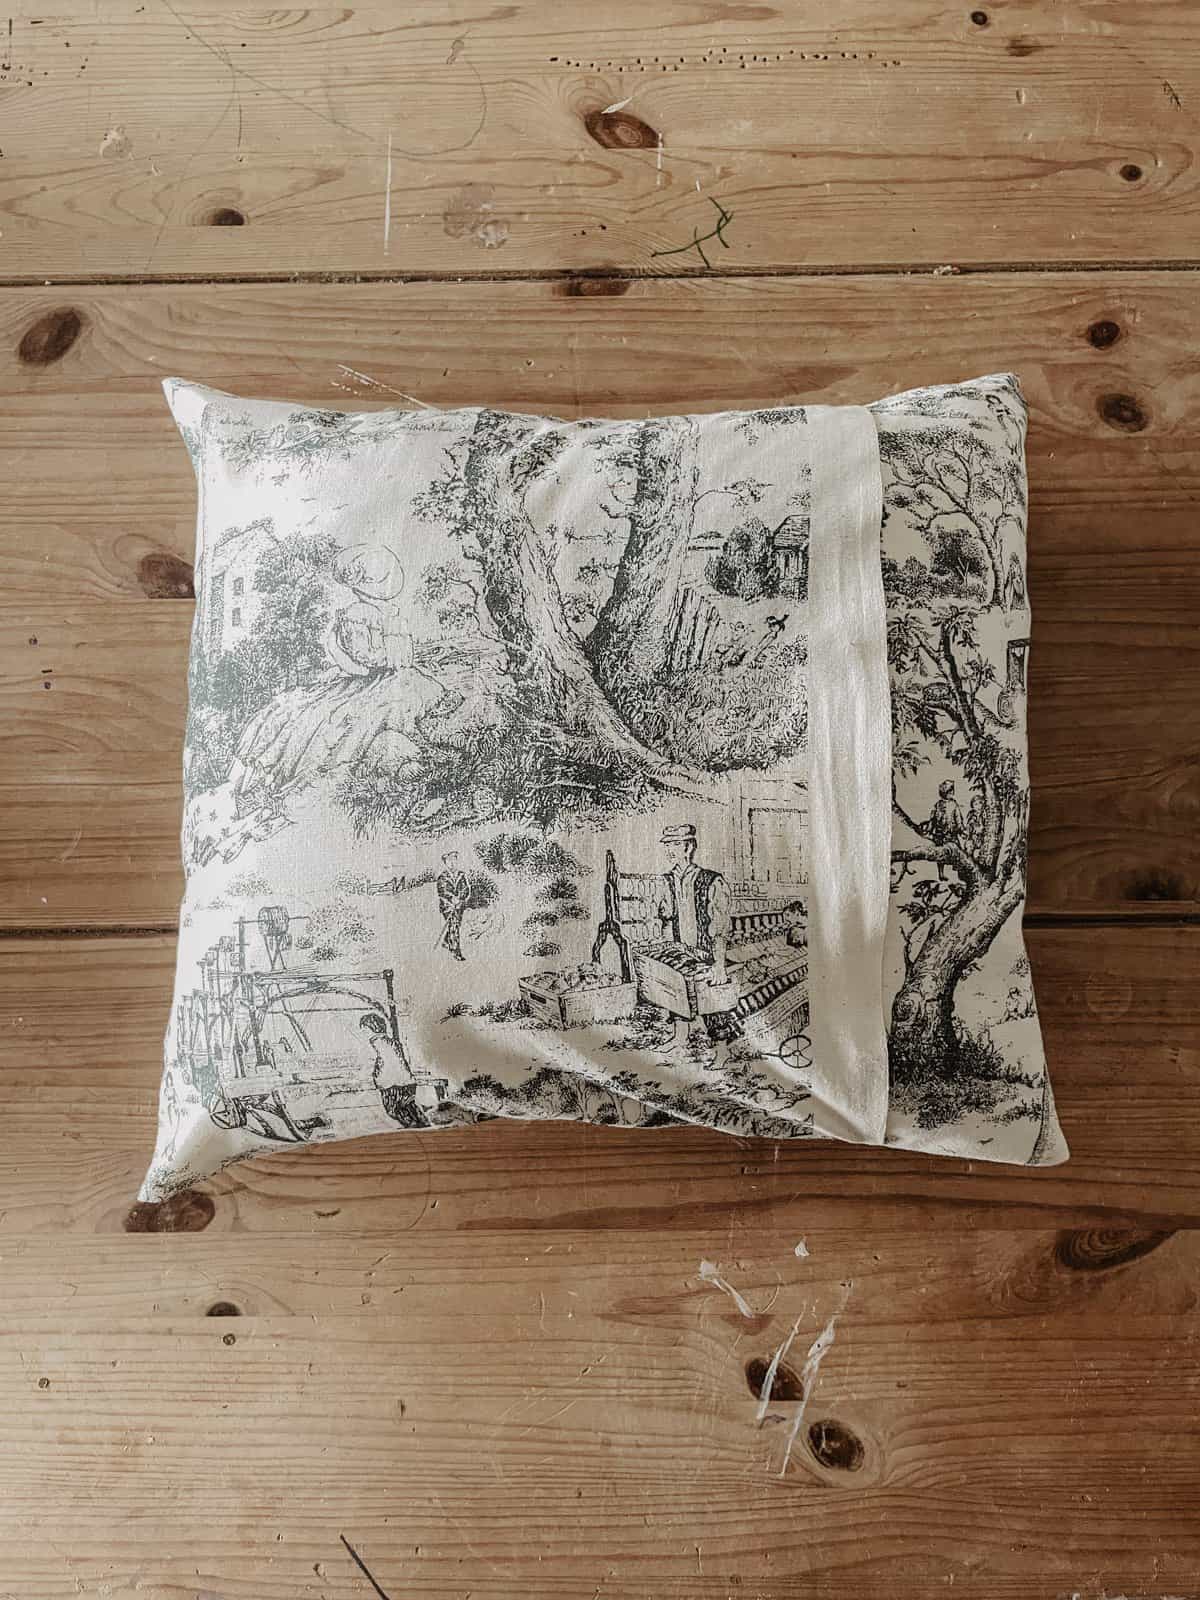
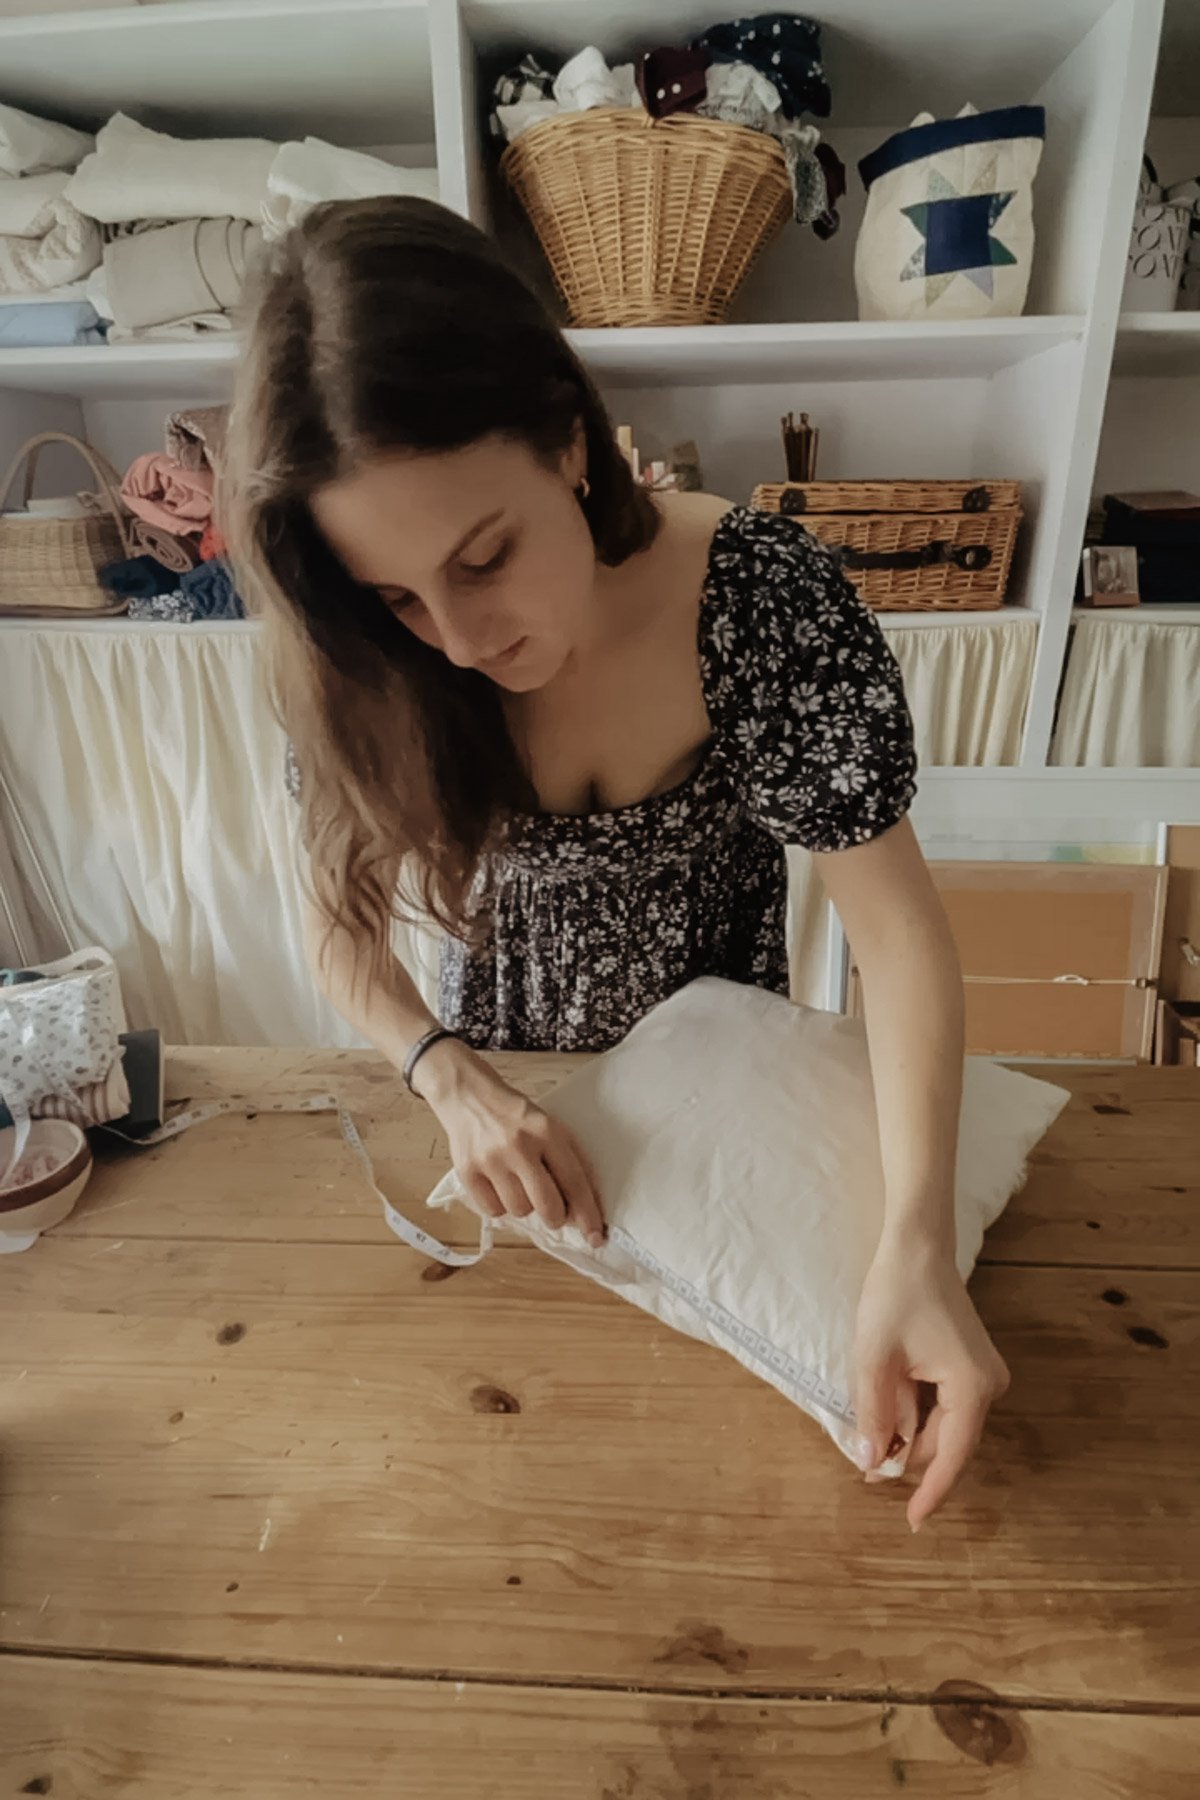
I made a cushion cover.
And not just any cushion cover – a cushion cover made the easiest way. No zips. No buttons. And only the tiniest little bit of measuring. And best of all? It only needs one piece of fabric.
If you’ve ever felt intimidated by cushion covers, or if you just want an easy sewing project for your home that you can make during an episode of Bluey – this simple step-by-step tutorial is for you.
Just a note to say – I’m using the words ‘pillow’ and ‘cushion’ interchangeably in this post, because they’re called different things in different parts of the world. I’m using both words to mean the little pillows you have on your sofa, but you could also use this method for the pillows that live on your bed and create an envelope pillowcase!
But, what even is an envelope pillow cover?
At age 14, sitting at my box-fresh sewing machine, I asked my Grandma what I should sew first. Of course, it was an envelope pillow cover.
All straight lines, little room for error, the perfect project for a beginner seamstress!
For those who aren’t versed in pillow lingo, an envelope pillow cover is one that has two overlapping back pieces (the envelope opening) so you can slide your pillow in without the need for complicated fastenings. You can see why it’s the easy way to make new throw pillows.
Will I really only need one piece of fabric?
Most envelope cushion cover tutorials have you cut three fabric pieces, finish raw edges, and faff around with overlap measurements. But this easy peasy version skips all that.
Instead, we’re working with the fabric’s full width and using the finished selvedges as the opening edges, so you don’t even need to do any hemming. Just fold, sew, and you’re done.
It’s simple. It’s quick. And it’s a brilliant way to use up those pieces of fabric that are a little too small to make clothing from.
Will this method work for any size of cushion?
If you want to use a single piece of fabric, you won’t be able to make covers for really big cushions, because the fabric won’t be wide enough.
As a rule of thumb, your fabric width should be around 2.5 times the width of your pillow form.
So if:
- Your fabric is 115cm (45″) wide, you can use it for cushion covers that are around 46cm (18”) wide
- Your fabric is 150cm (60”) wide, you can use it for cushion covers that are around 60cm (24”) wide
Here’s a diagram of the fabric measurements which will hopefully help you visualise it!
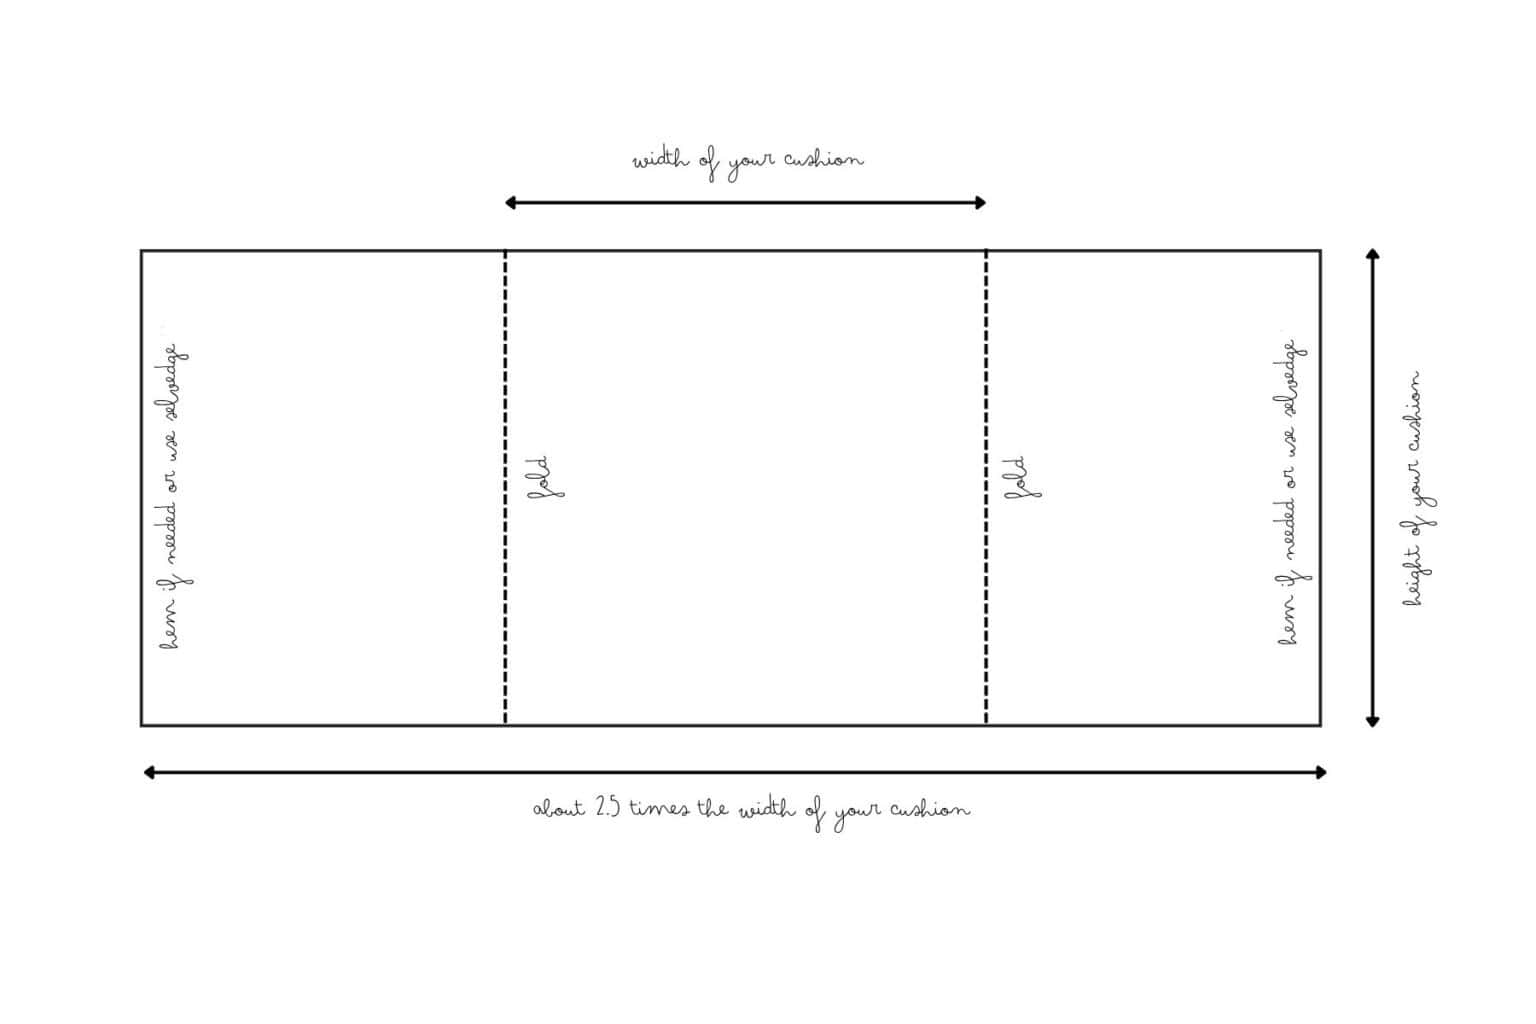
This is just a rule of thumb though. A great way to check is just to wrap the fabric around the cushion and see whether it overlaps nicely at the back of the pillow.
And of course, if your fabric is too wide you always have the option of cutting a piece off one edge of your fabric. If your fabric isn’t wide enough, you’ll need to sew together three pieces for the front and overlapping back panels. This tutorial shows you how.
What fabrics can I use for my pillow cover?
Woven fabrics (fabrics that aren’t stretchy) are best for this project. Think linen, wool and cotton fabrics. You won’t need much fabric, so this would be the perfect project for upcycling that little tablecloth you thrifted!
Thicker fabrics made for upholstery will be longer lasting than fabrics made for dressmaking, but I like to change up my pillow covers with the different seasons so I never really find that matters.
Will this only work for a square pillow?
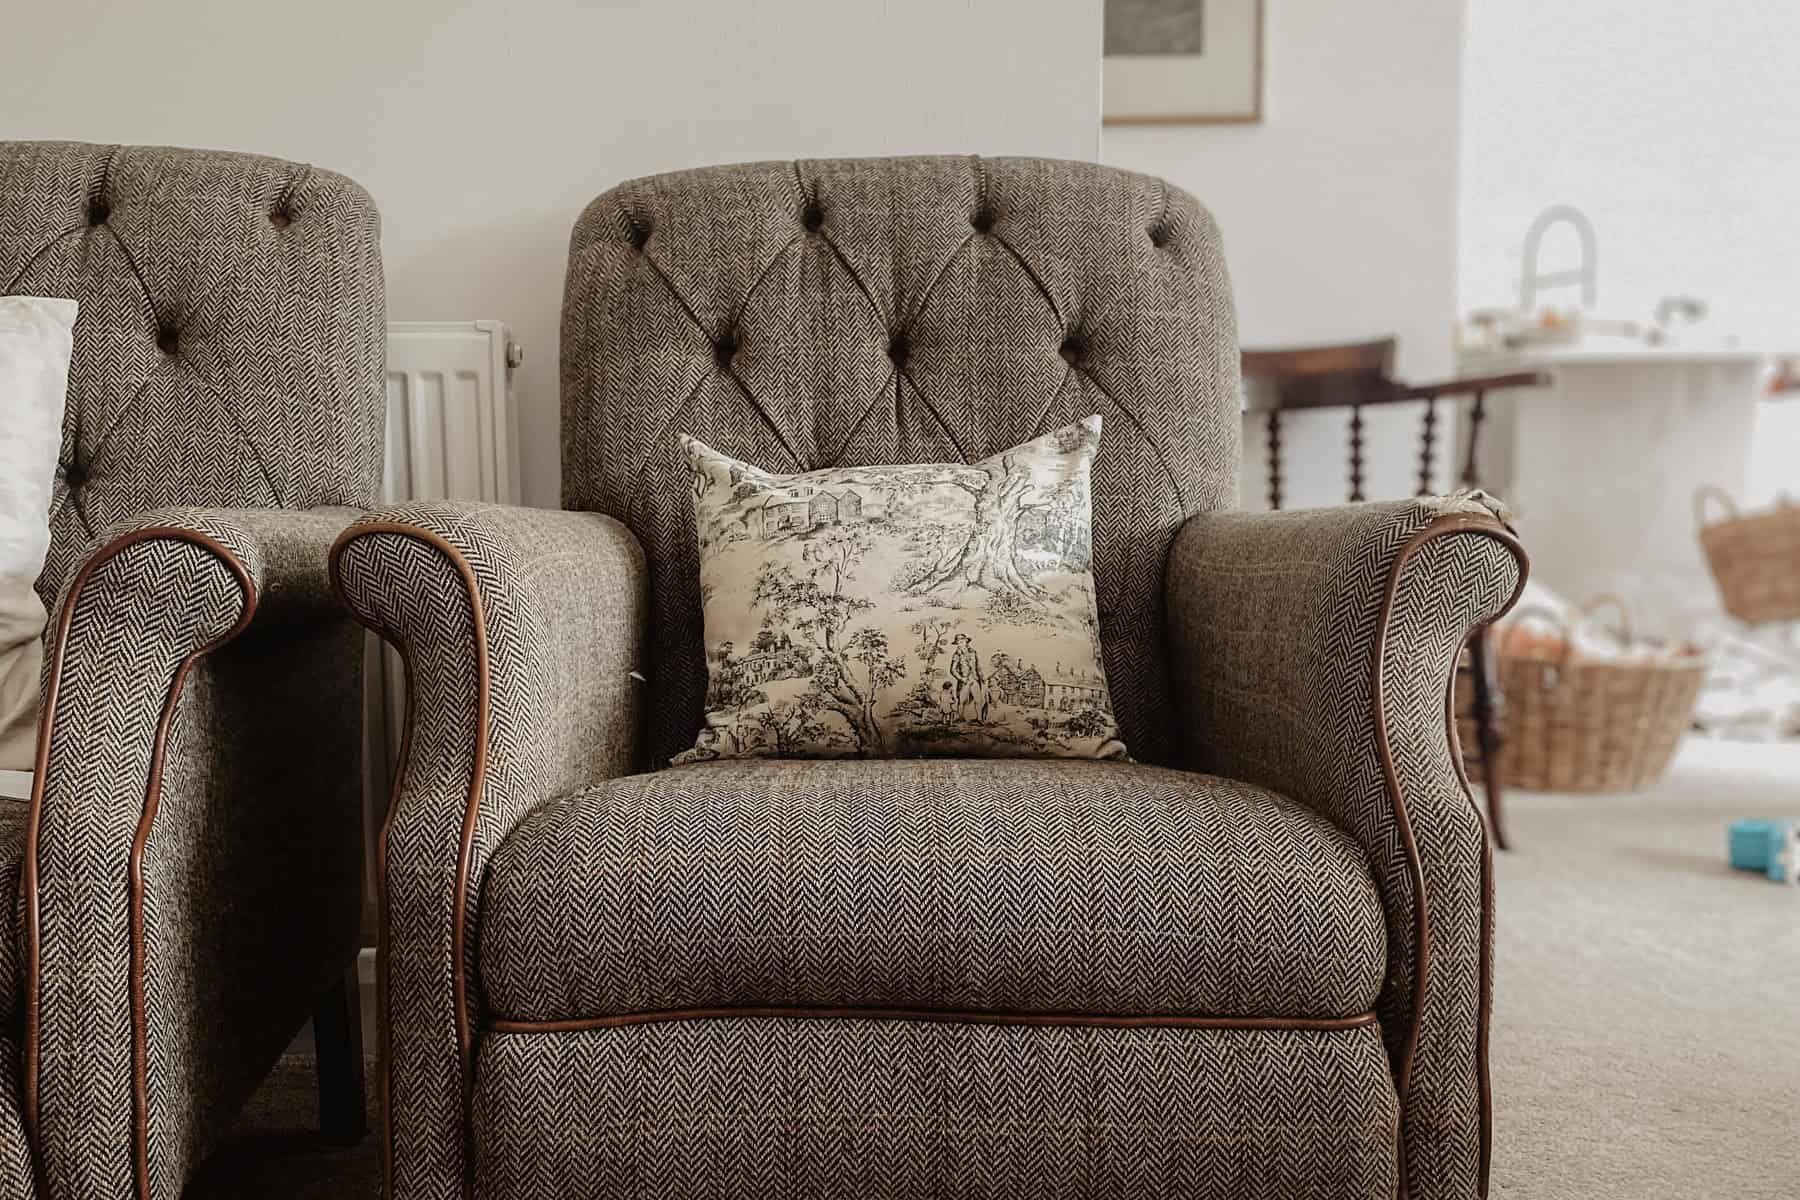
No! You can use this on a pillow of any dimensions. The pillow I made in this post is slightly rectangular.
More Home Decor Projects
How to Make a DIY Pleated Lampshade (No-Sew & Easy!)
How to Make DIY Curtains for a Glass Cabinet (Sew or No-Sew)
How to Paint IKEA Kallax (DIY Hack for Laminate Furniture!)
How to Make an Envelope Pillow Cover from One Piece of Fabric
Supplies
- 1/2 m or 1/2 yard of fabric (or more depending on the size of your pillow insert)
- A cushion insert
- Measuring tape
- Fabric scissors/rotary cutter
- Pins or sewing clips
- Sewing machine
- Thread
You’ll also need all the usual sewing essentials – you can shop my favourites here.
Step 1: Measure Your Cushion Height
Start by measuring your cushion from top to bottom.
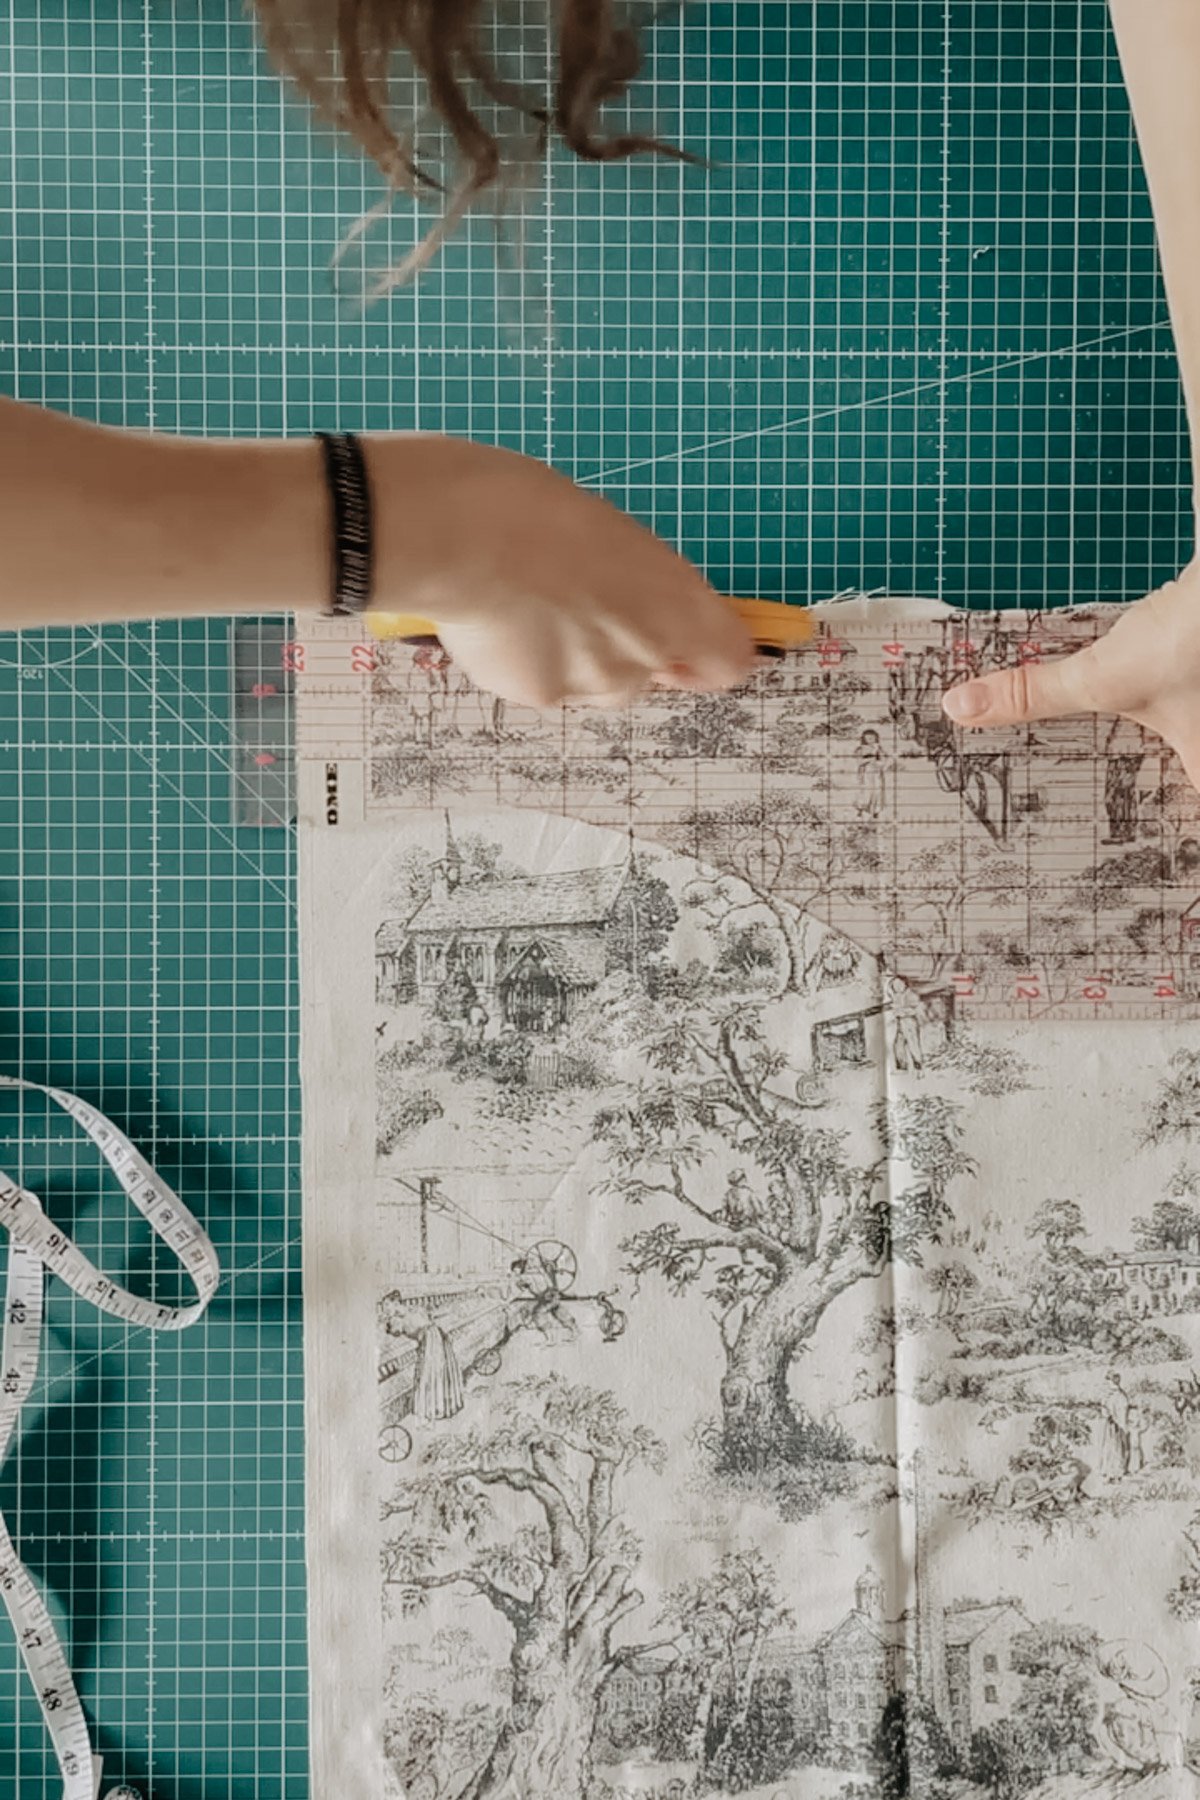
Step 2: Cut One Long Rectangle
Next, cut a fabric strip the same height as your cushion. Mine was 45cm tall, so I cut my fabric strip 45cm tall too.
If you need to, cut down the width of the fabric strip so that the long edge is roughly 2.5 times the width of your cushion.
Note that you don’t need to add seam allowance – I find that making my cover the same measurements as the pillow insert helps give it a nice plumpness!
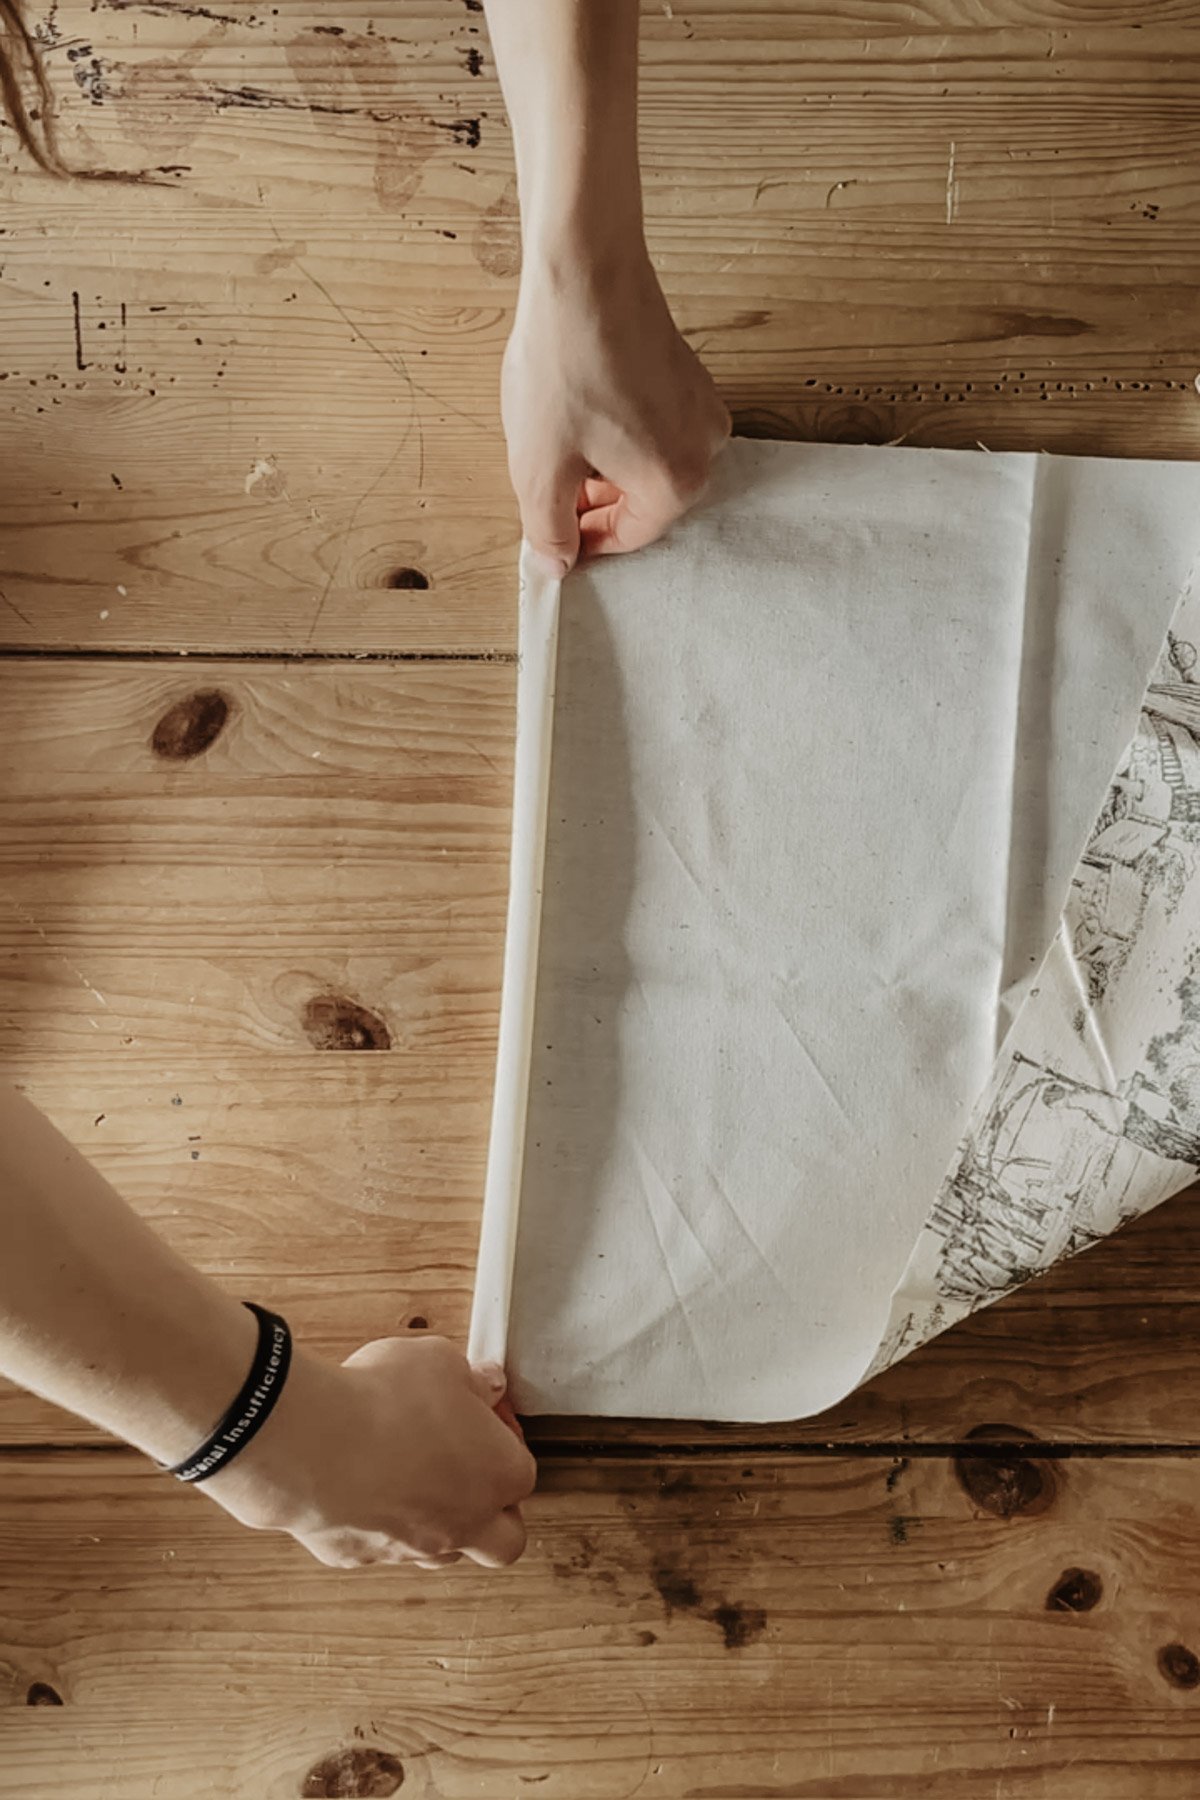
Step 3: (Optional) Hem the Ends
If you cut your fabric strip down at one or both ends and the edges are raw, you’ll need to hem them. Fold under the ends 1cm (½”) and then another 1cm (½”), and sew the folded edge in place using a straight stitch.
Step 3: Lay Out and Fold
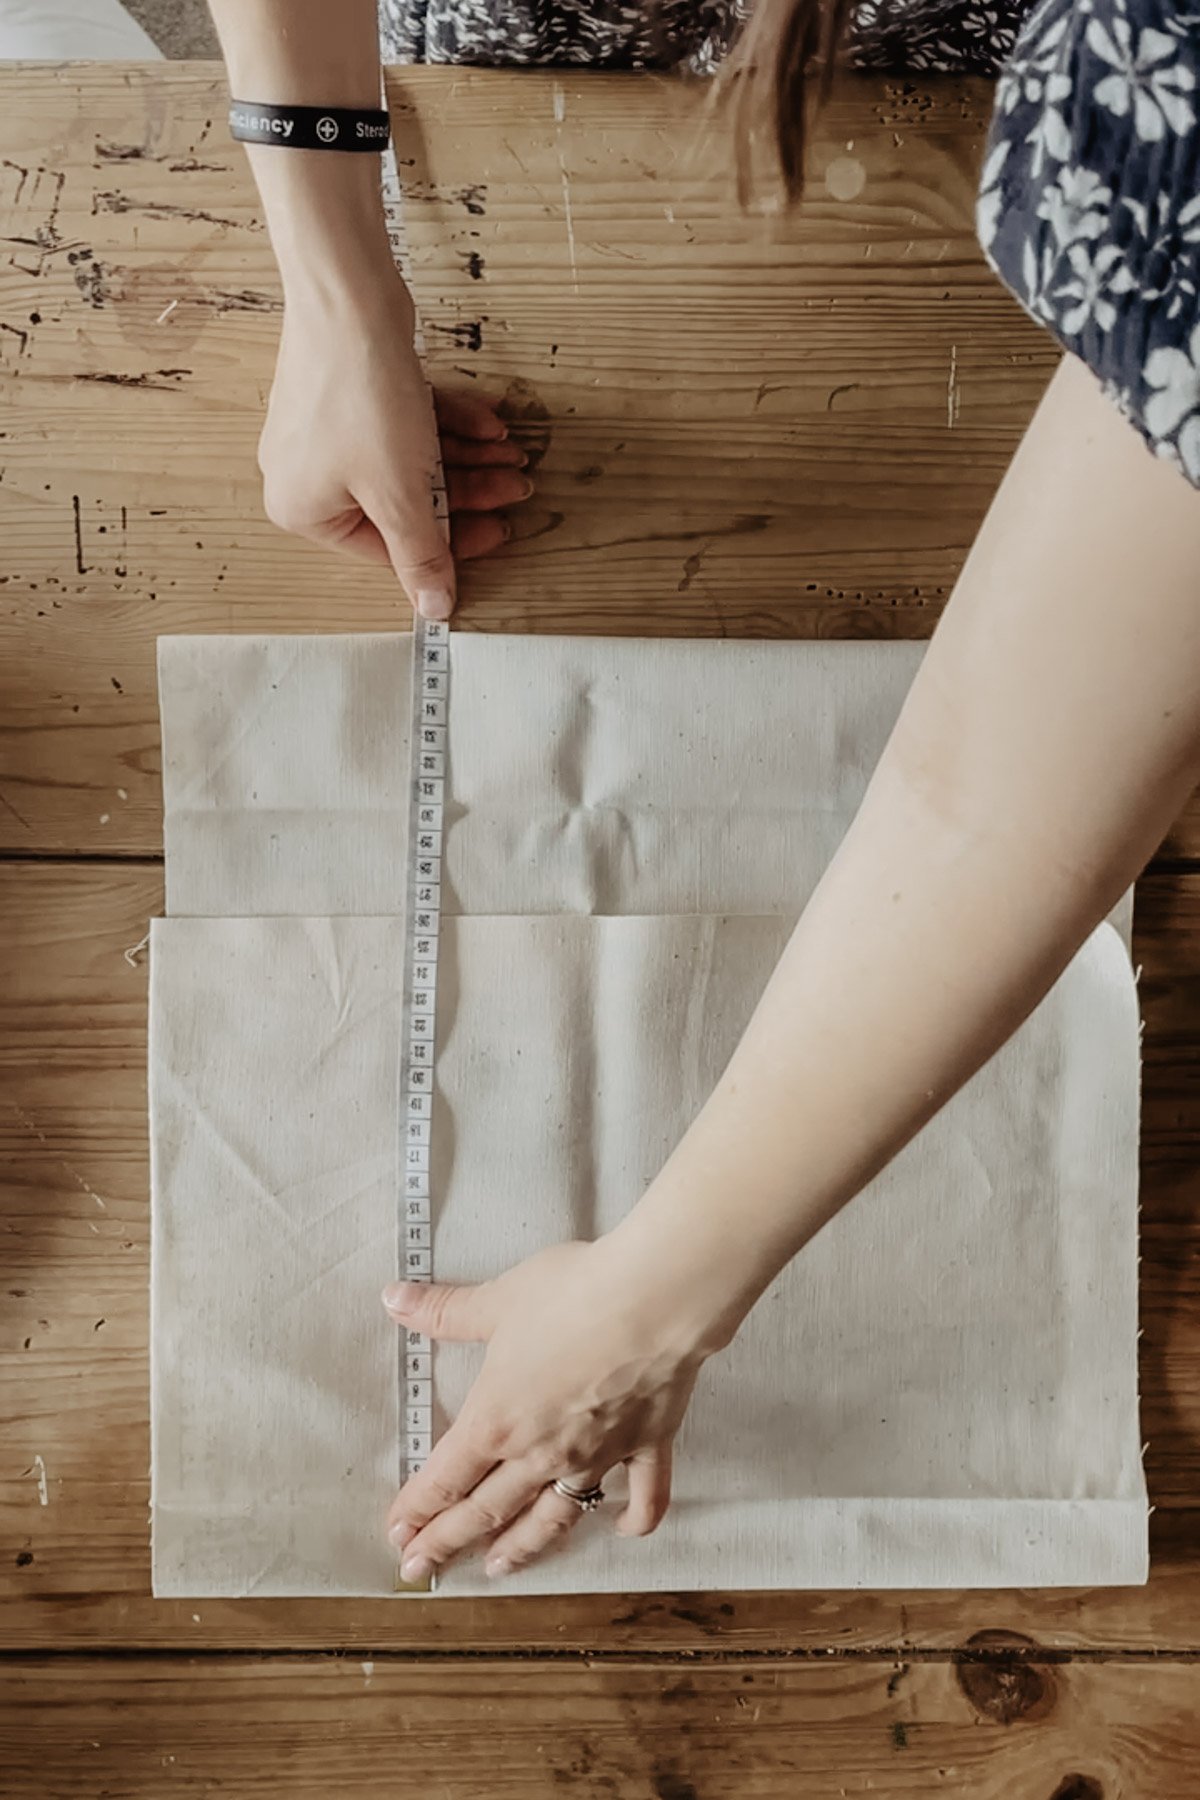
Lay your fabric piece with the right side of the fabric facing up. Fold the two edges in, so the right sides are together, overlapping the selvedges or hemmed edge at the back.
Adjust the folds until the folded piece has the same measurements as your cushion.
Step 4: Pin and Sew the Sides
Pin the open sides. Sew down both side seams with a 1cm seam allowance, securing the overlaps.
If you’d like to, you can also finish the raw edges with a zigzag stitch or overlocker. This is a good idea if you plan to wash your pillow cover (which in our house, happens a lot!)

Step 5: Turn Right Side Out
Turn your cover right side out, poke out the corners with something pointy, and press if needed. Pop your cushion insert in and admire your handiwork.
Let me know if you make your own envelope pillow cover. I’d love to see what fabric you choose, and where it ends up in your home.
Often ten minutes and a satisfying little project is all it takes to feel more like you.