
How to Make Christmas Patchwork Decorations (Absolutely Adorable!)
Handmade Christmas patchwork decorations turn tiny fabric scraps into festive treasures – cosy, colourful, and full of story for your holiday home.
This page contains affiliate links, which earn me a little bit of commission if you make a purchase, at no additional cost to you. Thank you!
I once spent £40 on a box of Christmas tree baubles. And you know what? I regretted it before I even hung the first one.
That’s what most of us do in December. You go to the shops, fill your basket with sparkly mass-produced Christmas ornaments, and hand over far too much money at the till.
And even worse, it happens every year – buying things to replace the ones you’ve already grown tired of last year.
My £40 baubles looked pretty enough on the tree, but they never really felt special. The following year, I was tempted by shiny new displays, spending more for the same forgettable ornaments.
These days, I do things differently.

Just about every Christmas decoration on our tree is handmade, upcycled or secondhand, and they all have a story that means something to our family.
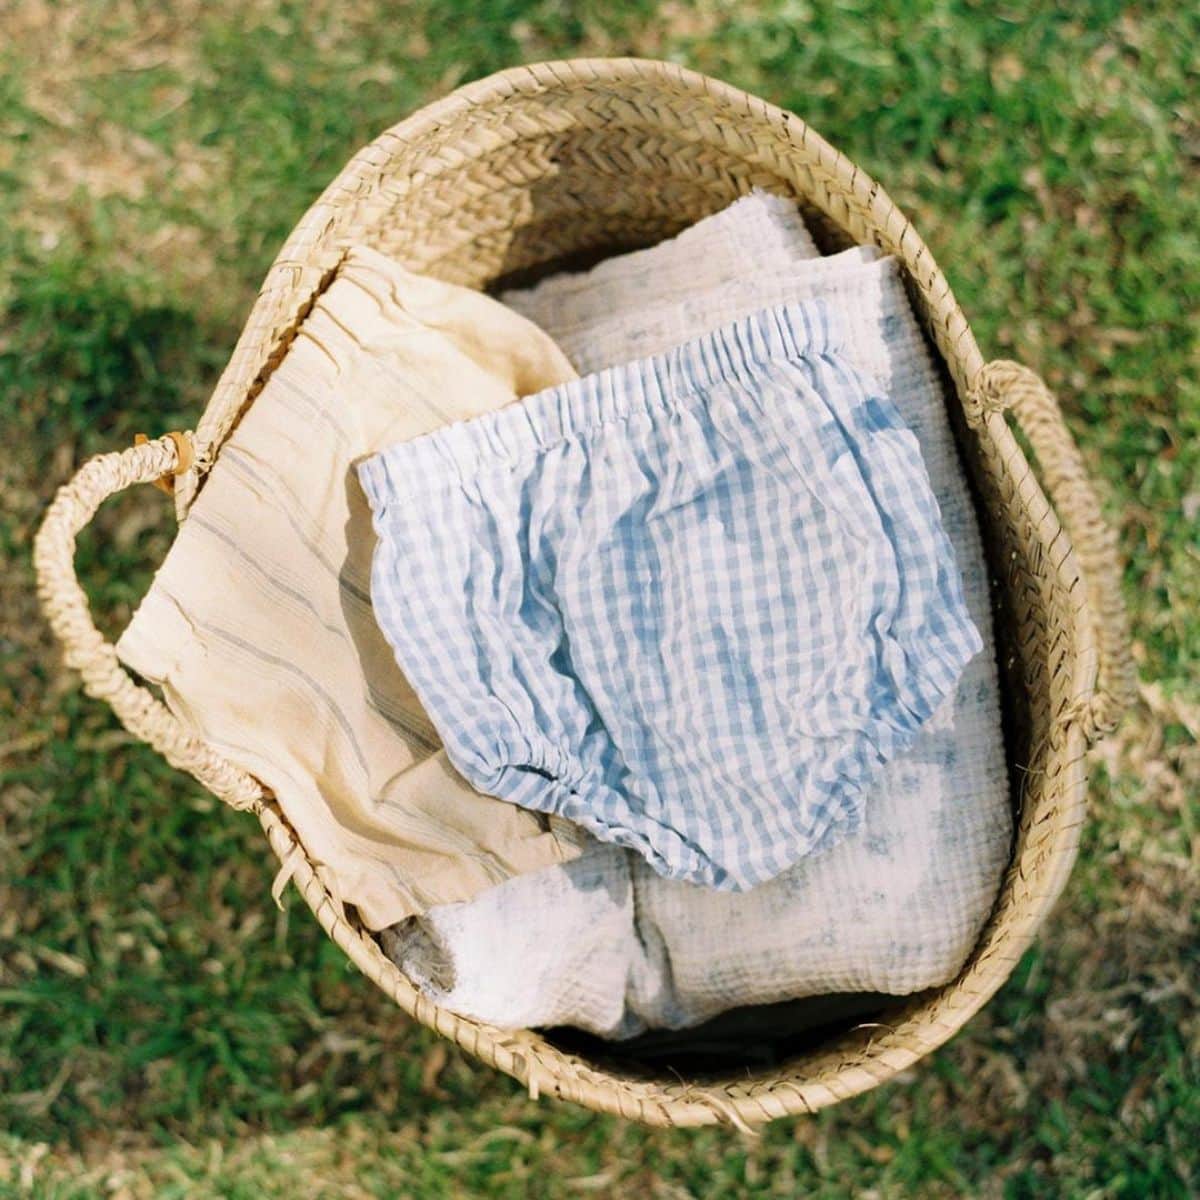
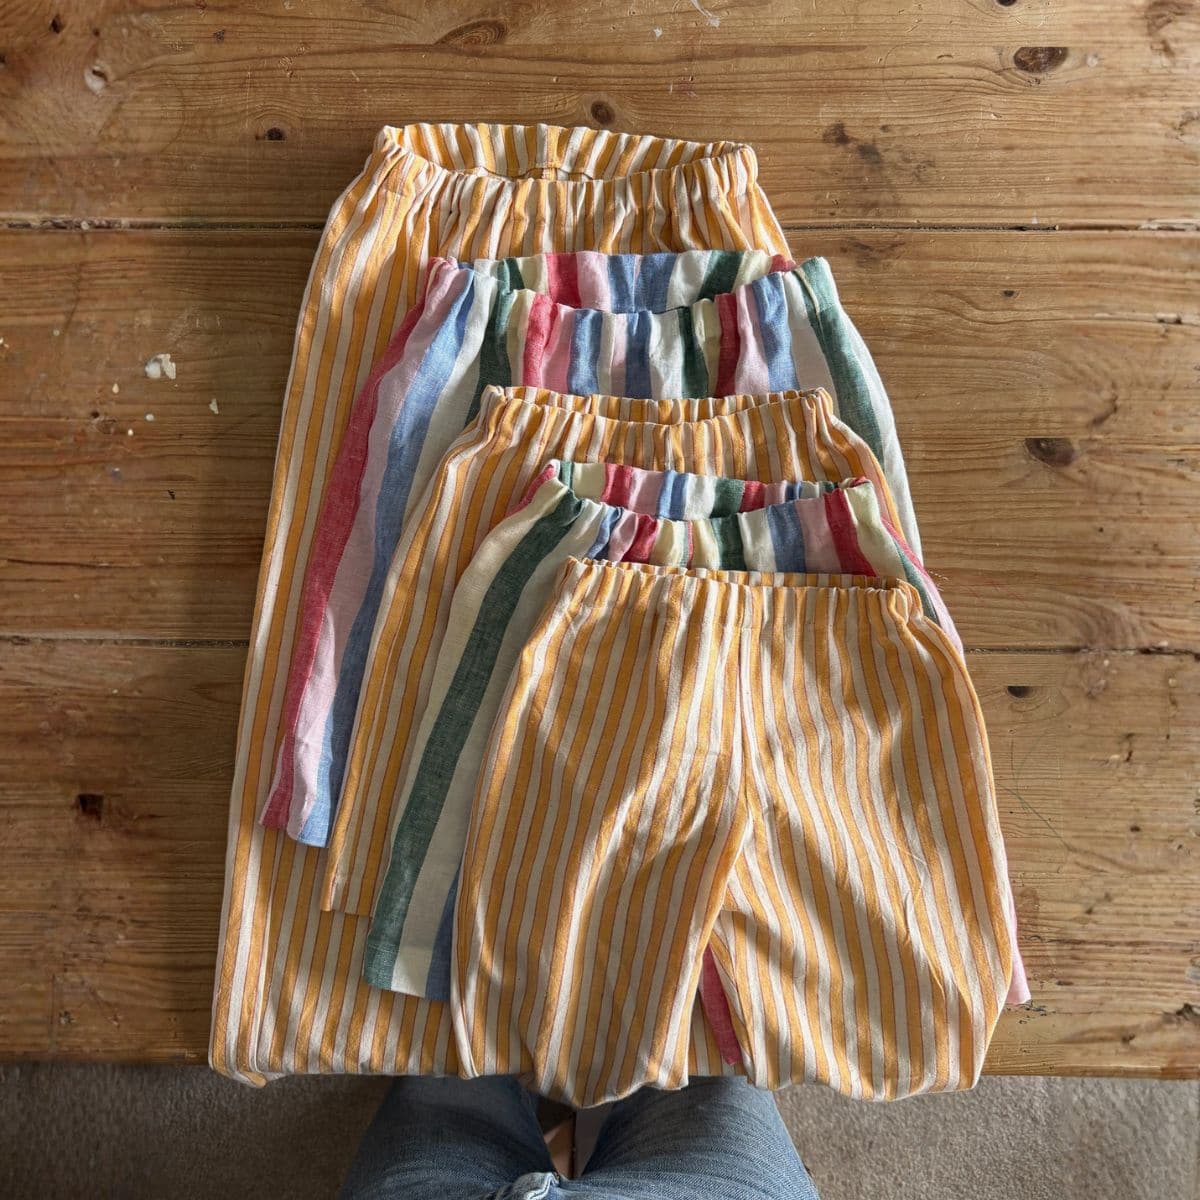
One of my favourites is exactly what I’m sharing today – handmade Christmas patchwork decorations from scraps of fabric — old linens, vintage fat quarters, even pieces of my children’s worn-out pyjamas!
They cost next to nothing to make, but they’re full of charm, memory, and cosy handmade magic that money can’t buy.
And the best part? They’re unbelievably cute.
Let me show you how.
Why You Should Be Making Christmas Patchwork Decorations
Let’s be honest, buying a pack of mass-produced baubles is far easier than cutting and stitching your own.
But those decorations end up feeling hollow — pretty for a season, then tucked away and forgotten.
Handmade patchwork, though? That’s different. It’s worth every stolen half-hour with your sewing machine.
Here’s why:
Sustainable
Christmas comes with lots of “stuff” — more packaging, more plastic and a whole lot of waste. Making your own Christmas patchwork decorations is a small but meaningful way to push back.
Use fabric scraps from your sewing basket, old table linens, or even worn-out pyjamas!
Instead of adding to your festive carbon footprint, you’re breathing new life into cloth that already has history.

Affordable
Between the endless gift lists, extravagant food shop and festive activity schedule, Christmas can be expensive.
Sewing your own decorations makes things a little easier at a time of year where money can be tight.
Sentimental
A corner from your child’s baby grow, a square cut from your gran’s apron, a scrap of fabric from last year’s Christmas dress. When you stitch those pieces together, you’re not just making decorations, you’re sewing memories right into the fabric of your home.
It’s the best feeling unwrapping them each December and remembering exactly where those fabrics came from!
Beautiful
The cosy, handmade look of patchwork is just perfect for Christmas. Rustic and cottagecore, these little handmade treasures add whimsy and warmth that you won’t find in shop.
How to Make Christmas Patchwork Decorations
SUPPLIES
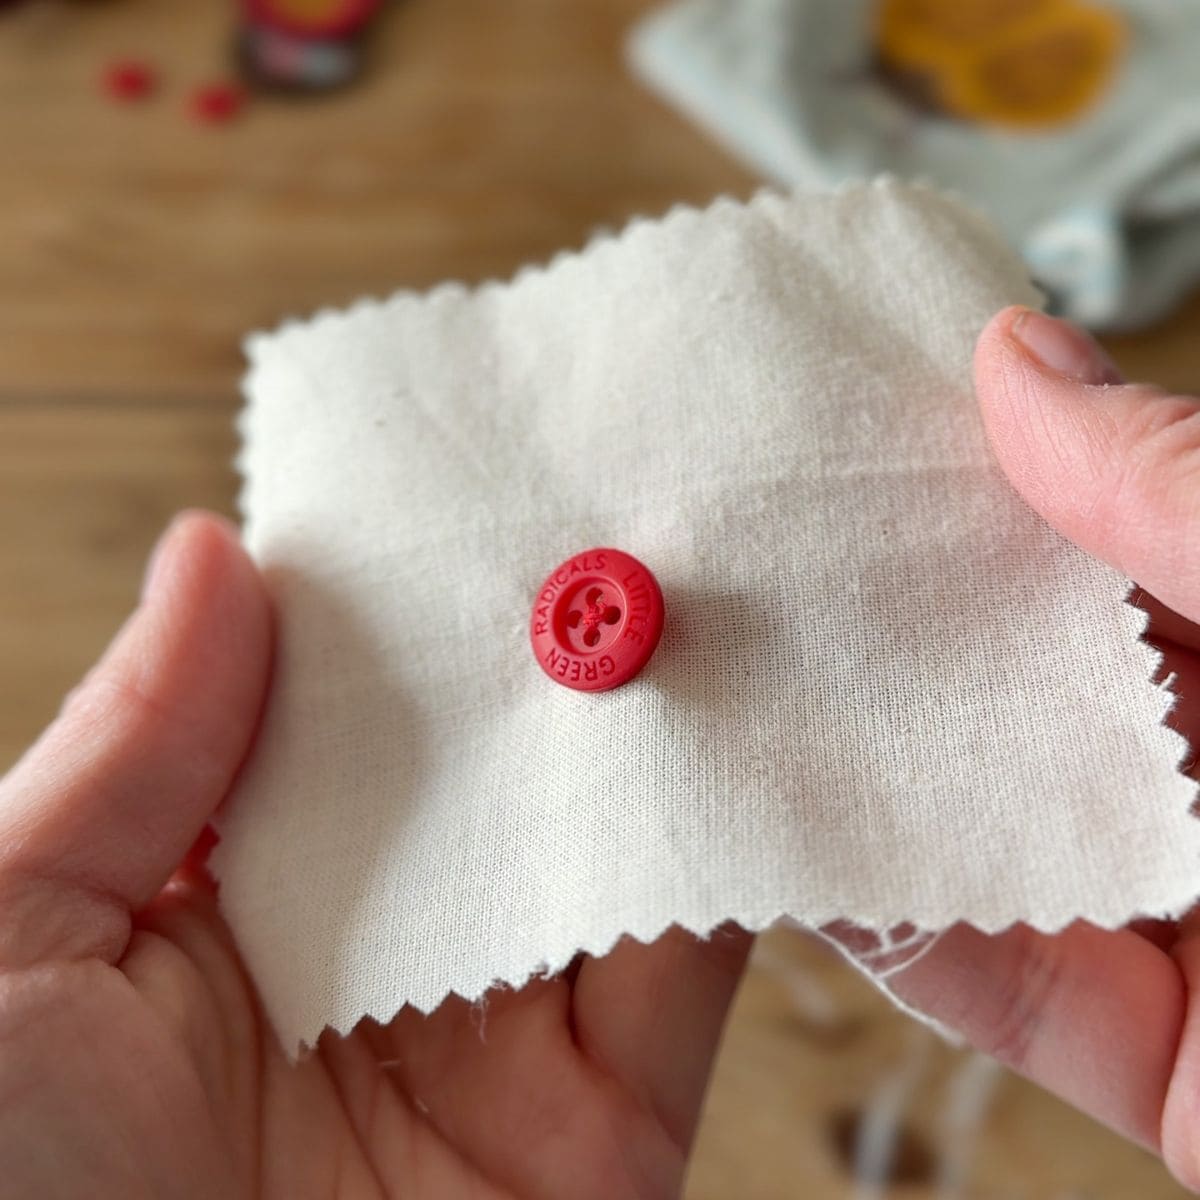
- Fabric scraps in 2-4 different colours/patterns (cotton or linen)
- Matching thread
- Clear quilting ruler
- Rotary cutter
- Needle
- Wadding/filling (cotton stuffing, wool roving, or even fabric offcuts)
- A 15cm piece of ribbon for hanging
Step 1: Cut Your Patchwork Pieces
Cut your fabric scraps into the following pieces:
6 x 3.25cm squares of coloured or patterned fabric
6 x 3.25cm of background fabric
4 x 2.5cm squares of background fabric
1 x 7cm square of background fabric
Of course, you can play around with using different combinations of fabrics to give you different styles of star ornament!


Step 2: sew Your Half-Square Triangles
Using a pen and your clear ruler, draw a line diagonally across each of your 3.25cm squares.
Place each coloured square on top of a background square, and then sew ¼” (0.5cm) away from your pen line on each side.
You can “chain piece” for speed!


Step 3: Cut and Press Your Half-Square Triangles
Using your rotary cutter, cut down your pen line on each square. Then open the triangle and you should (hopefully!) have a square that’s half one colour and half the other. Give them all a good press.
Trim all the squares so they’re exactly 2.5cm square and all the pointy bits are gone.


Step 2: Stitch Your Patchwork Quilt Block
Lay out your half-square triangles and 3.25cm background squares as they will be in the final design.
Chain piece the squares together using a ¼” (0.5cm) seam allowance. Press seams flat.


Step 4: Sew your christmas patchwork decorations
Place the patchwork front and the 7cm backing square right sides together. Insert a 15cm piece of ribbon at the top, pointing down inside the two layers.
Stitch around the edge with a ¼” seam allowance, leaving a small 3cm gap on one side. Make sure to only catch the ribbon in the top seam.

Step 5: Turn & Stuff
Turn the decoration right-side out through the hole.
Stuff gently with wadding or scraps.
Slipstitch the opening closed.

Want More Affordable Christmas sewing Projects? Try These!
So you’ve got the upcycling bug and you’re ready for more affordable Christmas decor projects – yay!
But what about that £40 box of baubles that you just don’t love any more? Well, you could always upcycle them!
Or if you’re in the mood for another patchwork Christmas project, you’ll love my patchwork Christmas stocking. You can even download the FREE sewing pattern! Find it here.


This is so cute. Thank you.
So glad you like it! ♥️
Thankyou so much. A perfect small project that is charming and Christmasy 💕
Ah wonderful!