
How to Make Ribbon from Fabric (And Never Buy Gift Ribbon Again!)
Discover how to make ribbon from fabric — the prettiest way to reuse scraps and never run out of ribbon again.
This page contains affiliate links, which earn me a little bit of commission if you make a purchase, at no additional cost to you. Thank you for supporting my little corner of the internet!
I’ve bought a lot of lovely ribbons over the years.
Velvet ones, silky ones, the fancy frayed kind that come in little rolls tied with string.
But none of them make me as happy as the ribbon I made one quiet Sunday afternoon from a worn-out pillowcase.
It started because I’d run out (as usual), and instead of heading to the shops, grabbed the nearest bit of fabric, made a small snip, and tore. The edge frayed perfectly, giving me the perfect little rustic ribbon.

Now, whenever I need ribbon, you’ll find me rummaging through the antique cabinet that holds my fabric stash, looking for the perfect striped cotton or floral remnant to top a gift.
Here’s how you can make your very own ribbon from fabric strips – in no time at all.

Watch the Video Tutorial
Stop Buying Shop-Bought Ribbon – Here’s Why!
I very rarely buy ribbon these days, because making your own is such a no-brainer. Here’s why:
- Sustainable: By using fabric scraps, you’re making the most what you already have and reducing waste.
- Beautiful: The soft edges and frayed texture of homemade ribbons have a gorgeous vintage feel!
- Customisable: Narrow ribbon, wide ribbon, somewhere in between – you can decide exactly what your fabric looks like!
- Satisfying: Aside from the joy you always get from making things, tearing fabric is super fun. In fact it’s so fun your children might want to get involved!

The Best Fabrics for Making DIY Fabric Ribbon
While this might be the easiest DIY project I’ve shared (you don’t even need a sewing machine!), there is one thing that is really important to pay attention to.
The type of fabric will determine how lovely your ribbon turns out, so it’s worth picking out something that will work well. Here are the things to pay attention to:
- Stick to woven fabrics – that’s fabrics that have threads running right to left and up and down. These kind of fabrics don’t stretch and will tear cleanly.
- Avoid very heavy fabrics like denim or canvas – they’re tricky to tear!
- If you choose to use a lightweight fabric like silk, I’d suggest using a rotary cutter to cut long strips rather than tearing. The force of the tearing motion can distort floaty fabrics. The extra work will be so worth it for beautiful silk ribbon!
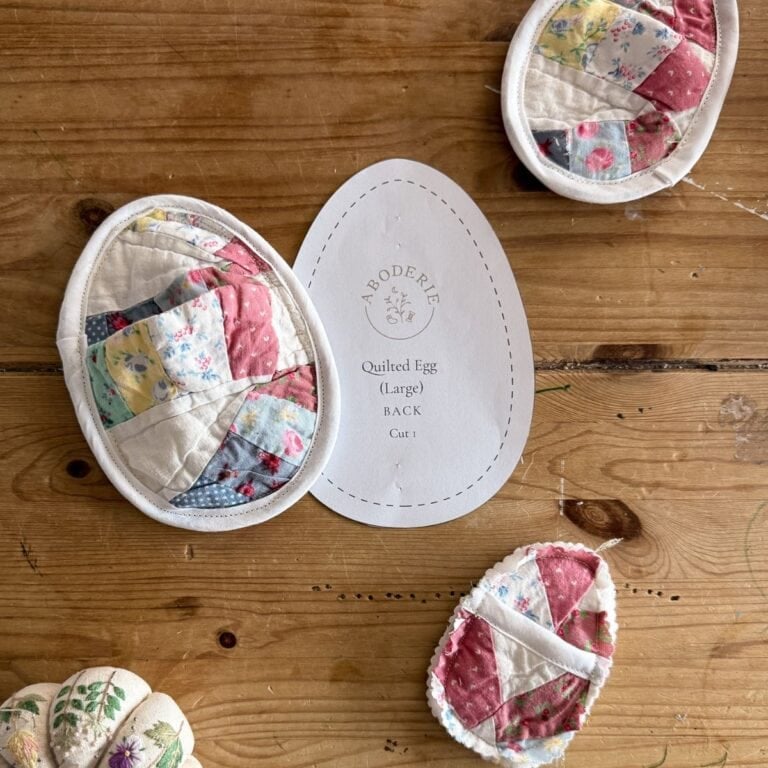
This project is a great way to use up old or thrifted linens – I love keeping aside old bedsheets to rip up into lovely ribbons.
Here are some different fabrics I’d recommend for making your ribbon:
SHOP THE PROJECT
Fabrics for Making DIY Ribbon
Shop the fabrics I used for my DIY ribbon


How Much Fabric You’ll Need for Your DIY Ribbon
Typically you’ll need at least a metre (yard) of ribbon to wrap a gift or make a little bow, so I’d recommend buying at least a metre (yard) of fabric to tear into strips.
The longer your fabric piece the better, of course! If you have multiple metres you can create much longer strips of fabric.


How to Make Ribbon from Fabric
Supplies
- Fabric scraps or old linens
- Fabric scissors or rotary cutter
- Iron and ironing board
Step 1: Cut the Fabric
Cut a small snip along the fabric’s raw edge, parallel to the selvedge (that’s the finished edge of the fabric)
You’ll lose a bit of the ribbon to the frayed edge, so make it a little wider than you’d like it to be.

Step 2: Tear the Fabric
Hold the fabric firmly and tear — it should rip in a straight line.
Repeat until you have as many strips as you’d like.

Step 3: Neaten the Edges
The sides of the ribbon will have lots of loose threads. Gently pull them away until the raw edges of the ribbon look neat.
Press the ribbon and roll it carefully ready to be used whenever you need! And there you have it – beautiful ribbons!


Where Will You Use Your Handmade Ribbon?
Now that you know how to make your own ribbon, why not use it to make a gorgeous DIY bow garland?
Or if you’re planning to wrap gifts, take a look at my potato stamp wrapping paper tutorial (I promise it’s cute!)
I’d love to see where you use your ribbon – tag me on Instagram. Bonus points if it’s made from an old pillowcase!


How to Make Ribbon from Fabric
Equipment
- Fabric scissors or rotary cutter
- Iron and ironing board
Materials
- 1 metre (yard) fabric
Instructions
- Cut a small snip along the fabric’s raw edge, parallel to the selvedge (that’s the finished edge of the fabric). You’ll lose a little bit of width to the frayed edges, so make your strip slightly wider than you’d like the finished ribbon to be.
- Hold the fabric firmly and tear — it should rip cleanly in a straight line along the grain.Repeat until you have as many strips as you’d like.
- The sides of your ribbon will have loose threads. Gently pull them away until the raw edges look neat but still soft and frayed.Press the ribbon if you’d like it smooth, then roll it carefully so it’s ready whenever you need a pretty finishing touch.
Notes
- Natural fibres like cotton or linen work best for this project — they tear cleanly and fray beautifully.
- Try mixing different widths and textures for a scrappy, layered look.
- Perfect for wrapping gifts, tying jars, or sewing projects that need a little rustic charm.


I love this idea! I’m going to give it a shot, I have lots of fabric that will make great ribbons. And you know I’ll be telling everyone to save it and use it again! Thank you!
So glad you like it! It gets a little addictive when you look in your fabric stash and realise you can make a bunch of lovely ribbon!