How to Stencil a Design on a Wall (Cute DIY Flower Wallpaper!)
Discover how to create a beautiful flower stencil design on your walls — for a fraction of the cost of wallpaper!
This page contains affiliate links, which earn me a little bit of commission if you make a purchase, at no additional cost to you. Thank you!
My daughter has a very specific dream.
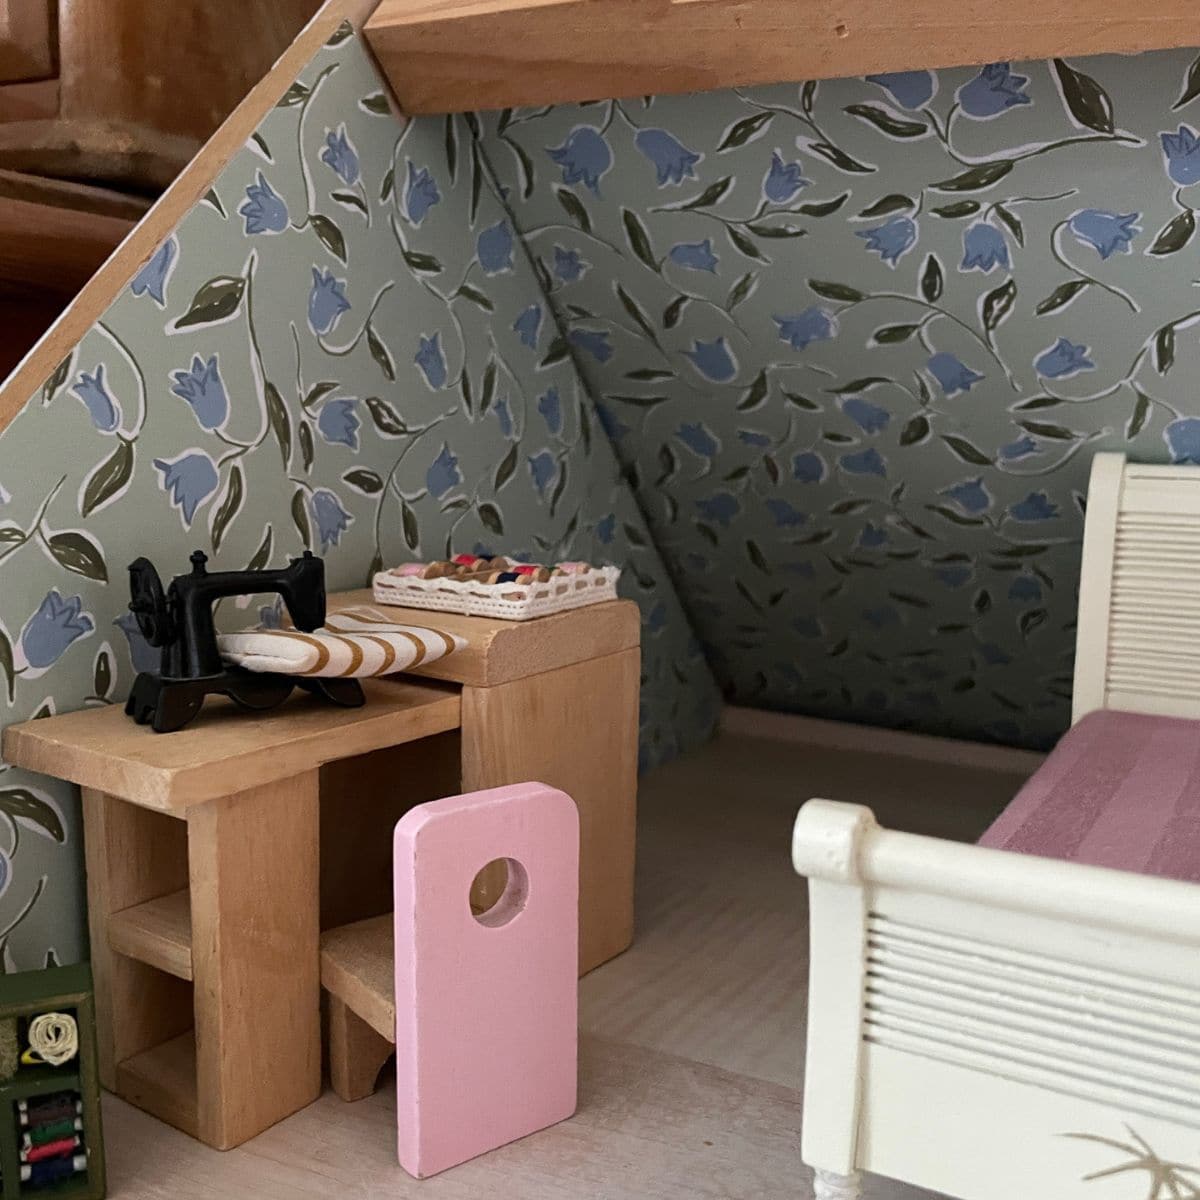
She wants a bedroom just like her favourite little mouse Angelina Ballerina. Flowers on the walls, twirly dresses in the wardrobe, and a feeling that fairies might be hiding under the chest of drawers. Something cottagey, pretty, and hers.
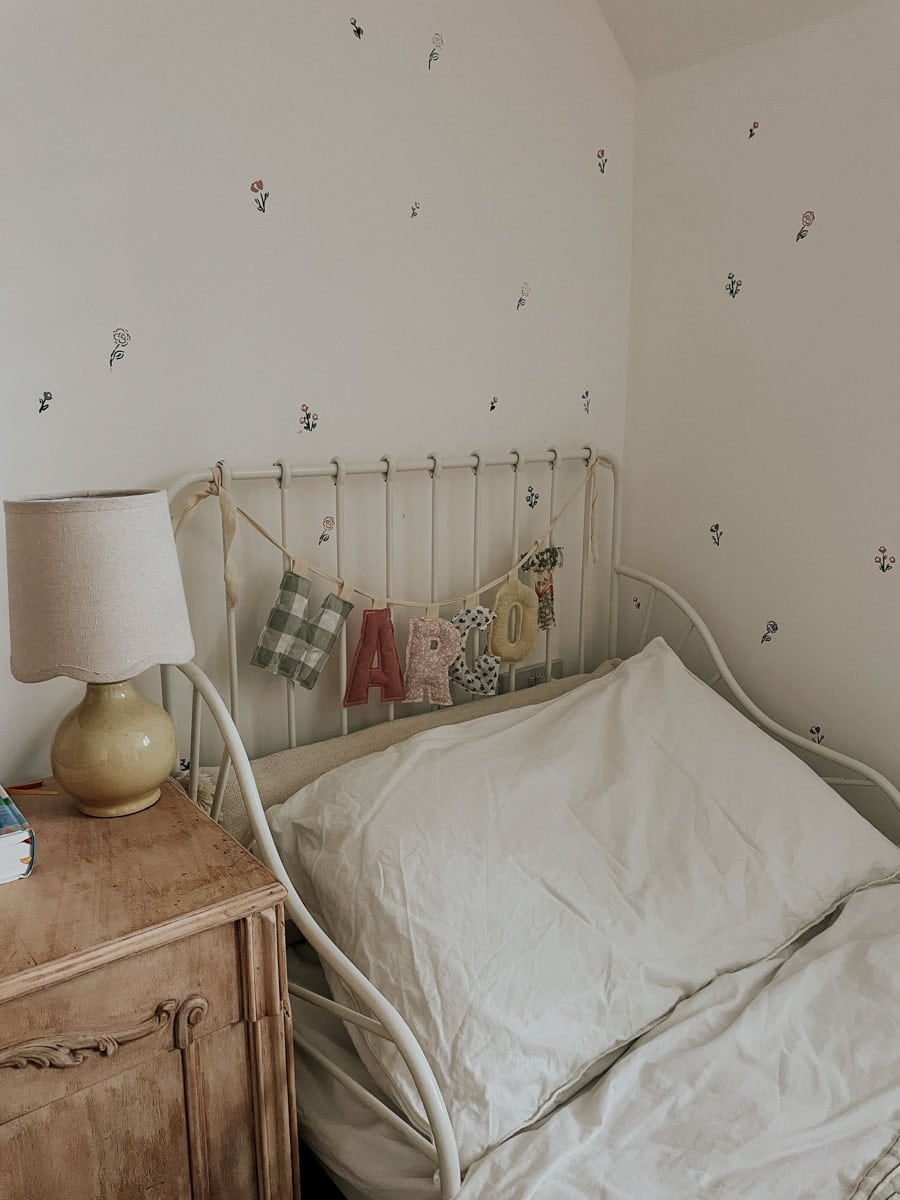
But the room she has is a boxy little new-build with sloped ceilings, beige carpet, and not a single ounce of charm.
I love a challenge! And especially one that lets me tap into my inner little girl.
So there I was, spending too long scrolling wallpaper samples and Pinterest boards, wondering how on earth I could transform a space like this without spending a small fortune.
The quotes I got for wallpaper made me laugh (and then cry), and even the cheaper stuff seemed out of reach thanks to oddly shaped walls and a reluctant husband.
I was almost ready to admit defeat when I stumbled across a photo of a stencilled wall of hand-painted flowers. I went to the hardware store the very next day, and I was ready to create that cottagey wallpaper I’d been dreaming of.
This was one of those slow, slightly chaotic projects that stretched over many evenings and nap times. But goodness, was it worth it. It’s sweet and charming, and every time I walk past I think: I did that.
If you’re longing for the look of wallpaper without the cost, here’s how I created my flower stencil walls.
Looks Like Wallpaper, Costs Like Paint: Why I Chose to Stencil My Walls
Affordable: You can do whole rooms with just a couple of tester pots of paint. Stencils are cheap and reusable.
Low-commitment: Unlike wallpaper, if you change your mind later, you can just paint over it. (Although you might just cry a little inside after all the time you spent on it!)
Slow and lovely: Stencilling is so meditative. Like embroidery, but for your walls.
Easy enough that kids can help: I did some of this with my three year old’s help – he’s become quite the dab-hand at stencilling!
How to Get a Clean Stencil Design on Any Wall (With No Bleeding!)
Probably the biggest question is how to get your stencil designs not to bleed.
I won’t lie, it took quite a lot of trial and error to work this out. But thankfully I’ve made all those mistakes for you, and now I can just give you the tips!
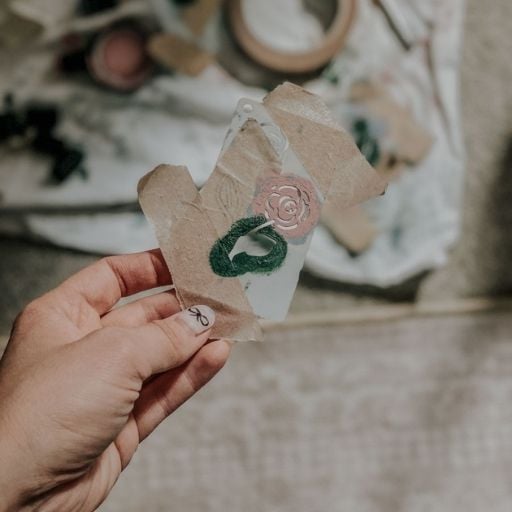
- The main thing is to use a tiny bit of paint. I dab my sponge into the paint and scrape off any excess on the side of the paint pot. You don’t need to re-dip into the paint every time – one dip will do for two or three stencils.
- Dab really lightly to avoid pushing any paint underneath the stencil and causing the edges to bleed.
- Some people swear by painting a layer of the wall colour over the stencil first – I didn’t find this helped but you might like to give it a go.
- A few articles suggest using repositionable stencil adhesive to get a good seal between the stencil and the wall. I tried this and couldn’t get the adhesive to work, but you might have more luck.
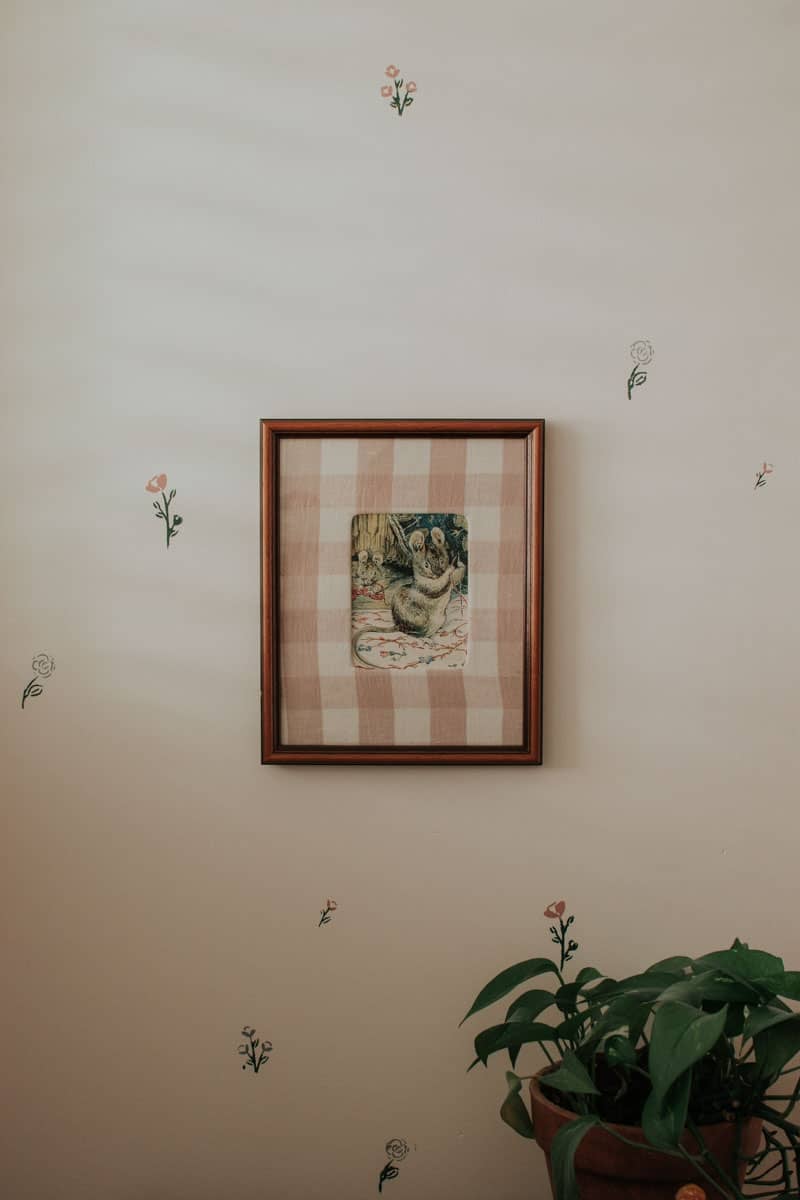
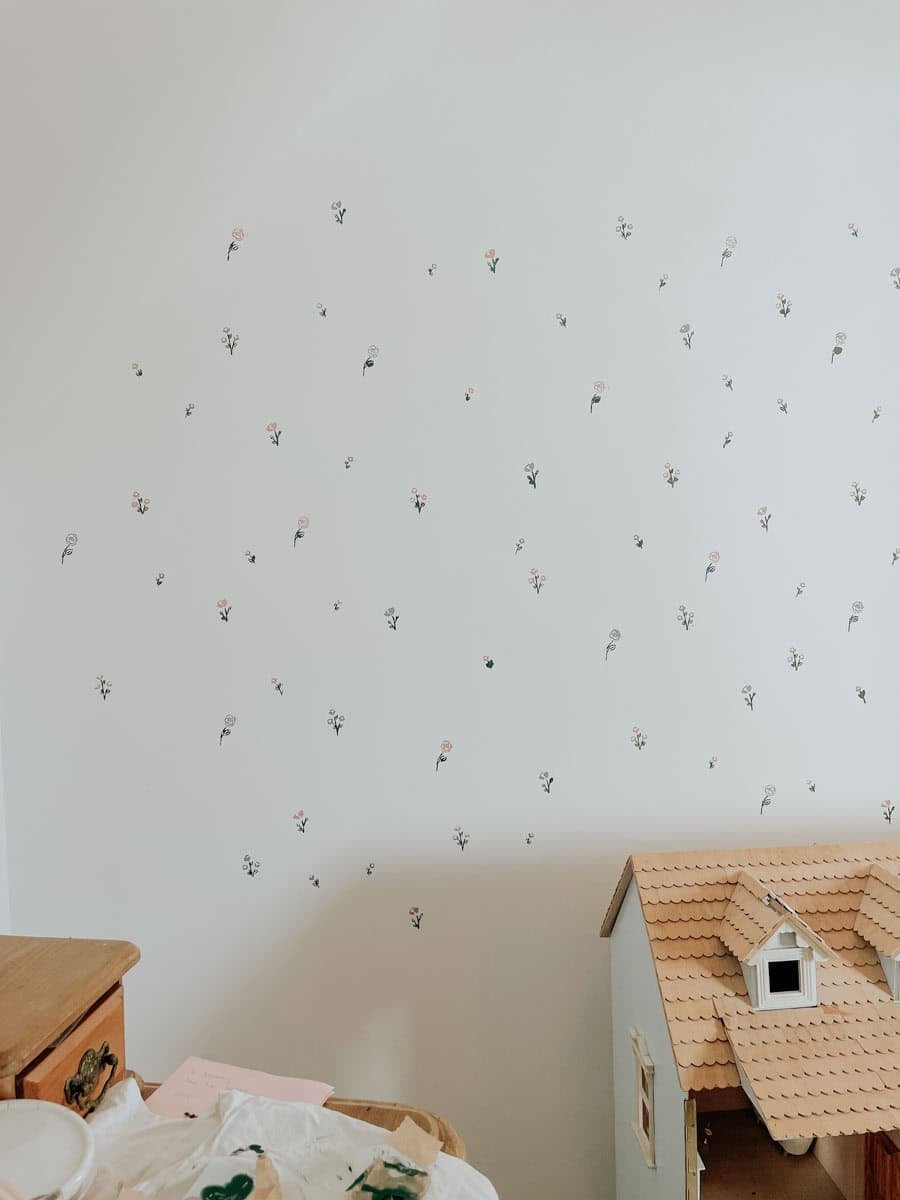
All in all, I’d say it looks pretty professional. It’s not as perfect as wallpaper, but I kind of love that it has some slightly imperfect charm.
If I did it again, I’d probably take time to change the original wall colour. I wish I’d painted over the brilliant white in my daughter’s room with something more soft and warm. But I’m still happy with how it turned out!
But Isn’t Wall Stenciling Outdated?
I remember my friend having stencilled bedroom walls circa 1996, but as they say, what goes around comes around.
Wallpaper, and especially floral wallpaper, is back in a big way. And since most people can’t afford to wallpaper their whole house, stencilling is back on trend too!
Wallpaper stencil patterns are the perfect way to get something that looks like wallpaper without the astronomical cost.
How to Do a Flower Stencil Wall
SHOP THE PROJECT
Shop the Flower Stencil Wall
Buy the products I used for my stencil wall design
Stencils
I bought these, but there are lots of similar ones on Amazon.
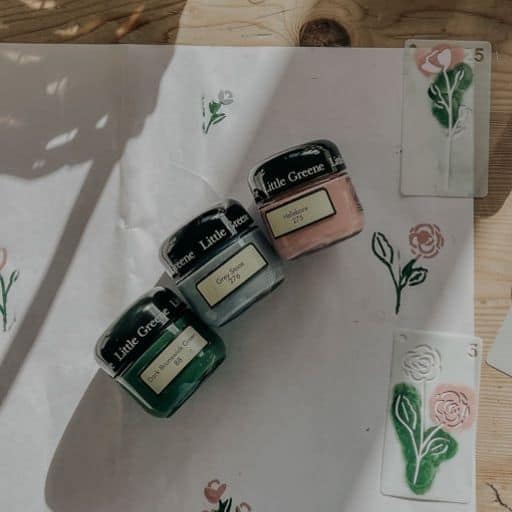
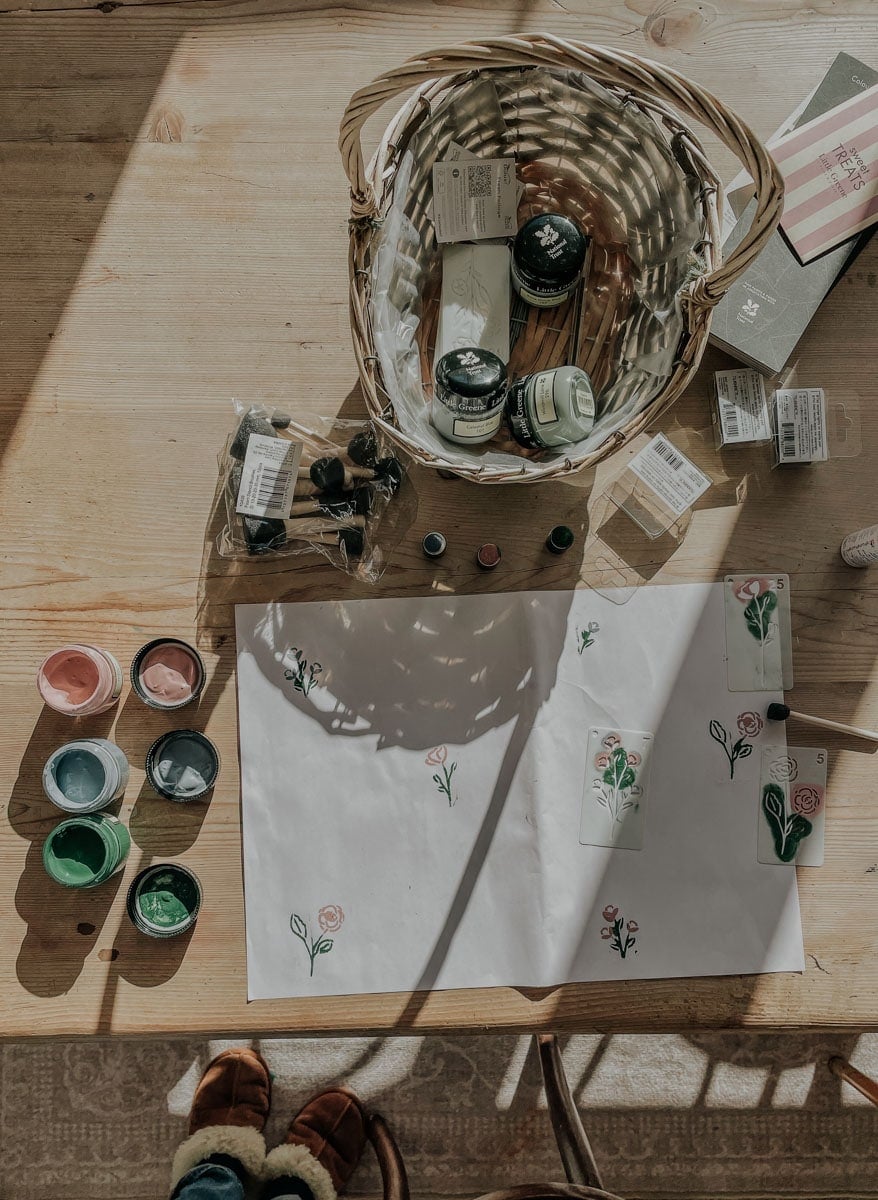
PAINT
Little Greene Paint Company shades Hellebore, Blue Stone and New Brunswick Green
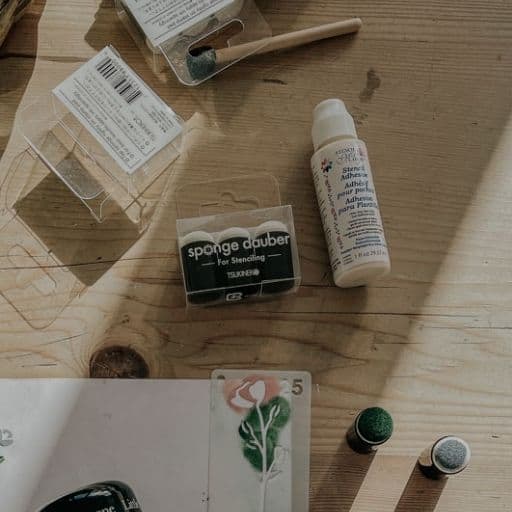
Sponges
These were the best of the ones I tried. Get a couple of packs!
Step 1: Test Your Pattern
If you’re using a single allover wall stencil you can skip this step.
Before you start painting, decide on your design – do you want flowers evenly spaced in a grid, scattered randomly, or arranged in stripes or clusters? I went for the random scatter method, measuring roughly by eye and keeping it a little imperfect on purpose.
You don’t have to use the whole stencil if you don’t want to – I used painter’s tape to tape off little parts of each stencil to get it exactly how I wanted it.
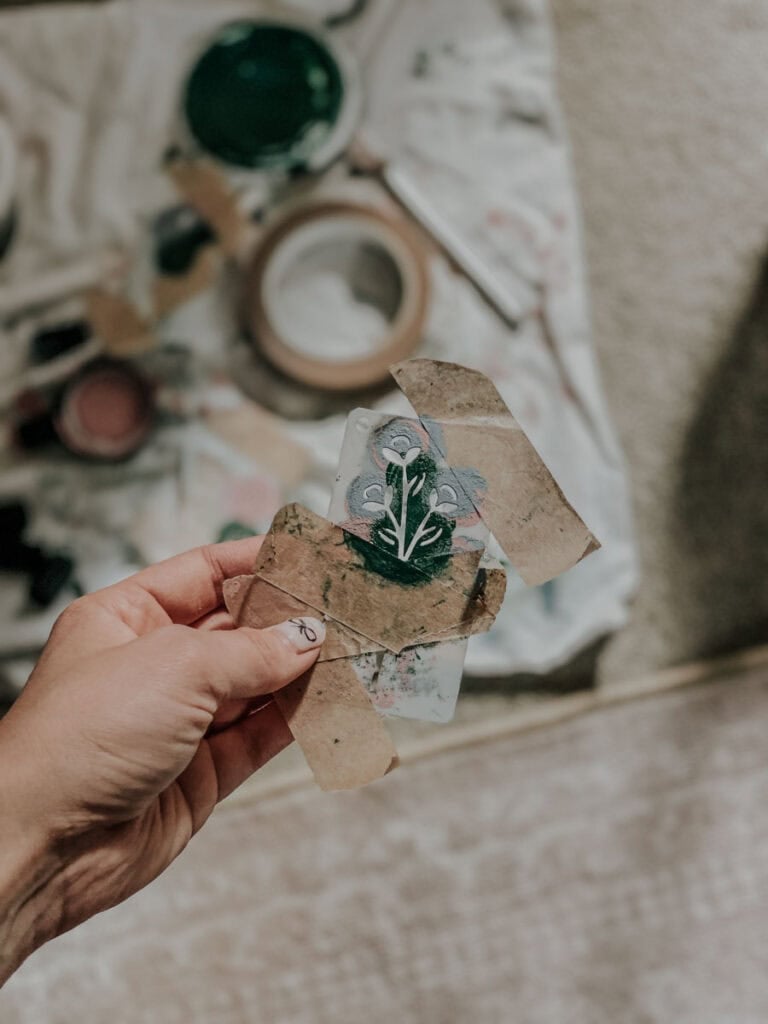
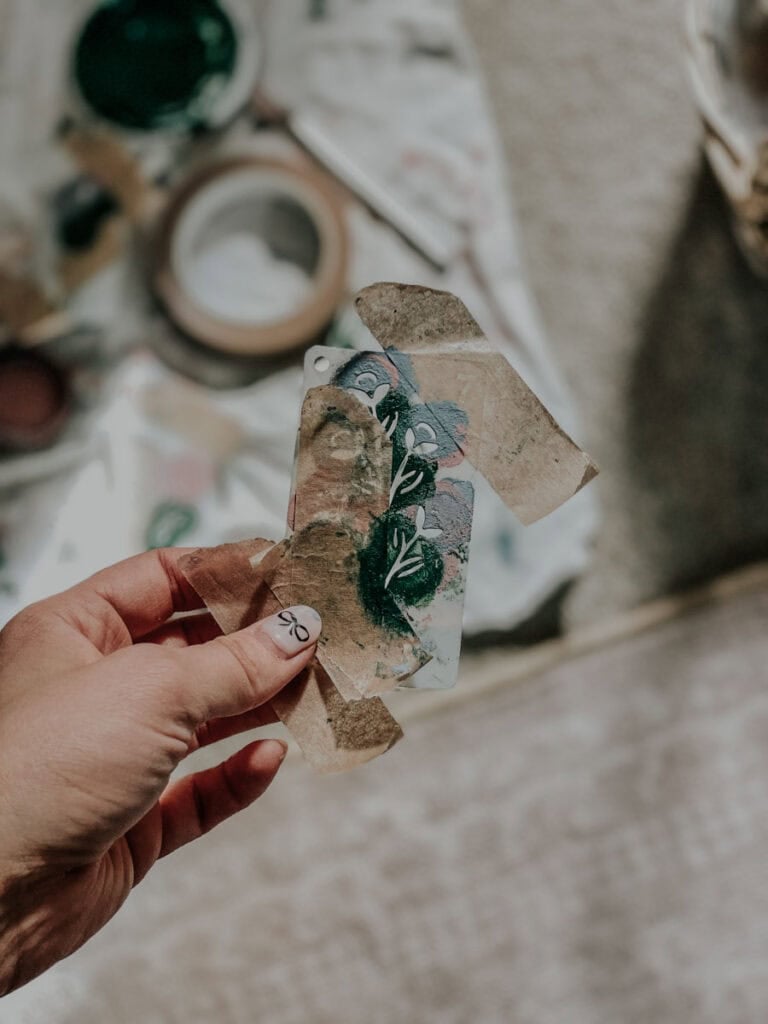

Test your stencil design on a bit of scrap paper or cardboard. You can tape this to the wall and check you’re happy with your pattern before you commit.
Step 2: Prep the Walls
Give the walls a quick wipe down with a damp cloth to remove dust. If they’ve recently been painted, make sure they’re fully dry. Tape off any edges or skirting boards if needed.
Step 3: Start Stencilling
Position your stencil and use painter’s tape to tape it to the wall. Use a tiny bit of paint to prevent bleed-through – remember less is more.
If you’re using multiple colours, you’ll need a sponge for each colour you’re using.
Remove the stencil immediately, while the paint is still wet.
Step 4: Touch Up
If you get any smudges or bleeds, don’t panic. Wait for the paint to dry, then touch up with a fine brush and your wall base colour.
FAQ
Was All That Stencilling Really Worth It?
There’s something satisfying about figuring out a way to make a space beautiful without spending lots of money. This little room, scattered with hand-stencilled flowers, is one of my favourite spots now. It’s not perfect, but it’s cheerful and cosy and feels like it belongs in our home.
And the best bit? It cost less than £50 and came together in small pockets of time, squeezed between nap times and dinner prep.
If you’ve got a plain wall and a bit of creative energy, this is such a fun one to try.
When my daughter saw it for the first time, she gasped and said, “It’s a princess room!” That made all the faff worth it!