DIY Dollhouse Flooring: Miniature Wood Floors From Popsicle Sticks!
Learn how to make DIY dollhouse flooring from popsicle sticks and coffee stirrers. A budget-friendly, charming way to transform a wooden dolls’ house.
This page contains affiliate links, which earn me a little bit of commission if you make a purchase, at no additional cost to you. Thank you for supporting my little corner of the internet!
We’ve never been a family for extravagant gifts.
Our birthday mornings are joyful and a little chaotic, but not the sort with towering piles of shiny boxes or enormous ribboned surprises wheeled in from the garage.
One year, all my son wanted was a swimsuit.
He already had one, slightly faded and perfectly serviceable, but this one was bright red and blue with a rather dramatic Spiderman leaping across the front. He talked about it for weeks and then, when he finally ripped the wrapping paper, refused to take it off.
That has always been more our rhythm. Specific wishes. Slow saving. Secondhand finds wrapped in brown paper.
I tend to buy gently used toys from charity shops. Sometimes I even spread gifts out across the year – a little something hidden on an ordinary Tuesday.
So when, two years ago, I found a big, beautiful wooden dollhouse on Facebook Marketplace for £30, it felt slightly outrageous.
It was tall and solid and gloriously heavy. Cream paint slightly yellowing. Windows with broken frames. A bit dusty. The sort of thing that had clearly lived a full first life before it found its way to us.
Of course, I couldn’t renovate it all at once. There was no grand makeover budget.
So I’ve been chipping away at it slowly and one of those projects is what I’m sharing with you today.
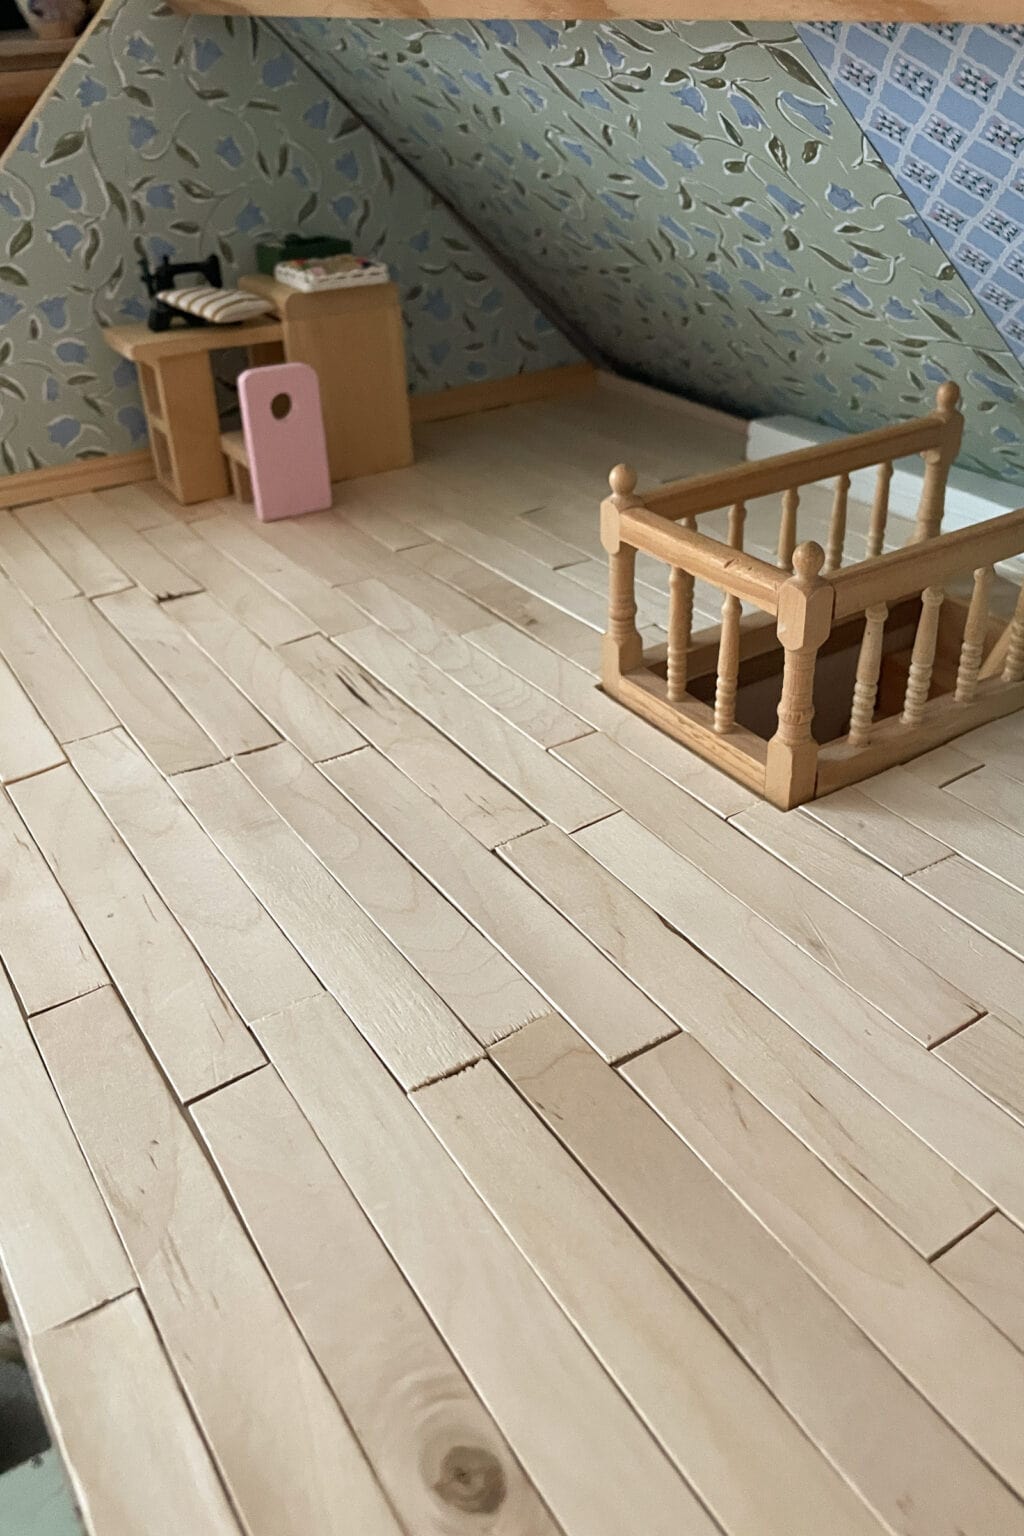
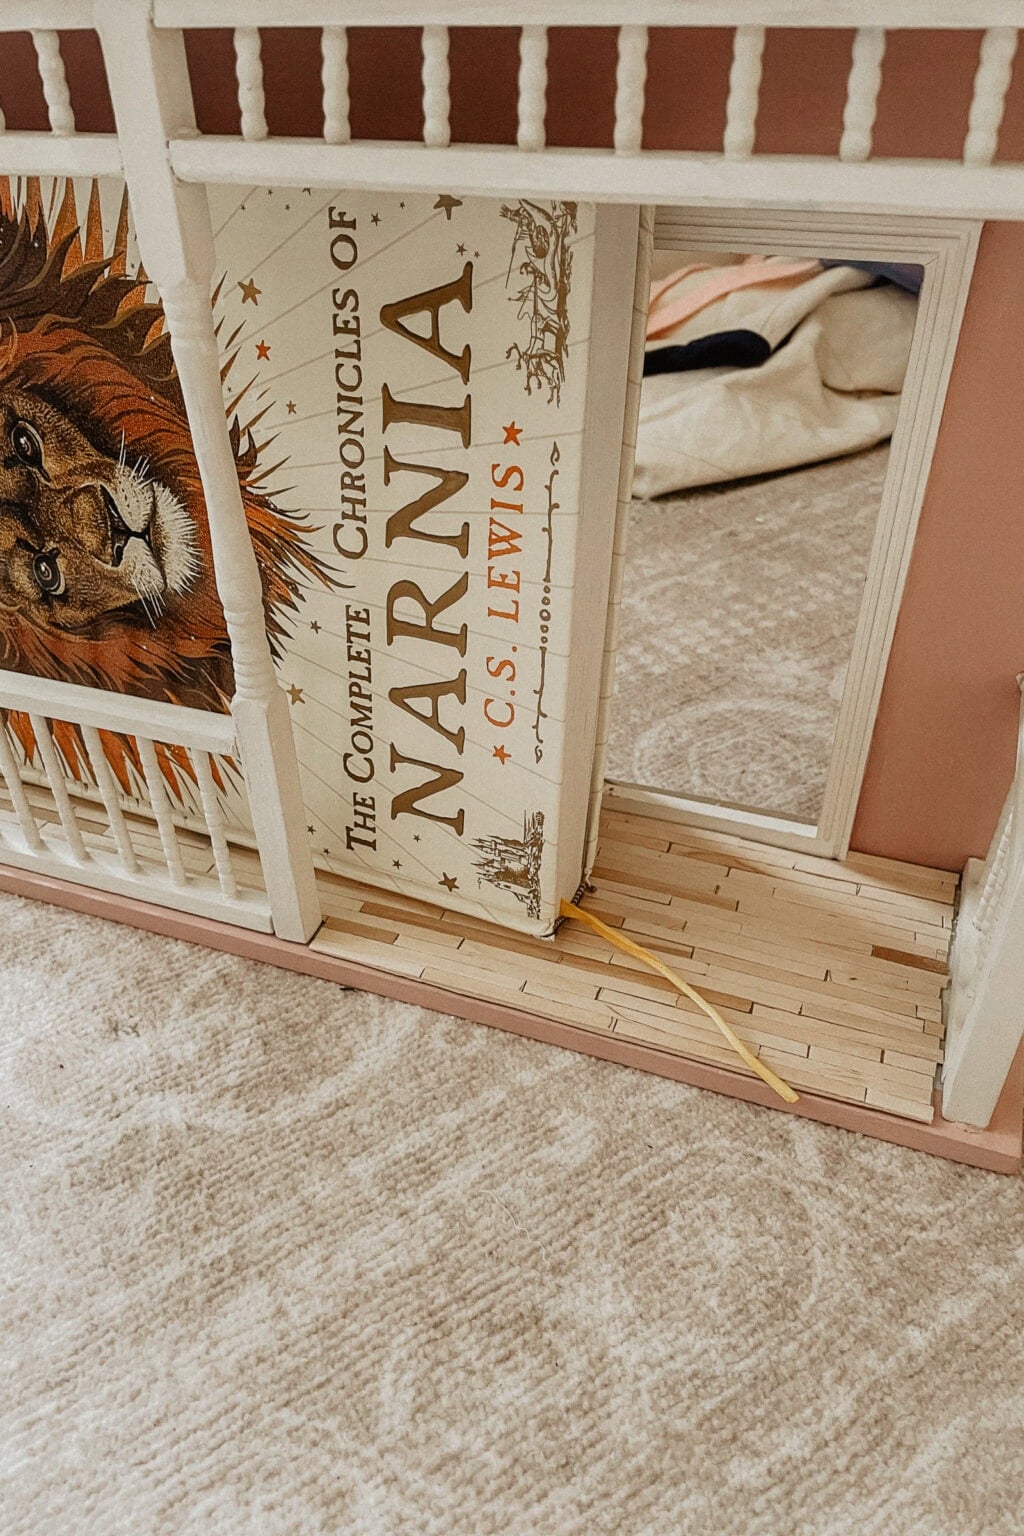
DIY wooden dollhouse flooring, made from popsicle sticks and coffee stirrers.
Here’s how I did it!
Don’t Buy Ready-Made Dollhouse Flooring
Back when the big, gorgeous dollhouse first arrived, I went a little mad in the sales of a popular miniatures store online. Alongside tiny copper pans and an extravagant little bicycle, I decided to try out some miniature hardwood flooring.
I was so disappointed.
It was far too thick, the boards too short, and I’d have had to spend £30 to cover the floor of one room.
That’s when I stumbled upon the idea of using popsicle sticks as flooring. They are:
- the right thickness to mimic a beautiful hardwood floor in miniature
- real wood!
- able to be stained or painted
- easy to cut
- very inexpensive (especially if you’ve been saving them from your kids’ lollies!)
Truly the best materials for dollhouse flooring!
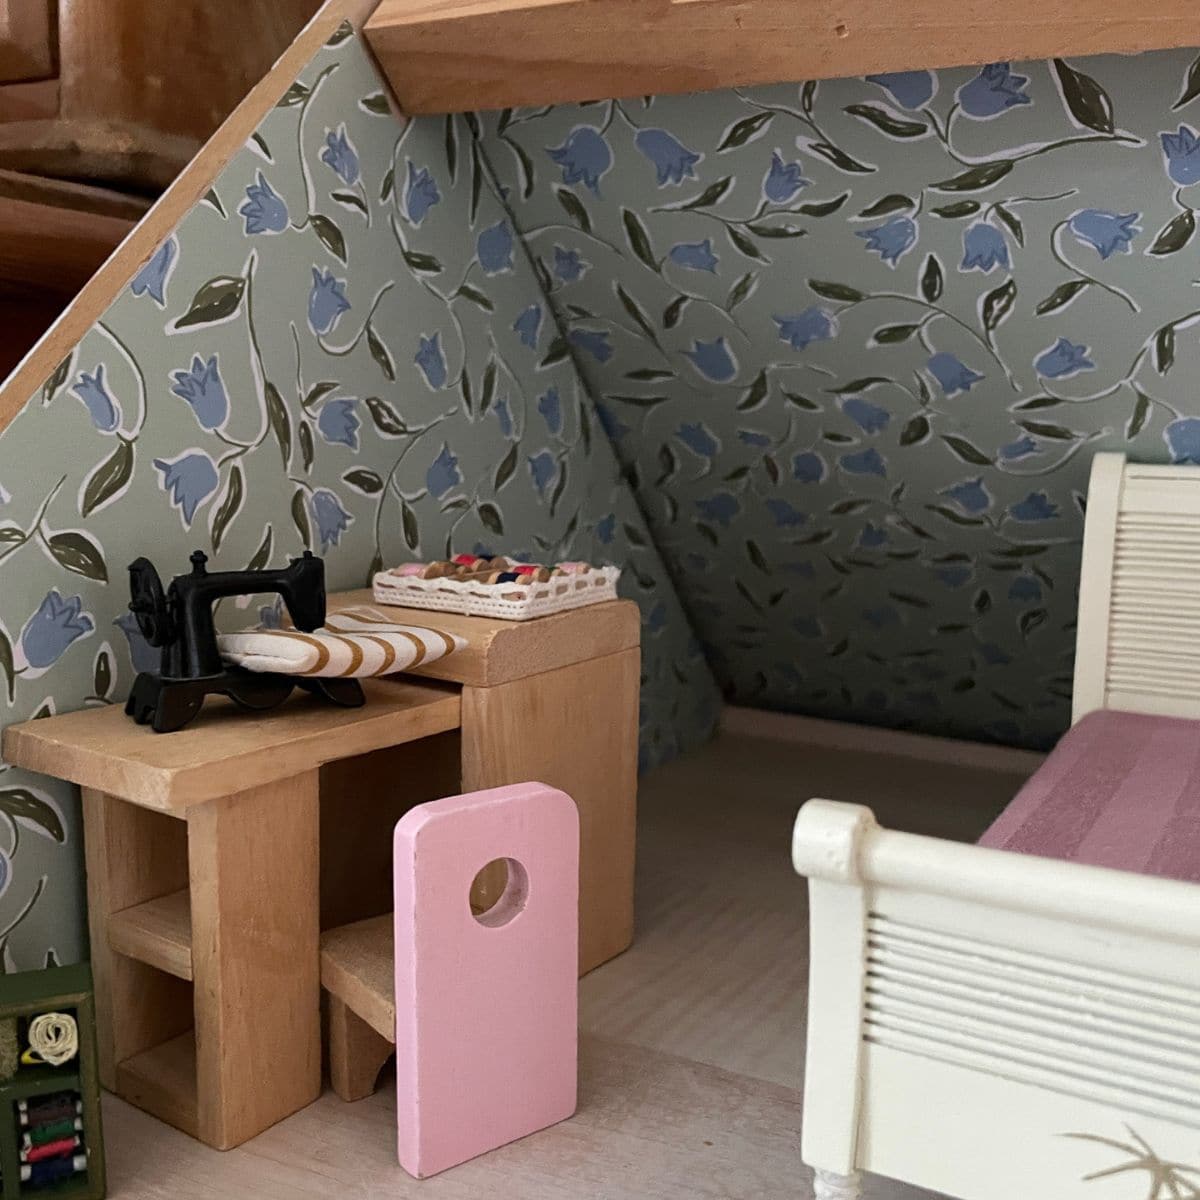
Aside from standard popsicle sticks, there are large, wide sticks that you can use as wide planks of flooring. And slimmer coffee stirrers are lovely for narrower, more delicate flooring.

How to Make DIY Dollhouse Flooring Using Popsicle Sticks
Supplies
What you’ll need:
Paper
Card
Popsicle sticks and/or wooden coffee stirrers
Mitre shears or a craft knife
Ruler and pencil
Parchment paper
PVA glue or wood glue
Sandpaper (fine grit)
Optional: wood stain
Optional: clear matte varnish
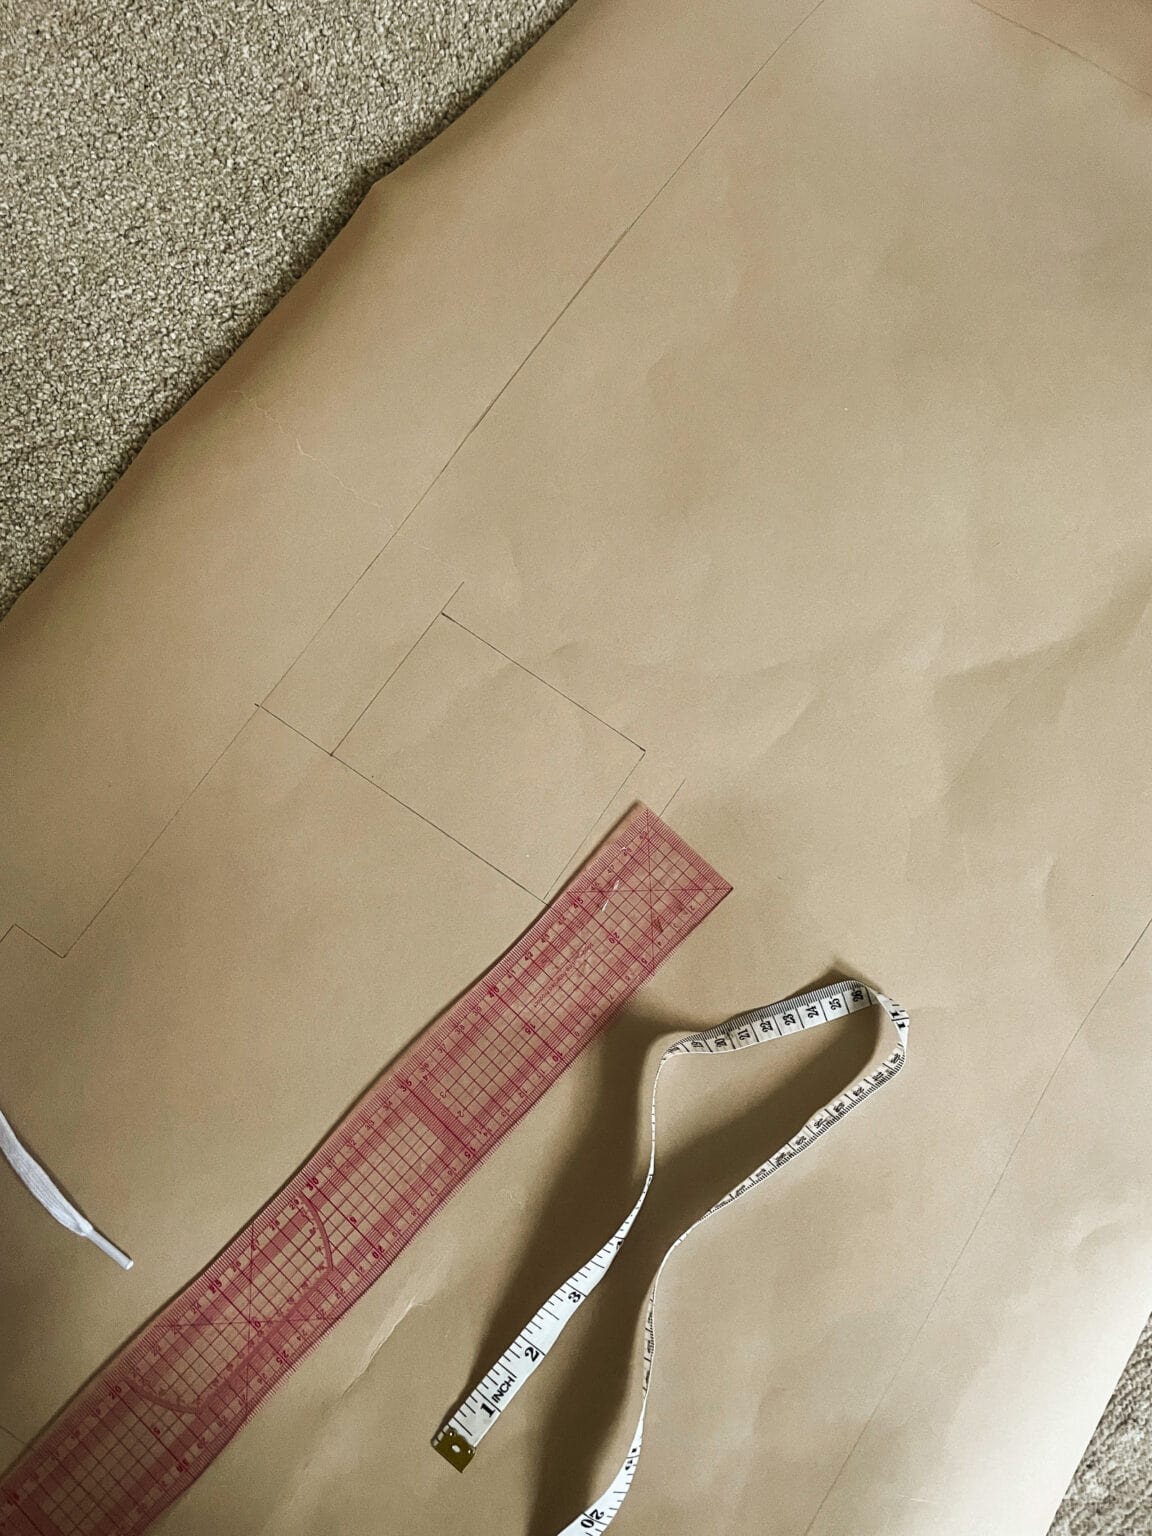
Step 1: Create a template
I didn’t use this method for my first floors, but I wish I had because it makes it so much easier! Lay down some sheets of paper covering your entire floor. Tape them together. If needed, crease the edges where the floor meets the wall and cut these pieces off. This will give you a paper template that’s exactly the size and shape of your floor.
Carefully draw around the template onto a piece of card and cut it out.
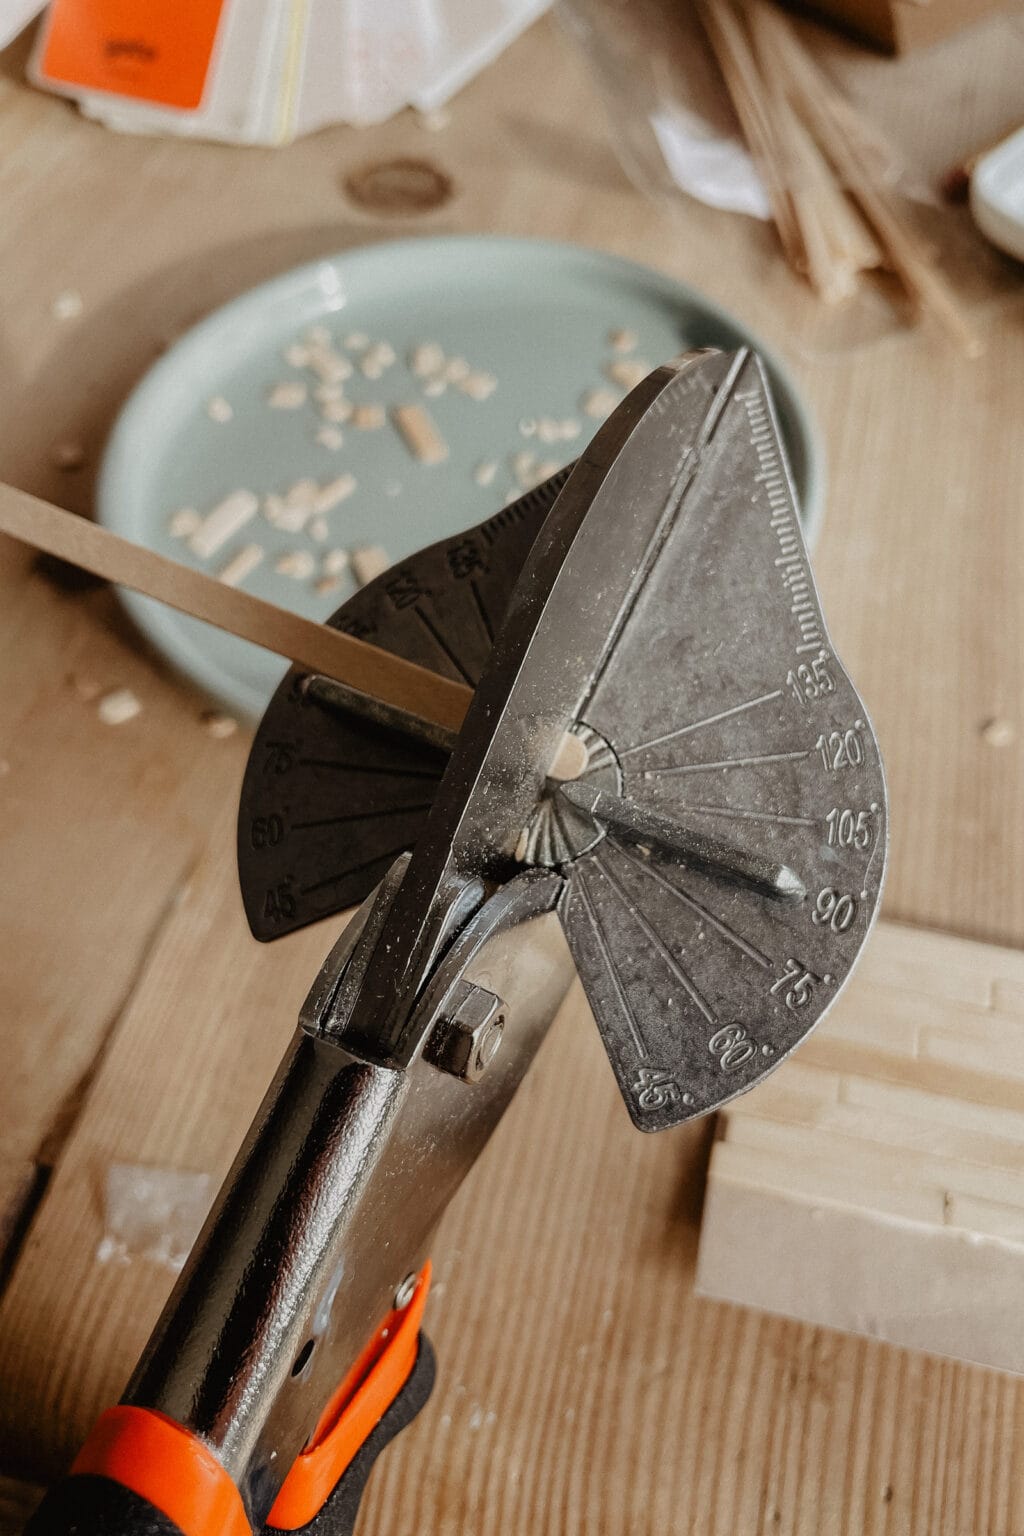
Step 2: Trim the Sticks to Length
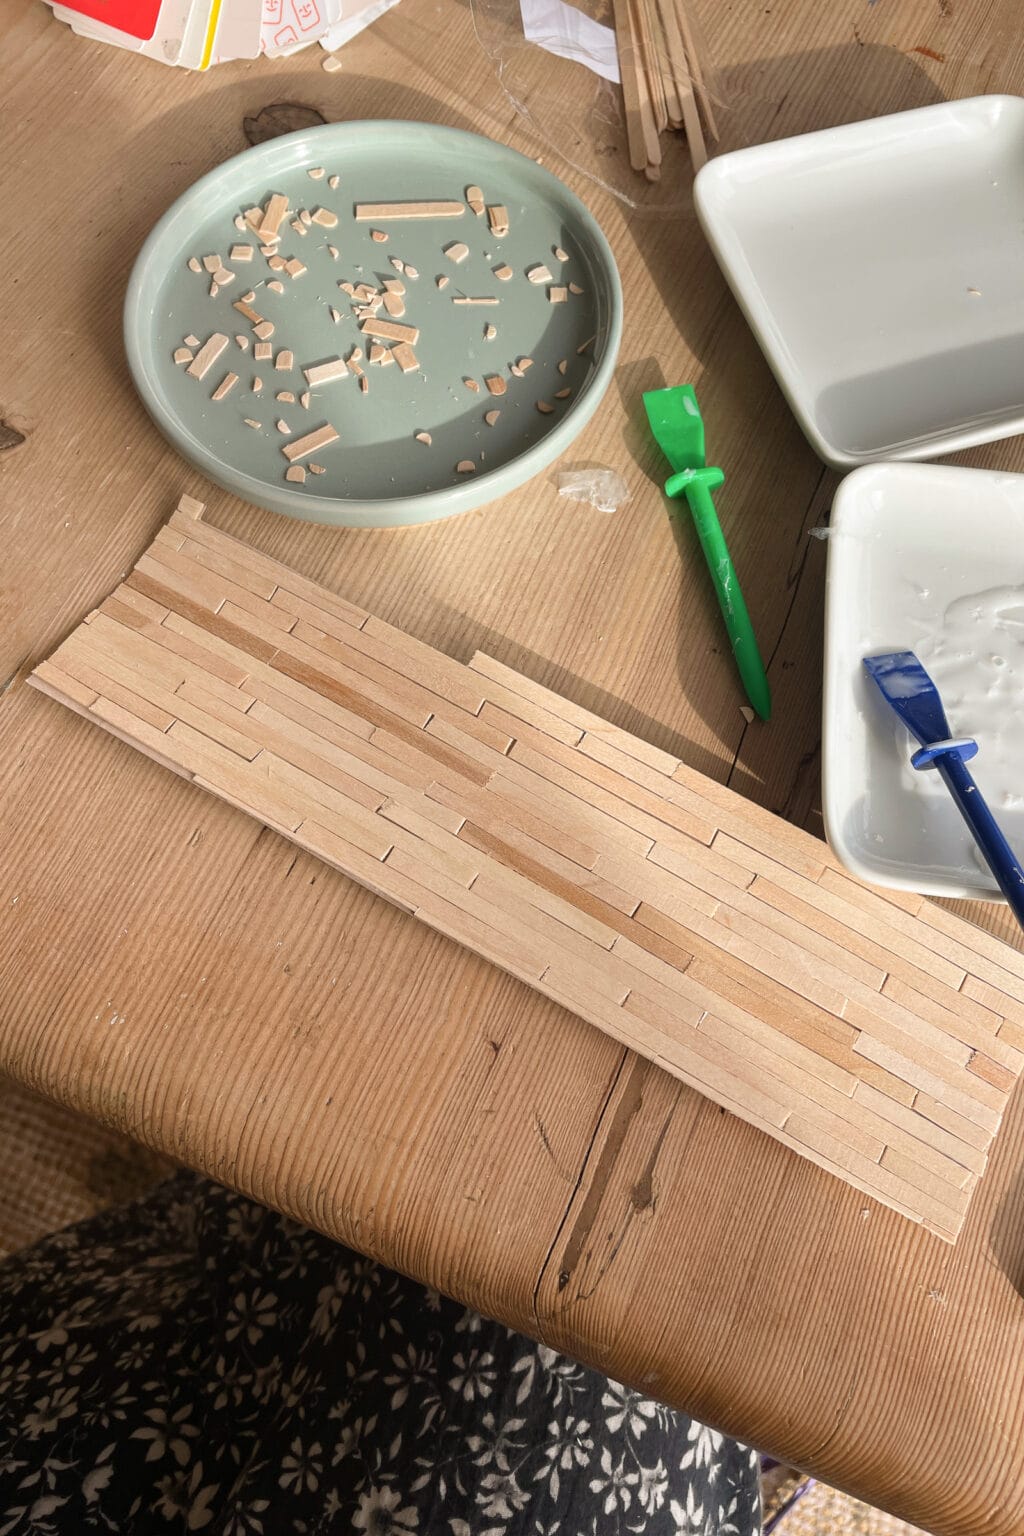
Using mitre shears, cut off the rounded ends of the sticks. Then, if you’d like to, cut your sticks in half or whatever length you’d like your boards to be.
For our wide popsicle stick flooring, we left them uncut. For the coffee stirrer one, we cut them in half.
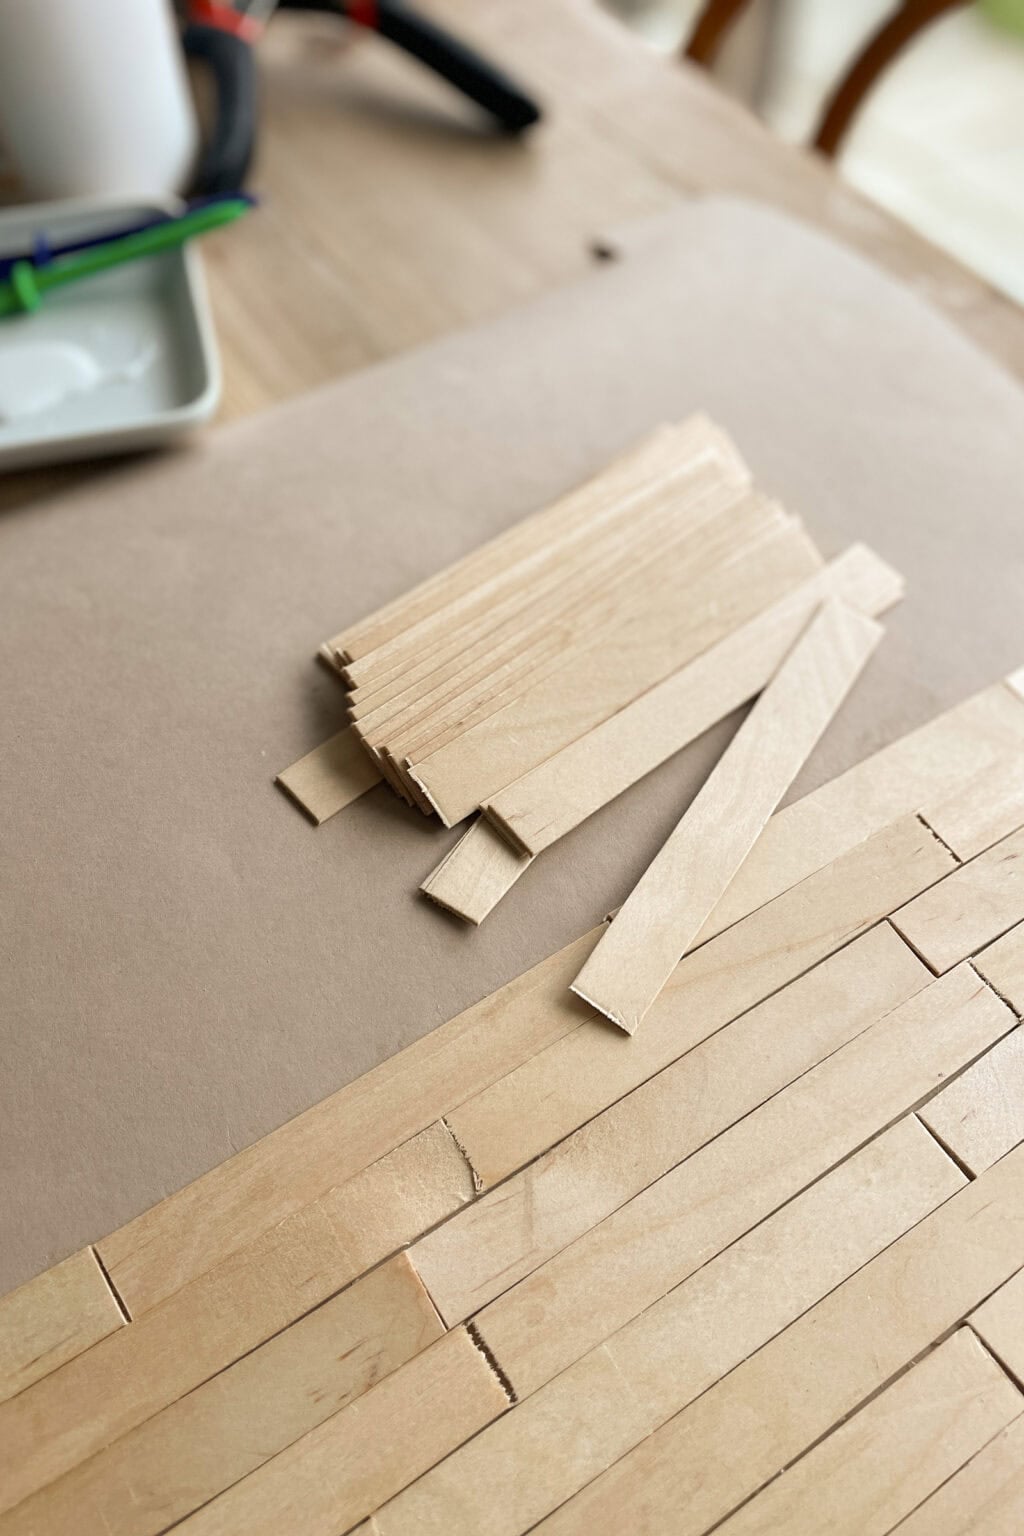
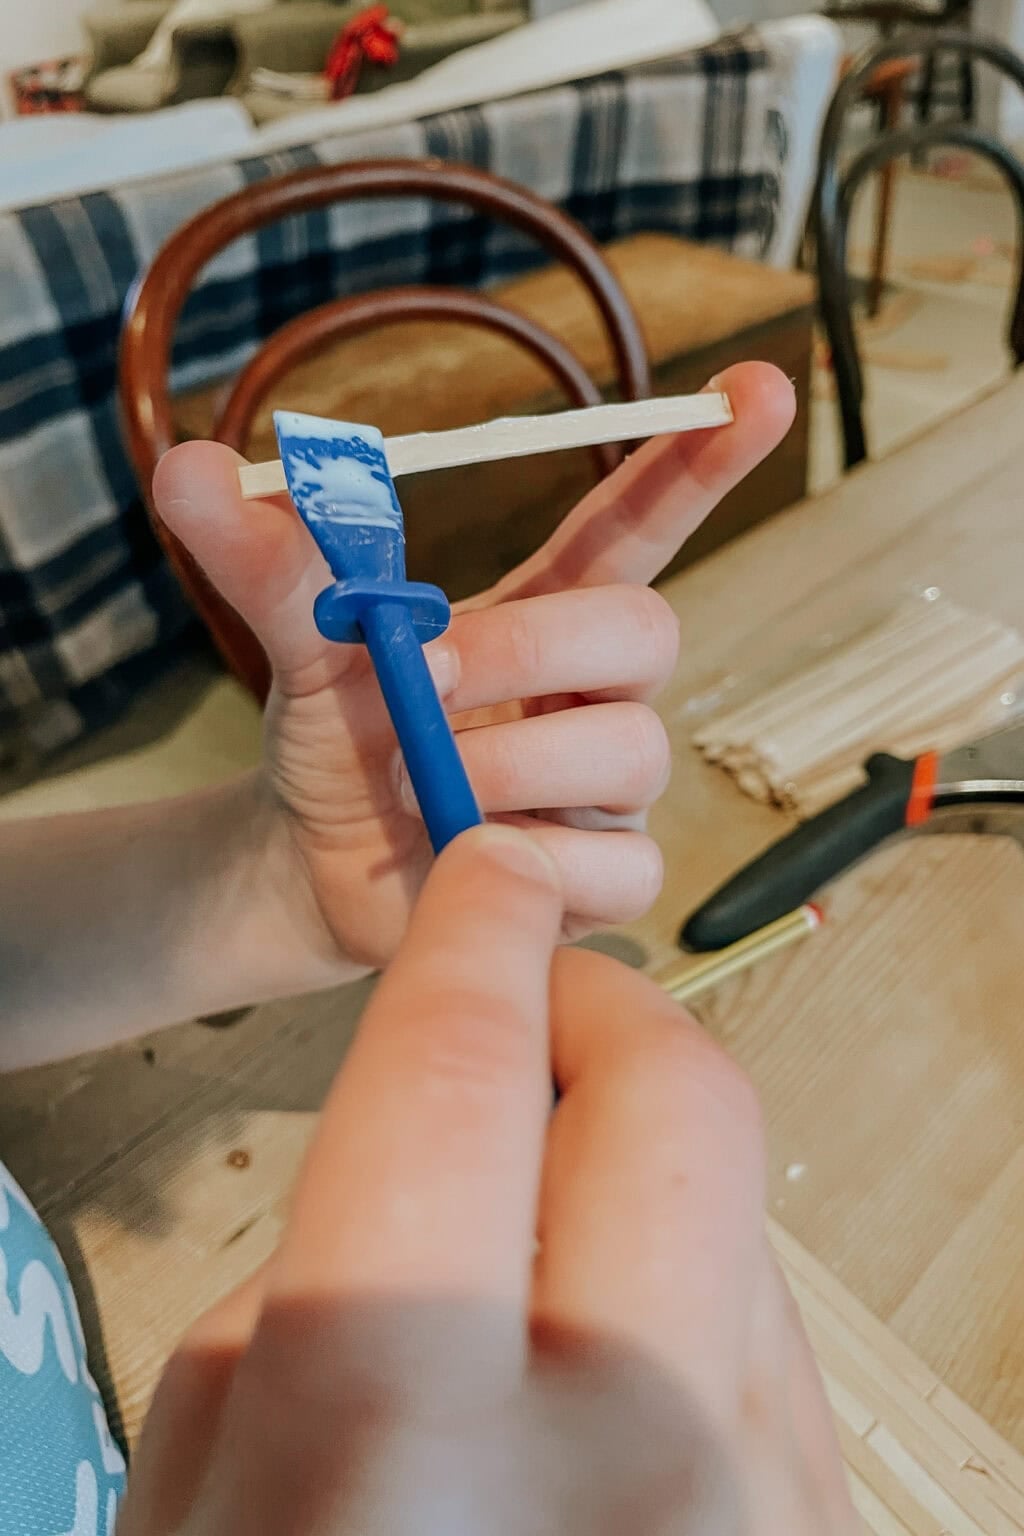
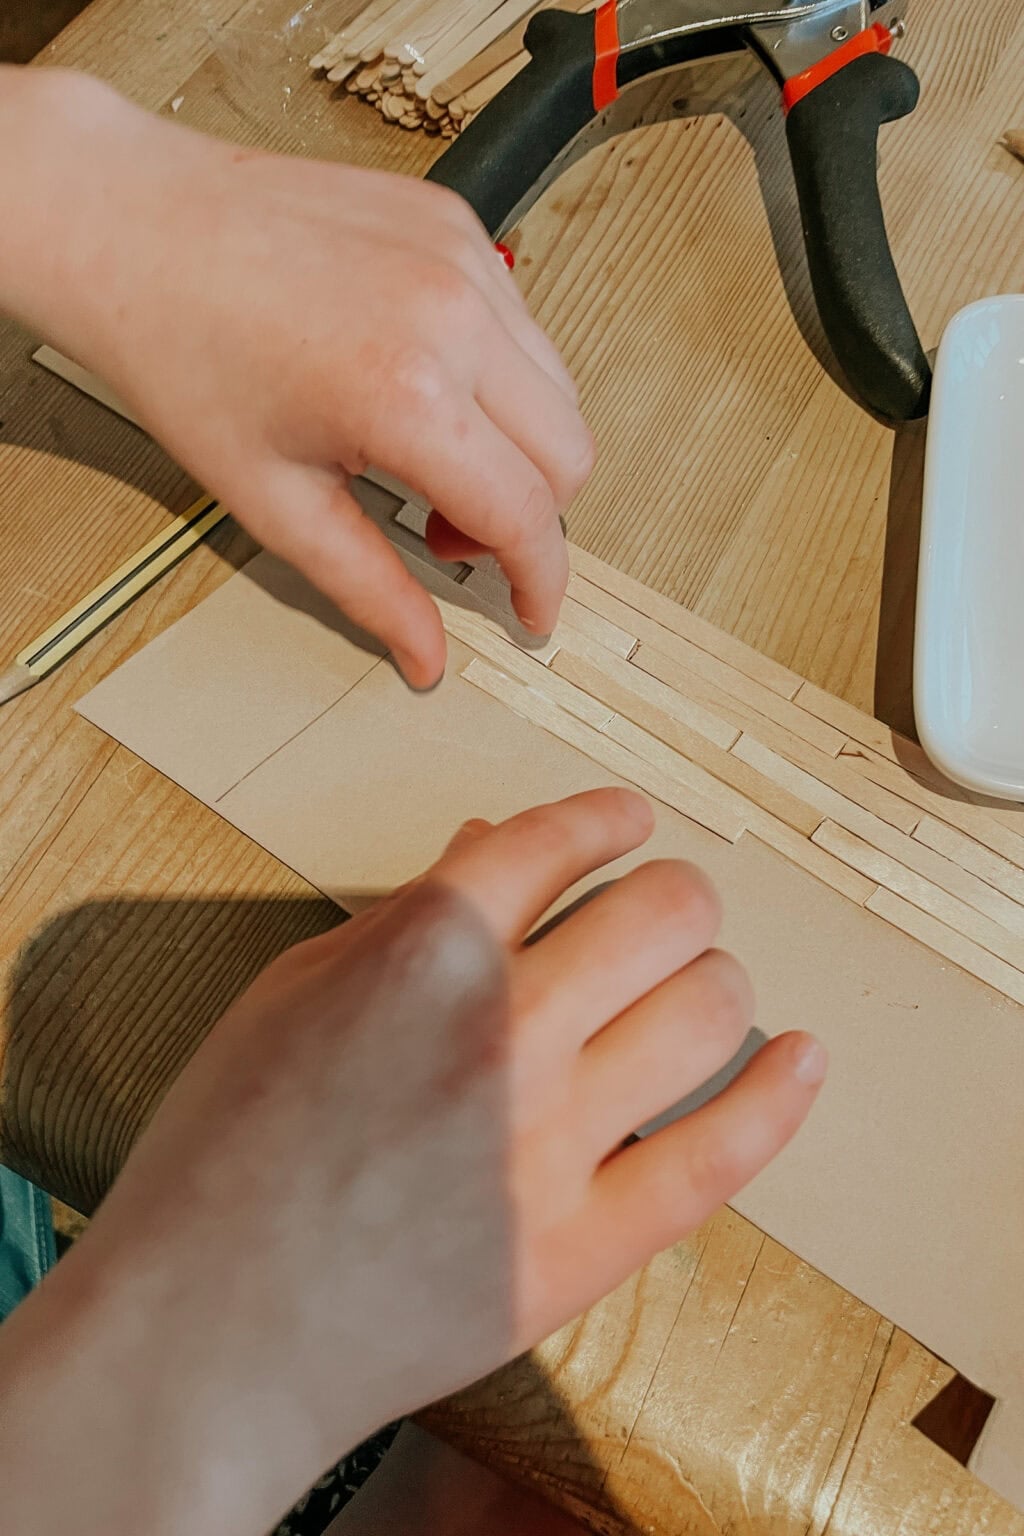
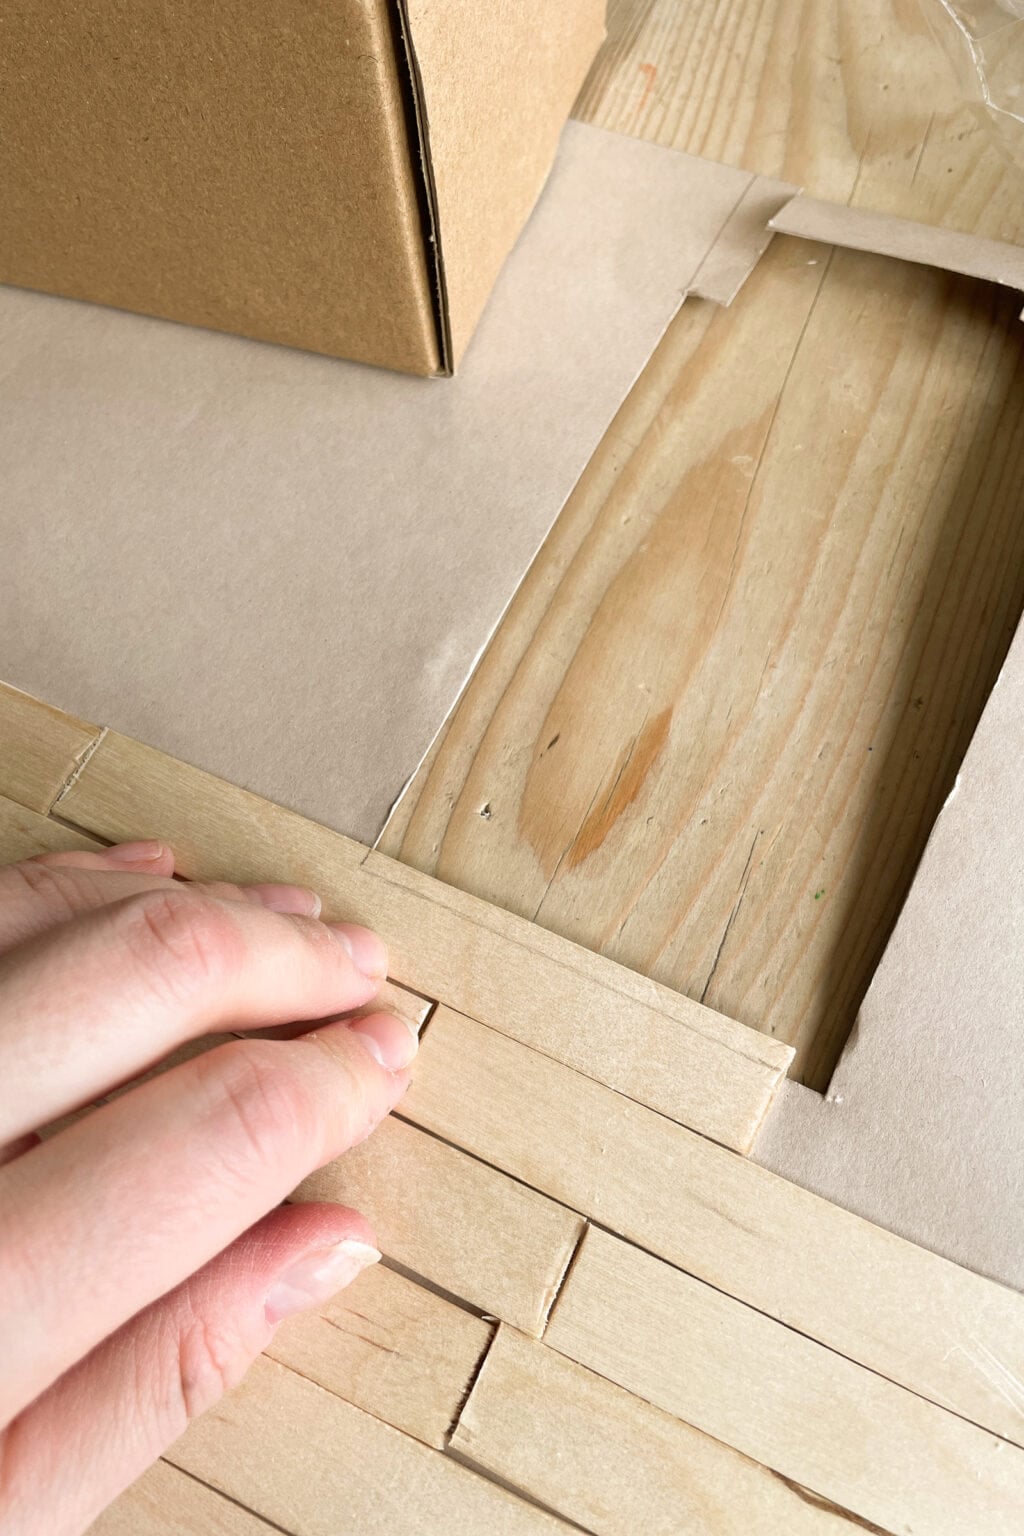
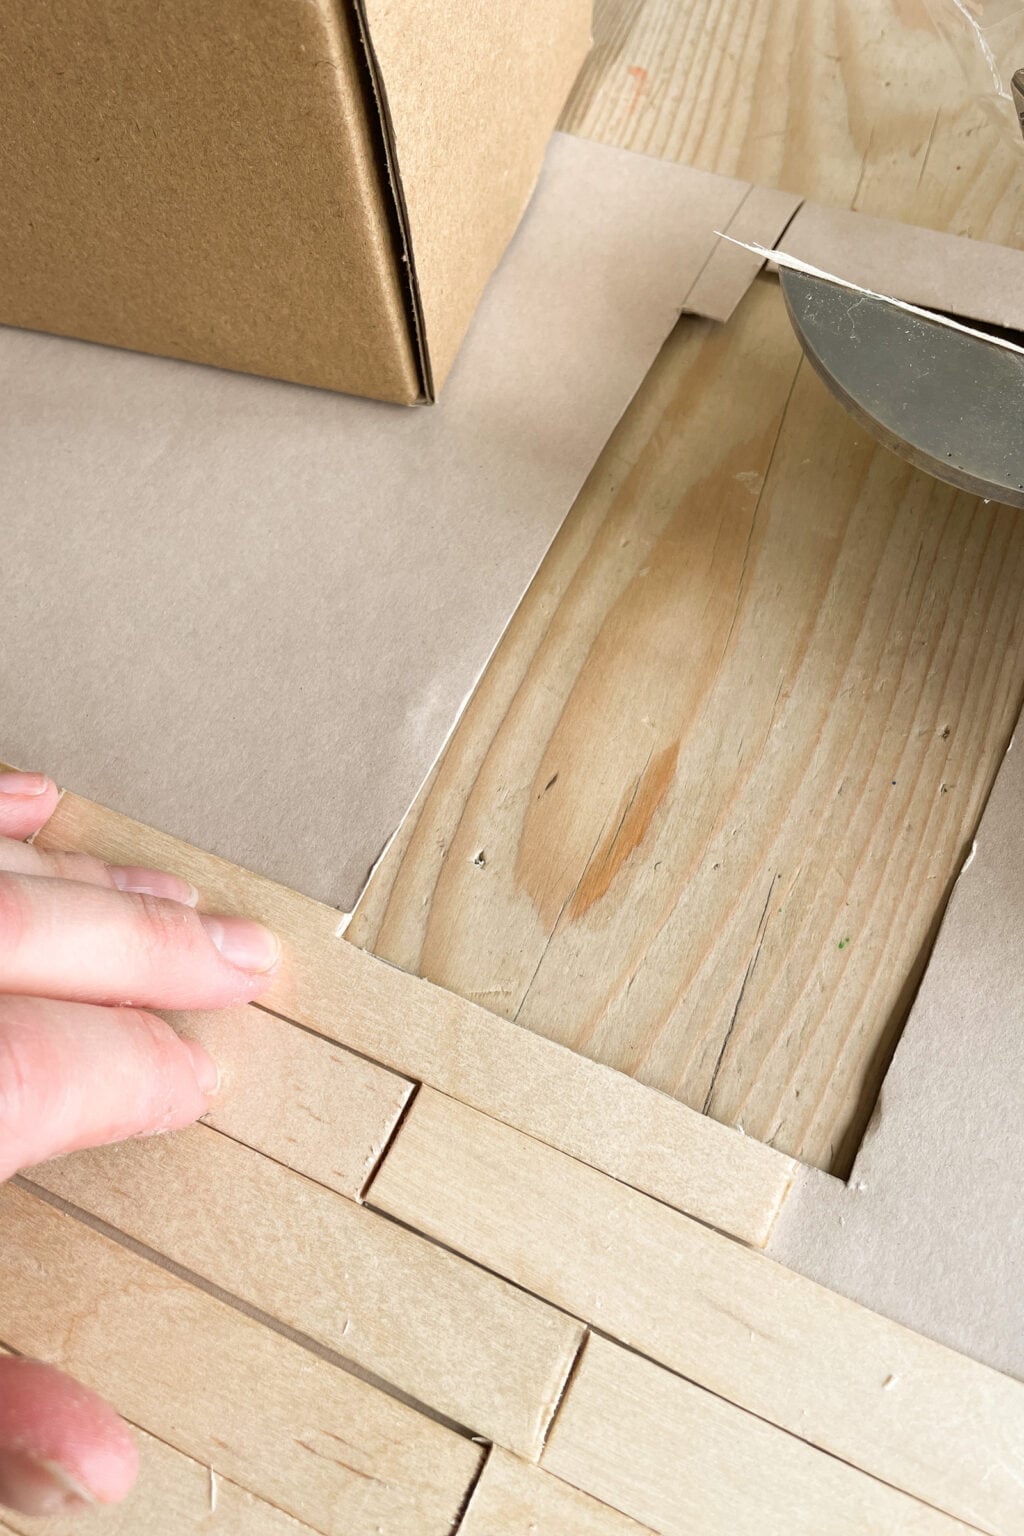
Step 3: Glue Popsicle sticks to the card
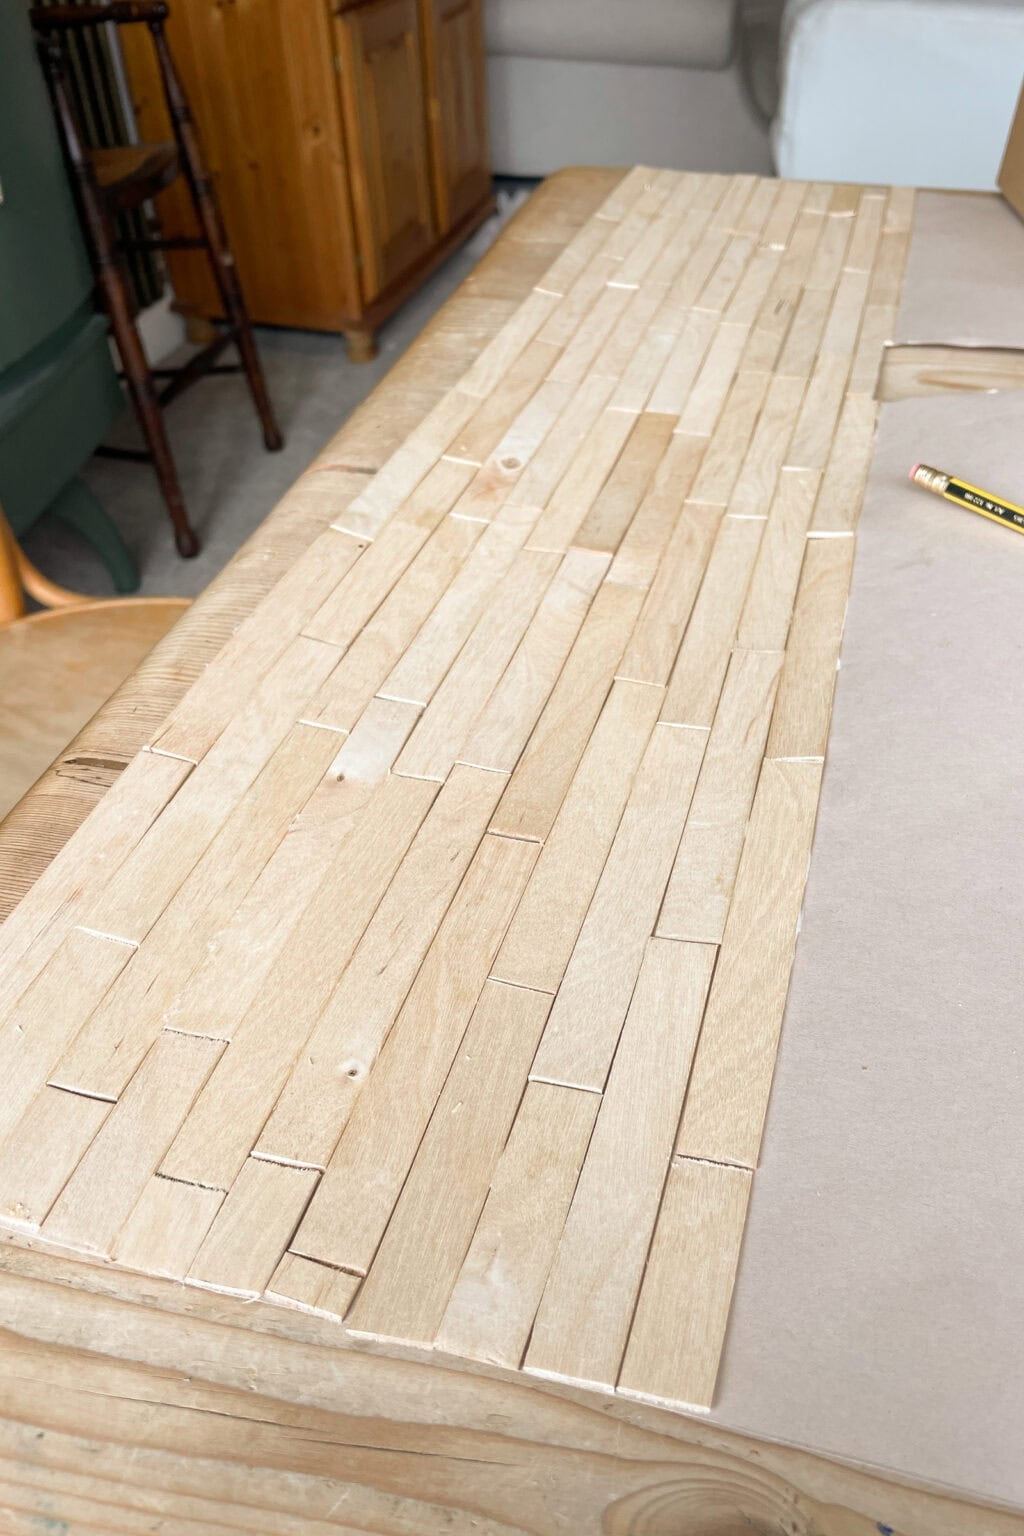
Take one of your boards, coat one side with glue and lay it on the card in your chosen direction. Repeat to cover the card with your boards. Wipe away excess glue as you go.
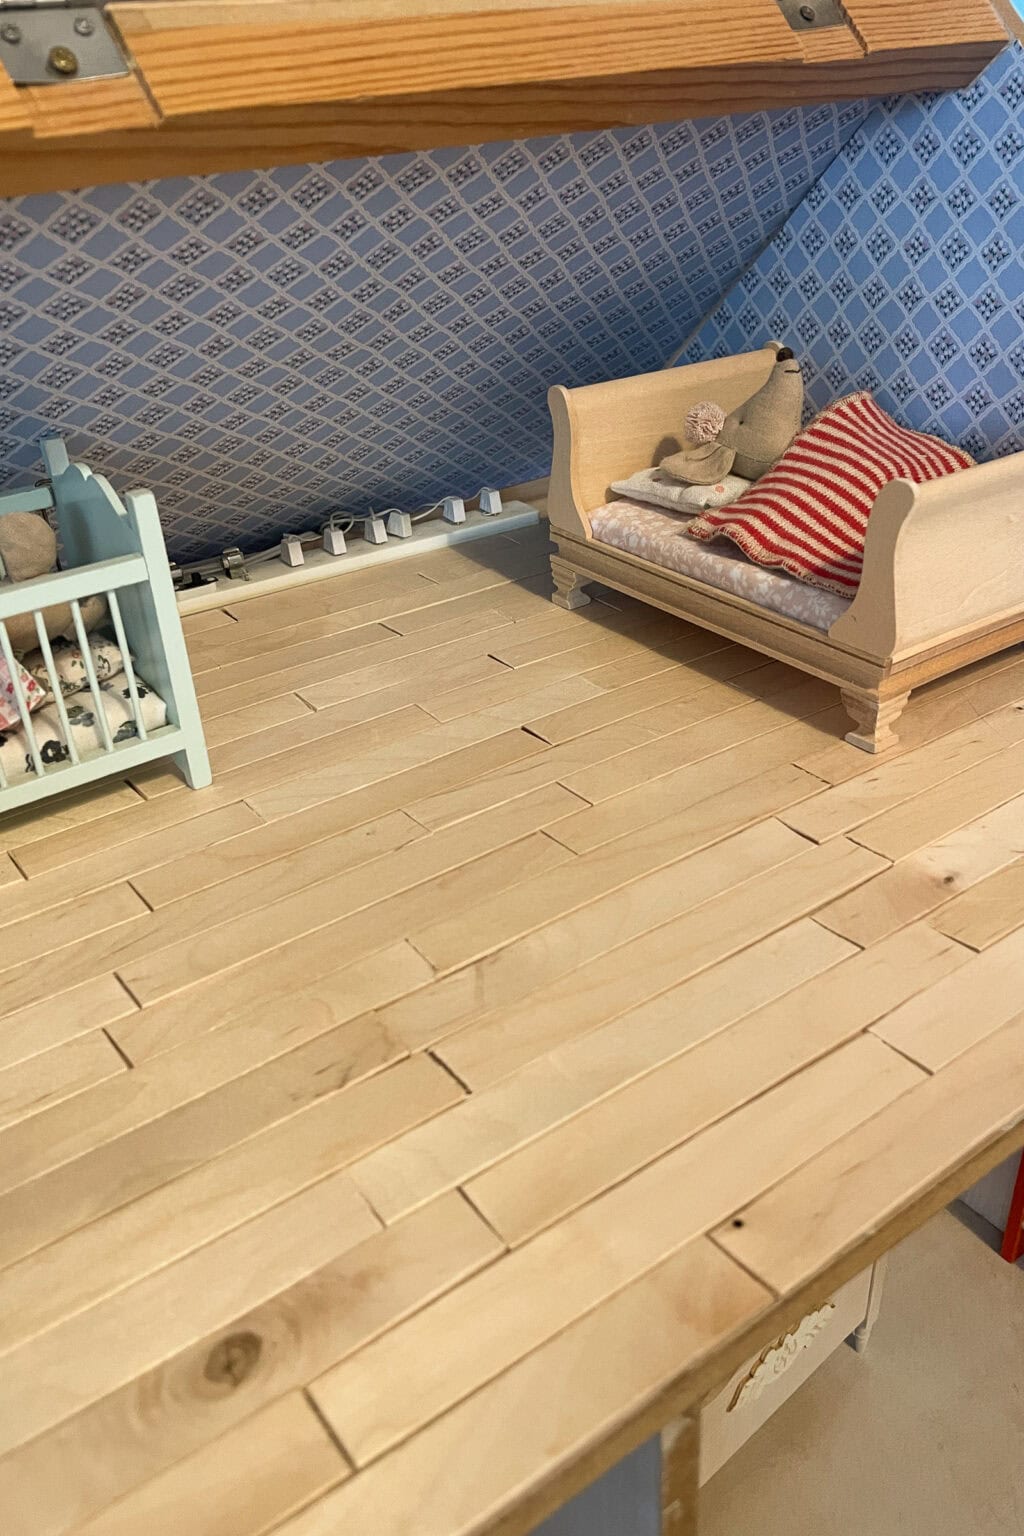
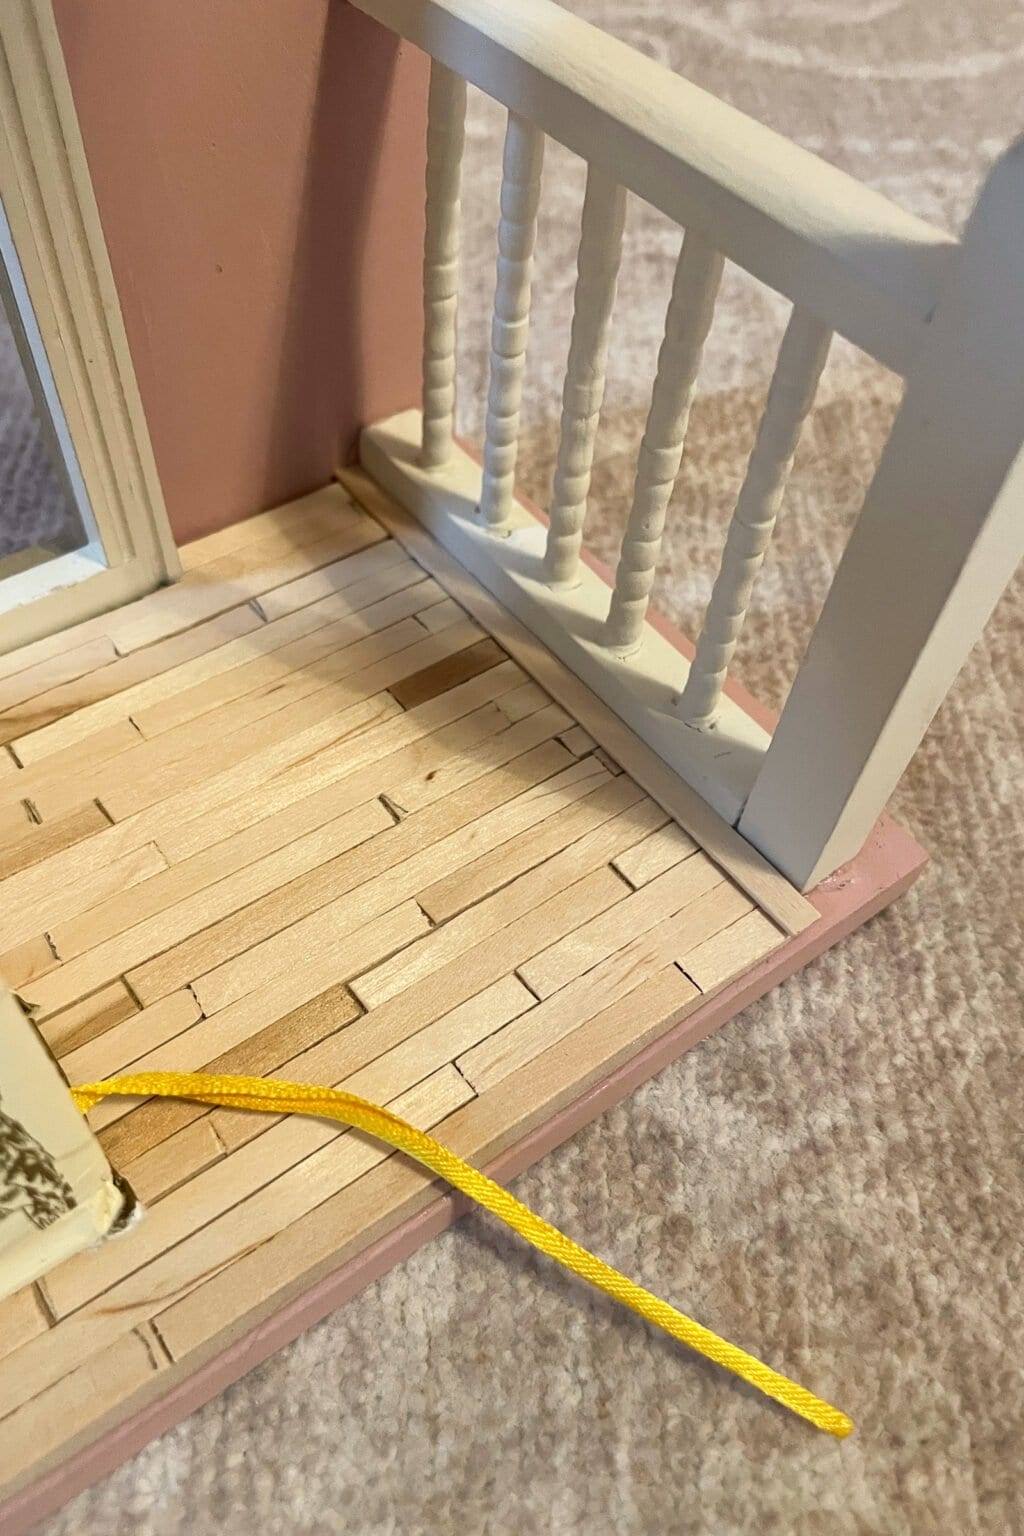
For a more realistic look, stagger the joins like real floorboards.
Don’t aim for perfection. Slight irregularities make it feel real. And if a board ends up a little wonky, remember that wonky floorboards exist in many a real house!
For the ends of each row, cut small pieces to fill in gaps using any offcuts.
Step 4: Leave to Dry
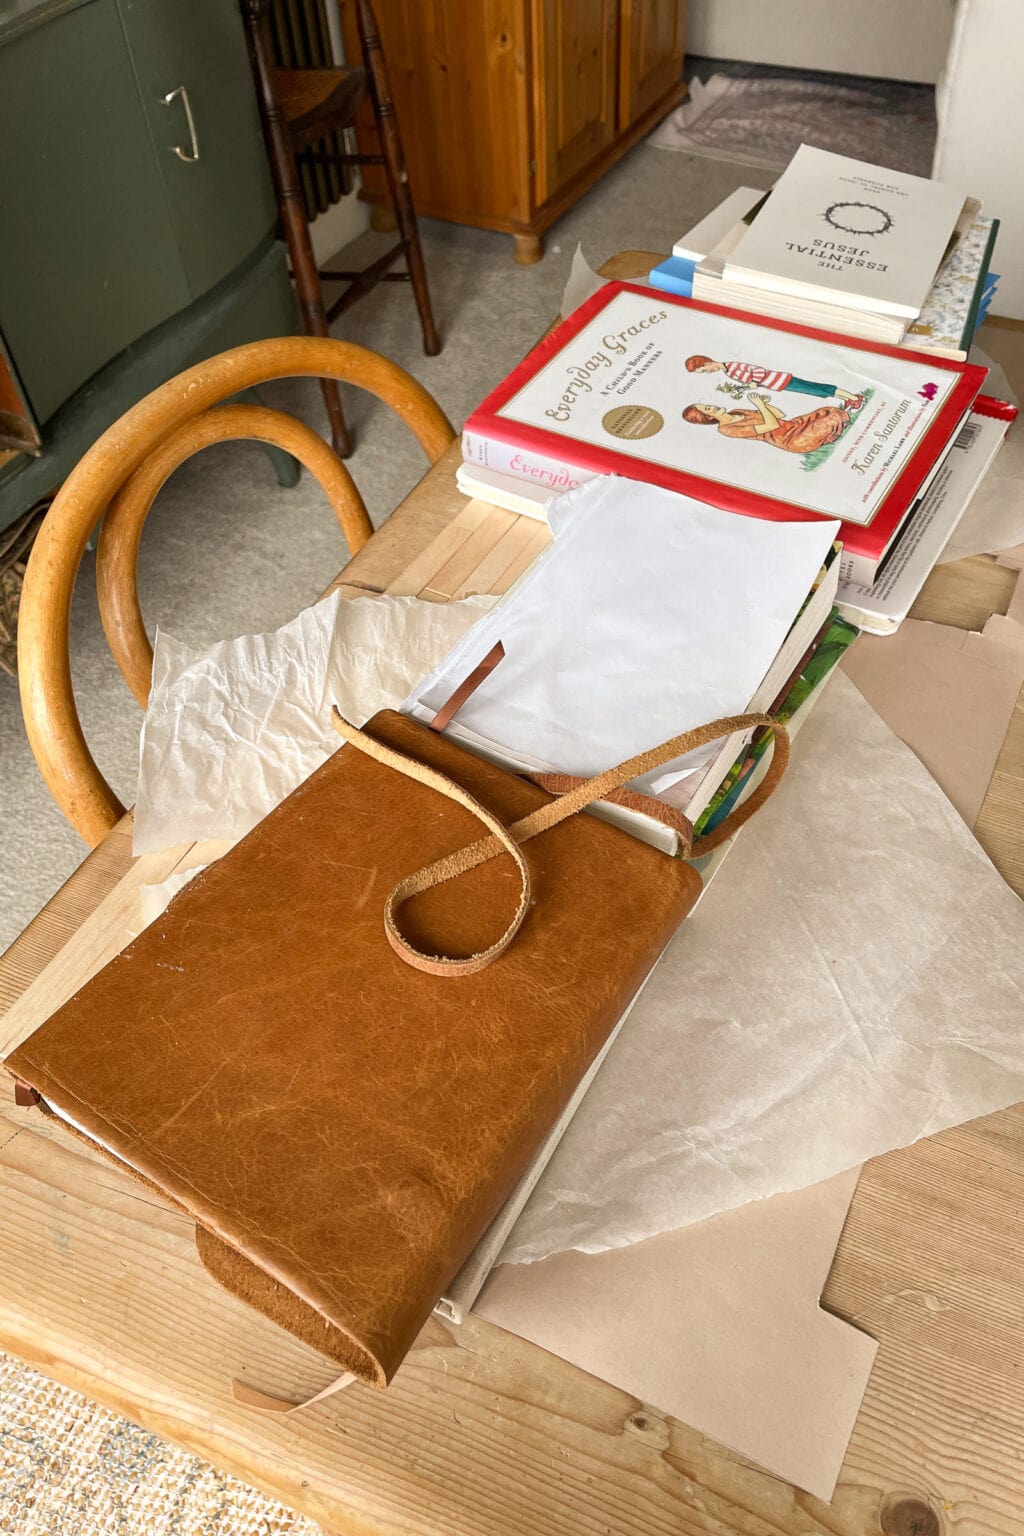
Place a piece of parchment paper over your miniature flooring, and stack several heavy books on top, covering the whole floor.
Leave it to dry completely.
Step 5: Sand for a Smooth Finish (optional)
Once dry, you can lightly sand the surface to blend the joins and remove any slightly proud edges. Wipe away dust with a dry cloth.
Step 6: Add Wood Stain (optional)
You can leave the wood bare, or you can deepen it with real wood stain for a cosy cottage look.
Once dry, seal with a matte varnish if the dolls’ house will get enthusiastic play.
Step 7: Install Your DIY Dollhouse Flooring
Cover the bottom of the flooring with glue and press it into place in your room. Stack more heavy books on top and leave to dry completely.
If needed, trim the edges of the floor with another stick or some dollhouse skirting boards.
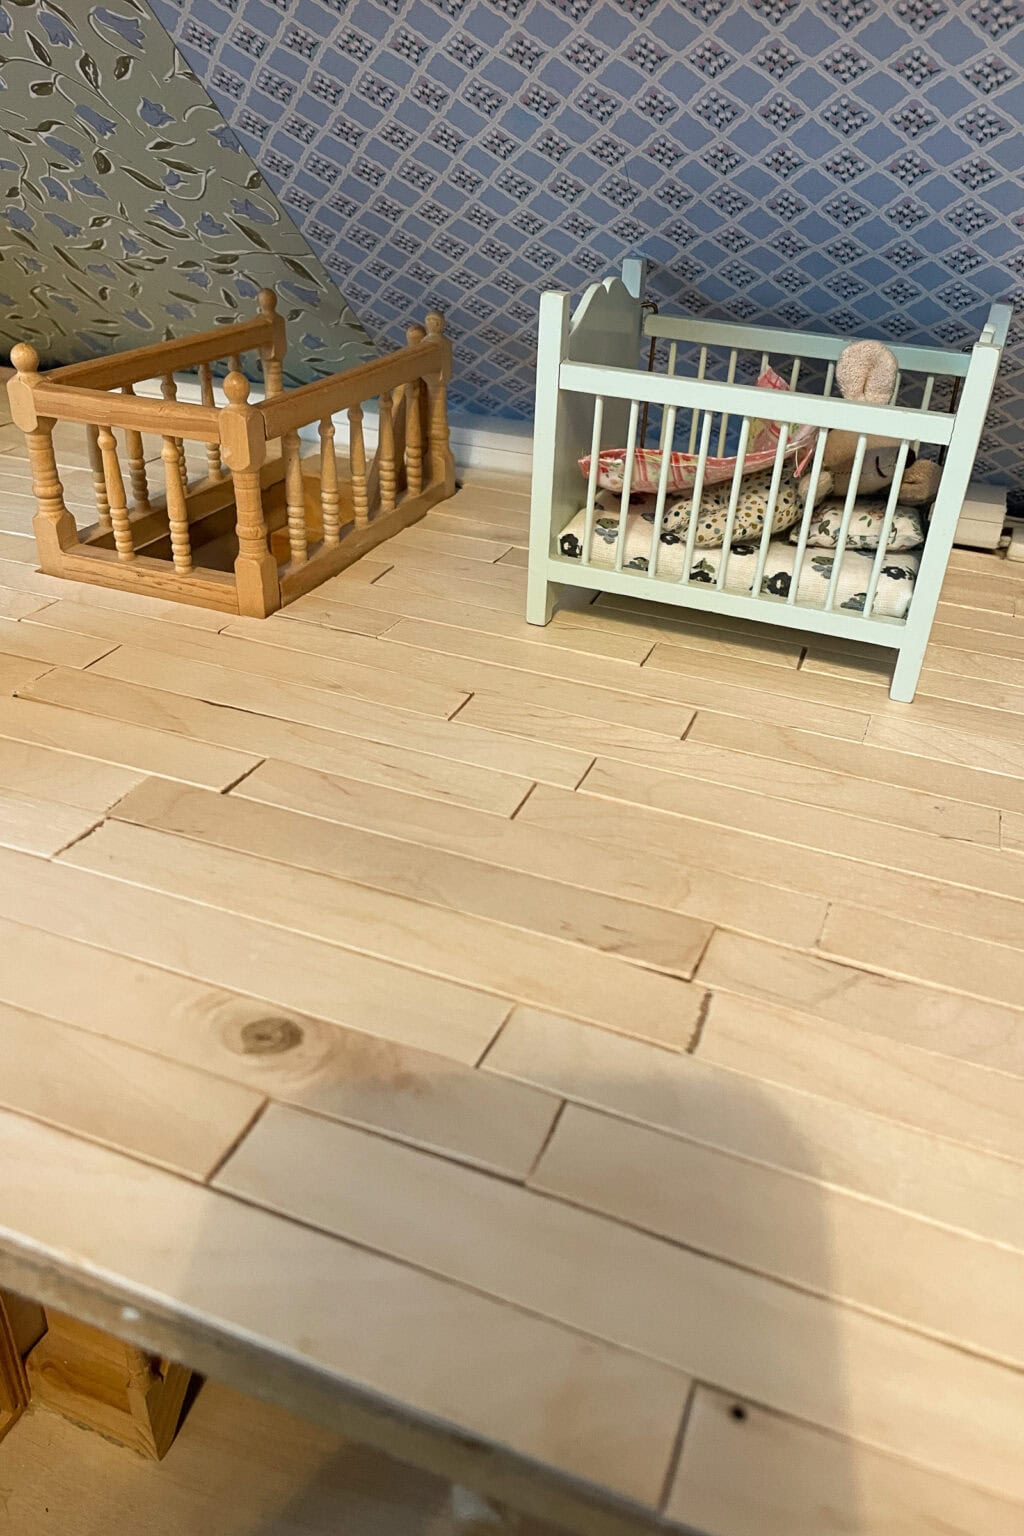
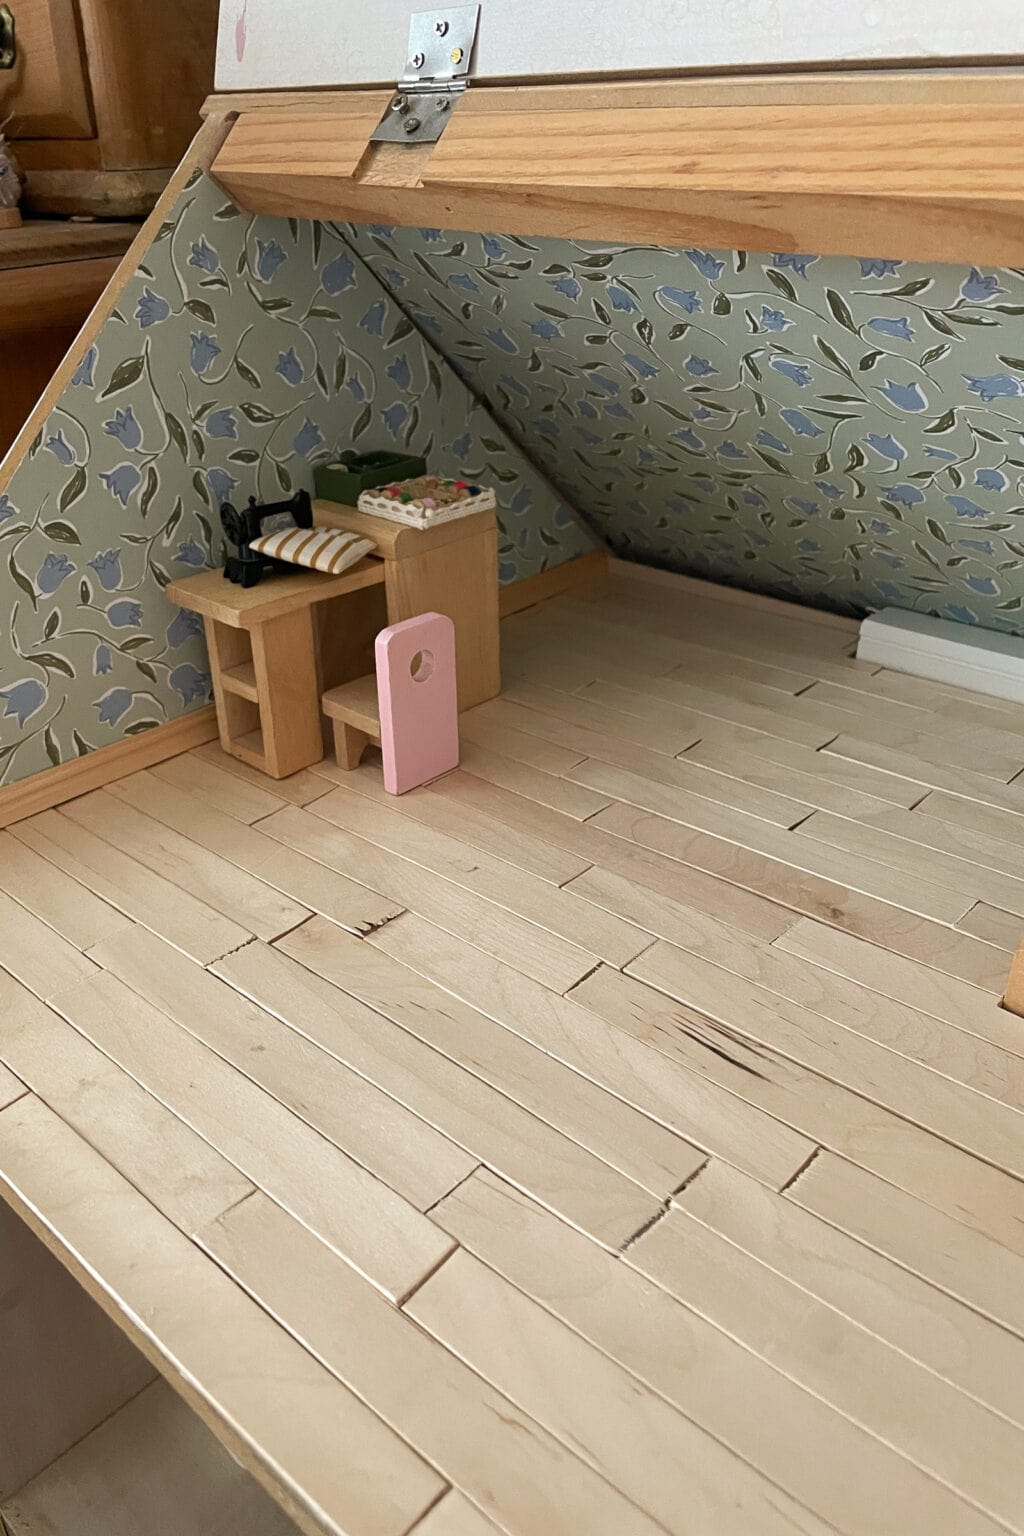
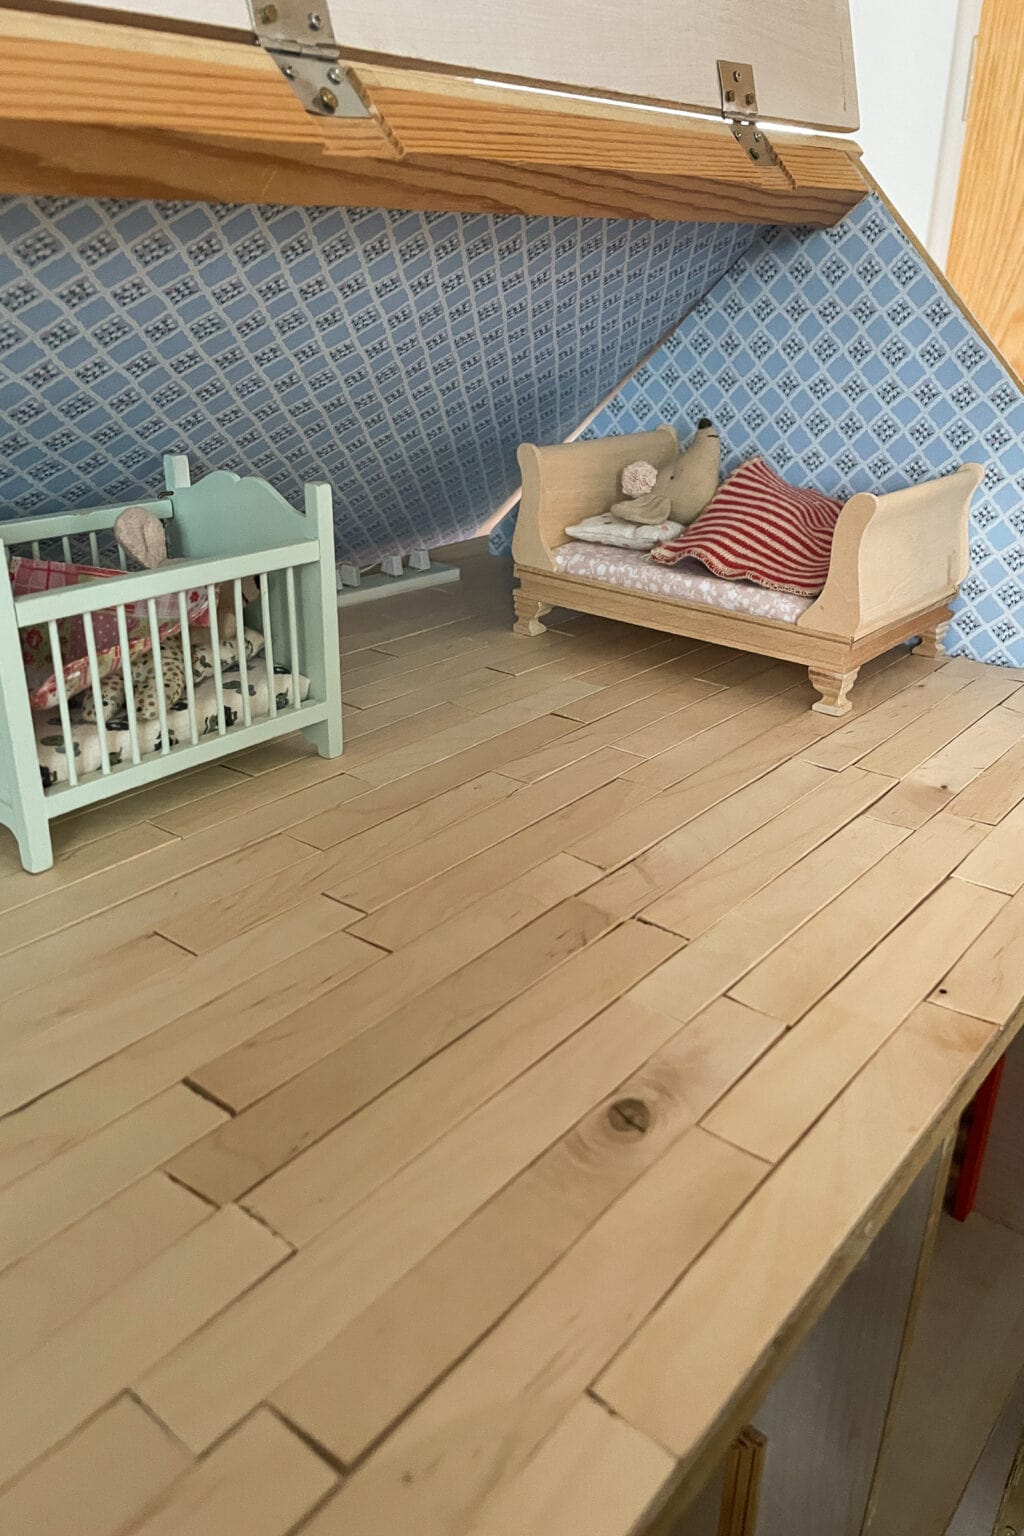
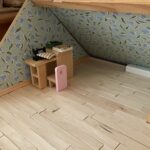
Add your miniature furniture and you’ll have a room that’s looking rather lovely!
And When You’ve Finished Your DIY Flooring…
If you’re building a dolls’ house bit by bit, this is one of those foundational projects that changes everything without costing very much at all.
Now I’m off to finish the next room (and it needs tiny skirting boards too!)
If you’d like to see more dollhouse projects, you’ll love this one on how to paint a dollhouse the right way.
Or you might like to try making a magical larger scale project, with this tutorial on how to make a DIY bed canopy.
DIY Dollhouse Flooring: Miniature Wood Floors From Popsicle Sticks!
Equipment
- Mitre shears or craft knife
- Ruler
- Pencil
- Sandpaper (fine grit)
- Heavy books (for pressing while drying)
Materials
- Paper (for template)
- Cardboard
- Popsicle sticks
- Wooden coffee stirrers (optional alternative)
- PVA glue or wood glue
- Parchment paper
- Wood stain (optional)
- Clear matte varnish (optional)
Instructions
- Create a templateCover the dollhouse floor with paper and tape sheets together. Trim to size and transfer the shape onto cardboard. Cut out.
- Trim the sticksCut off the rounded ends of the popsicle sticks. Cut to your desired board length.
- Glue boards to the cardGlue sticks onto the cardboard base, staggering the joins like real floorboards. Fill gaps with trimmed pieces.
- Press and dryPlace parchment paper over the flooring and weigh it down with heavy books. Leave to dry completely.
- Sand (optional)Lightly sand the surface to smooth joins and remove uneven edges.
- Stain and seal (optional)Apply wood stain for a richer tone. Seal with matte varnish if desired.
- Install your DIY dollhouse flooringGlue the finished flooring into the dollhouse room. Press down and allow to dry fully before decorating.
Notes
- Popsicle sticks are the ideal thickness for realistic diy dollhouse flooring.
- Coffee stirrers create a narrower, more delicate plank look.
- Staggering the joins makes the flooring look more authentic.
- Using a cardboard base allows you to remove the flooring later if needed.
- For wider planks, use jumbo craft sticks.