How to Make a DIY Pleated Lampshade (No-Sew & Easy!)
Learn how to make a no-sew DIY pleated lampshade with this easy tutorial using scrap fabric and an old lampshade.
This page contains affiliate links, which earn me a little bit of commission if you make a purchase, at no additional cost to you. Thank you!
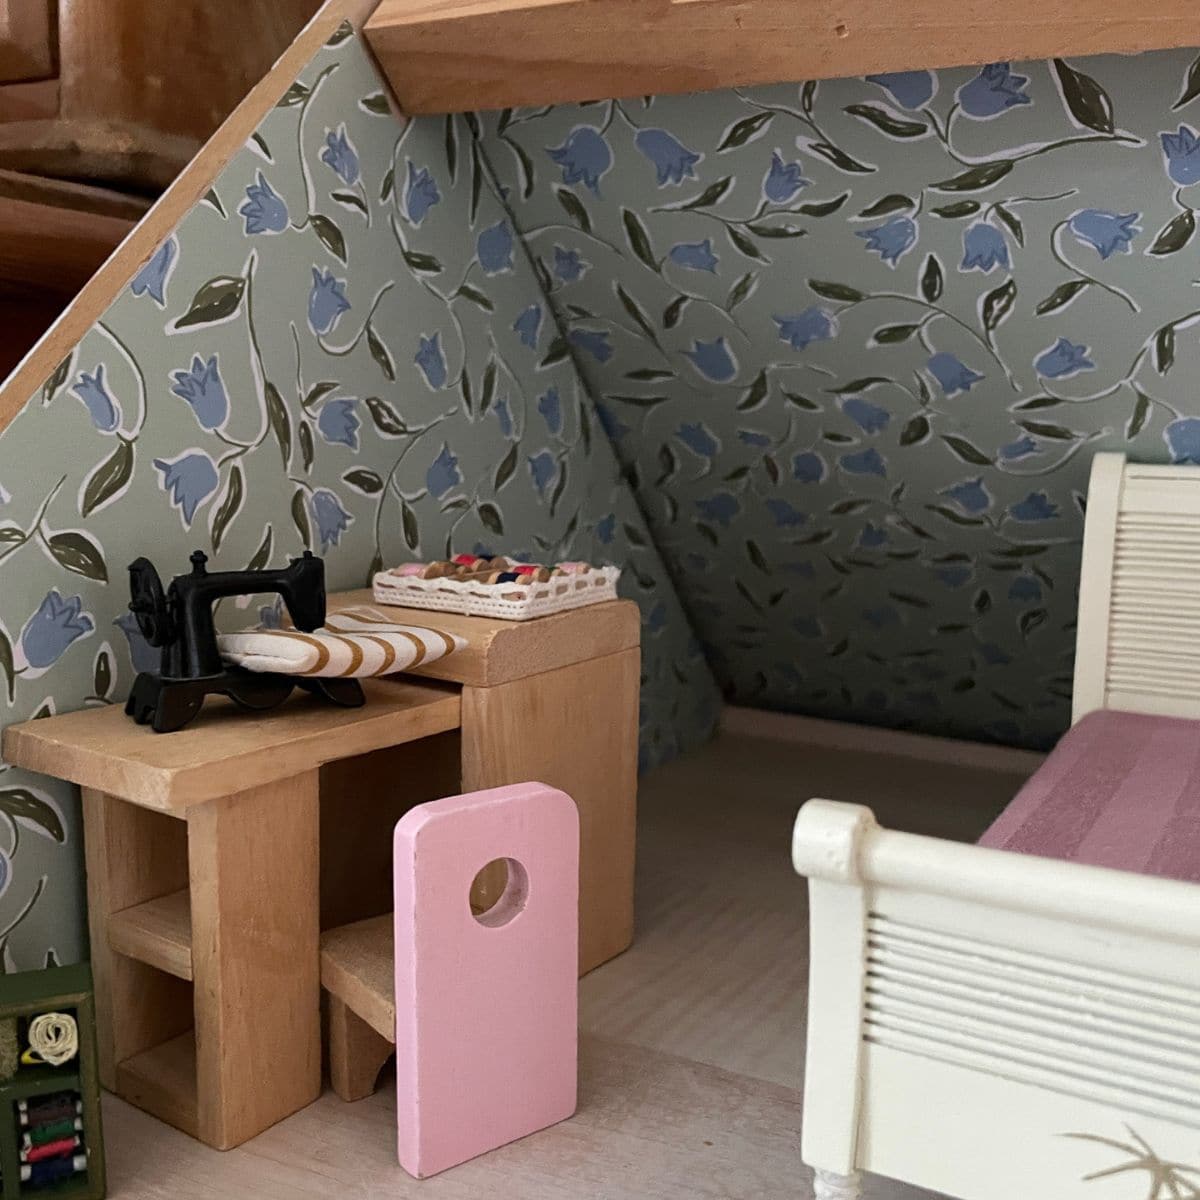
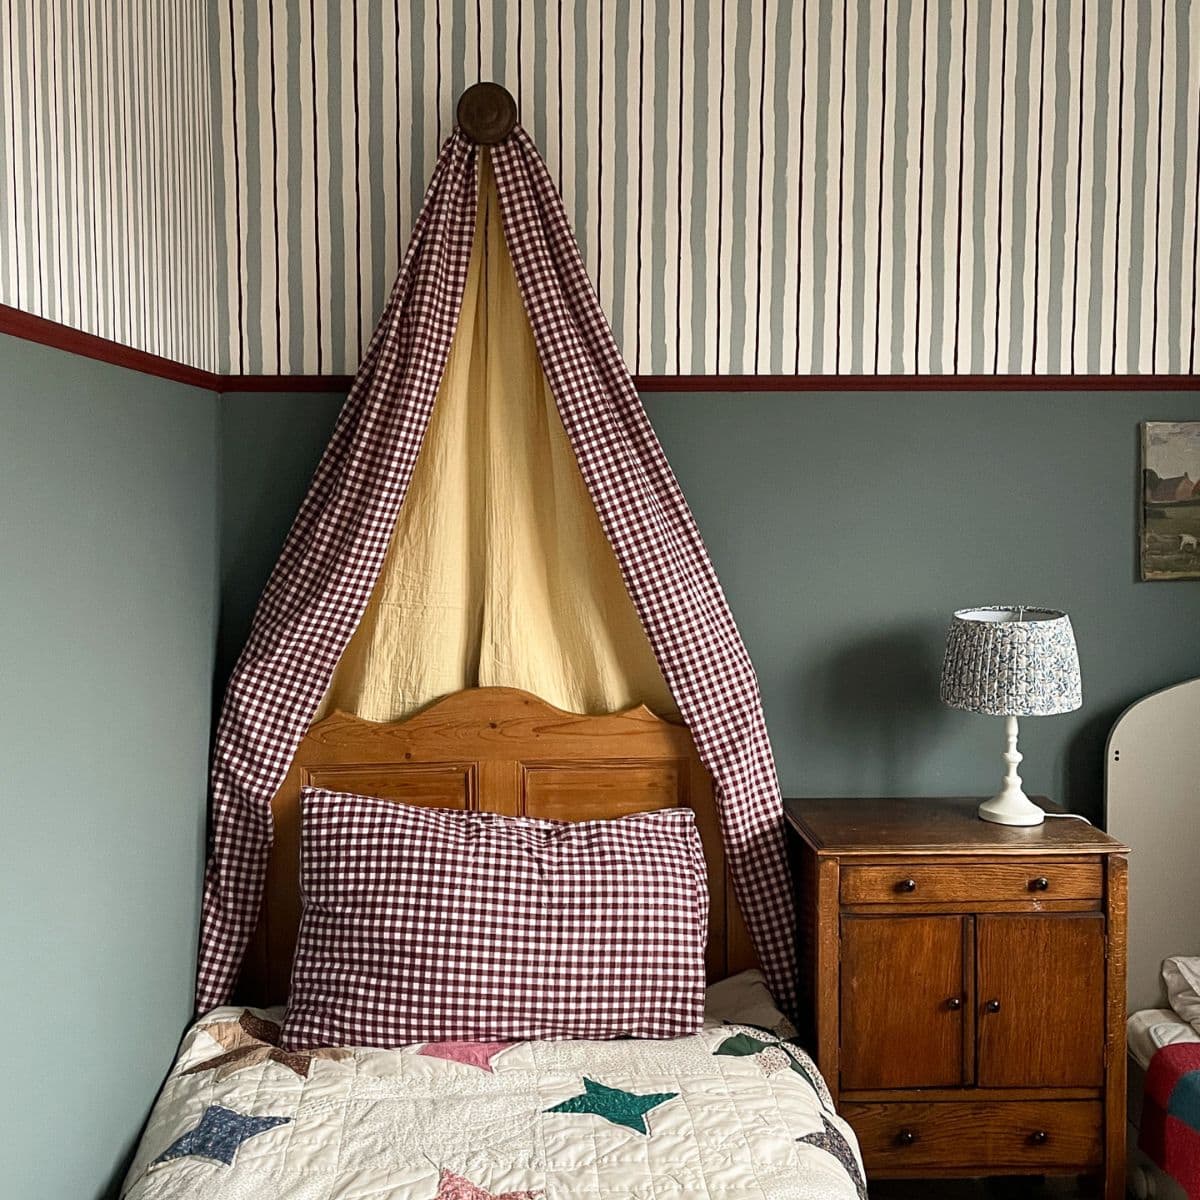
When I was a little girl, I dreamt of the perfect girly bedroom.
Flowery wallpaper, pink sheets, and a canopy that would make me feel like a princess every time I climbed into bed.
That dream never quite came true for me. But now, with a daughter of my own, I find myself channelling all that childhood longing into creating a beautiful space for her.
We’re a one-income family, so there’s no popping to the nearest box store and filling a trolley with pretty things. But honestly? I wouldn’t want to.
There’s something far more special about building a room slowly – upcycling little treasures, breathing new life into old finds, and letting the space come together over time (yes, even if takes years!)
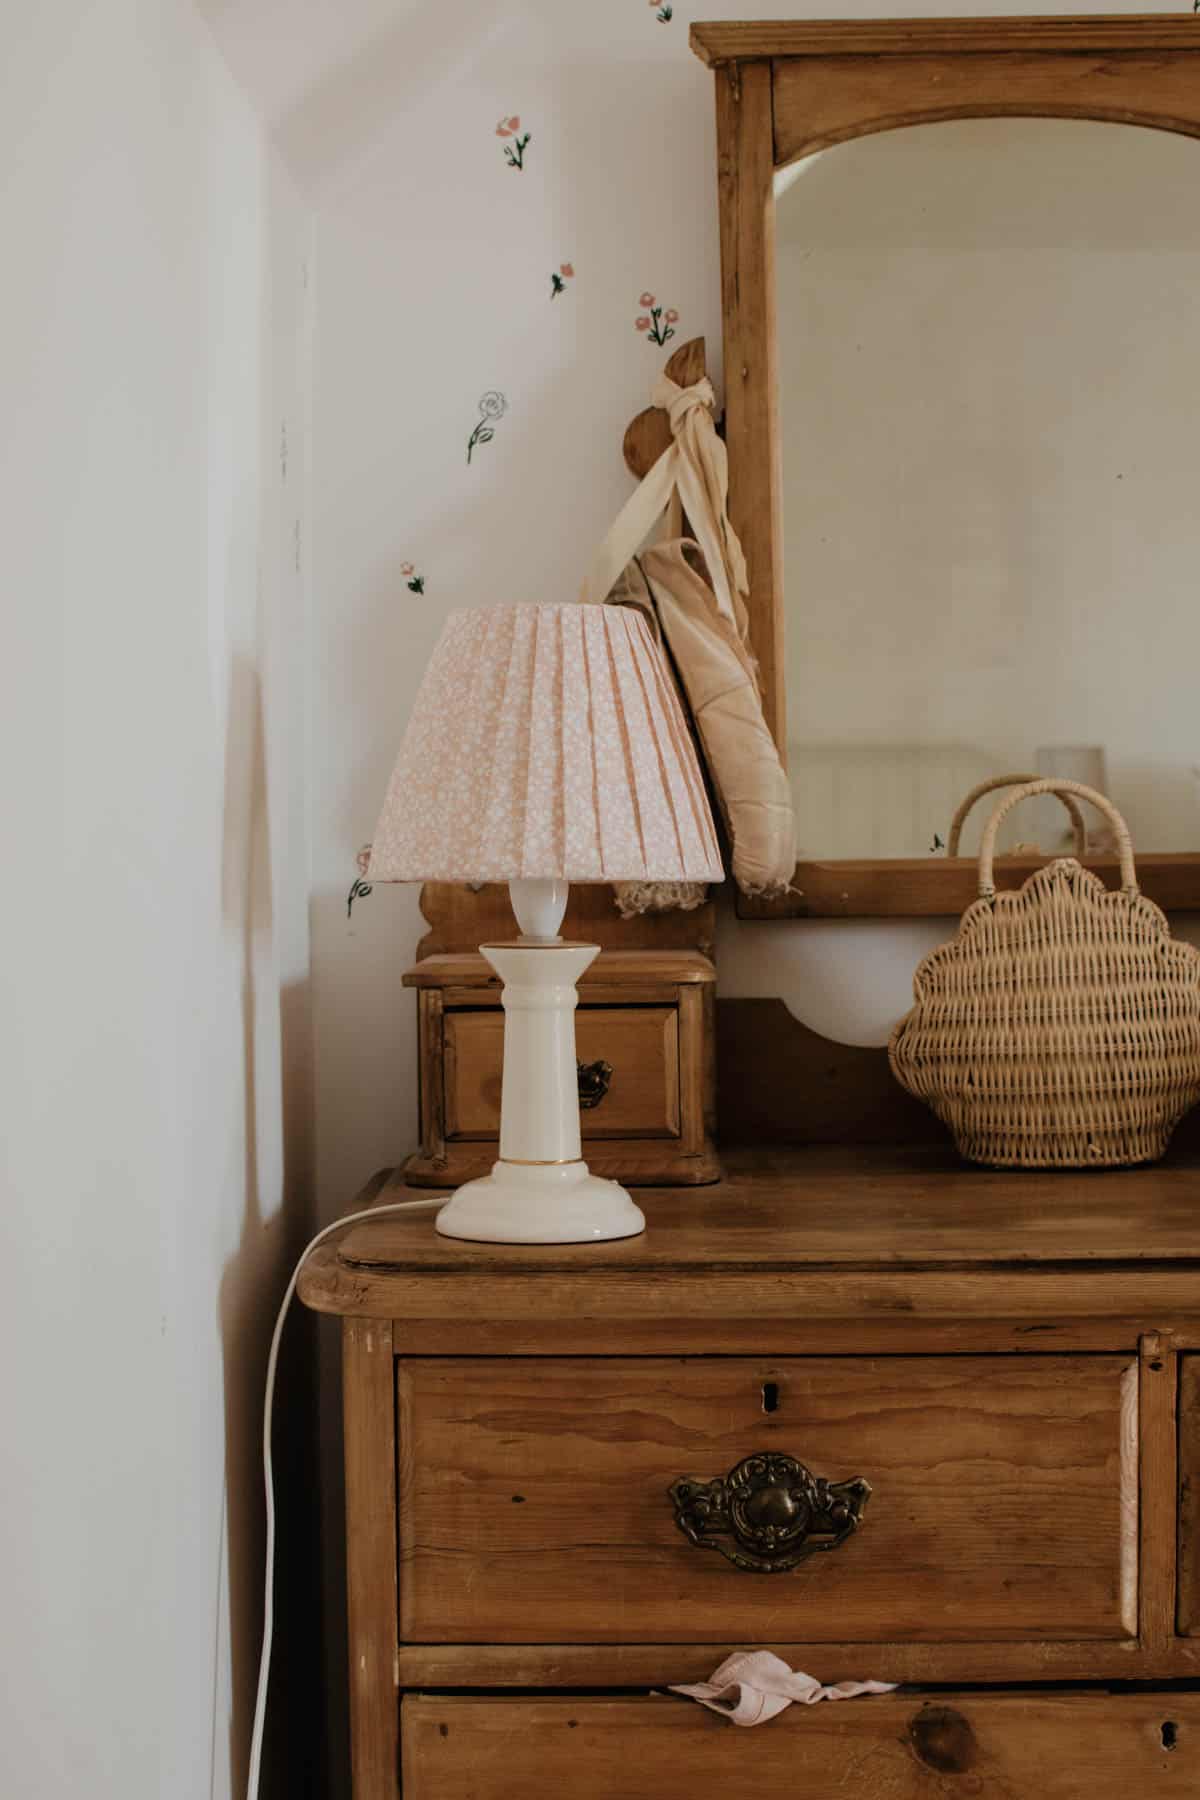
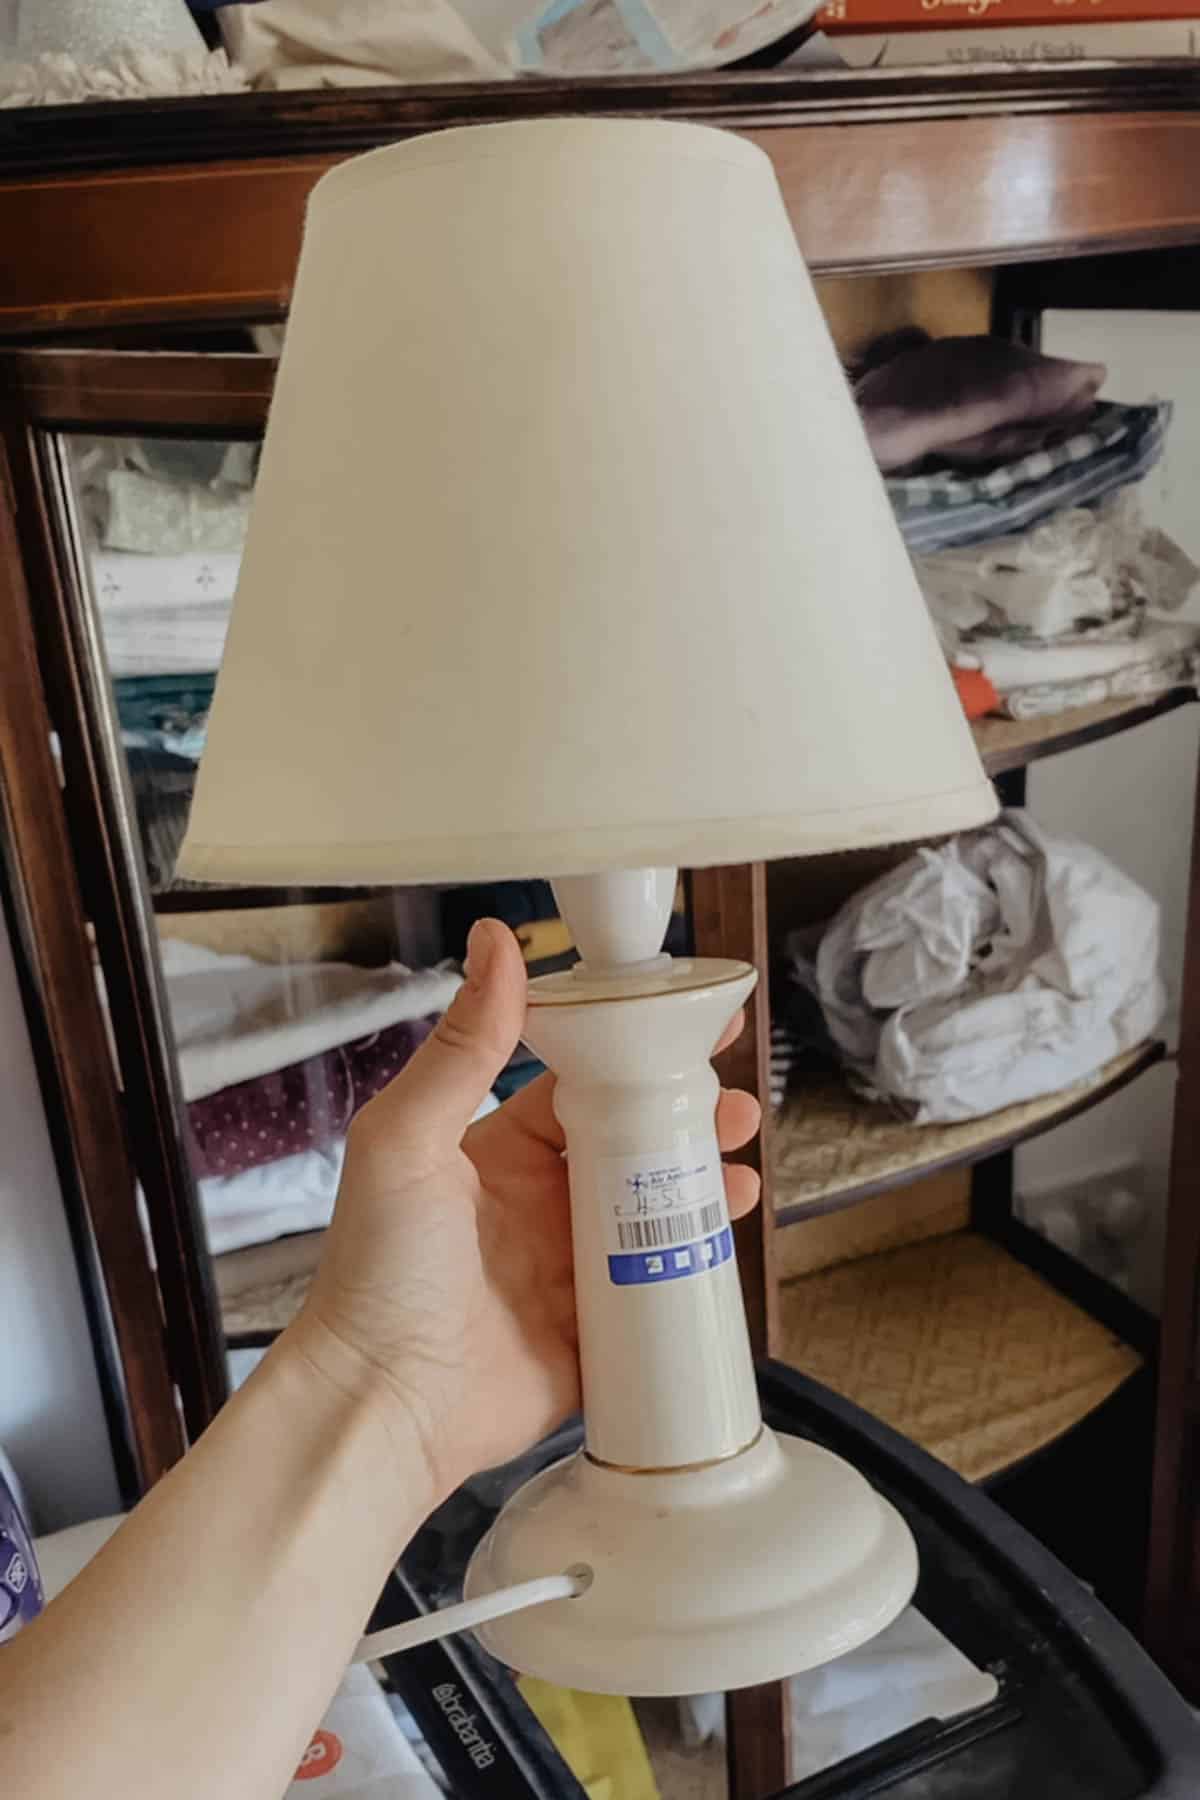
Last month, I found a lovely old lamp in a local charity shop. And it was a total bargain at £4.50 for the base and the shade. It was perfect.
Well, almost. The shade was plain and yellowing and not at all the cozy, cottagey look I had in mind.
So I gave it a makeover!
Using a scrap of fabric and some glue, I turned it into a pleated lampshade that’s just perfect for my little lady.
All it’ll take is a quiet afternoon (or in my case, a slightly chaotic one, with two small boys running around my feet!) The kind of project that proves you don’t need a huge budget or a perfect plan to make something really lovely.
Here’s how I turned a thrifted shade into my very own DIY pleated lampshade.
What is the best fabric for pleated lamp shades? Does it need to be fire retardant?
Since you’ll be covering the lampshade with another layer of fabric, it’s best to use lightweight fabric that will still let the light through. Light cotton or linen fabric will work best.
Your fabric doesn’t need to be fire retardant. Most lightbulbs these days are LEDs, which don’t get nearly as hot as old-fashioned light bulbs.
If you’d like it to be fire retardant, you can spray it with a fire retardant spray.
How much fabric will I need for my DIY pleated lampshade?
It’s tricky to say, since it will depend on the size of your shade. To give you an idea, I used about 40 4cm strips for my small lampshade, so half a metre would easily be enough fabric (that is, half a metre of the full width of the fabric).
A larger lampshade might require up to a full metre of fabric.
If you don’t have enough of one fabric, you could always try using several different pieces of fabric – that would look really pretty!
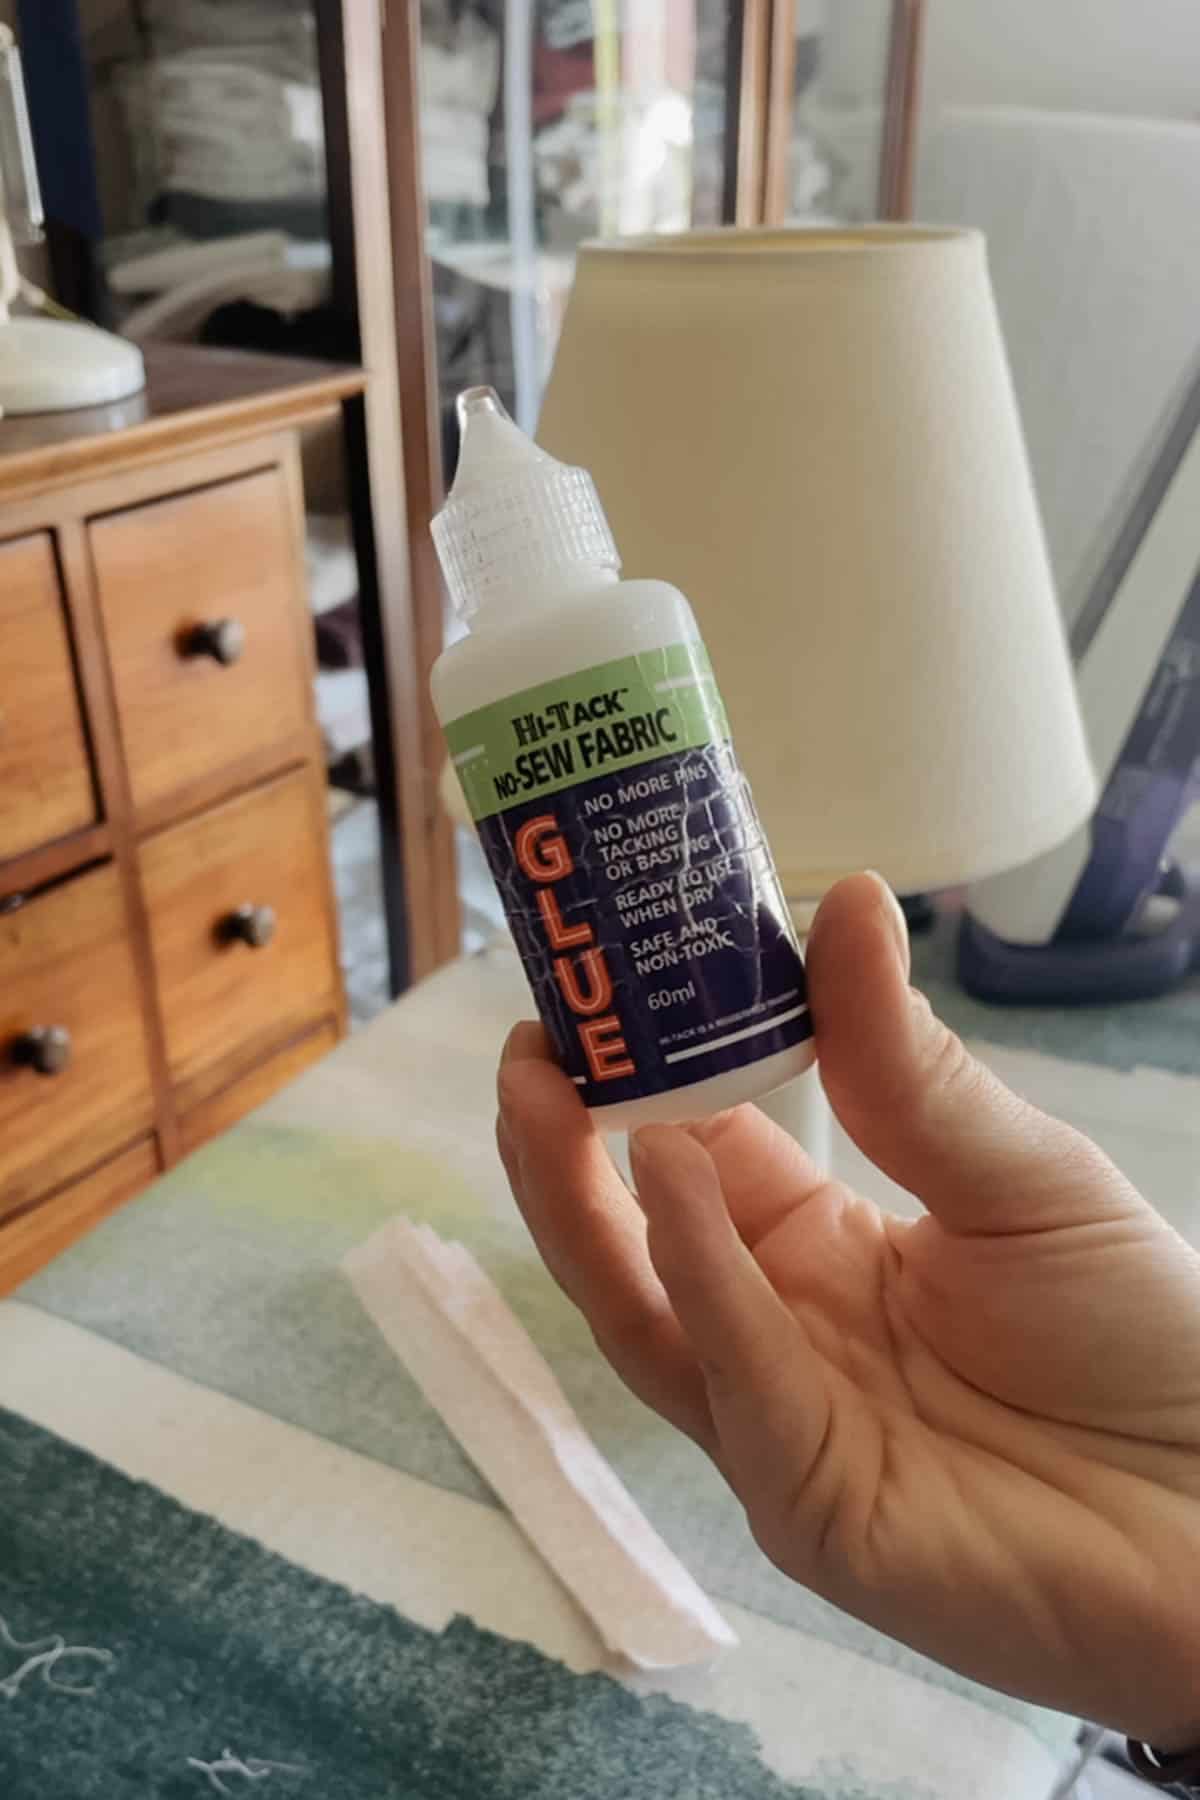
What is the best glue?
I find that fabric glue is the best for this and my favourite is this one (the packaging is different to the picture below, but it’s the same product!). It’s tacky enough to hold the pleats in place and is designed to work with fabric.
You could also try using a hot glue gun, but it sometimes shows through when the light is on.
Can you create pleats on a tapered lampshade?
Yes! It’s a little more difficult than a straight shade but still doable. The trick to even pleats is to make sure that you space your pleats wider at the bottom than at the top. Keep adjusting as you go round to make sure that each pleat is going straight down.
Making Your Lampshade Extra Special
Most lampshades have trim at the top and the bottom to create a clean edge. I decided not to add this to my lampshade to keep it simple (and because my tiny ones needed me!) But you could very easily add a strip of fabric to the top and bottom of the lampshade to finish it off.
To do this, cut or tear a strip of fabric 2cm (1″) wide then press the sides in by 0.5cm (1/4″) on each side. You could also use ready made bias tape or even ribbon.
Glue your strips around the top and the bottom. If you’re doing this you might want to cut the strips so they don’t wrap around to the inside of the lampshade.
How to Make a No-Sew DIY Pleated Lampshade
Supplies
What you’ll need:
An old lampshade
Lightweight cotton or linen fabric
Fabric scissors
Tape measure or ruler
An iron
Fabric glue or hot glue
Ironing ruler (optional)
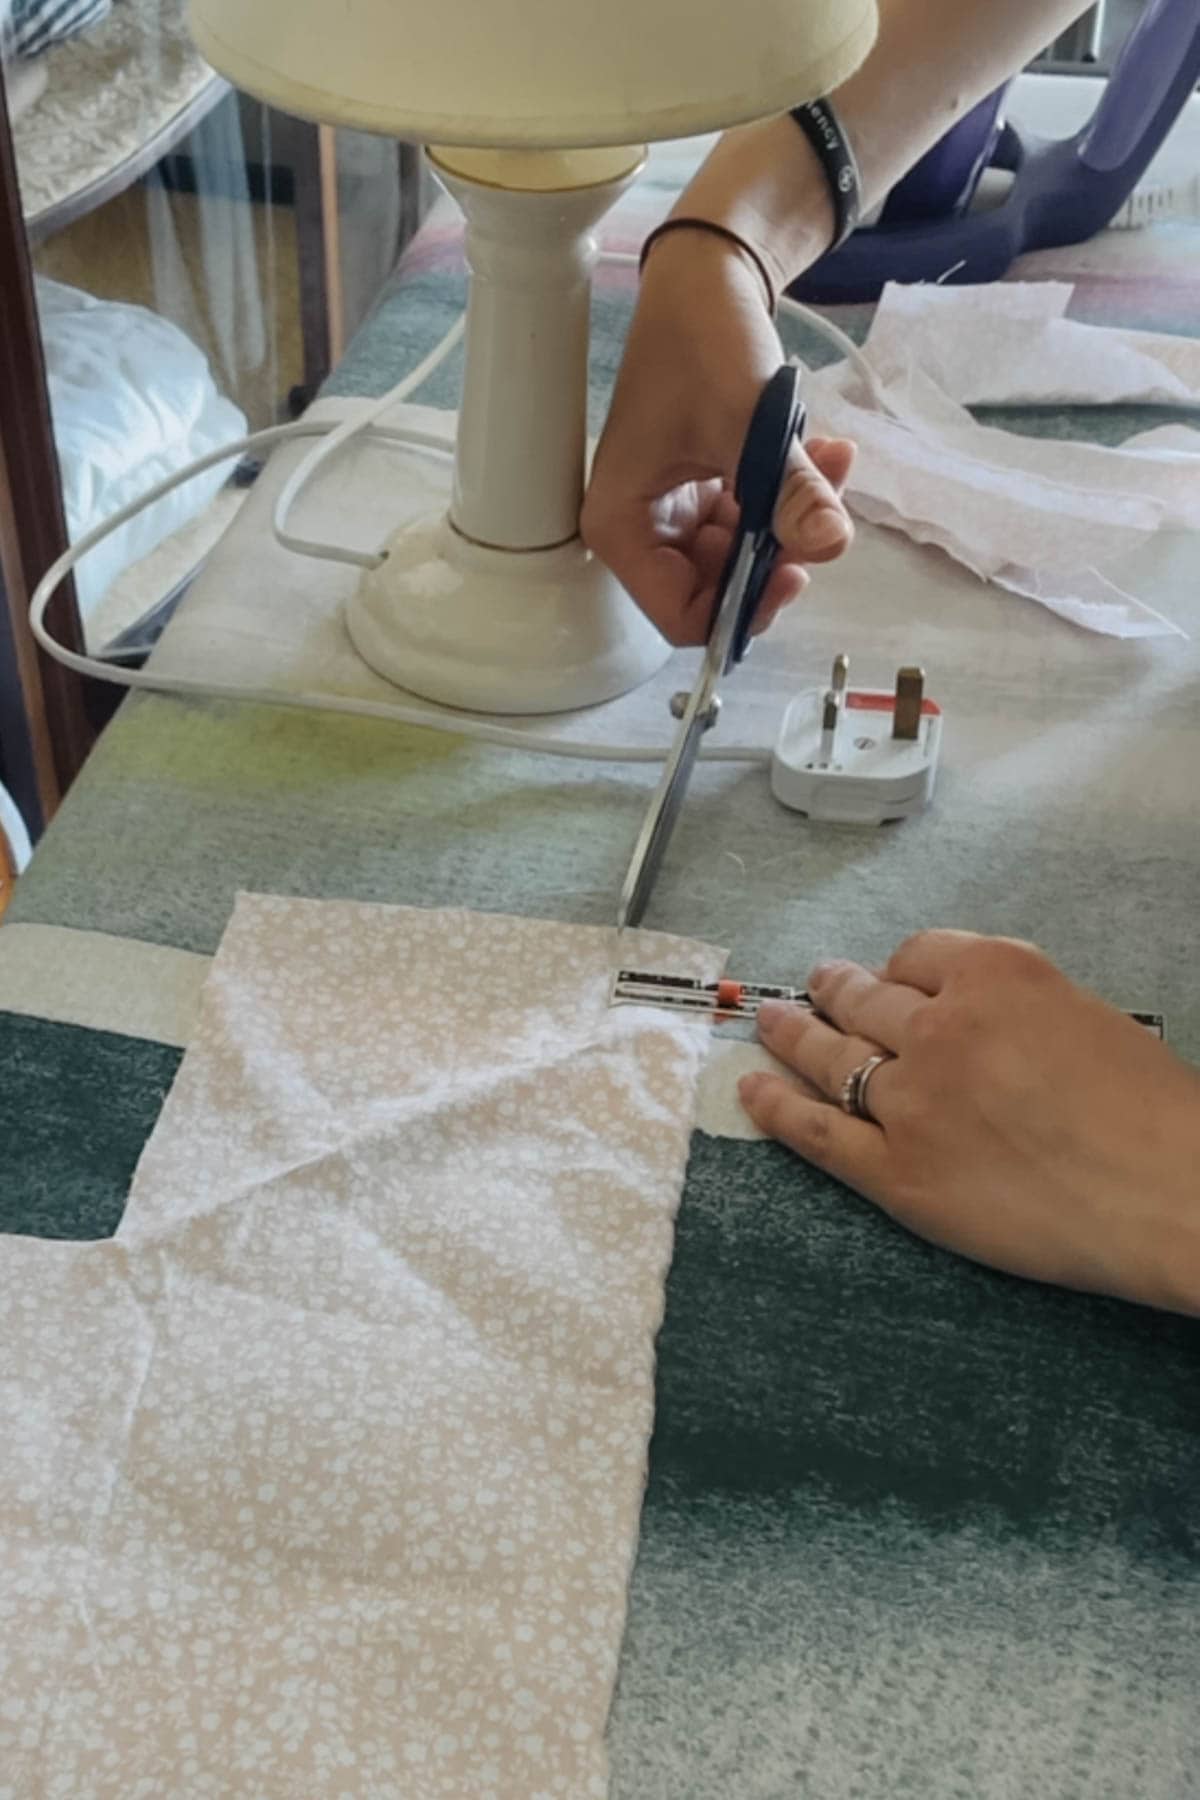
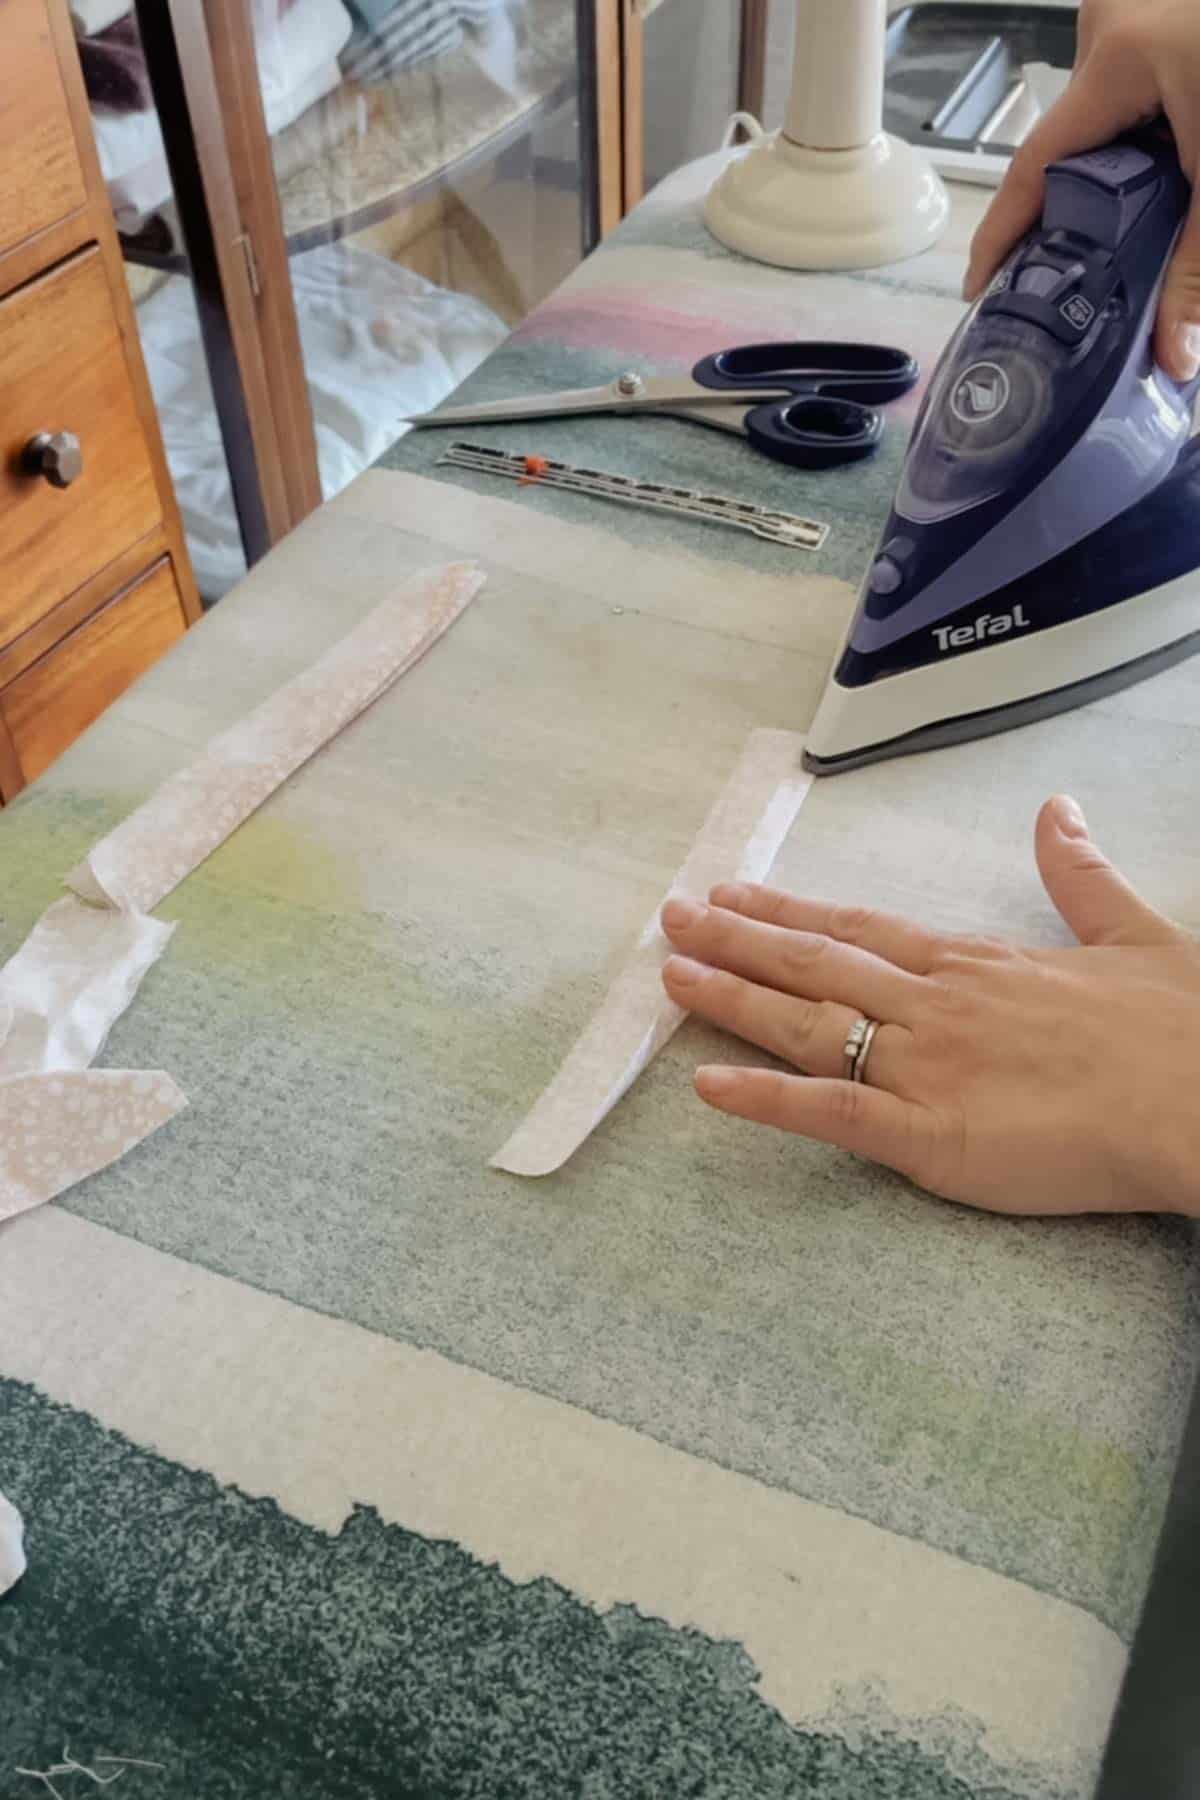
Step 1: Tear your strips of fabric
Start by tearing your fabric into strips about 4cm wide. Tearing gives you a really straight line and is much quicker than cutting. To tear your fabric into neat strips, make a small cut, grasp either side of the tear and pull the fabric apart hard.
It’s important to do this parallel to the selvedge (that’s the finished edge of your fabric) to get as neat a line as possible.
If your fabric isn’t tearing neatly, you may be accidentally tearing across the grain (from one side to the other) rather than with the grain (along the length of the fabric).
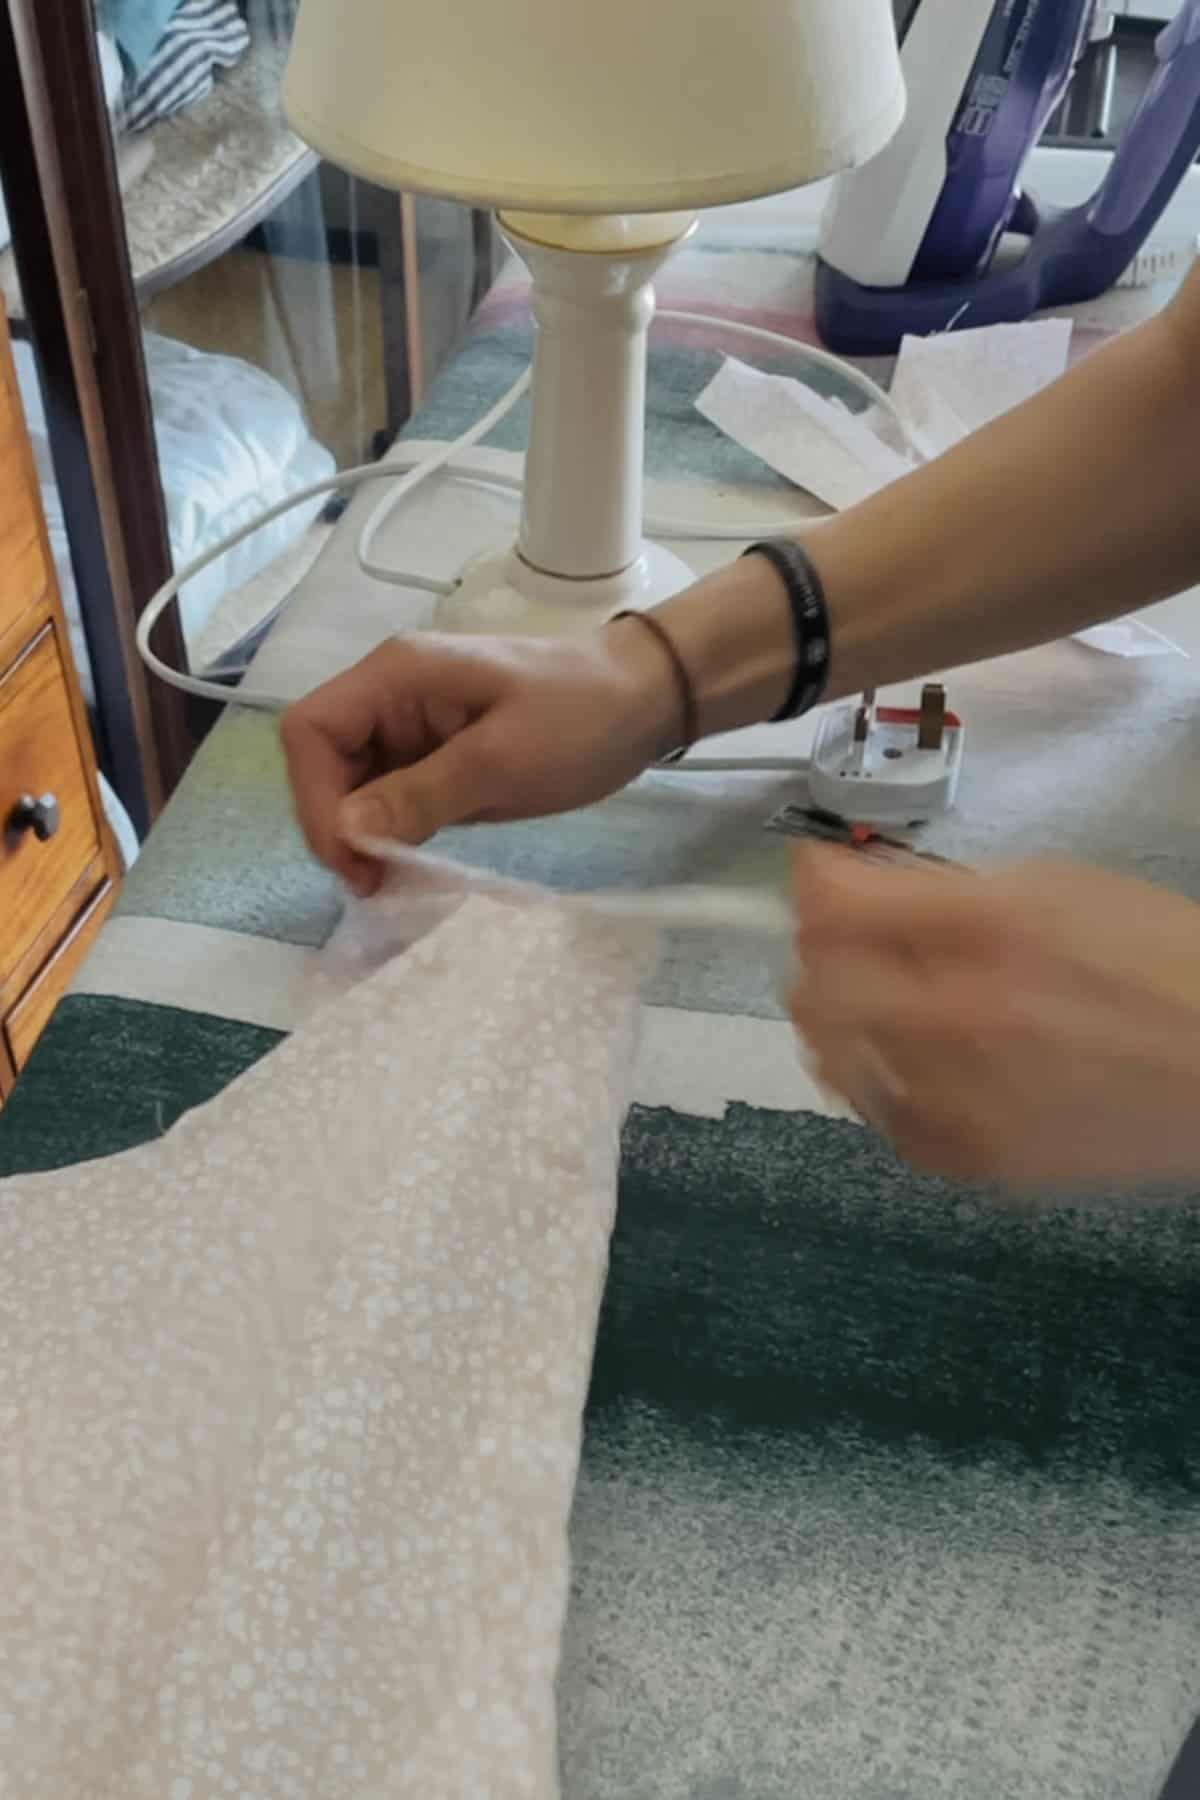
Step 2: Prepare the strips
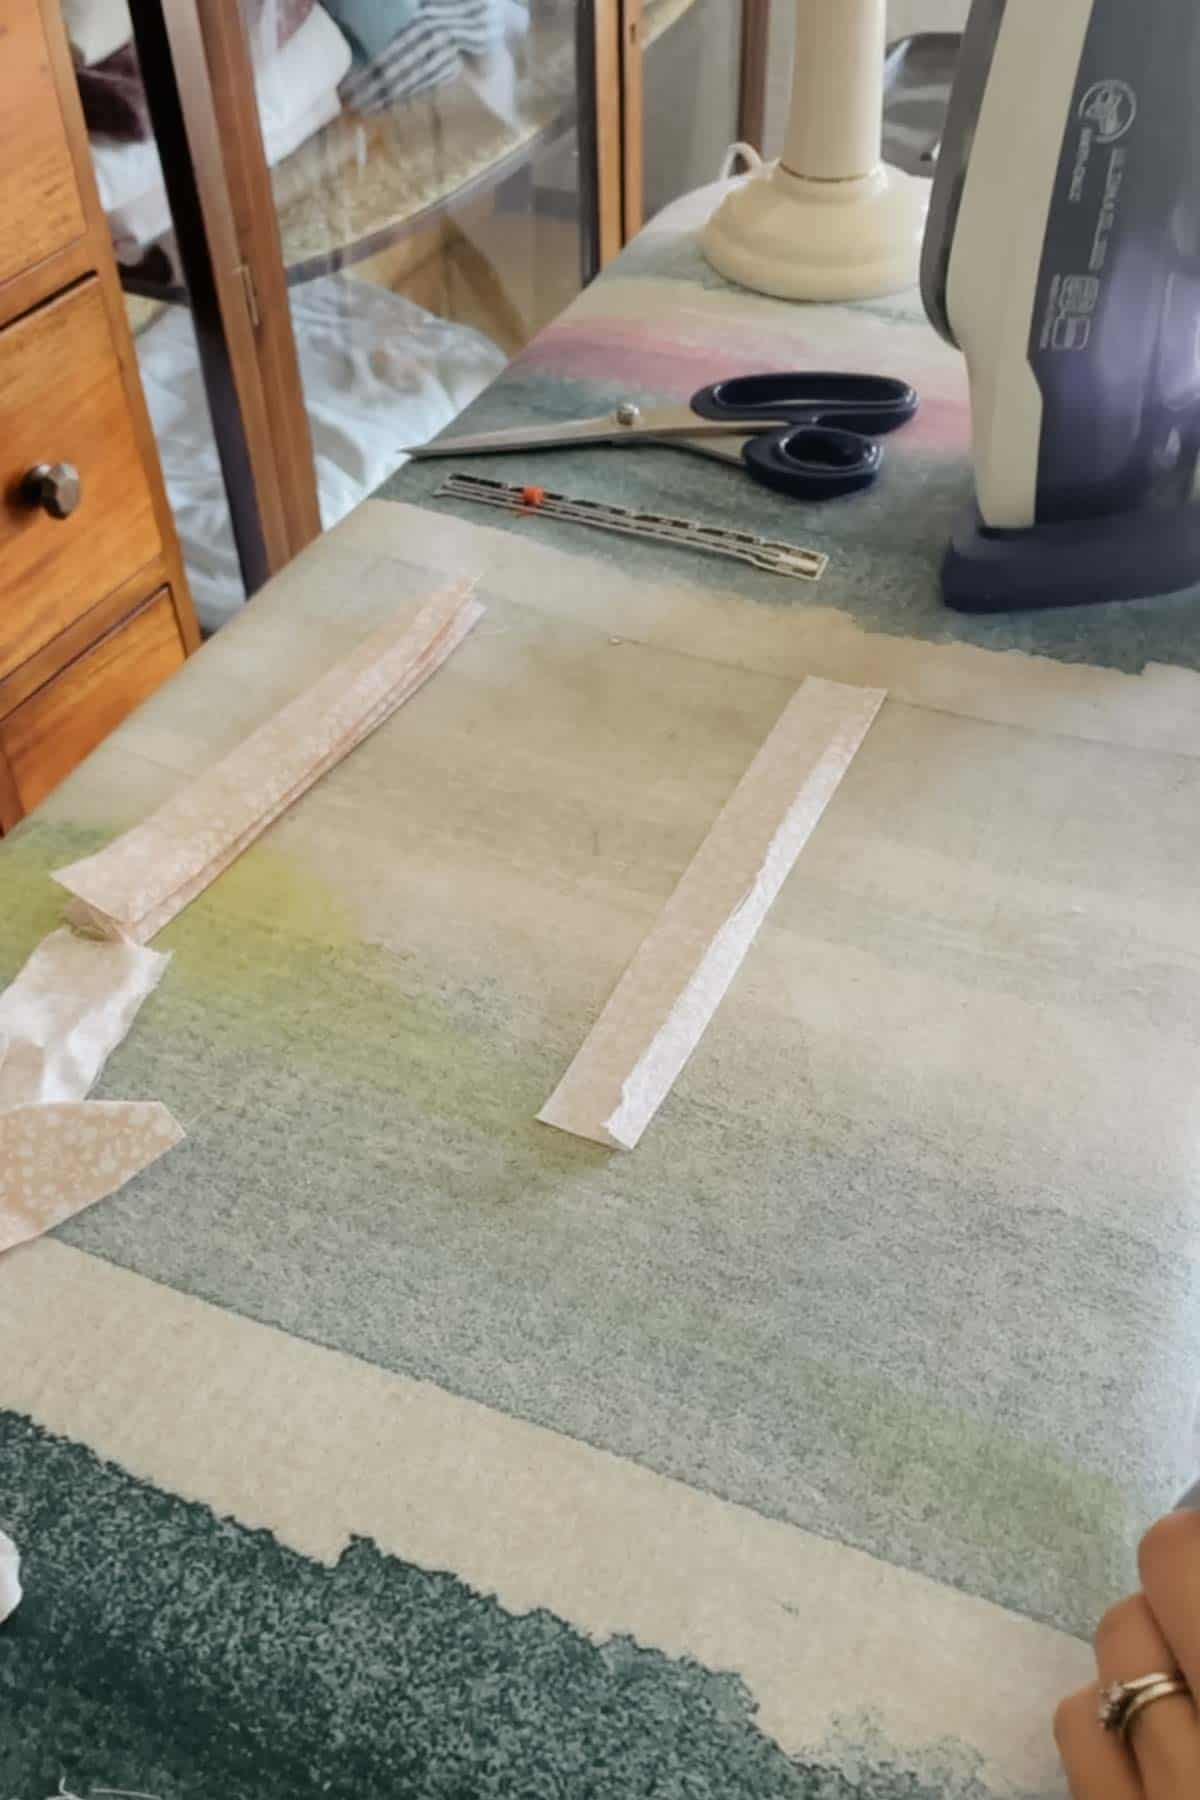
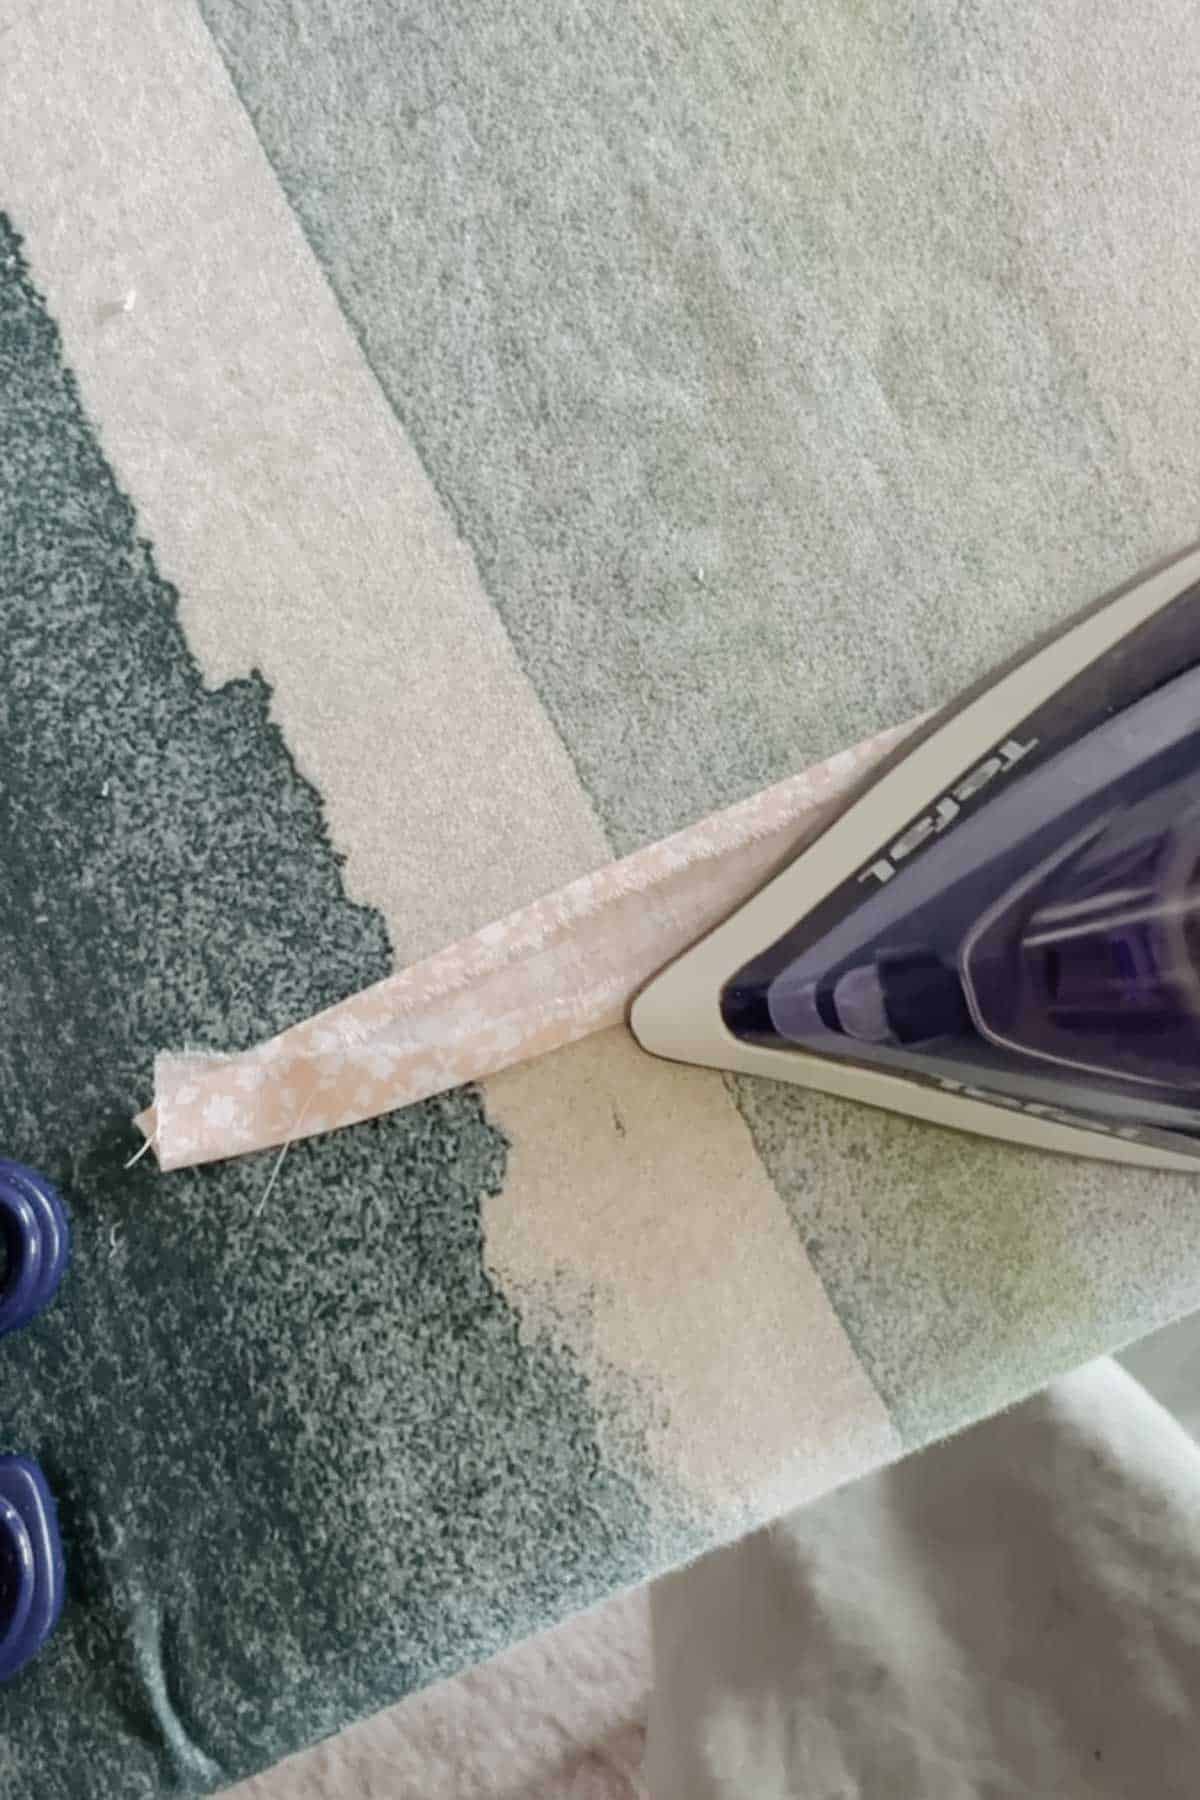
On each strip, fold back about 0.5cm (1/4″) along the long side and press. I find using an ironing ruler makes this a lot easier.
If you like you can fold in both sides of the strips, but it’s much quicker to just do one side, and the raw edges will be hidden anyway!
At this point you could choose to pre-cut your strips to the right length for your lampshade, or you could choose to leave them long and cut them down as you stick them around the shade.
I started off pre-cutting them and ended up using one long strip and just cutting it down as I went. I think the second method is much more efficient!
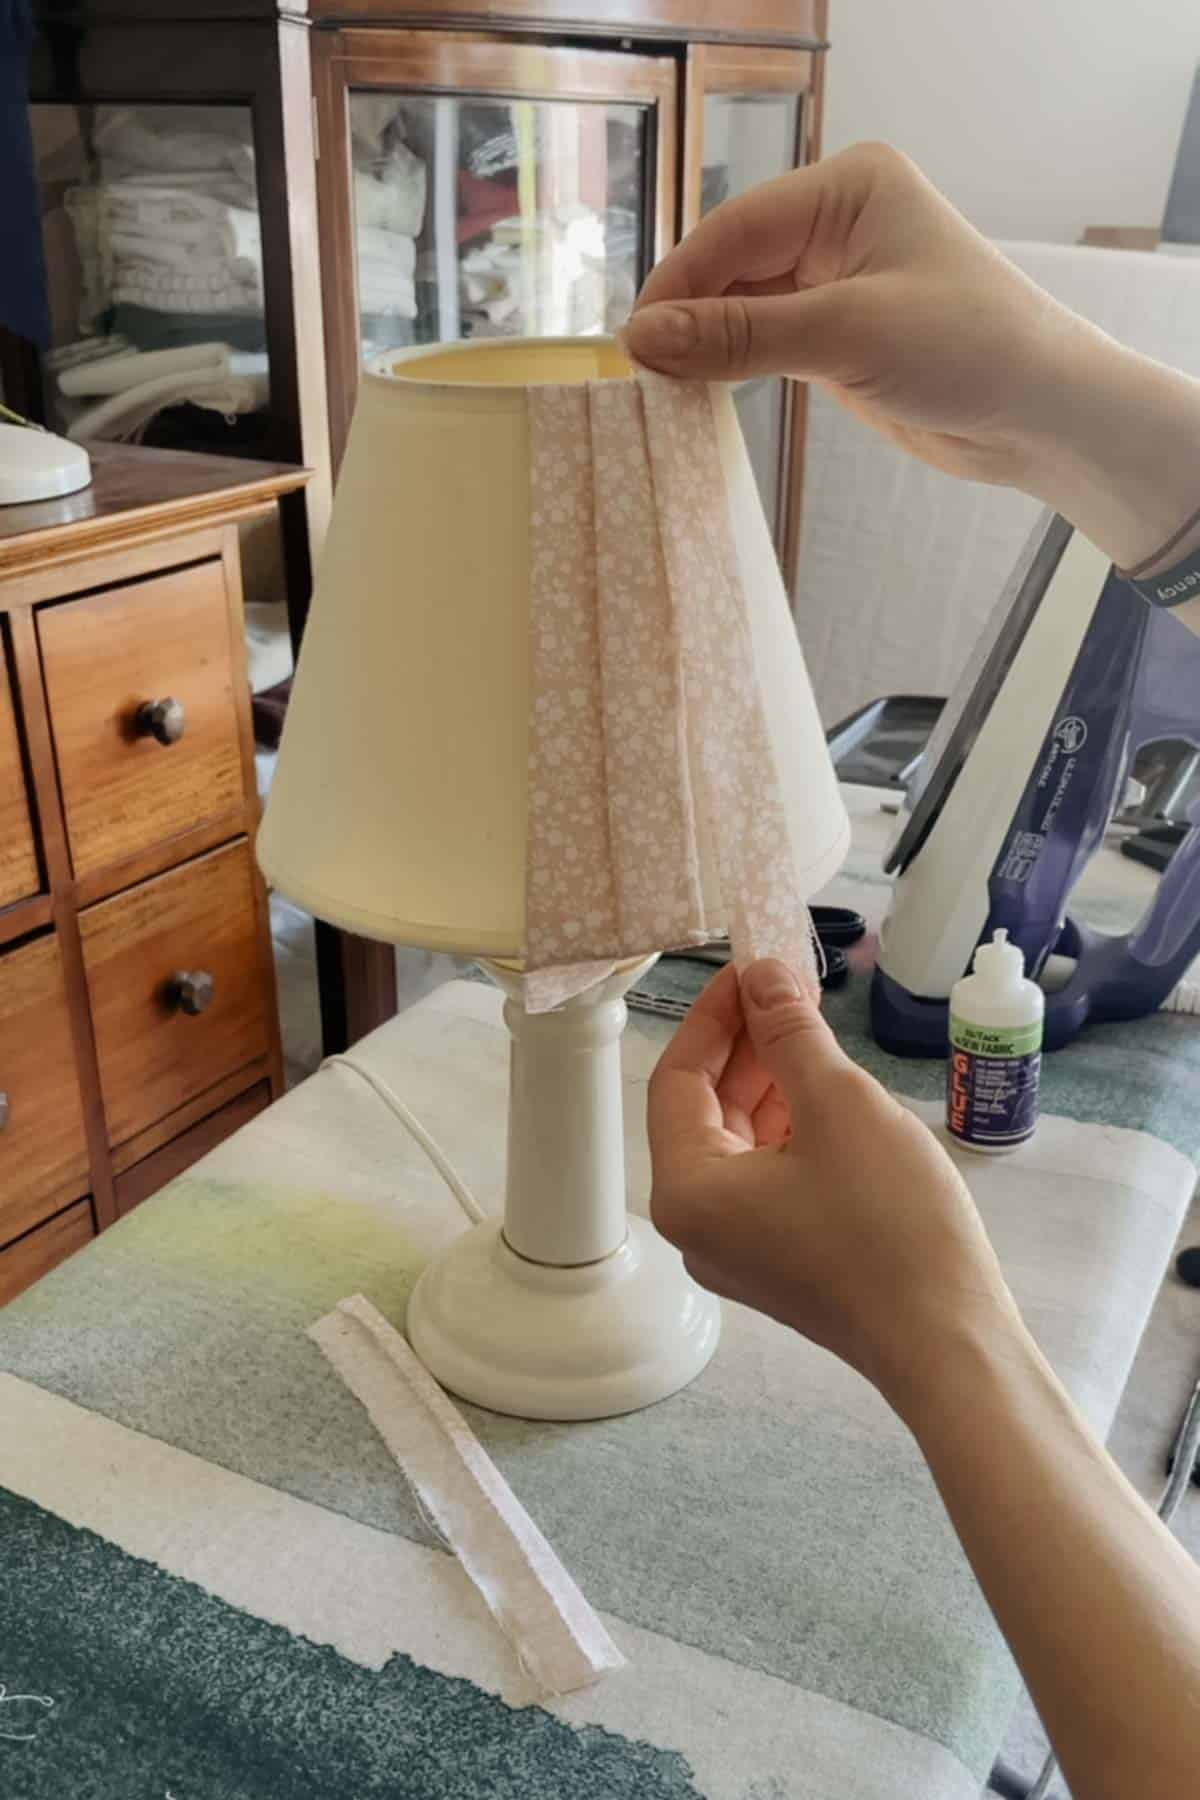
Step 3: Glue your strips onto the lampshade
Starting at the top of the lampshade, add a little glue and position your first strip on top, leaving a bit of the strip overhanging the top of the lampshade. Add another dot of glue to the bottom of the shade and then stick the bottom of your strip down, making sure your strip is straight.
If you haven’t pre-cut your strips, cut the strip leaving a small amount overhanging the bottom.
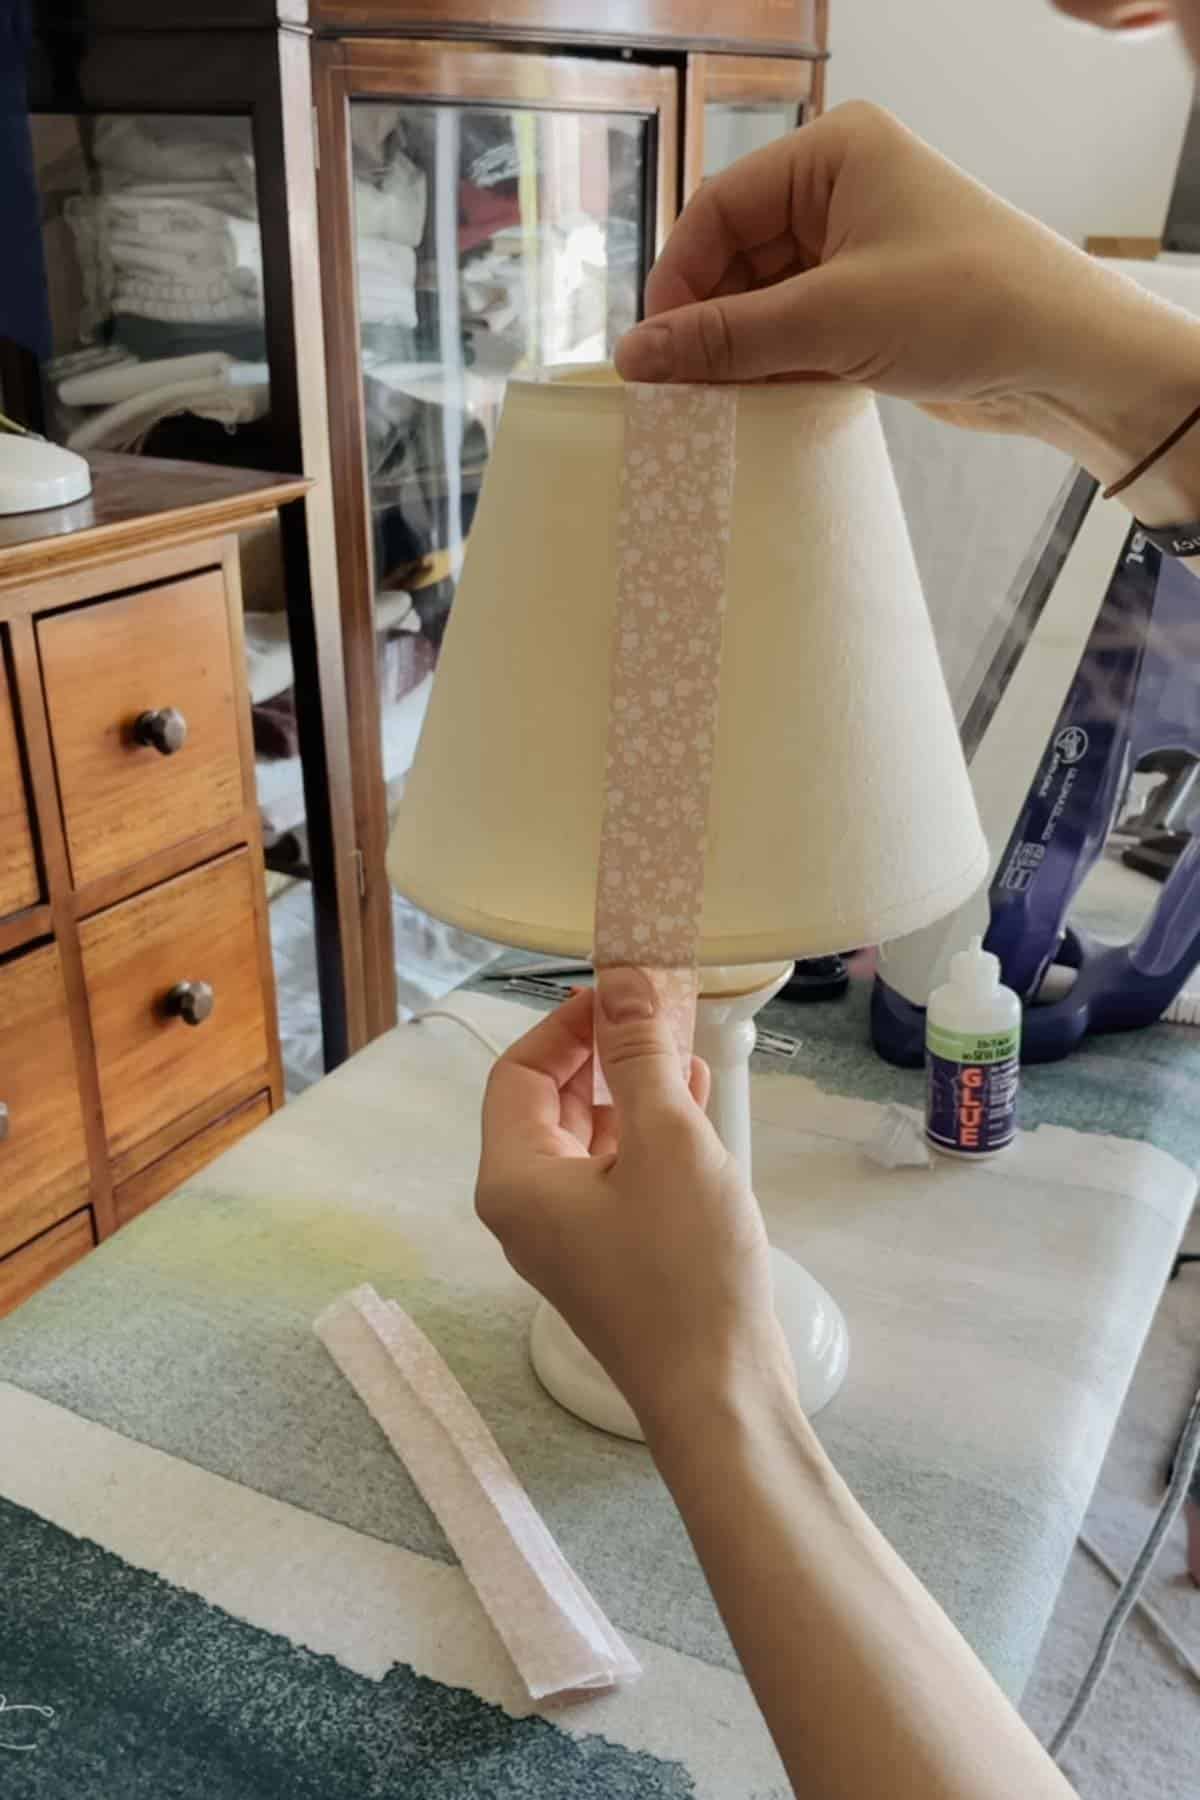
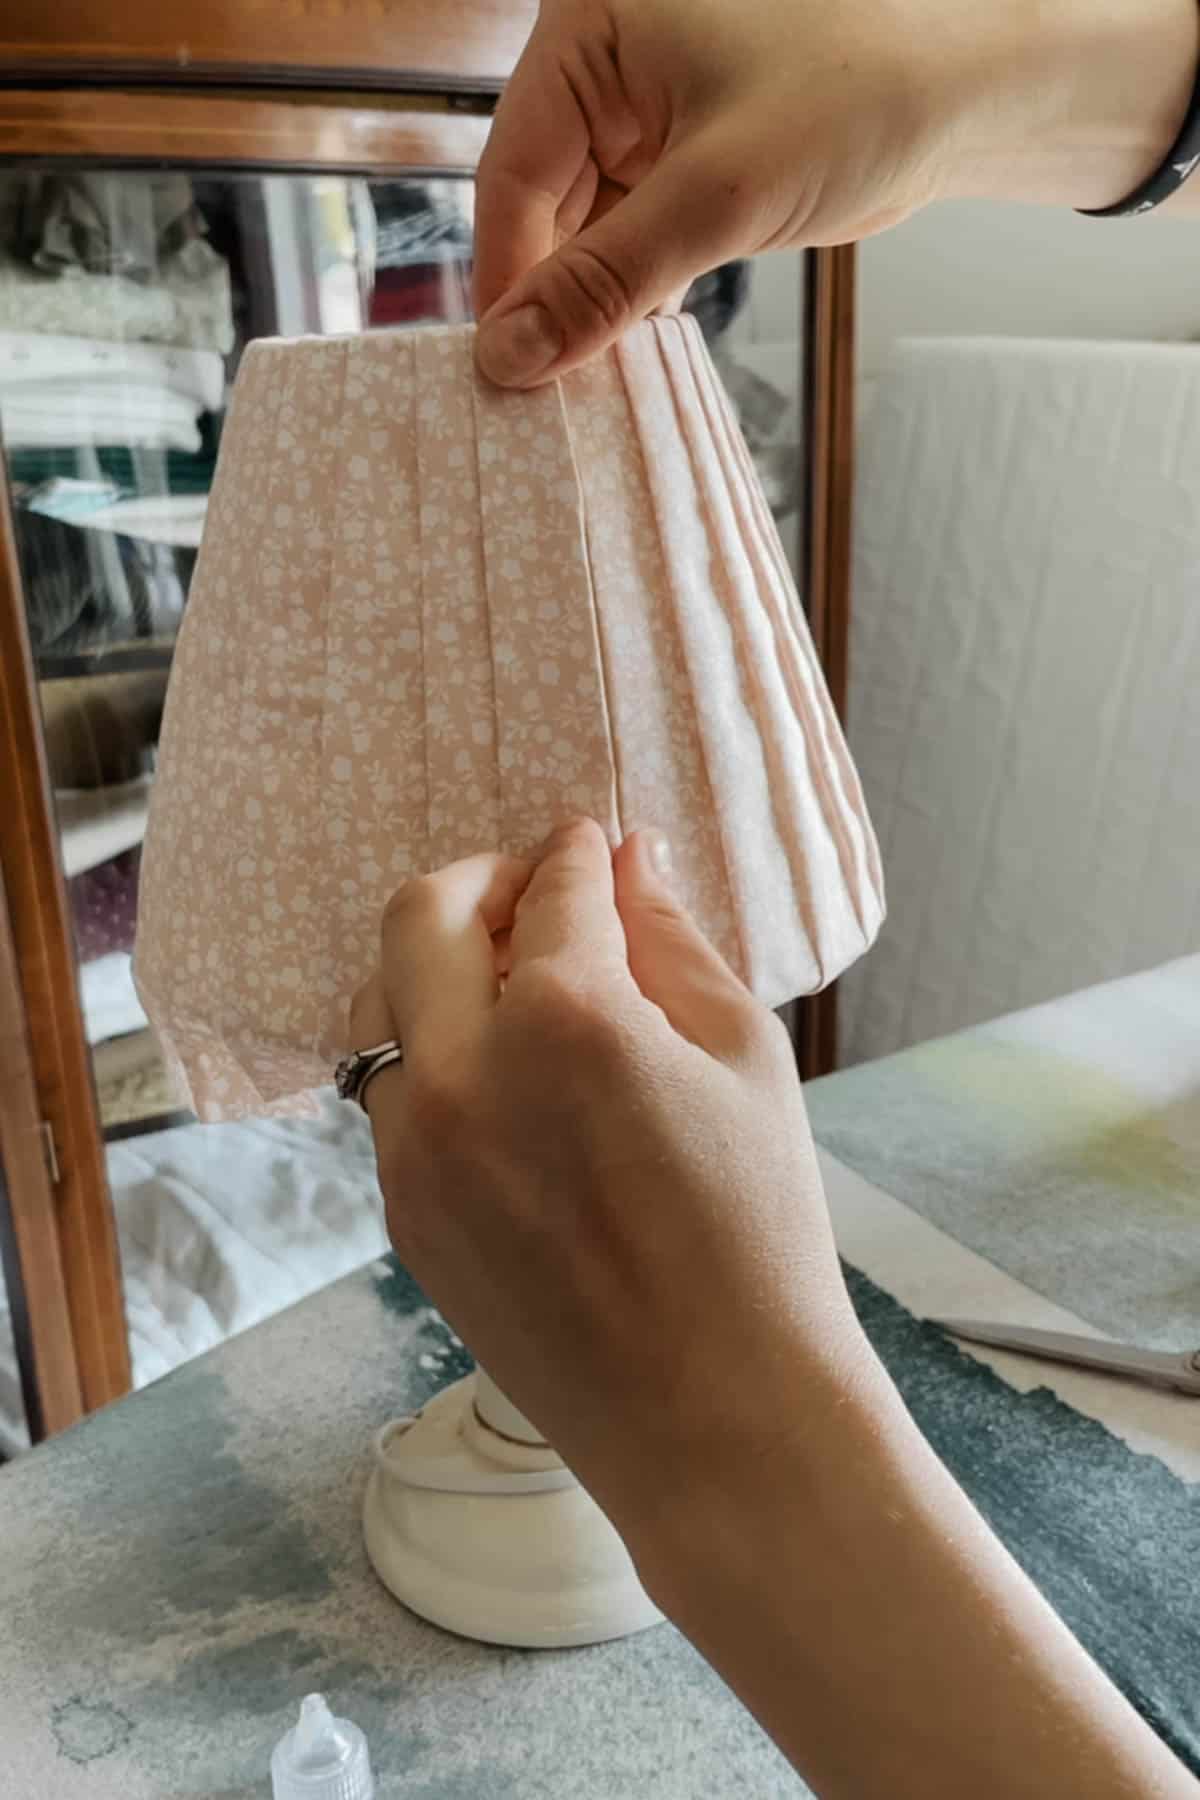
Repeat this process, making sure to cover the raw edge of the previous strip with the folded edge of the next one. I spaced my pleats about 1cm (1/2″) apart at the top of the shade, but you could use whatever spacing you prefer.
Try to keep the spacing even-ish but don’t worry too much because this is the kind of project where a little wonkiness just adds to the charm!
Step 4: Add the final strip
For the final strip of fabric, hold it in place (without glue) where you plan to place it. Then gently fold under the raw edge of the strip in line with the first strip you stuck on. Crease it firmly with your fingers, then bring it to your ironing board and press down along the line you created.
Glue it on the lampshade in the same way as the other strips, tucking the right hand folded edge so it sits neatly next to the first pleat.
Step 5: Finish the ends of the diy pleated lampshade
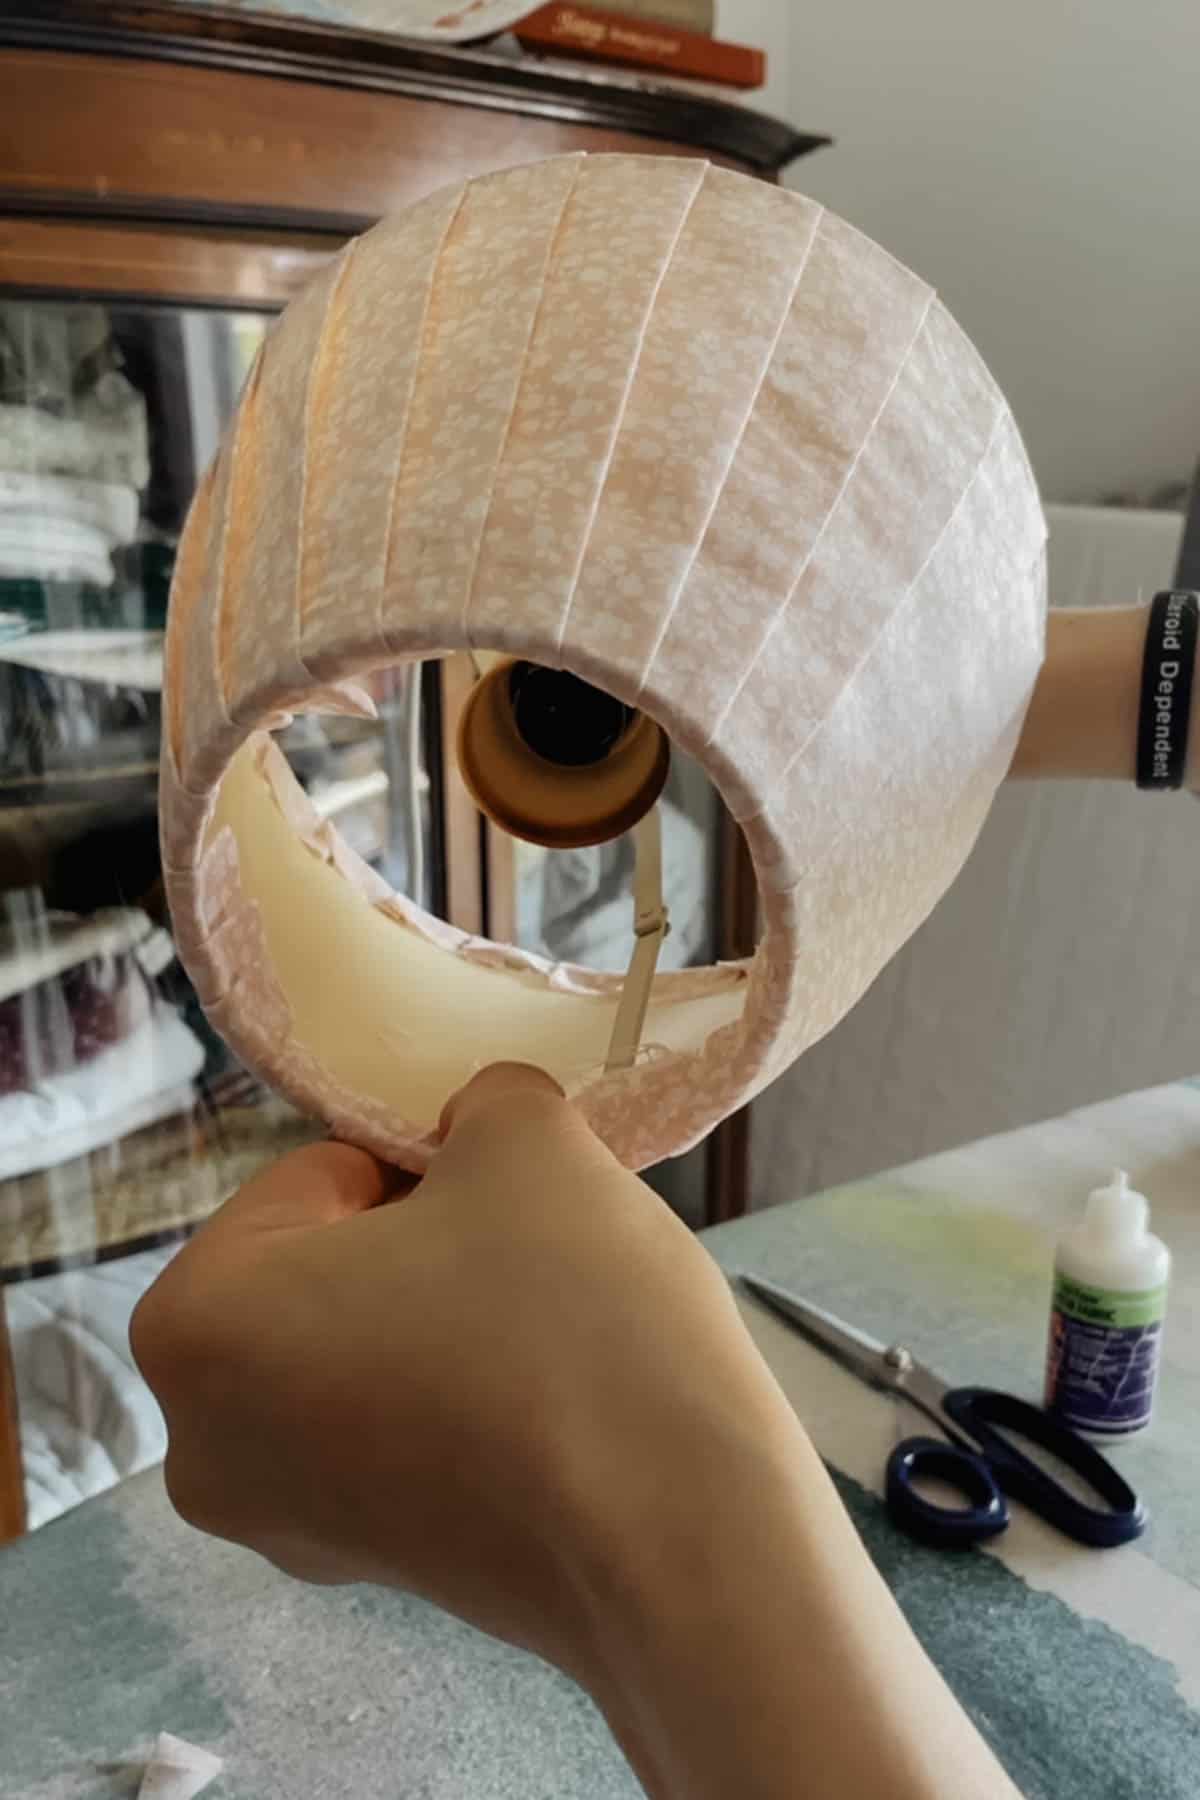
Once all the strips are on, neatly trim the ends of the strips. Add a line of glue just inside the top of the shade and gently press down the excess fabric onto the inside of the lampshade.
Repeat this for the bottom edge of the shade. You can use pegs or clips to help hold things in place if needed.
If you’d like to, you can add trim to the top and bottom following these instructions.
And there you have the perfect little lampshade for a girly bedroom, or just about anywhere you’re dreaming of!

Looking for Fabric for This Project? Download This Freebie!
Download our FREE guide to beautiful, independent fabric stores across the world.
If you’ve made your own upcycled DIY pleated lampshade, I’d love to see it! Tag me or drop me a DM on Instagram.

How to Make a DIY Pleated Lampshade
Equipment
- Fabric scissors
- Tape measure or ruler
- Iron
- Ironing ruler (optional)
Materials
- 1 old lampshade
- 1 metre fabric (or less for smaller lampshades)
- Fabric glue or hot glue
Instructions
- Tear your fabric into strips about 4cm wide, going with the grain (parallel to the selvedge). Start by making a small cut and then grasp both sides and tear firmly.
- Fold back about 0.5cm along one long side of each strip and press with an iron. You can do both edges, but one is enough since the raw edge will be hidden.
- Start at the top edge of the shade. Apply glue, stick down a strip with the pressed edge facing left, and let it hang straight. Then glue it at the bottom. Repeat with new strips, overlapping the raw edge of the previous one with the folded edge of the next.
- Place your final strip without glue, then fold the raw edge under so it aligns neatly with the first strip. Press it flat, then glue it into place like the others.
- Trim the ends of each strip neatly. Add glue just inside the top and bottom edges of the lampshade, and tuck the excess fabric to the inside. Use pegs or clips if needed while it dries.
- Optional: To create a tidy finish, glue a strip of folded fabric, bias tape, or ribbon around the top and bottom edges.
Notes
- Works best with straight-sided lampshades, but can be adapted for tapered ones.
- For tapered shades, widen the spacing at the bottom slightly to keep pleats straight.
- Looks especially pretty with soft, light-filtering fabrics like cotton lawn or lightweight linen.