
How to Sew on a Button So It Actually Stays (2-Hole and 4-Hole)
Never lose a button again! Learn how to sew a 2 hole button or a 4 hole button properly, including the shank trick that makes all the difference.
This page contains affiliate links, which earn me a little bit of commission if you make a purchase, at no additional cost to you. Thank you for supporting my little corner of the internet!
I pulled the little linen pyjama top out of the dryer to the tinkle of a button hitting the tiles.
Sigh
I’d sewn that button on just a couple of weeks before, and somehow it was already unravelling. I barely have time to cook tea for my kids some days, let alone get out the needle and thread for another mending project.
If I’m honest I wondered whether it was even worth trying again. I’d thrown more than one bit of clothing away out of frustration.
But I couldn’t bring myself to bin that little blue shirt – my six year old’s fave, the one he always asked for first.
I wanted to finally learn how to sew a button on so it stays.
The Best Method for Sewing on Buttons
Since that moment, I’ve sewn on a lot of buttons. I’ve tried a whole load of different ways, some of which were rubbish, and some not so rubbish.
What I’m showing you today is the method that is the fastest and most long-lasting. It also happens to be a very easy way, with just a few simple steps.
Will this method work for both a two-hole button and a four-hole button?
Yes! And it also works for a shank button, which has a little loop on the back of the button rather than holes through the face.
I’ll cover the method for flat buttons here as those are the most common types of buttons you’ll come across, but the main steps are the same for all of them.


How to Sew a Button So It Actually Stays On
What You’ll Need
- Your button (use a spare button from the original garment if you have one)
- Thread that matches
- A needle
- Small scissors (I like these)
- A small piece of scrap fabric (optional, if you think your button might need a bit of extra support)
- Erasable marker (also optional, if you want to make sure you sew your button in exactly the right spot)
Step 1: Thread Your Needle
Cut a piece of thread – about 40 cm (18 inches) of thread should do it – and thread the eye of the needle. Tie a knot in the end of the thread (this is my favourite method).
You can use a double thread for extra strength if you’d like, in which case fold the thread in half and tie a knot in the end of the thread so you’re working with both strands together. But this isn’t essential.
Step 2: Prep Where You’re Going to Sew Your Button On
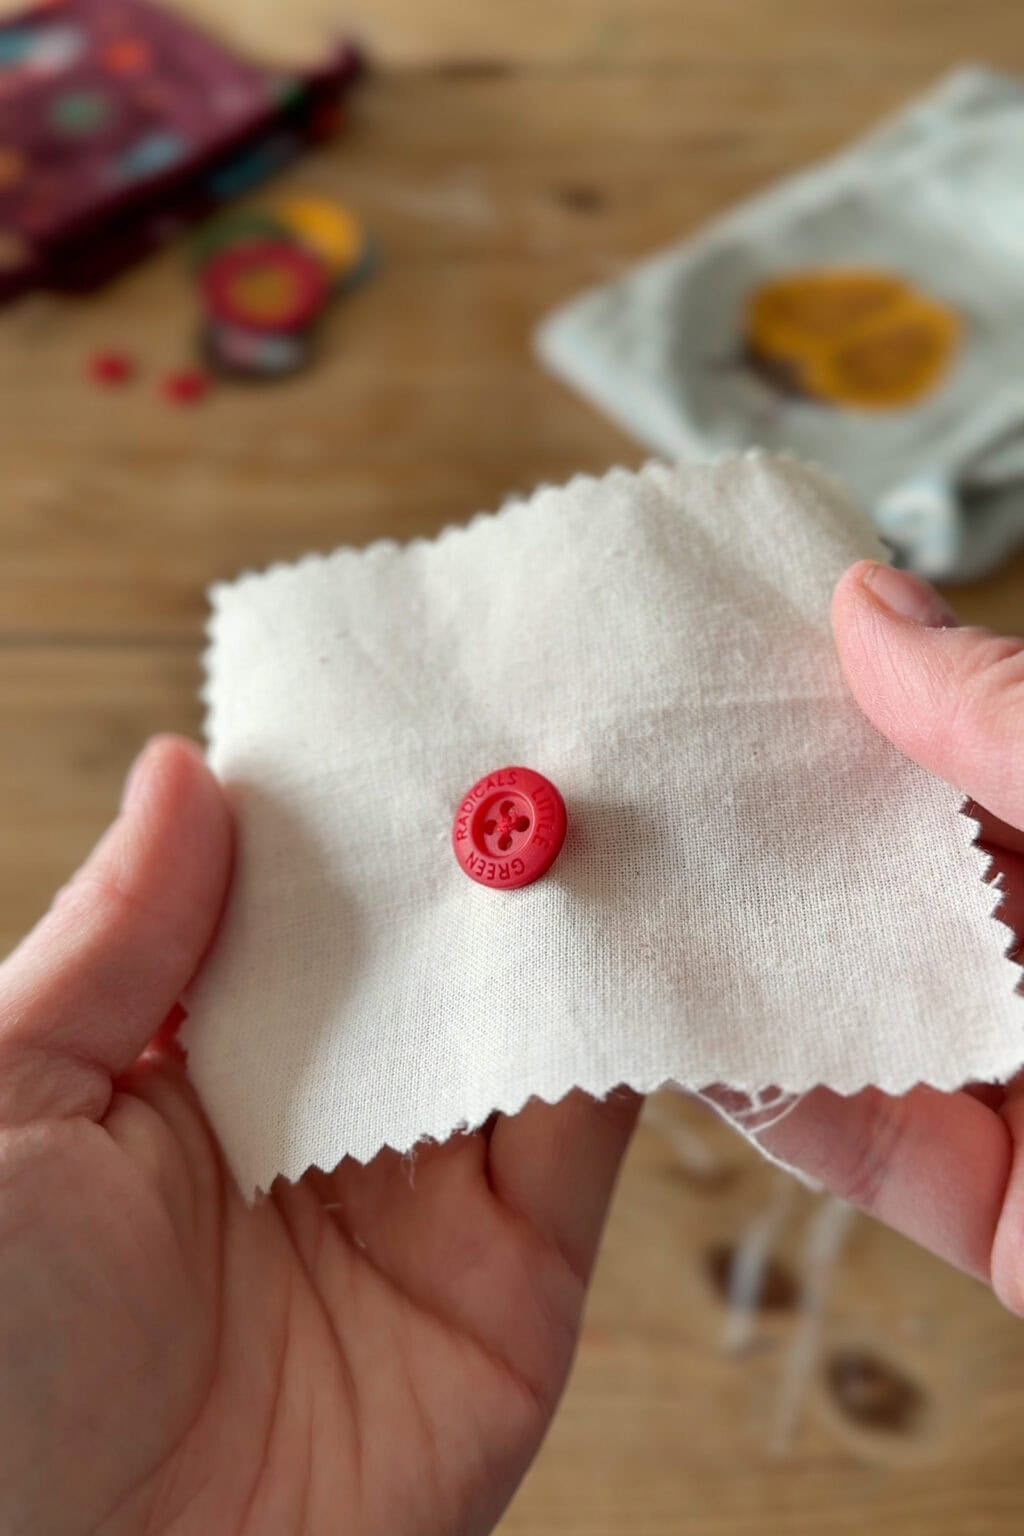
Find the points where you’re missing buttons. If the fabric is lightweight or worn, you might want to add a small piece of scrap fabric to the underside of the fabric to give the button a bit more support.
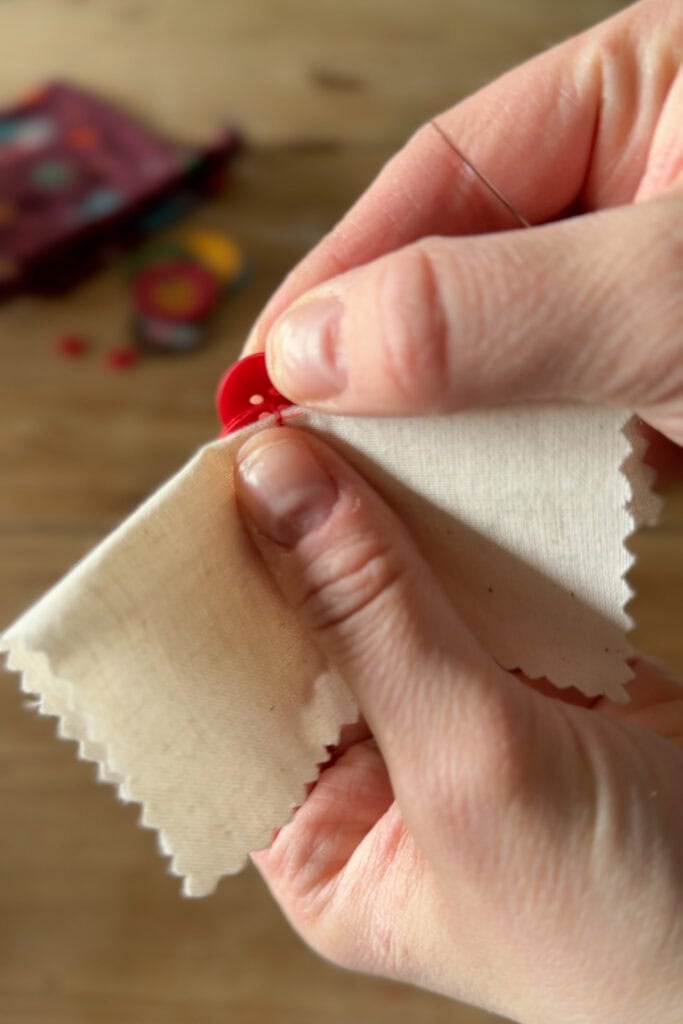
Fold the fabric where the button will go (with the right side of the fabric facing out) and make a couple of small stitches right at the edge of the fold. This creates a small knot before you begin and is the first thing that stops your button from working loose over time.
Starting like this means the back of the fabric will look nice and neat!
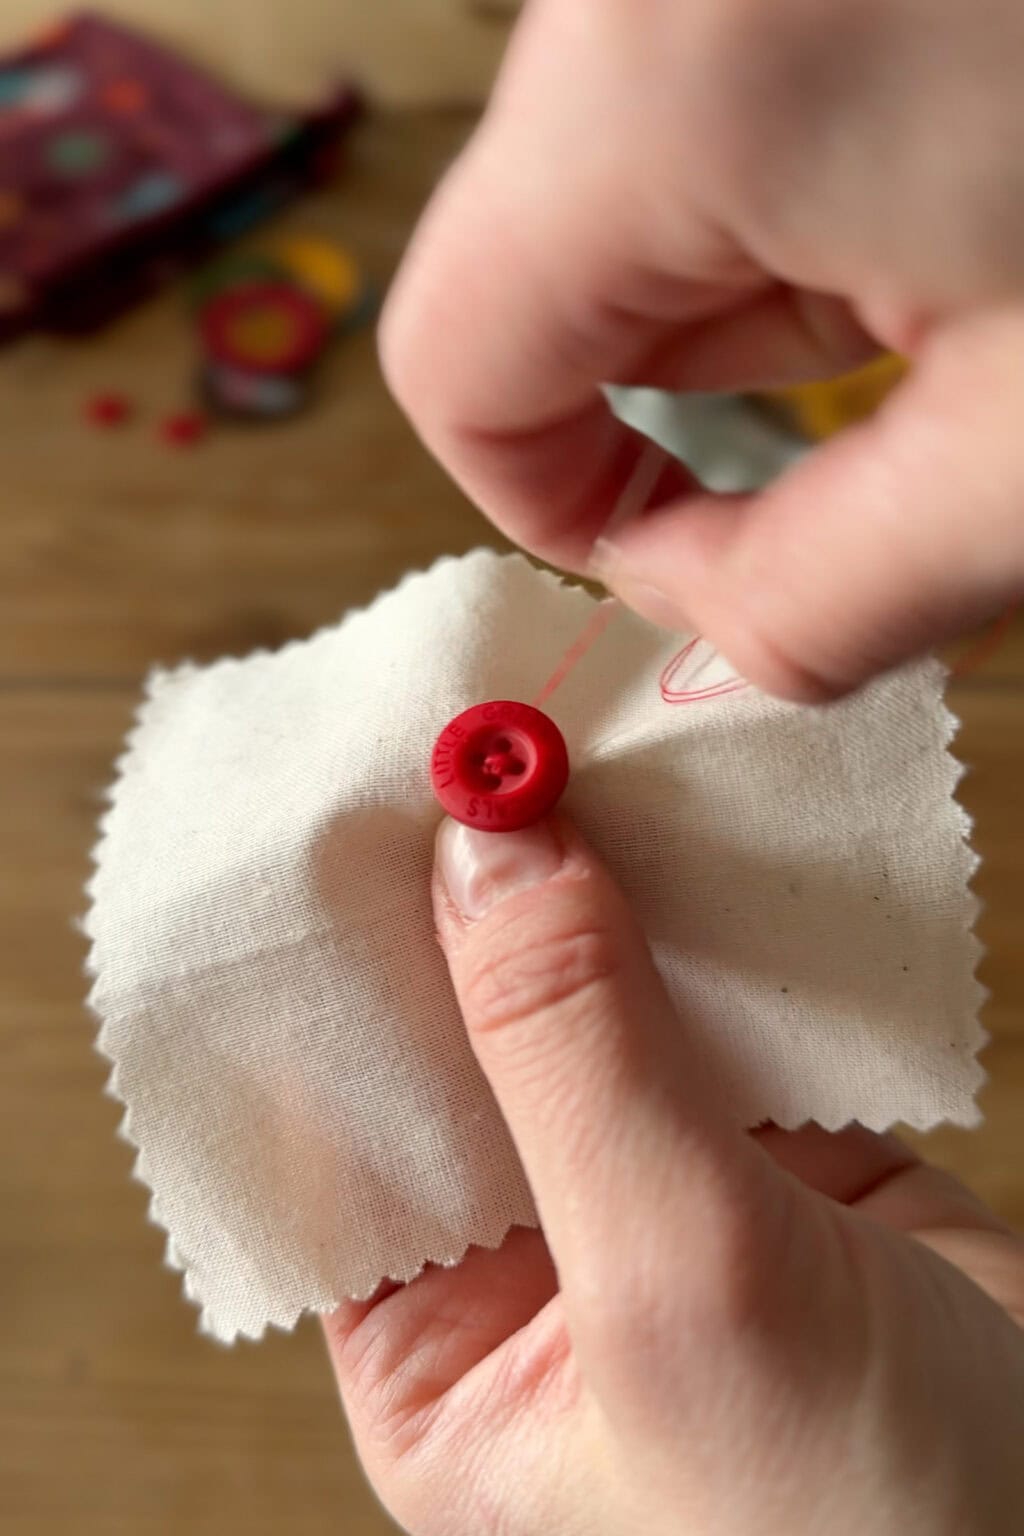
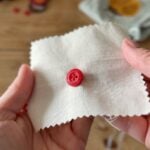
Step 3: Attach Your 2-Hole or 4-Hole Button
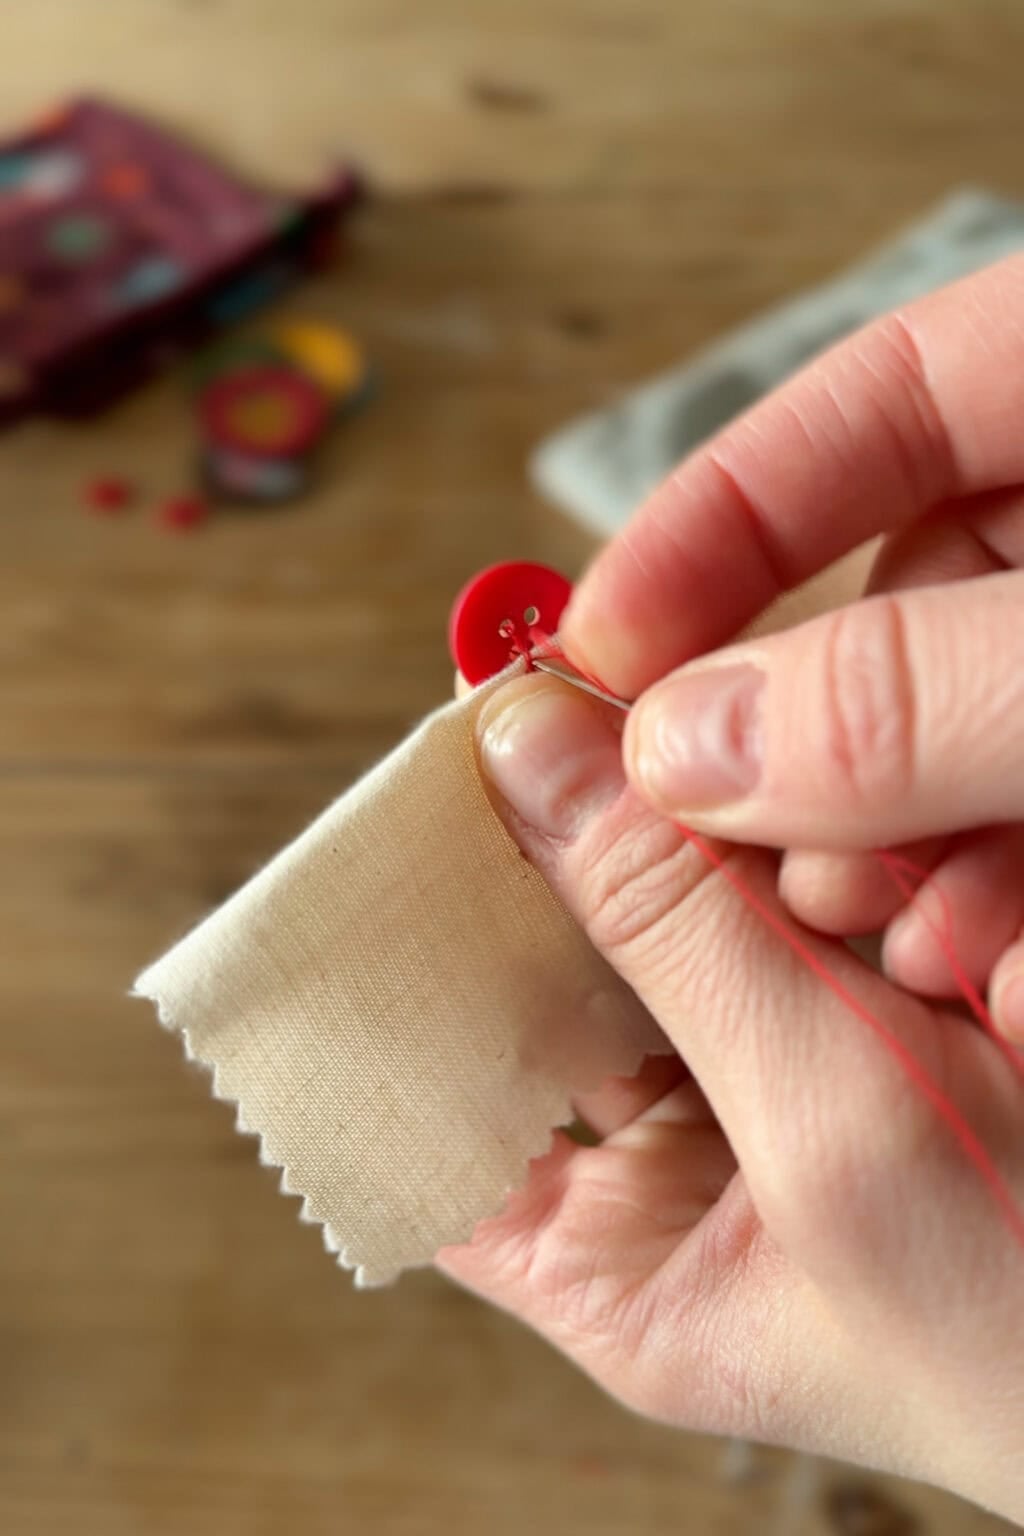
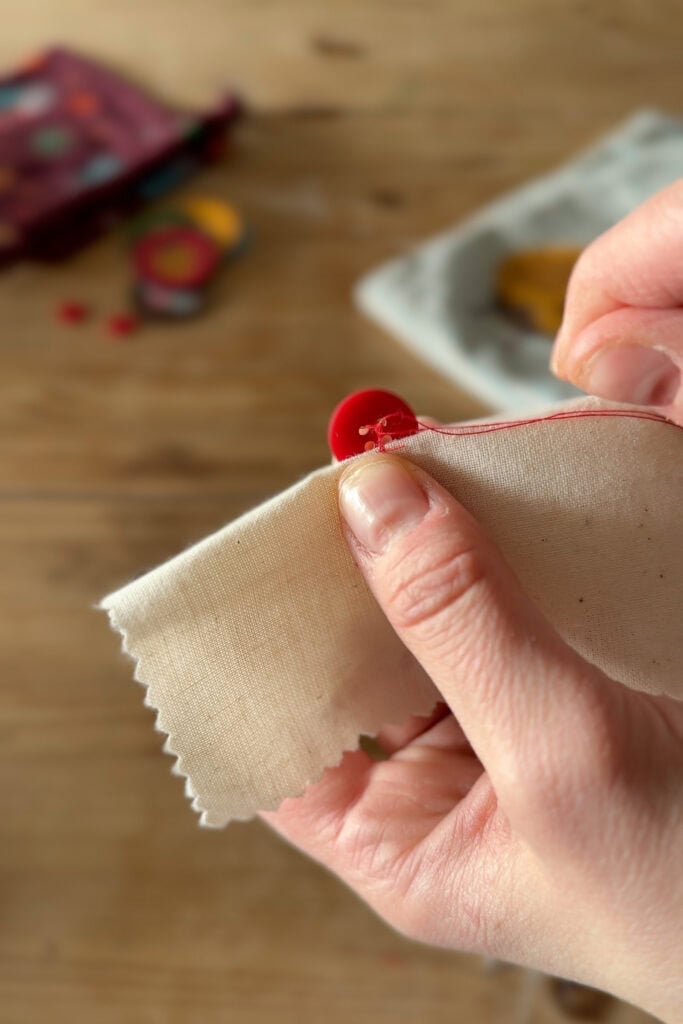
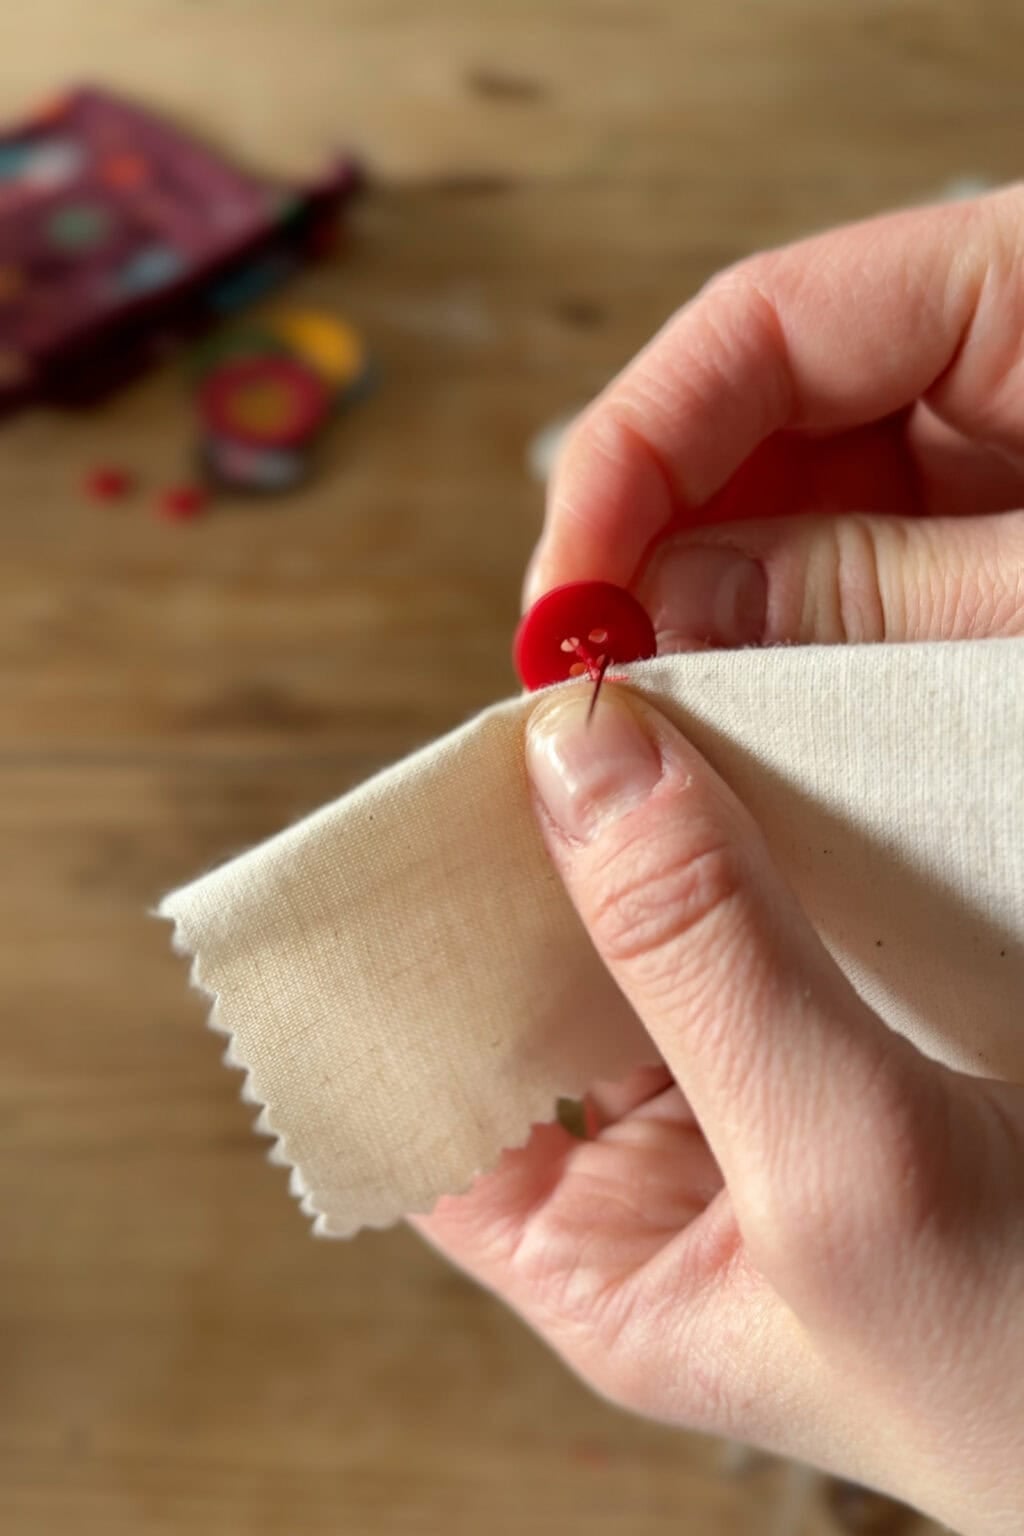
Hold your button against the fold and pass the threaded needle through one hole and out at the opposite hole. Then make a small stitch through the fabric fold. If your button has 4 holes, repeat for the two remaining holes.
With a four-hole button you have the choice of whether to sew through the holes in parallel lines or in a cross pattern. It doesn’t particularly matter which you choose – the cross is slightly stronger but most of the choice is down to what you’d prefer.
Repeat this whole process 4-5 times. Don’t worry about using too much thread, it’s better to be generous.
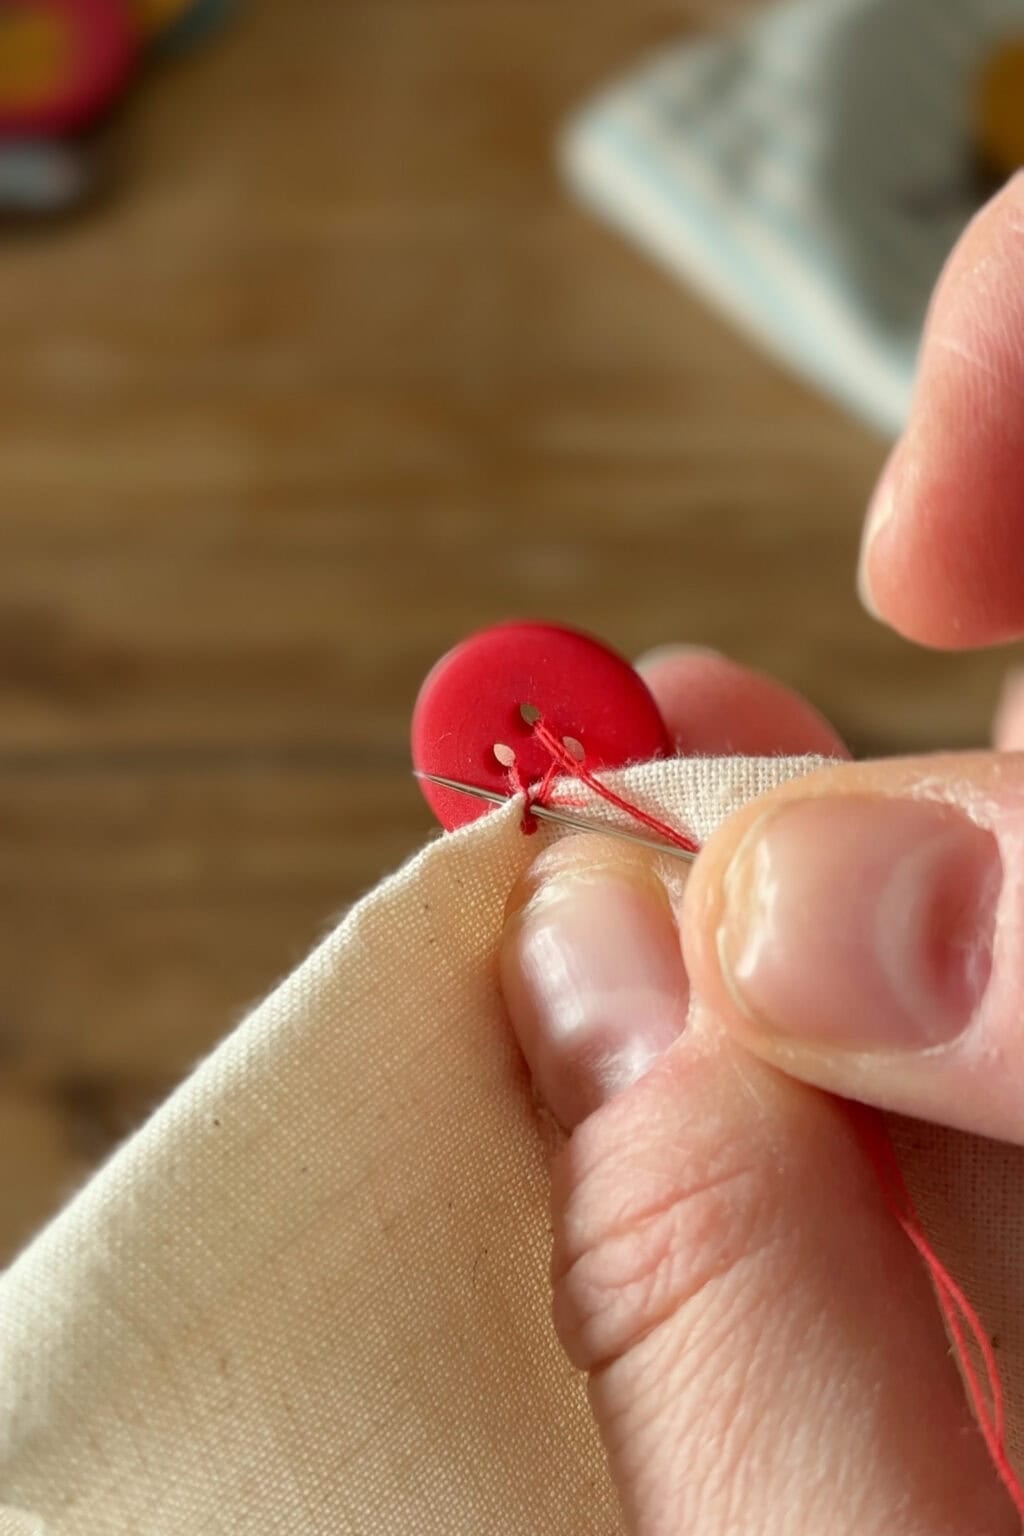
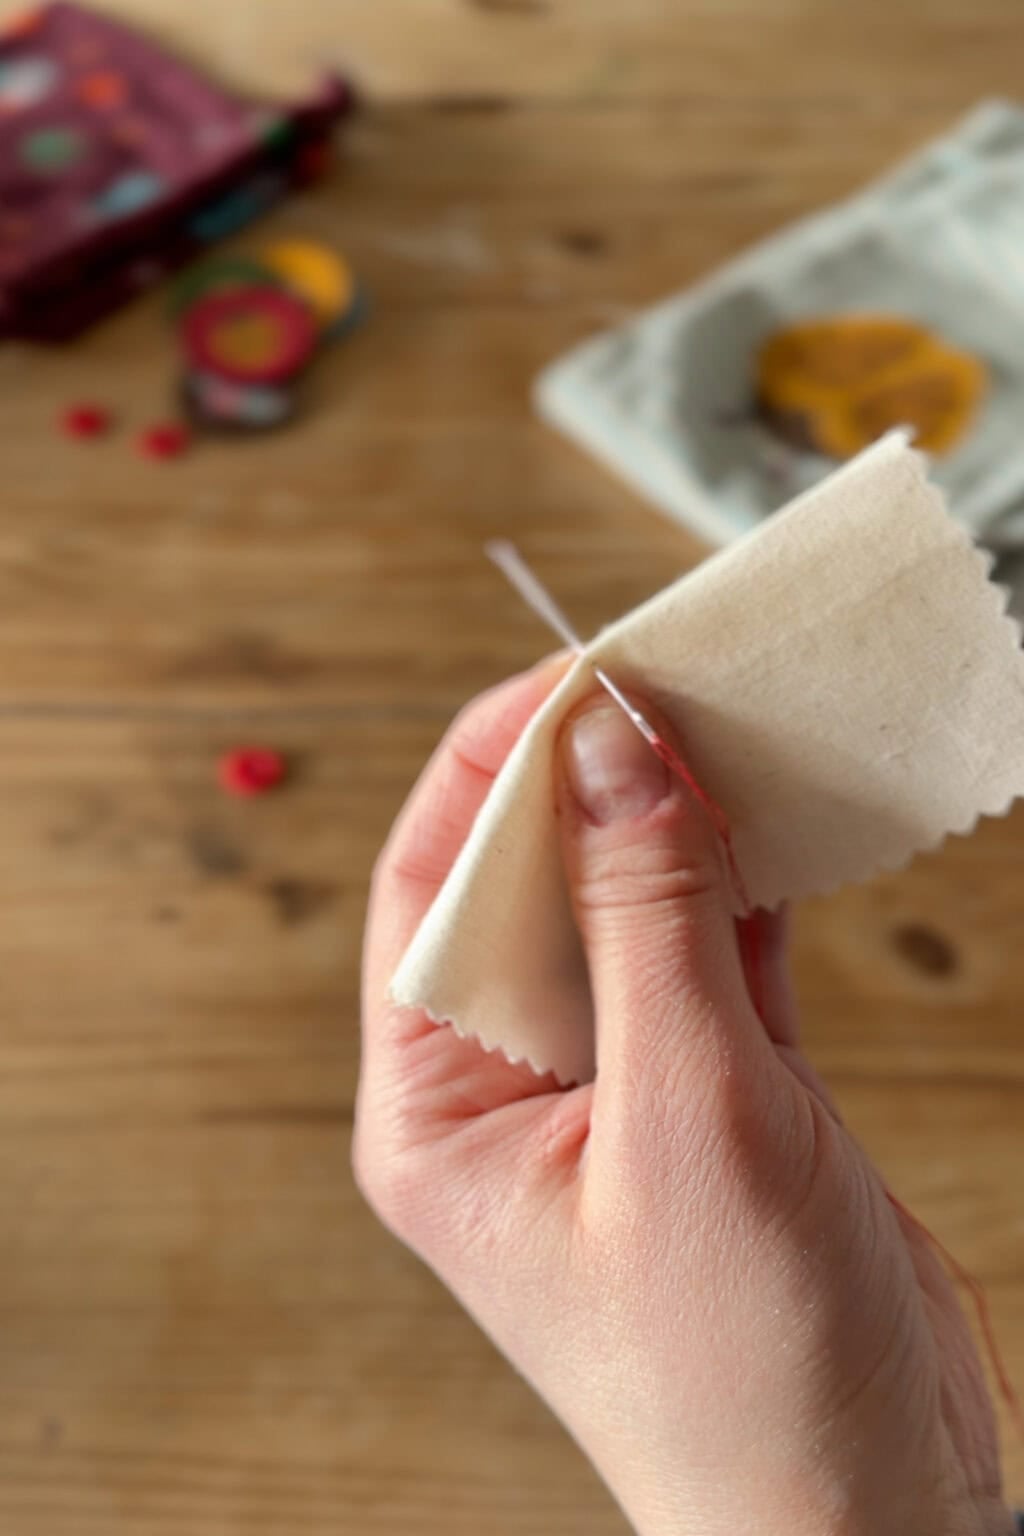
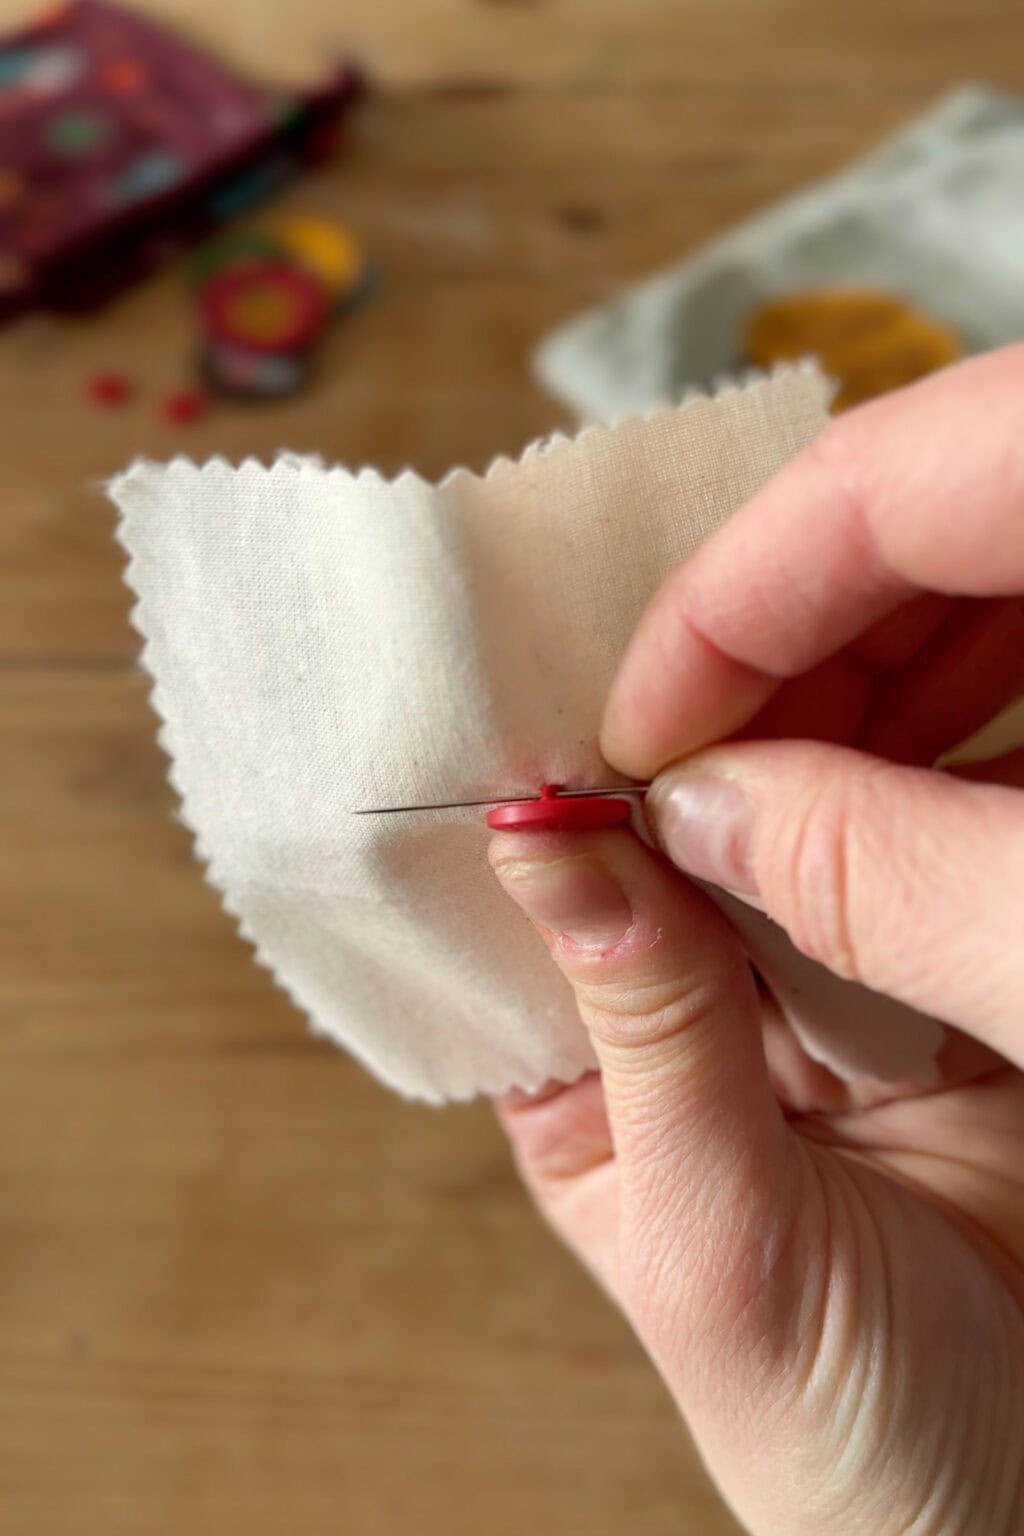
Step 4: Create a Shank
A shank is just a fancy way of saying the bit that helps the button stick up a bit from the fabric, so that there’s space for the button holes to sit under the button.
Wind your thread around the base of the button 4 or 5 times to build up the thread shank, then sew through it.
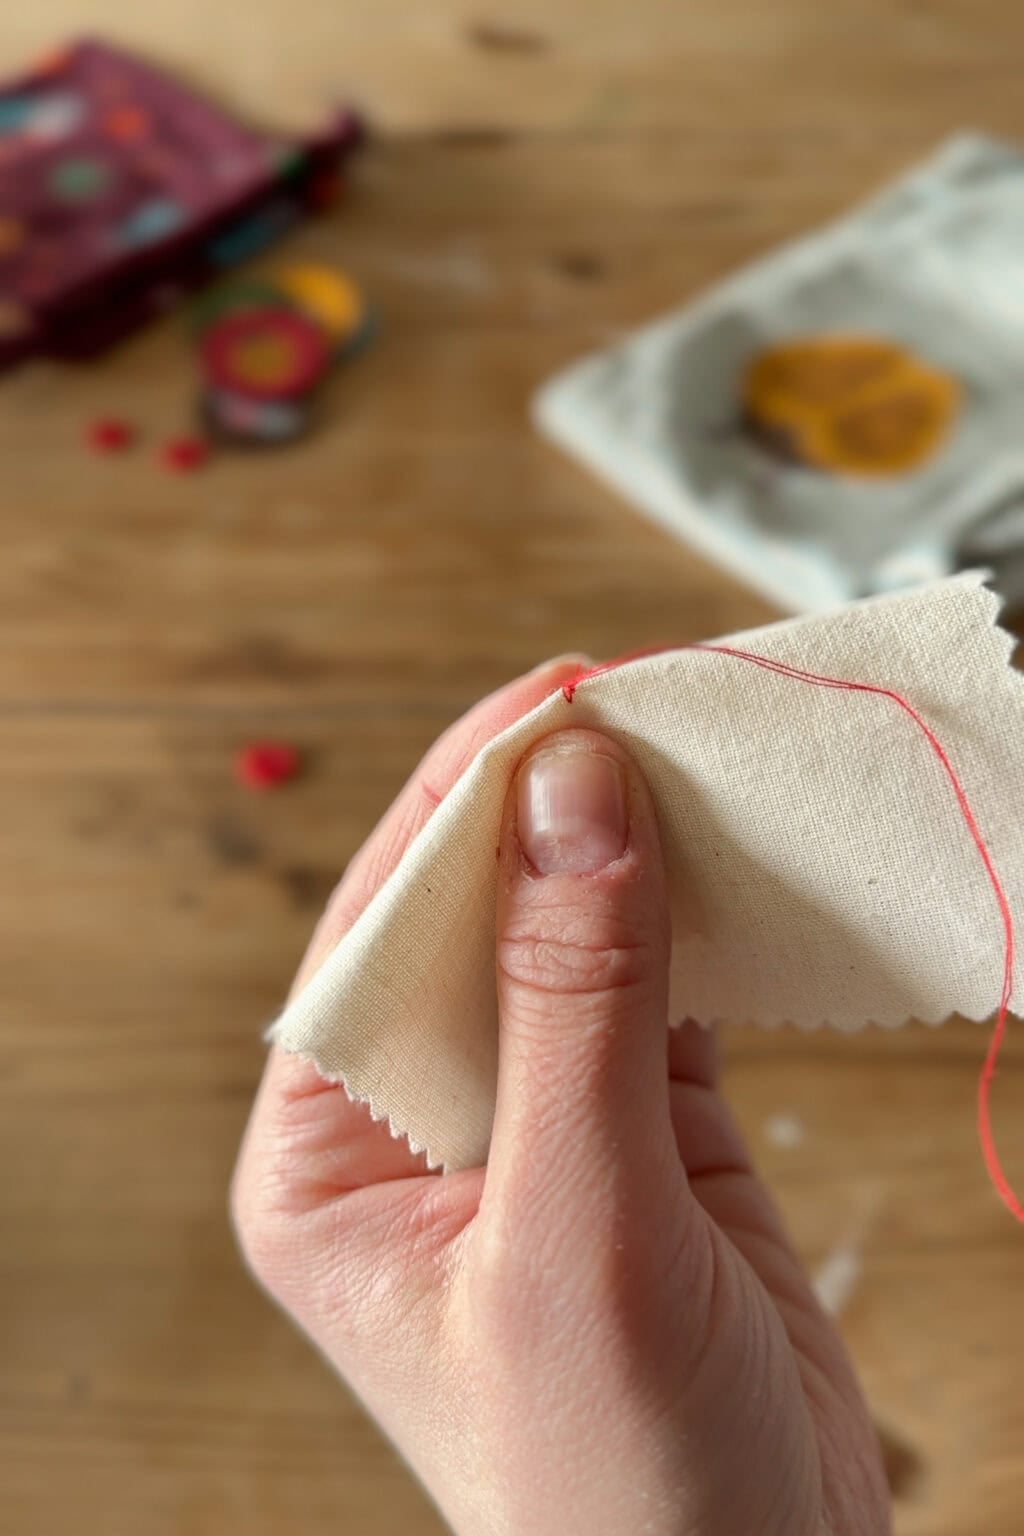
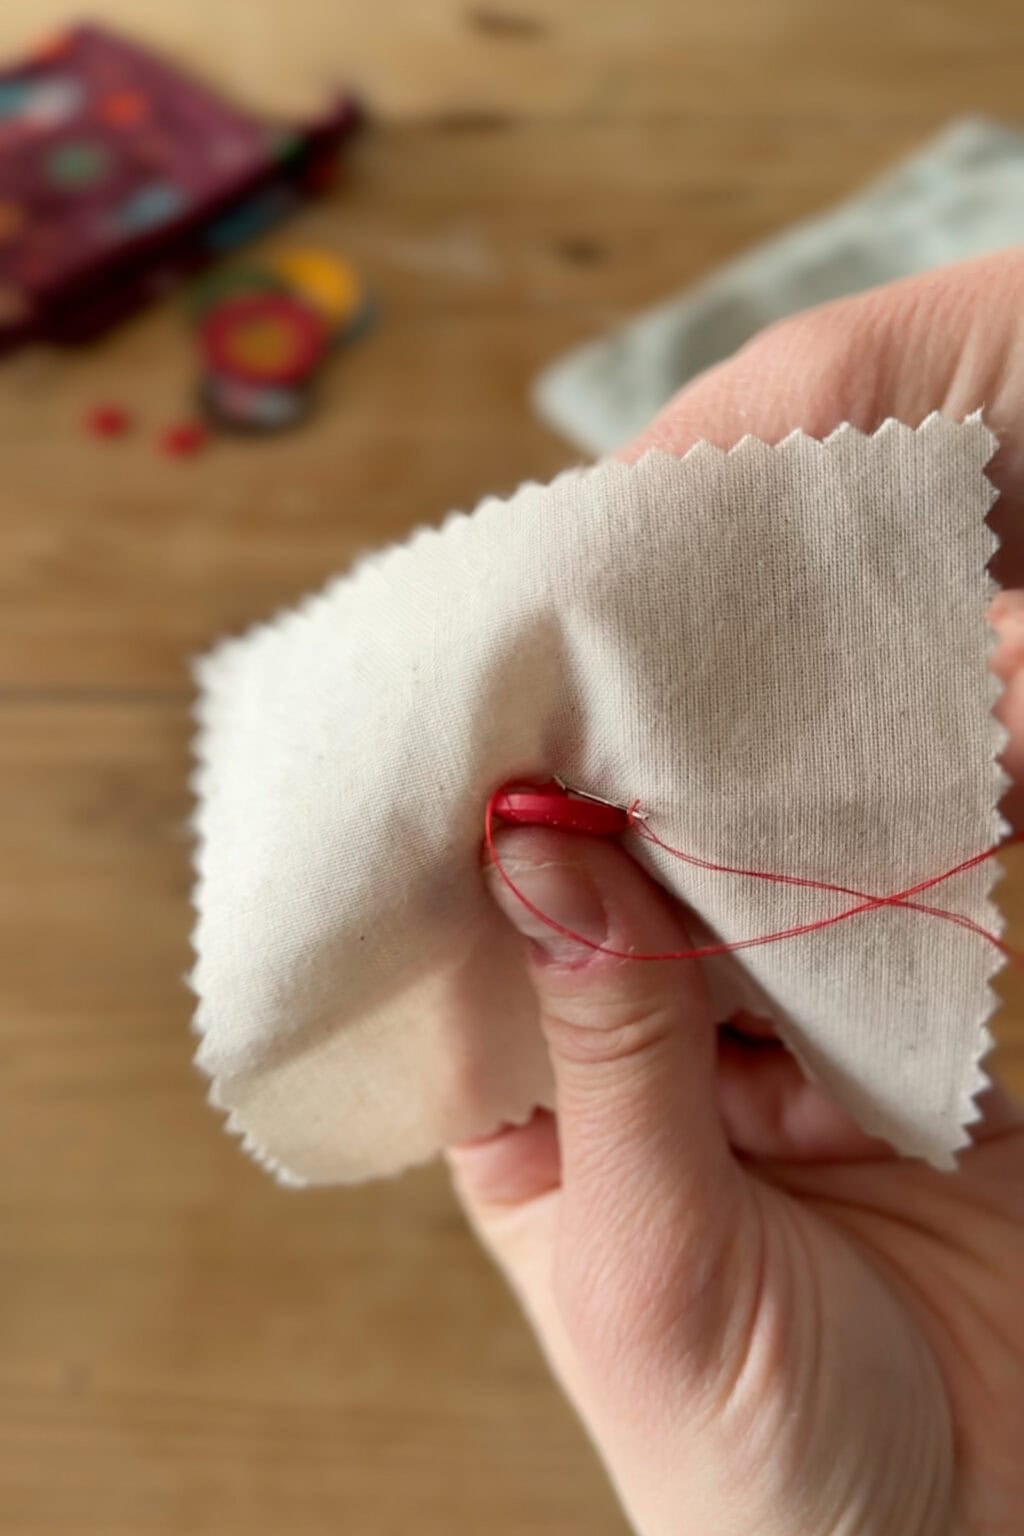
Step 5: Finish and Tie Off
Sew through to the wrong side of the fabric. Make one or two small stitches, then thread the needle under these stitches but don’t pull the thread completely through. There should be a little loop that appears – pass the needle through the loop and pull tight.
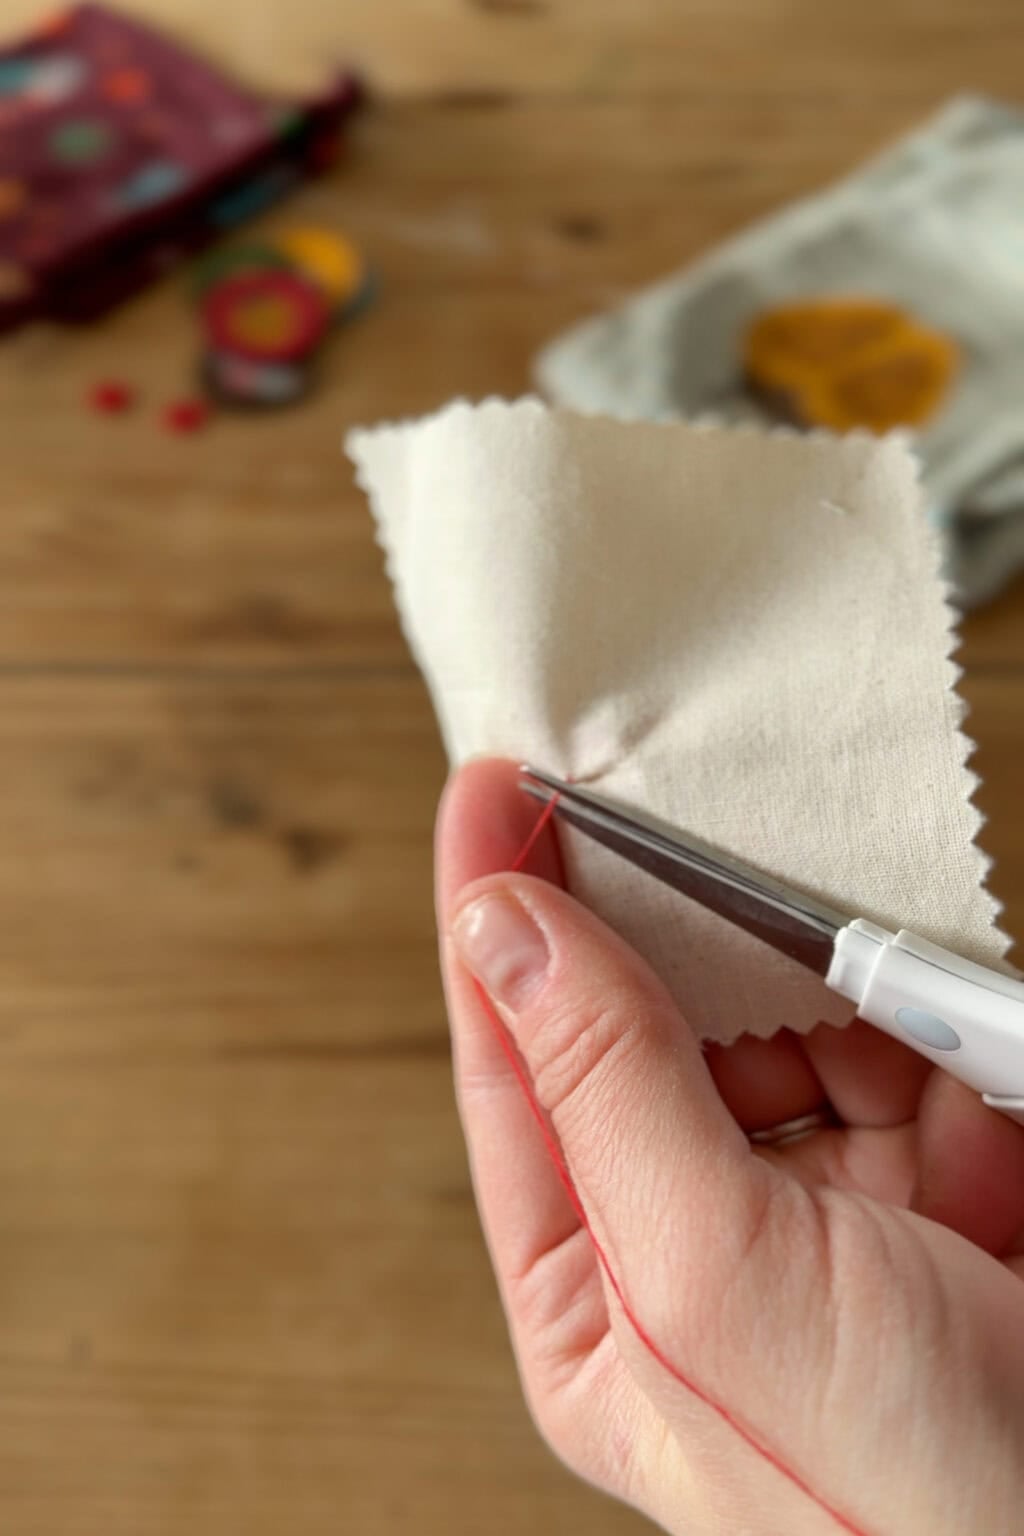
You can repeat this process if you’d like your button to be extra secure. Trim the ends of the thread, and you’re done!

Got the mending bug? Learn how to mend in under 20 minutes!
If you’re looking for more mending ideas, you’ll love learning how to do sashiko mending and darning socks.
Or for even more mending ideas, try my detailed course which teaches three super easy mending methods that you can do in under 20 minutes:

Learn to Mend in 20 Minutes!
This easy-to-follow course teaches you 3 quick and easy mending methods so you can finally blitz that mending pile
Frequently Asked Questions
How to Sew on a Button So It Actually Stays (2-Hole and 4-Hole)
Equipment
- Needle
- Scissors
Materials
- 1 button (2-hole or 4-hole)
- Thread (matching color)
- Fabric garment
- Scrap fabric (optional, for reinforcement)
- Erasable fabric marker (optional)
Instructions
Thread the Needle.
Cut about 40 cm (18 inches) of thread. Thread the needle and tie a knot at the end. For extra strength, double the thread.Prepare the Fabric.
Identify where the button should go. If needed, place a small piece of scrap fabric underneath for reinforcement. Make a few small stitches to anchor your thread.Sew the Button (2-Hole or 4-Hole)
For a 2-hole button: sew up and down through both holes.For a 4-hole button: sew in parallel lines or a cross pattern.Repeat stitching 4–5 times for durability.Create a Thread Shank
Wrap the thread around the base of the button 4–5 times to create a small shank. This allows space for the buttonhole.Pass the needle to the back of the fabric.
Pass the needle to the back of the fabric. Make a few small stitches, loop the thread, pull tight, and trim excess.
Notes
- Creating a shank is the key step that prevents buttons from loosening.
- A cross pattern for 4-hole buttons is slightly stronger.
- Hand sewing is more reliable than using a sewing machine for buttons.


Oh my goodness you are a life saver! I can’t count the times buttons have fallen off my child’s hand made clothes never to be seen again 😔. I’ll give this try for the next jacket I do! Thanks again for the wonderful tips
I’m so glad to hear it’s helpful!